

SYDENHAM BIG CAT SAFARI
Puppet Fabrication and Puppeteering
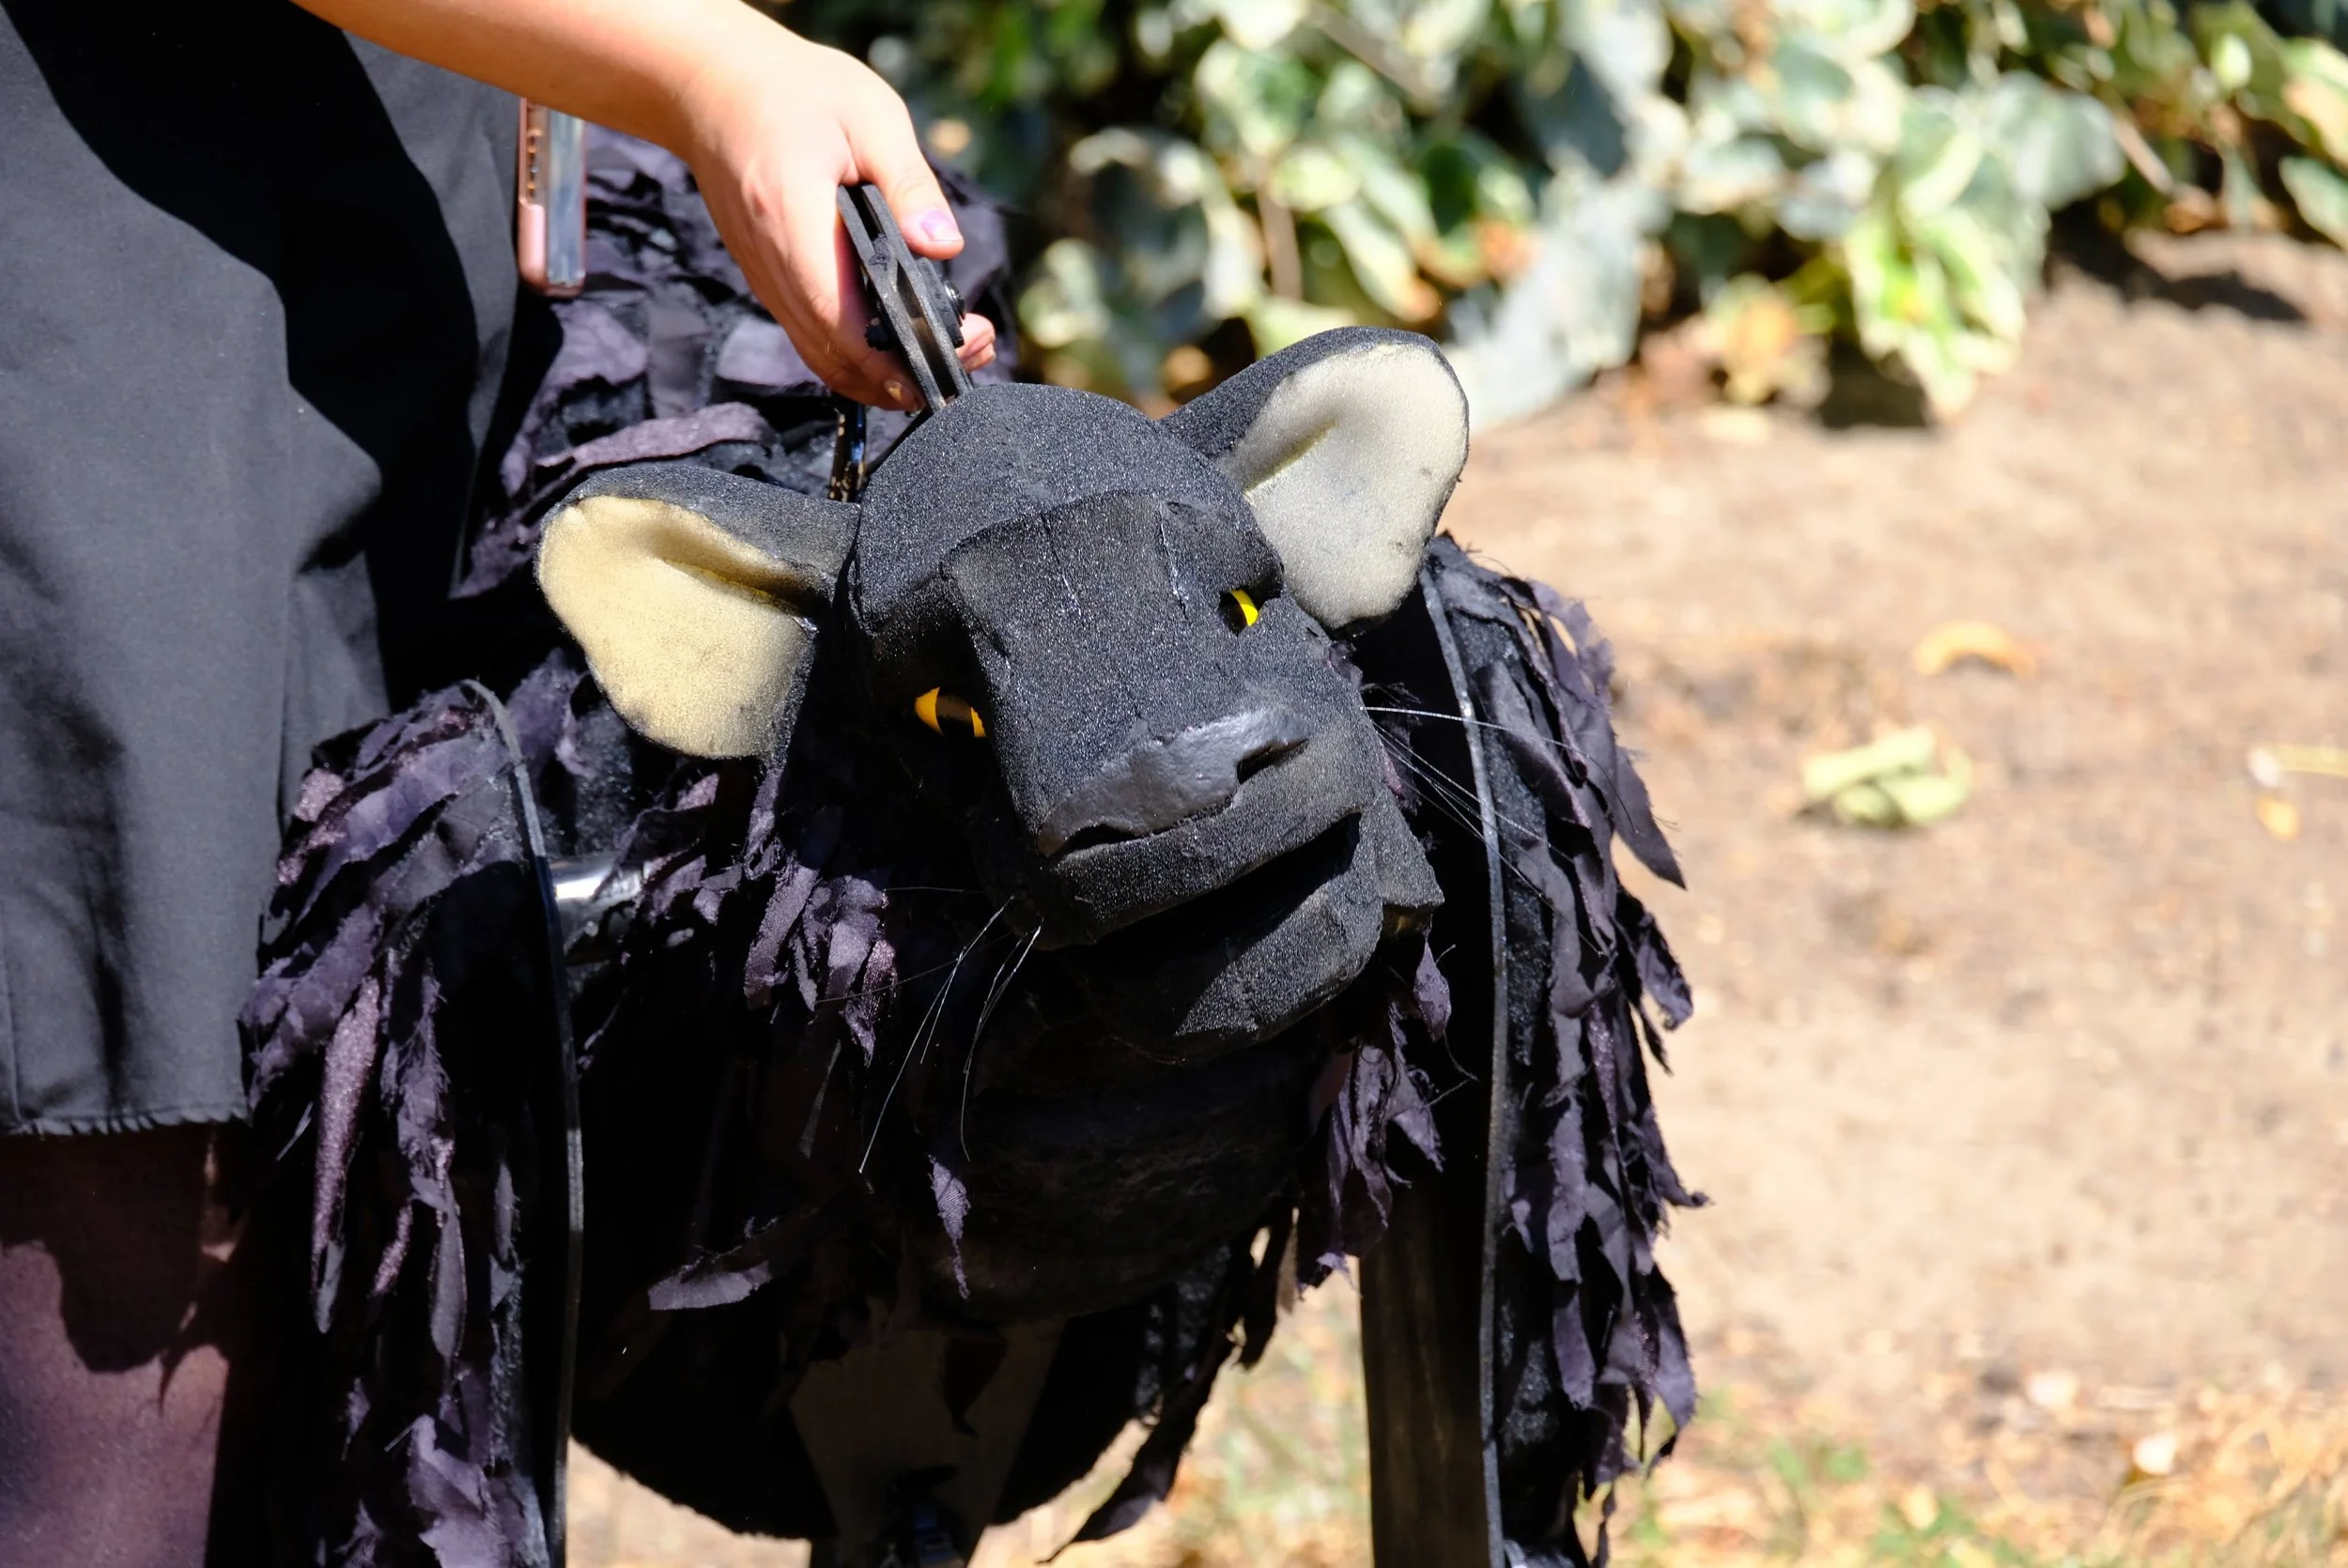
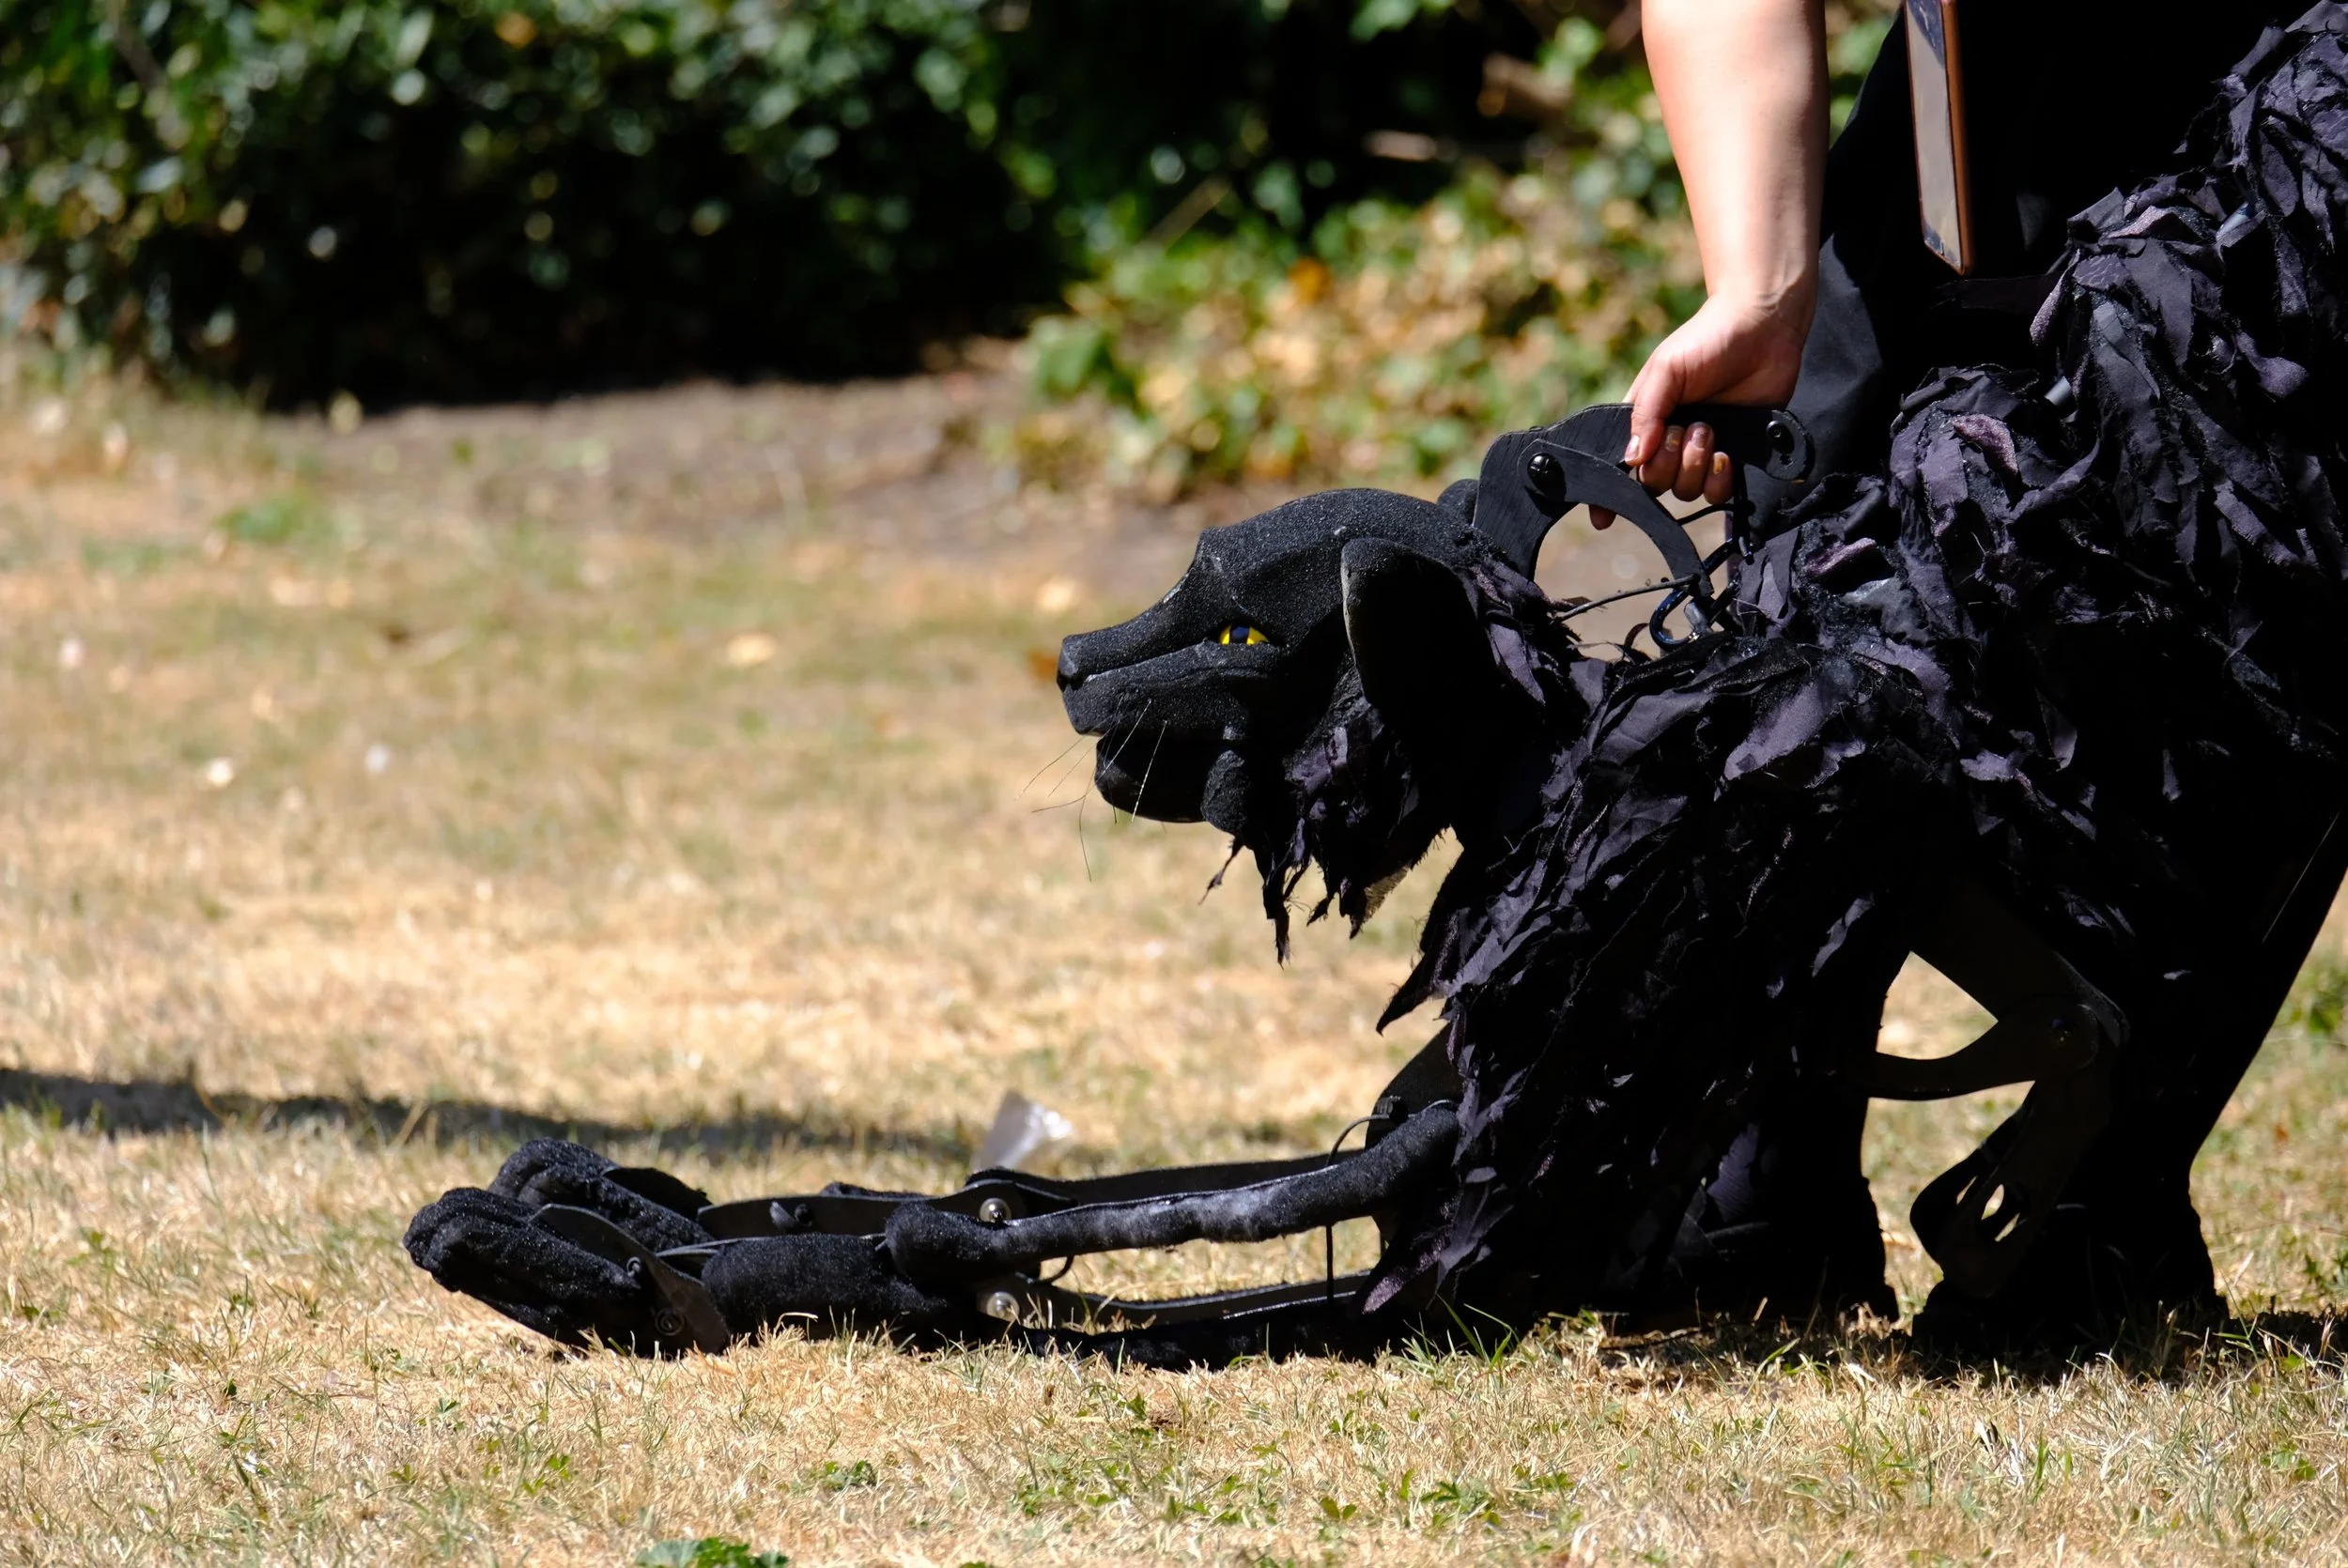
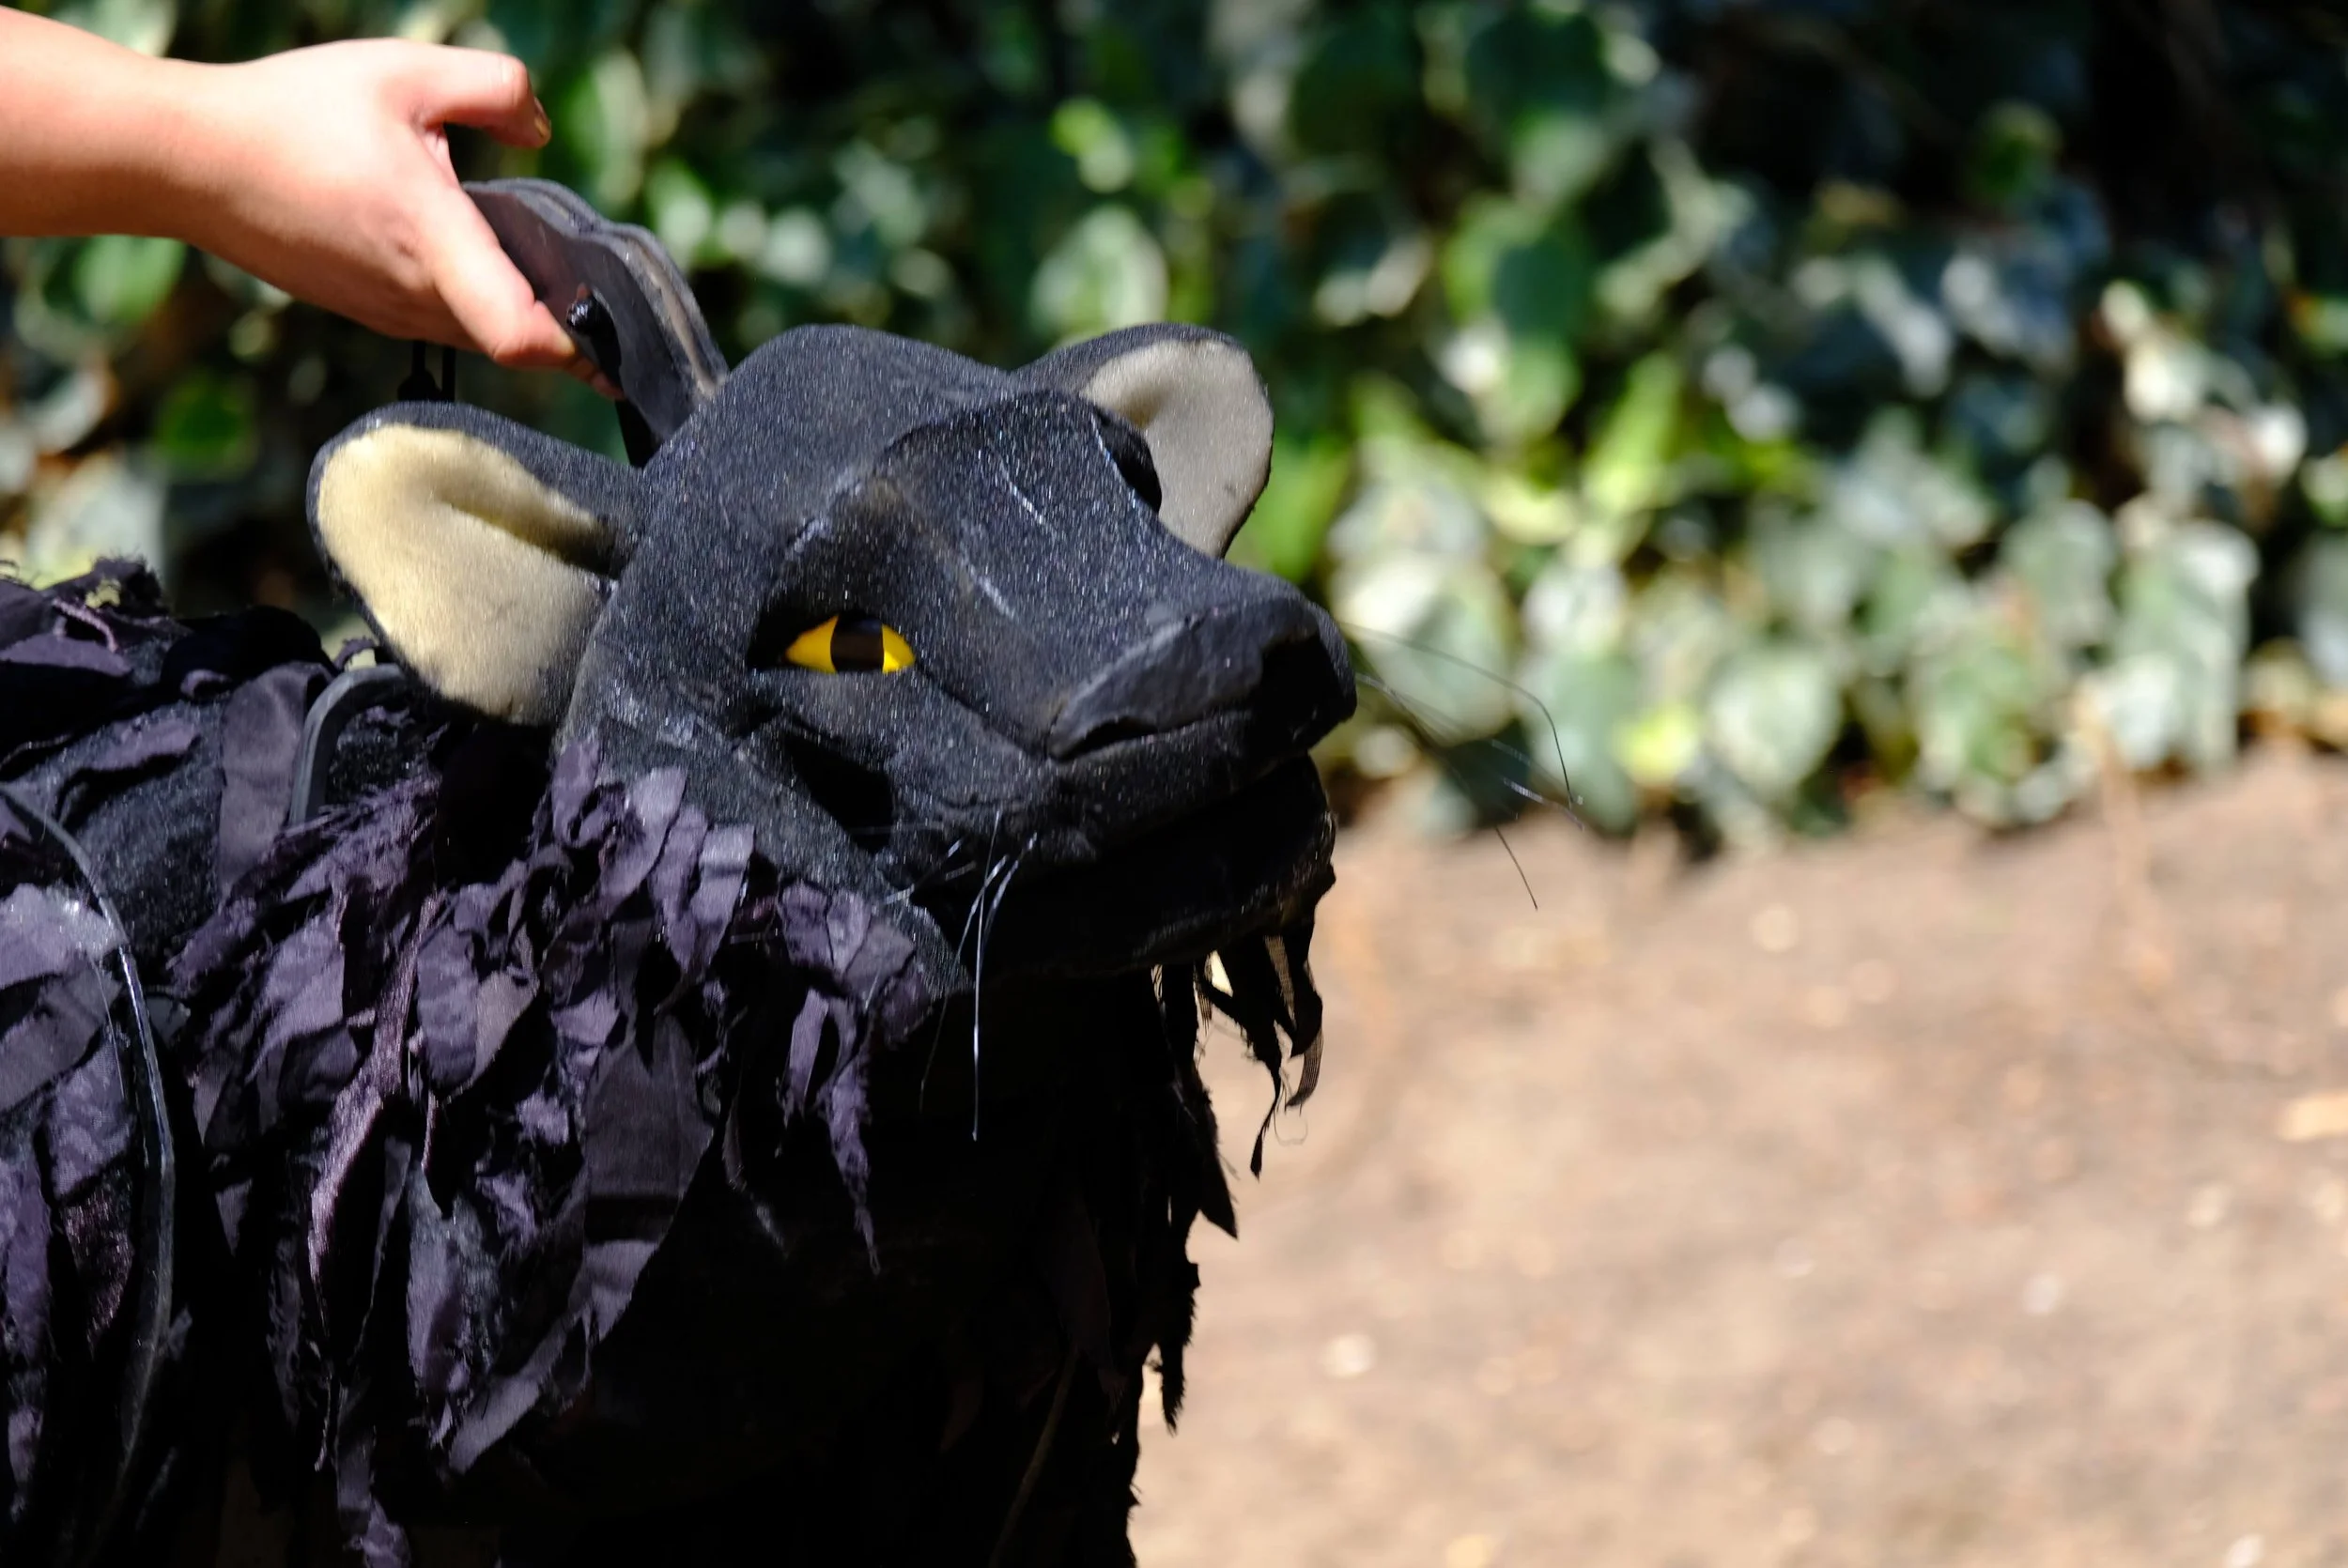
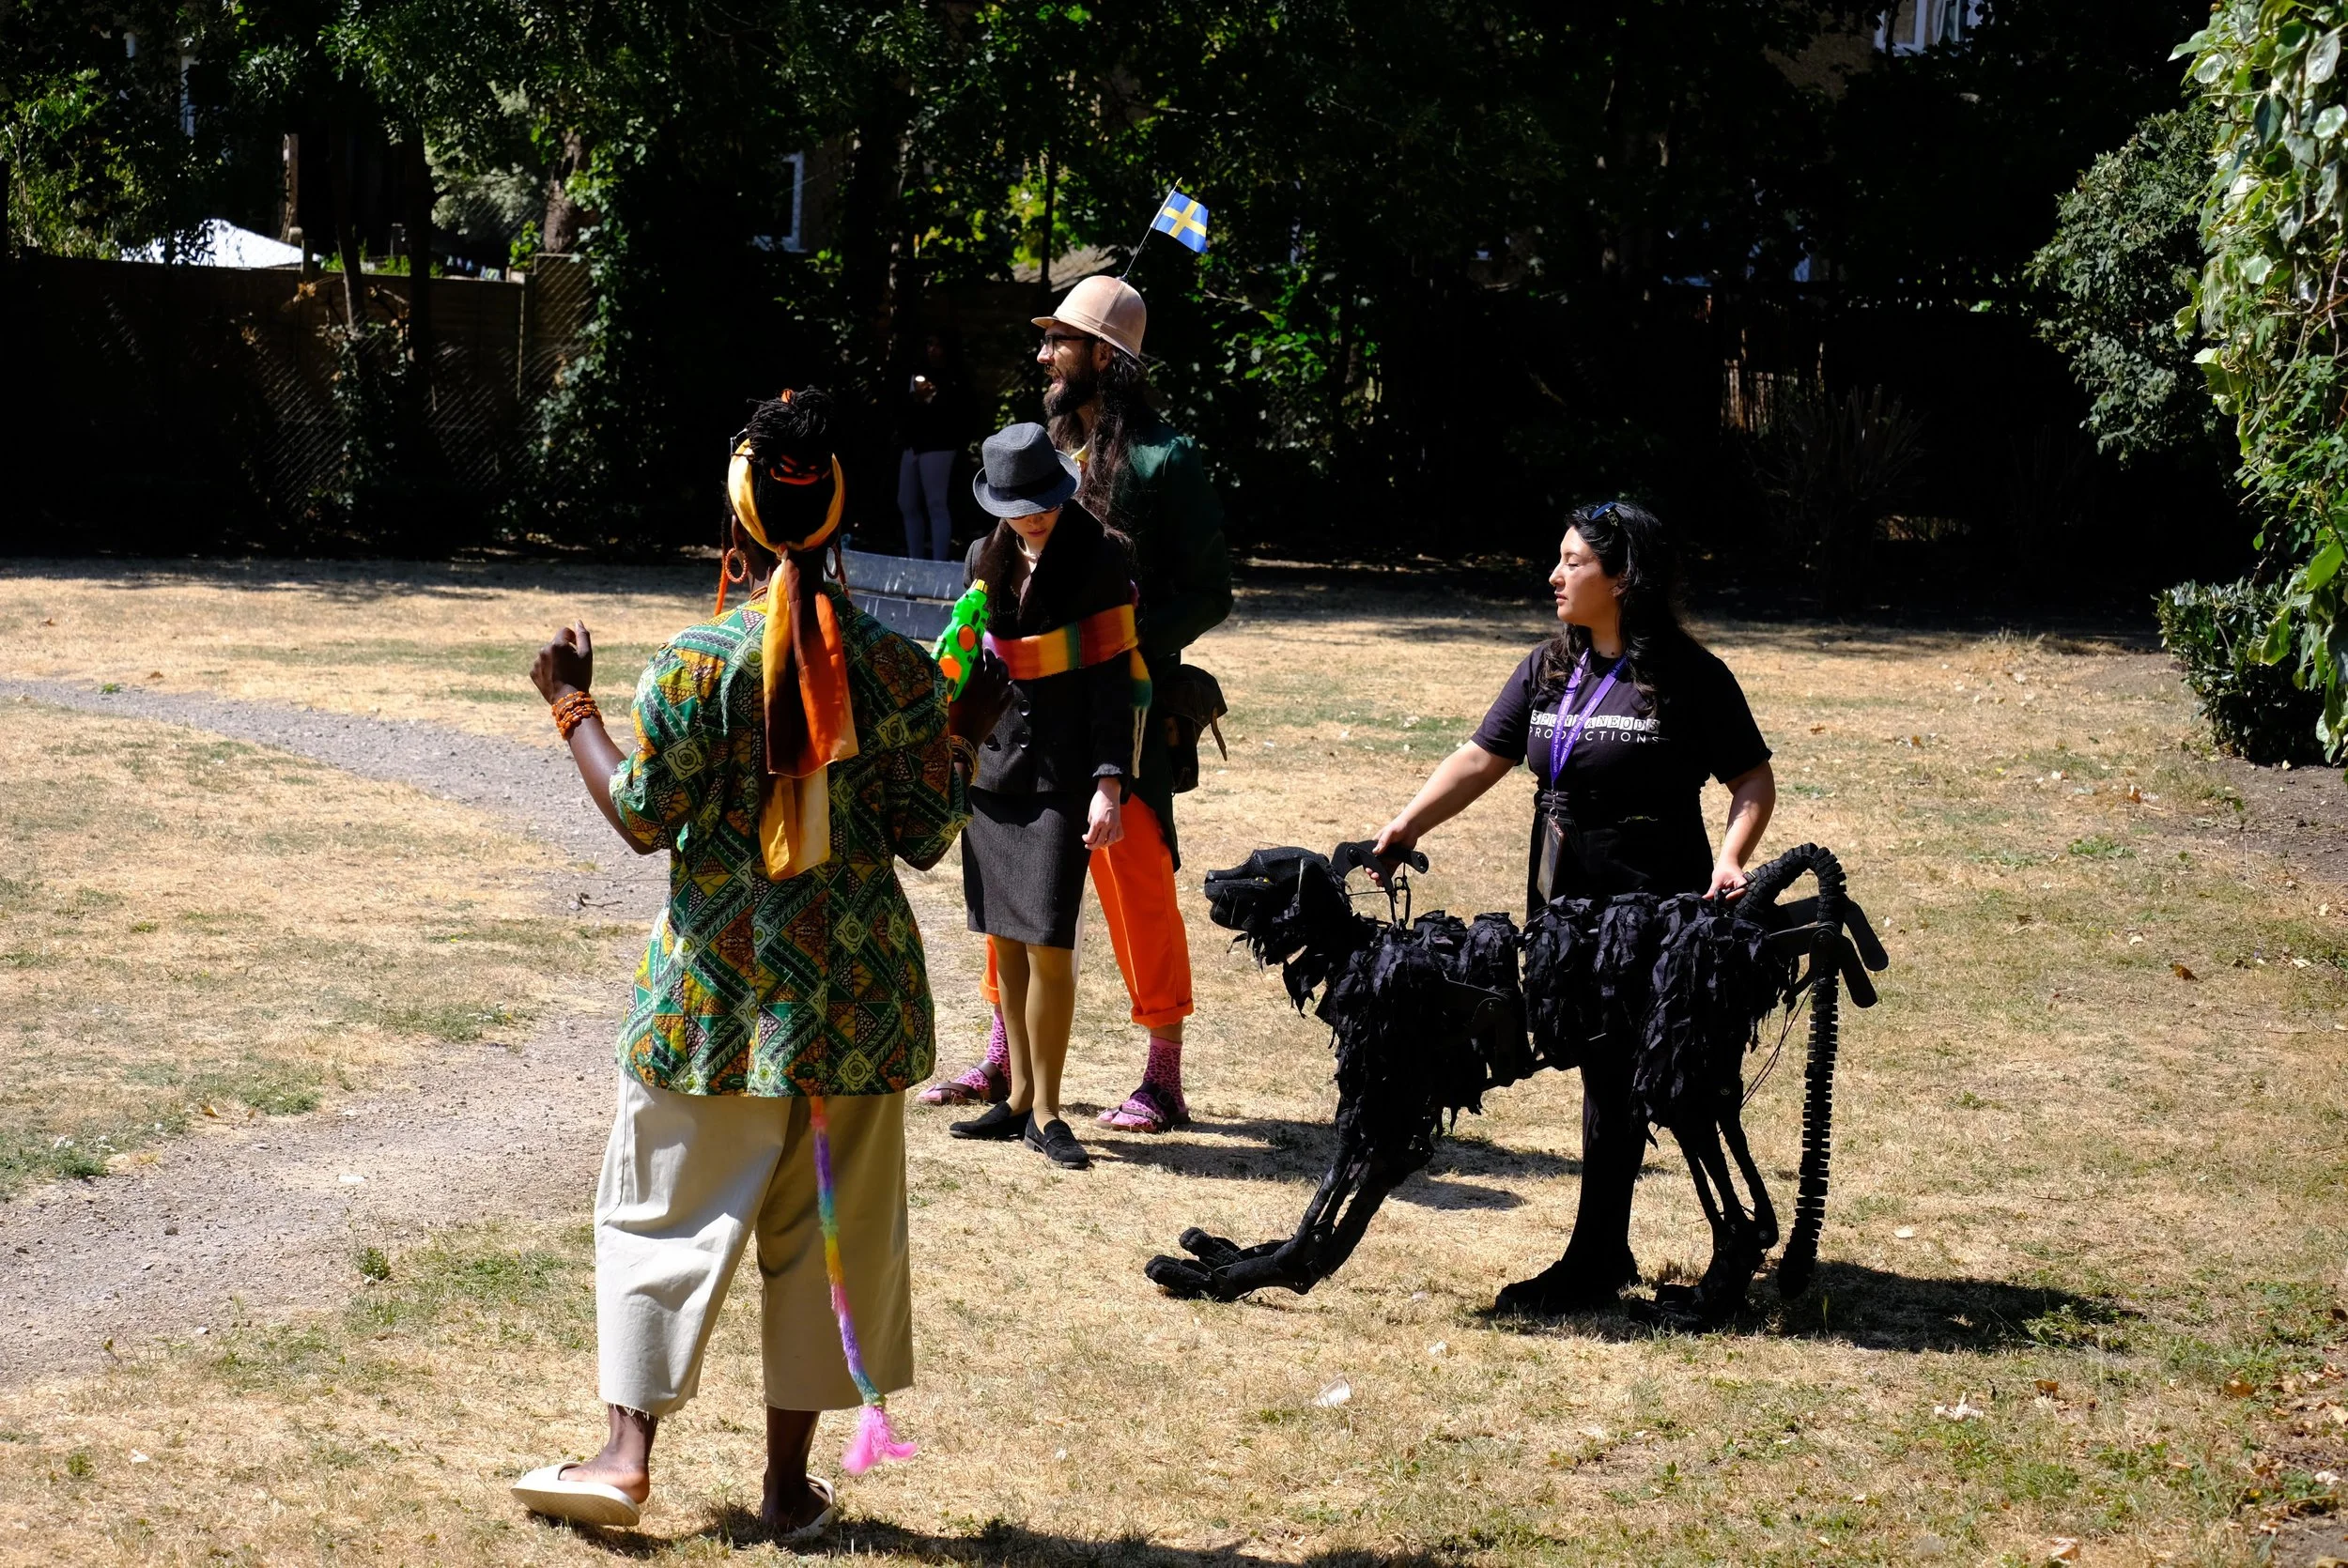
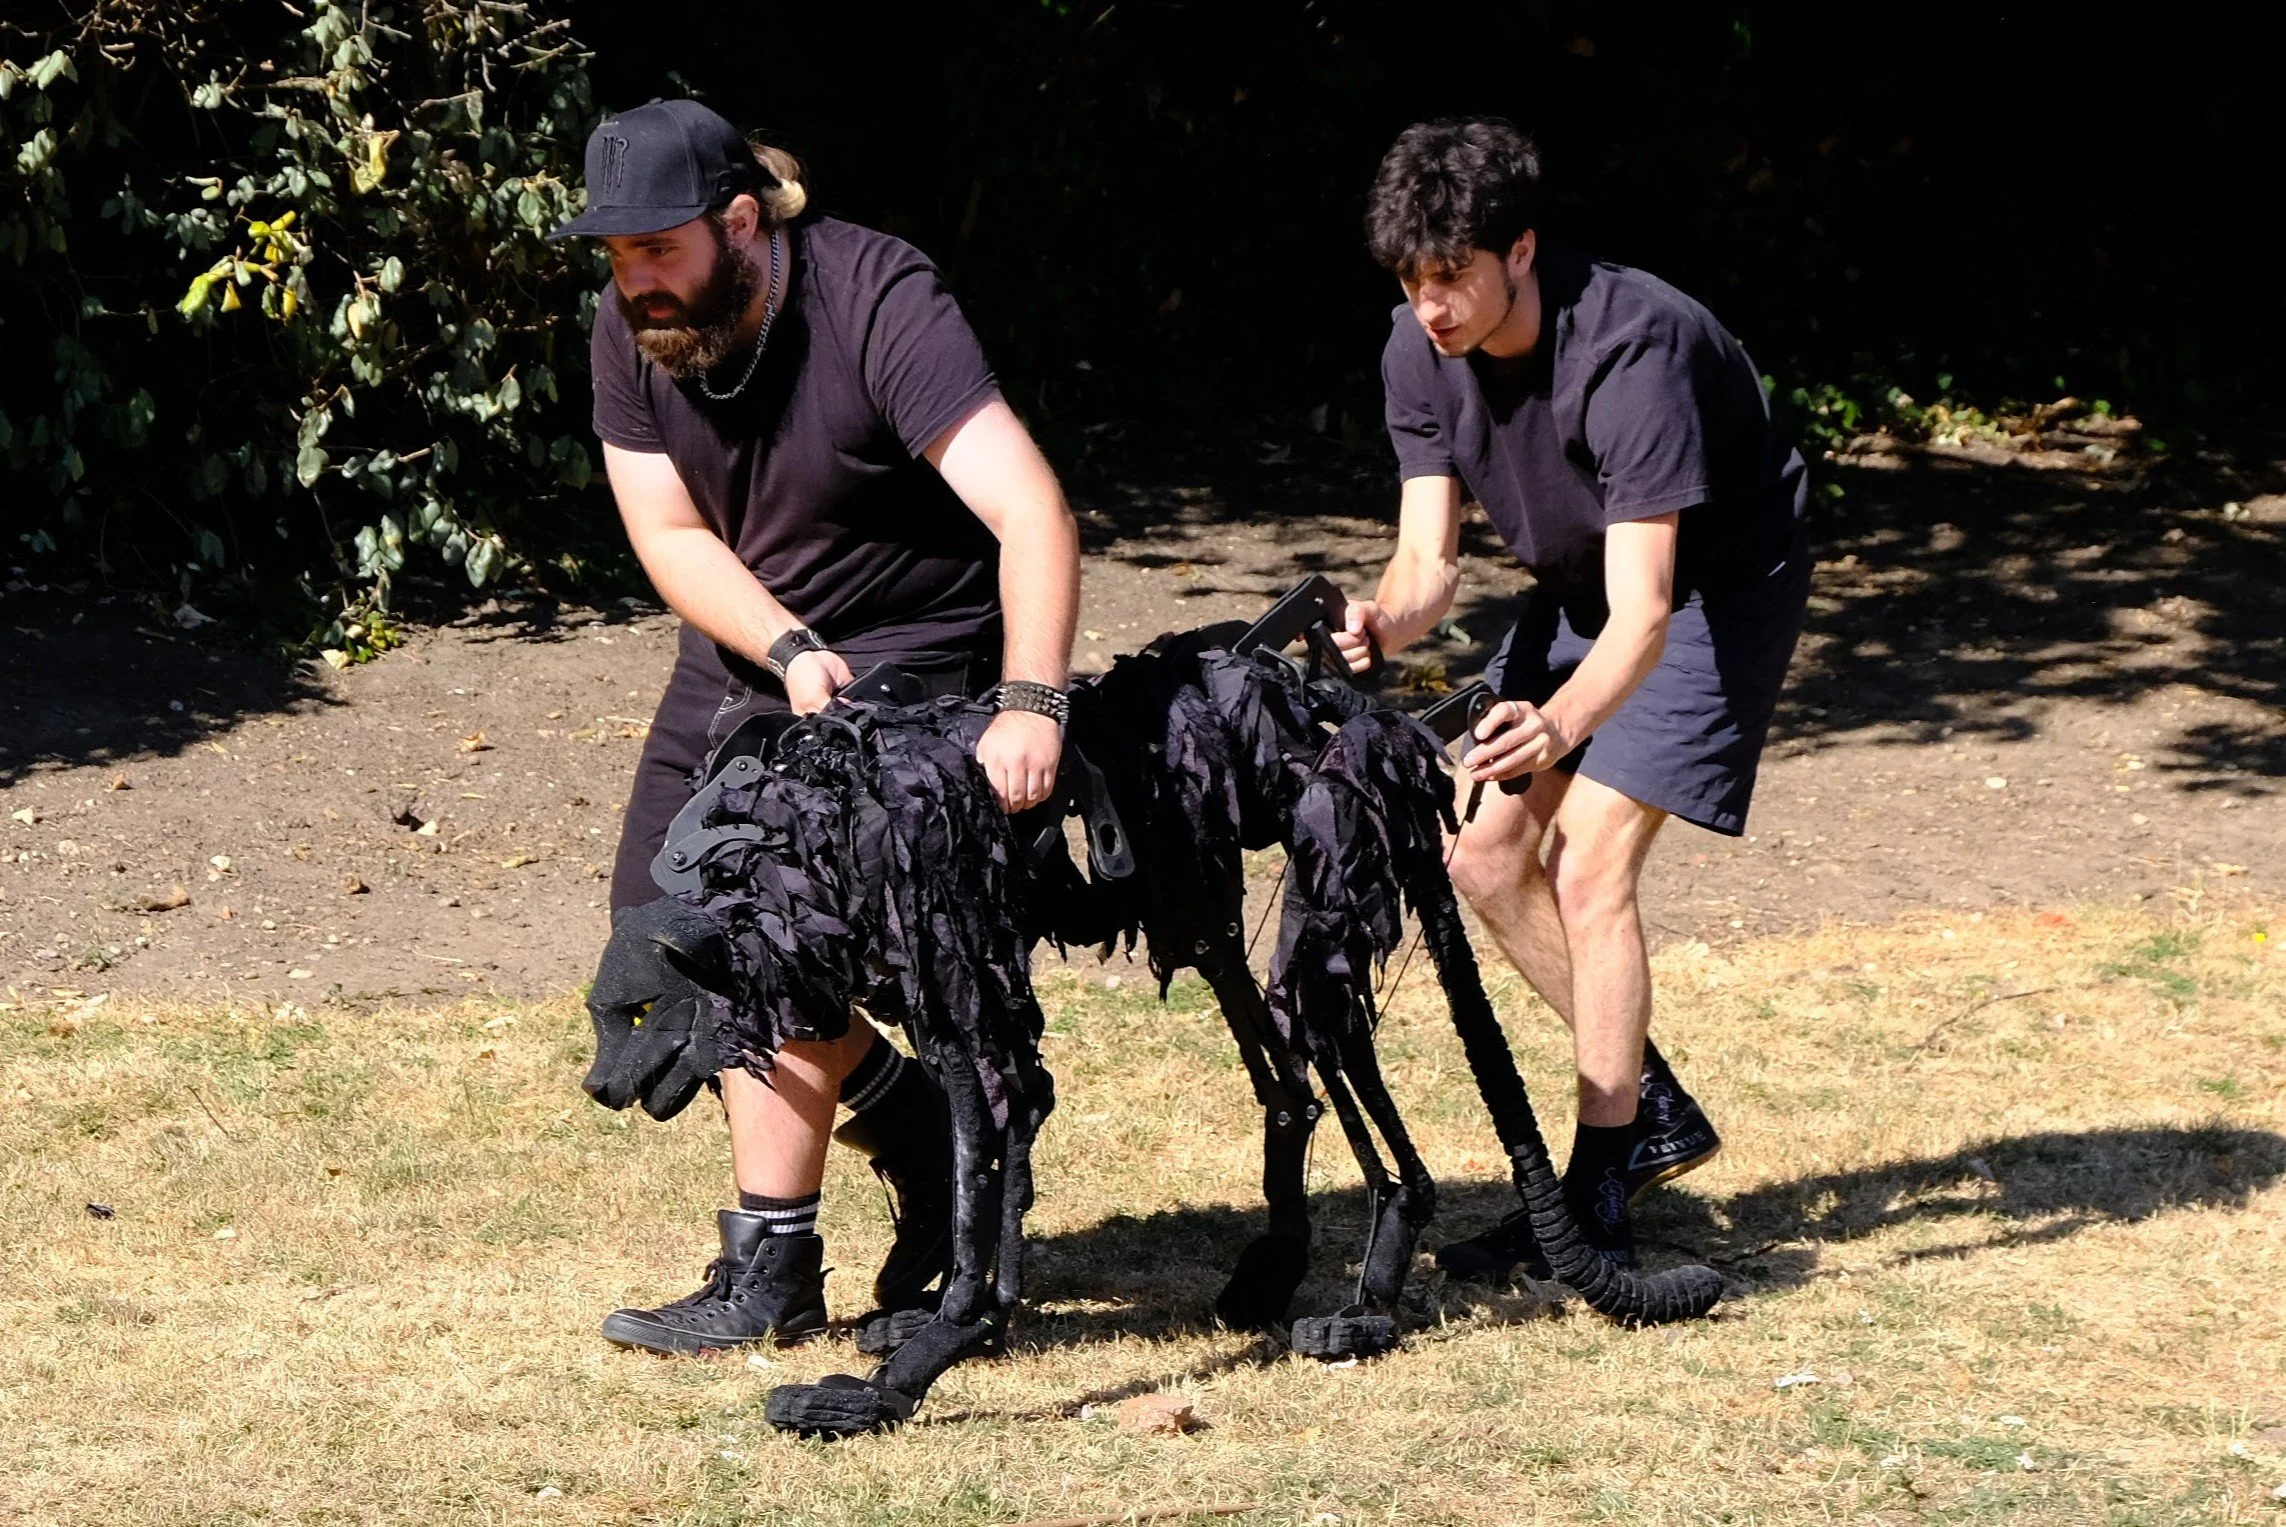
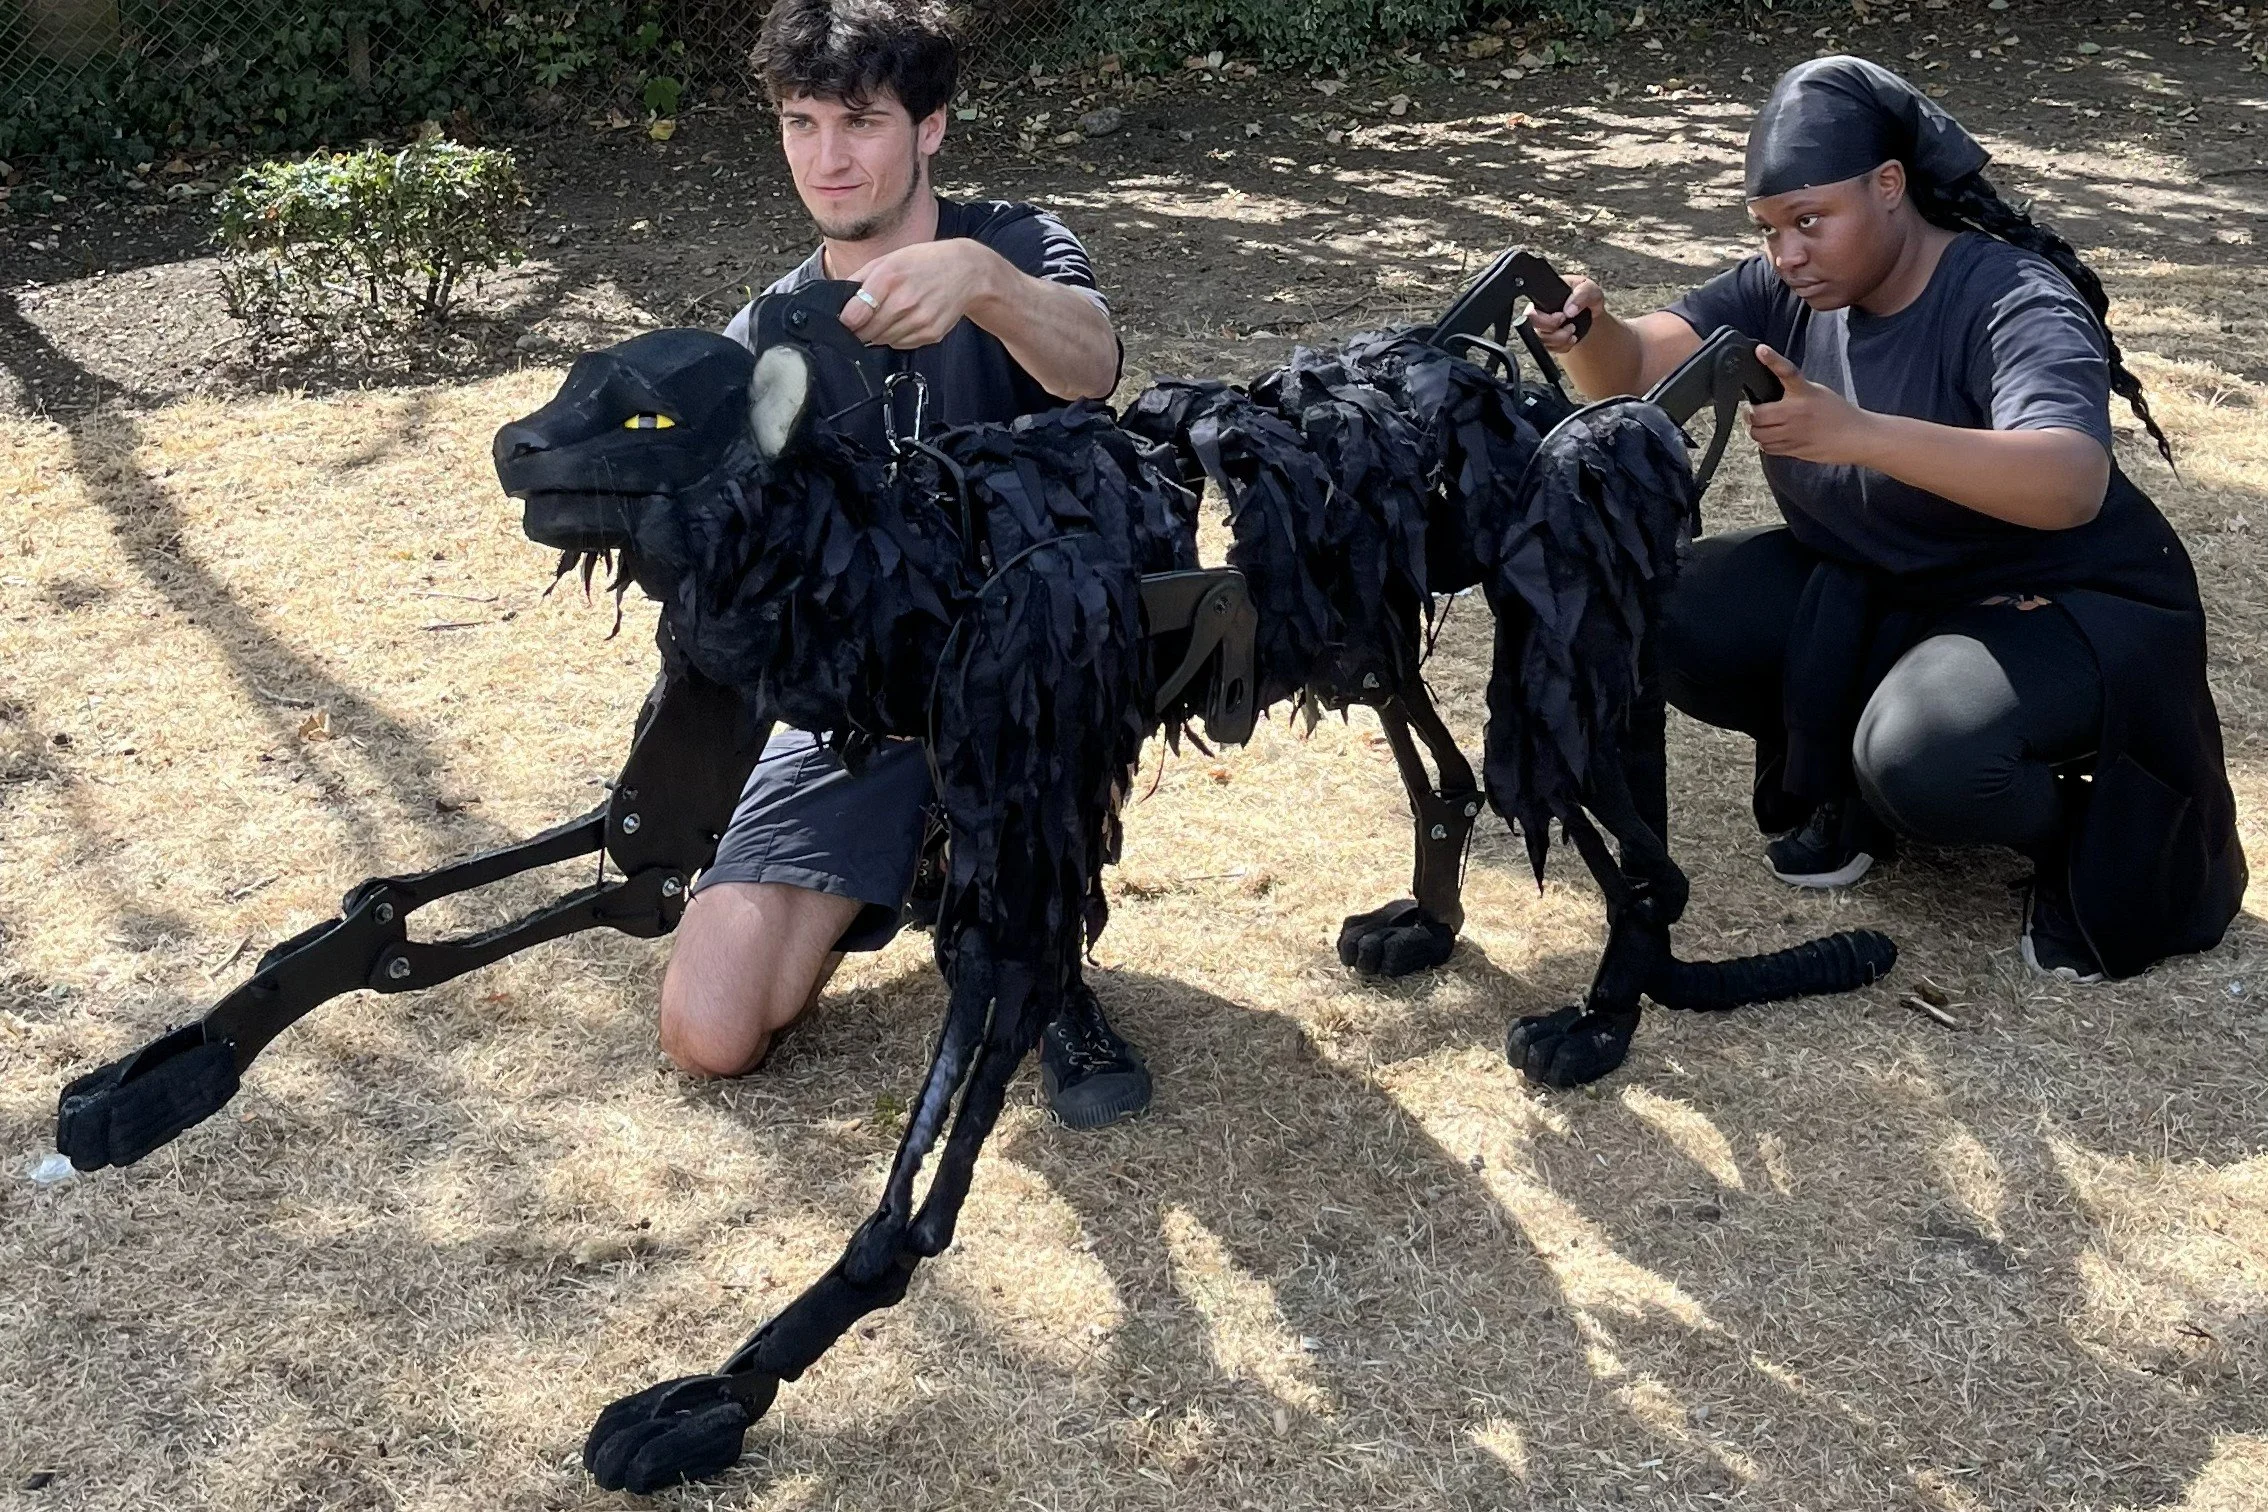
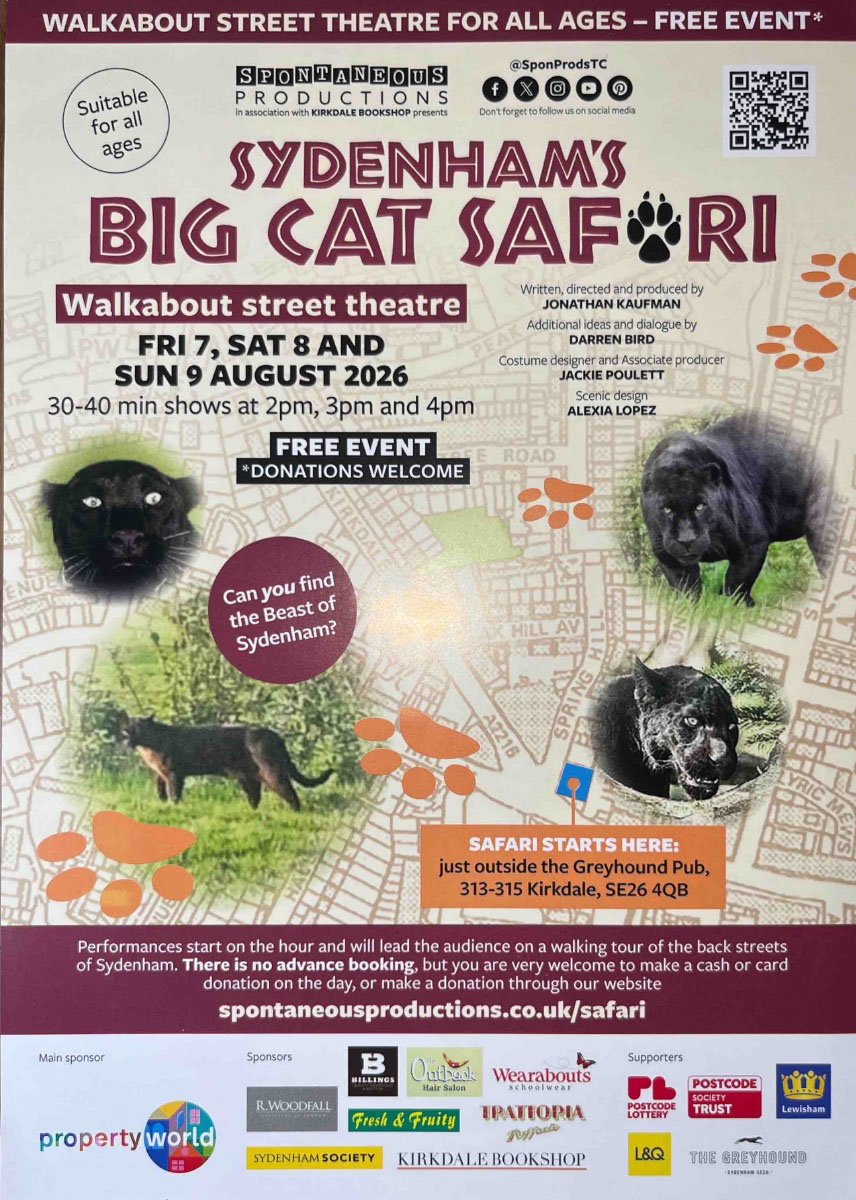
The Sydenham Big Cat Safari was an outdoor walkabout theatre show run by Spontaneous Productions in Summer 2026. In the show, attendants would eventually discover the Beast of Sydenham - a life-sized panther puppet that I made from scratch over the course of a month. I was also one of several puppeteers that operated the puppet during the shows.
The show was inspired by a news story about a large cat that was stalking about the Sydenham area scaring people around 20 years ago - see the article here.
The puppet is fully articulated with trigger controlled leg and mouth movements. It was constructed primarily from lightweight plywood and foam, and weighs around 3kg in total. It is designed to be puppeteered by two people.
Since the puppet is about the size of a panther, transportation, storage, and maintenance of the whole puppet can become difficult. For this reason, it was designed so the different parts could be easily taken apart and put back together.
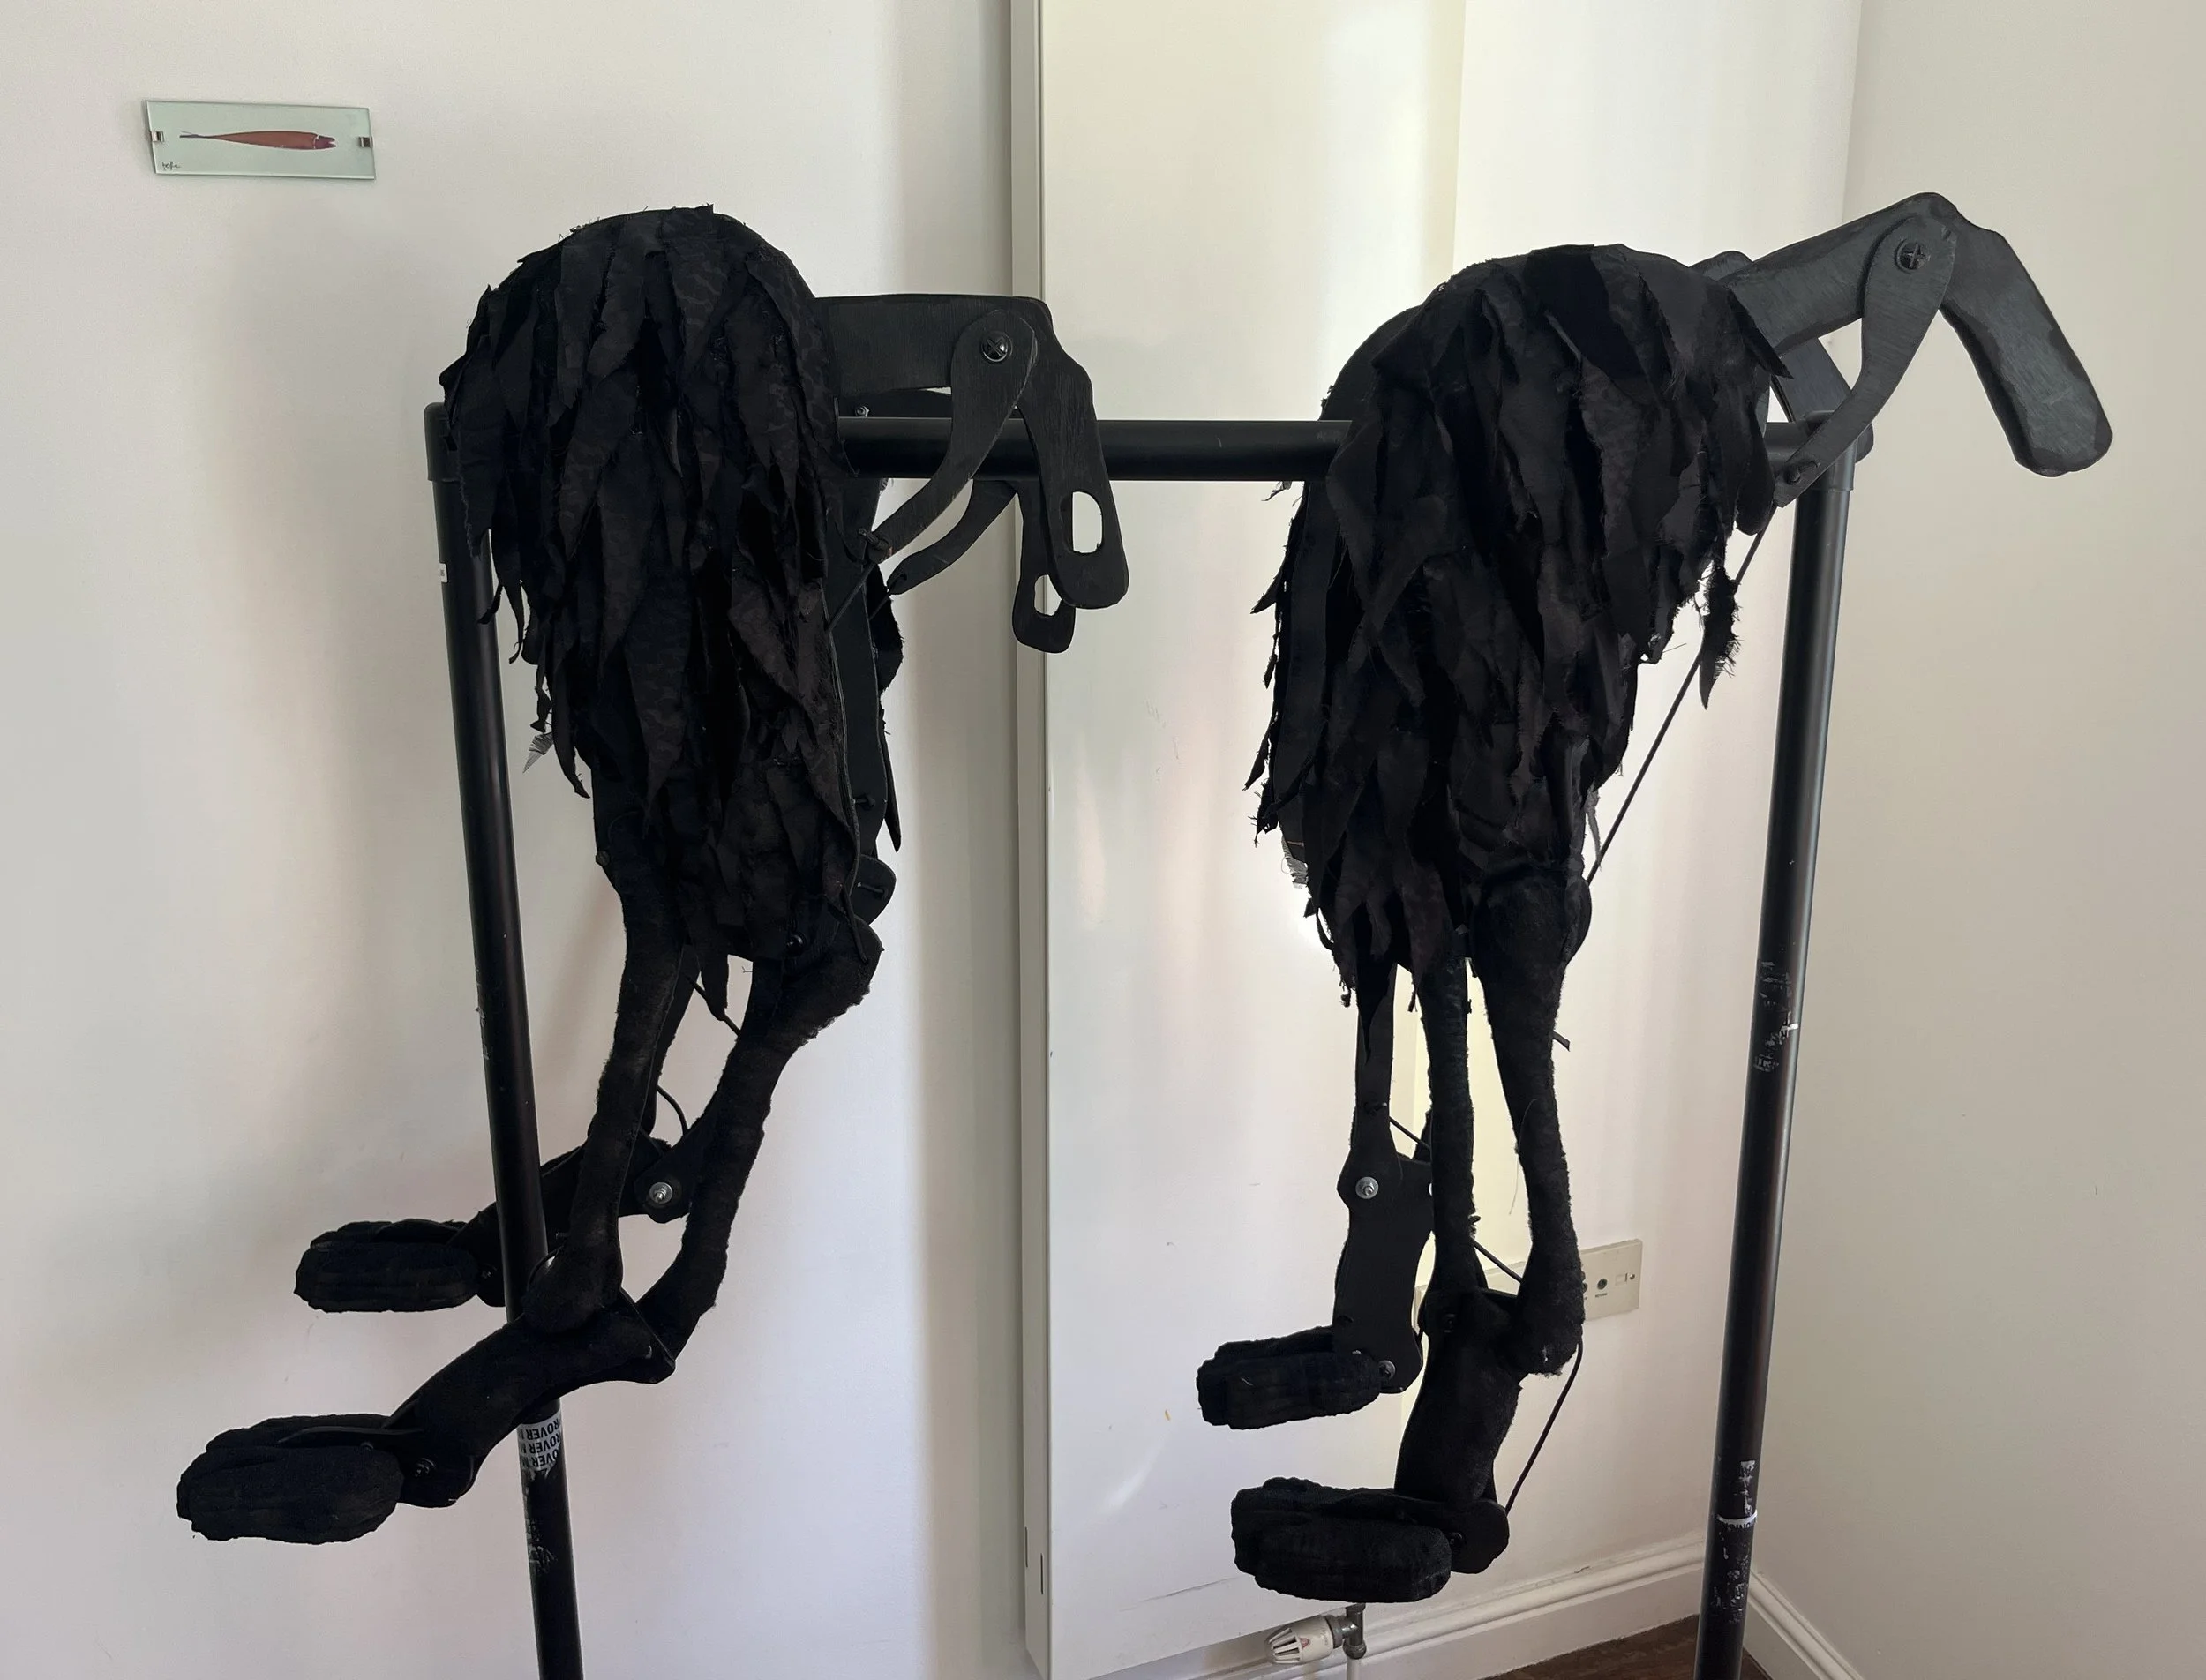
The legs are made as two separate units, one per pair. However, the individual legs can also be removed from the axle if needed. The legs are attached to the body with zip ties.
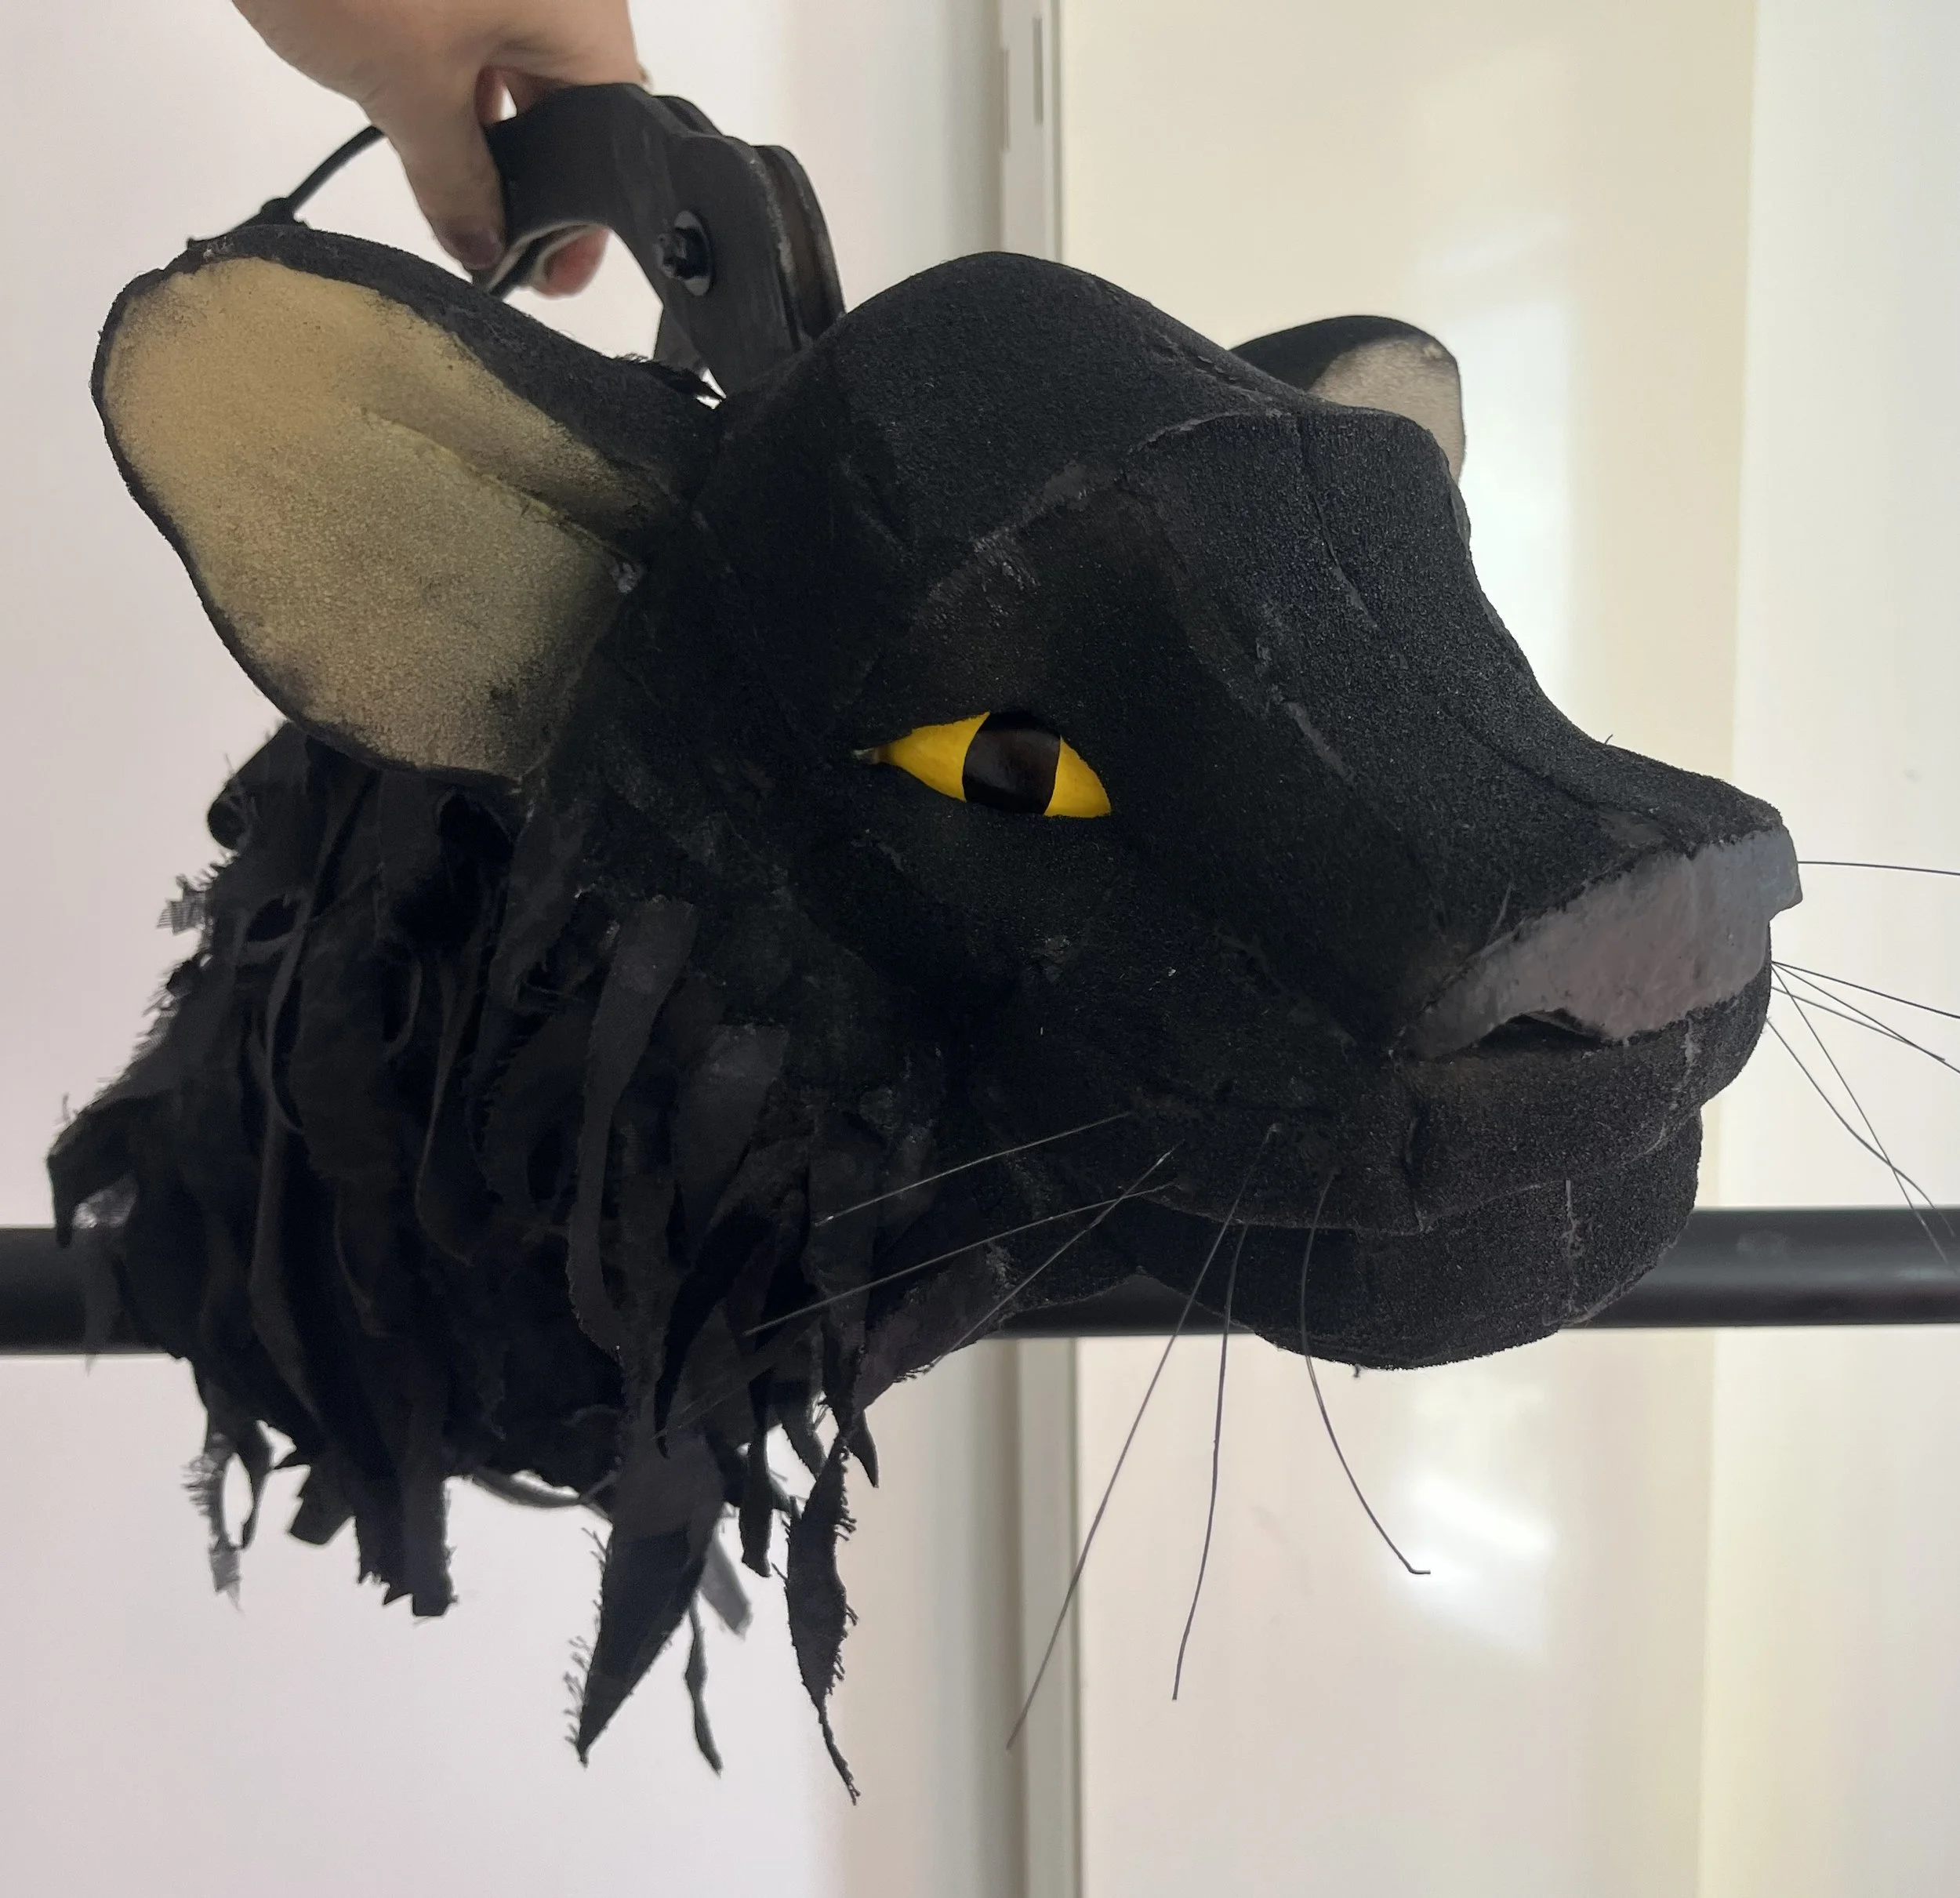
The head and neck are two separate pieces held together with Velcro strips, and can attach onto the front leg axle in the same way.
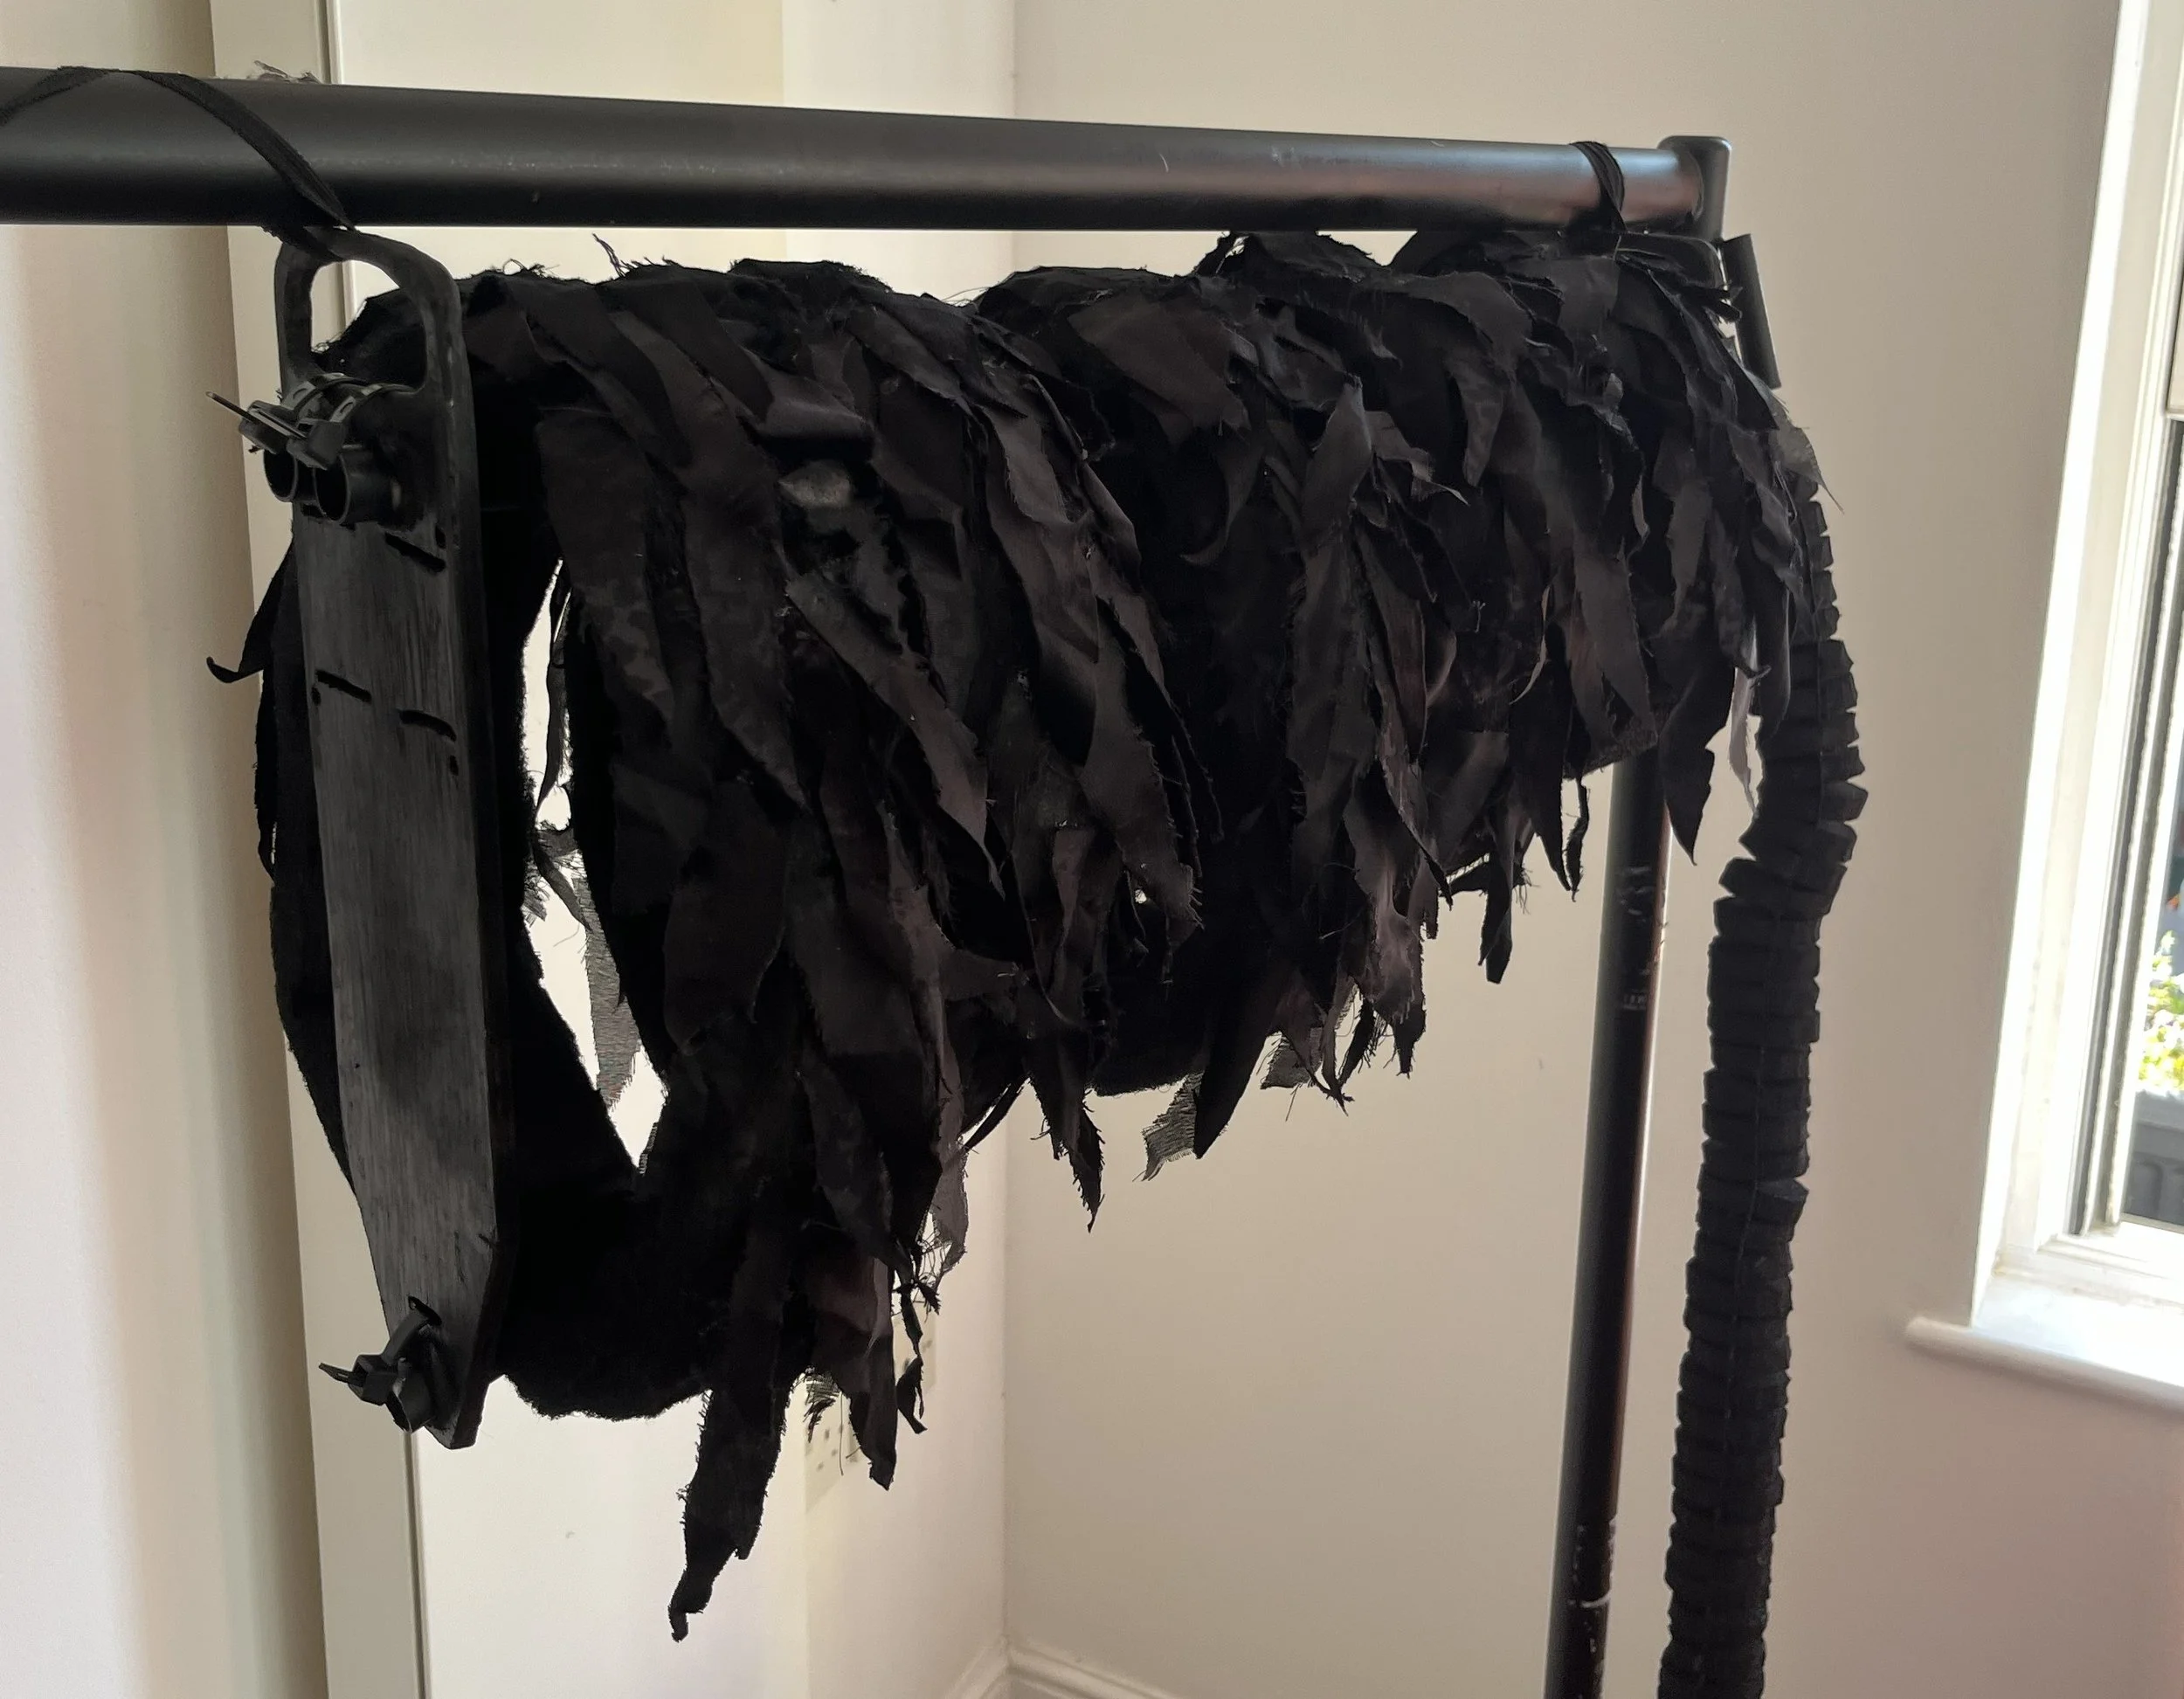
The body and tail are a single piece, the legs attach to the plywood pieces at the shoulders and hips with zip ties.
The Process
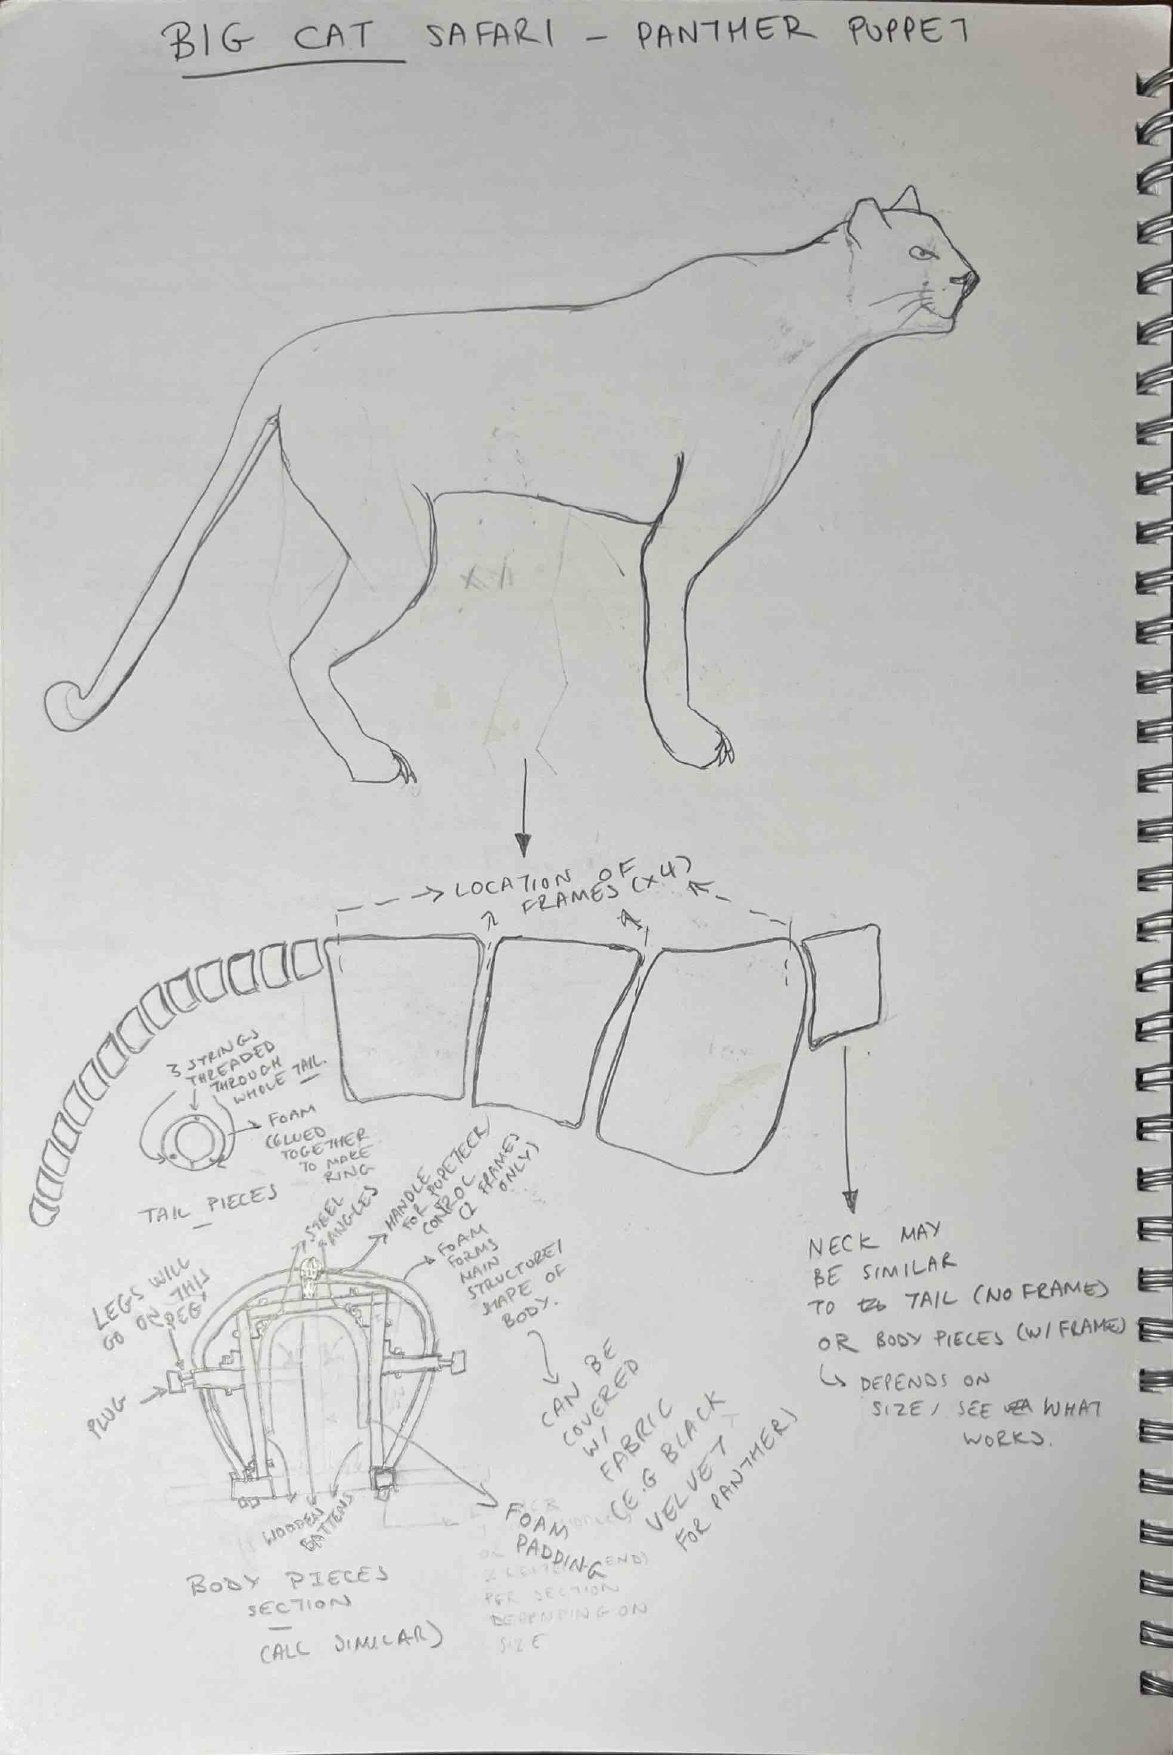
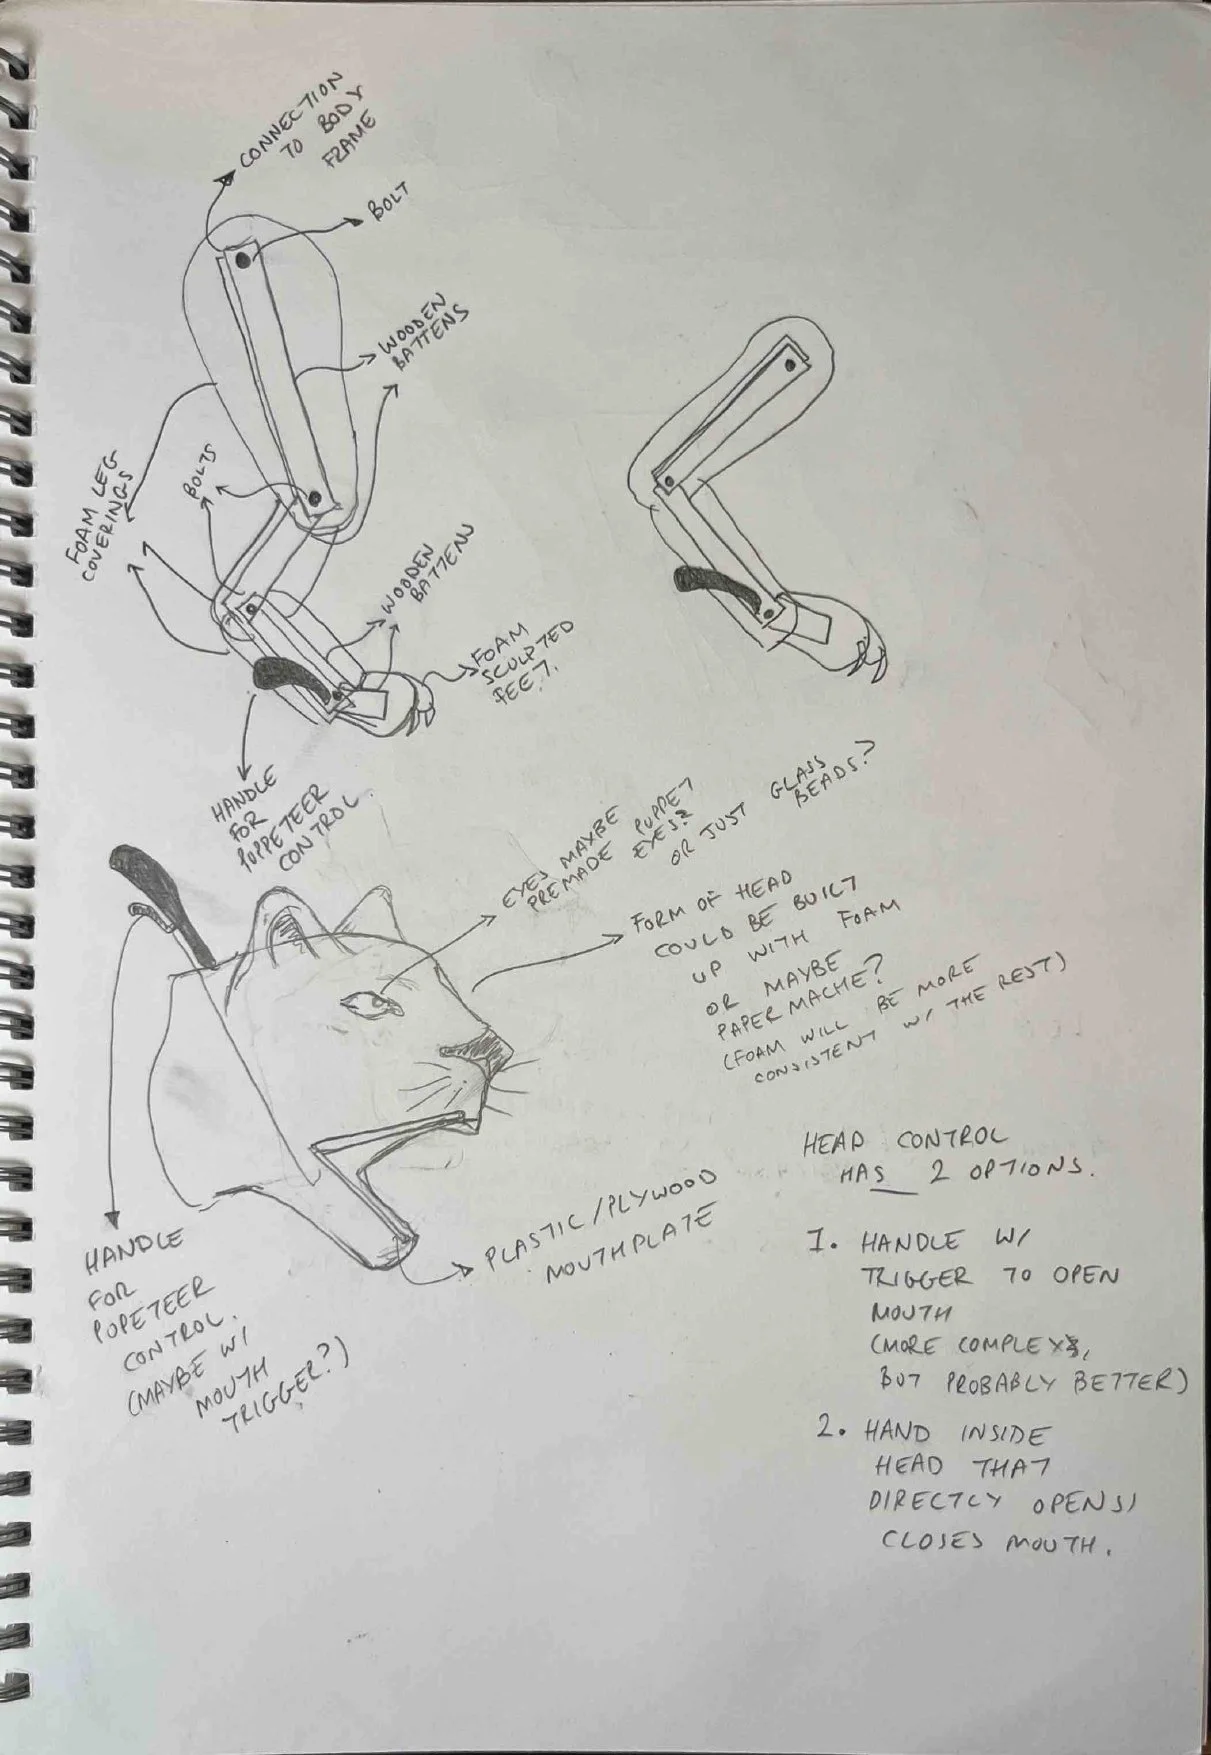
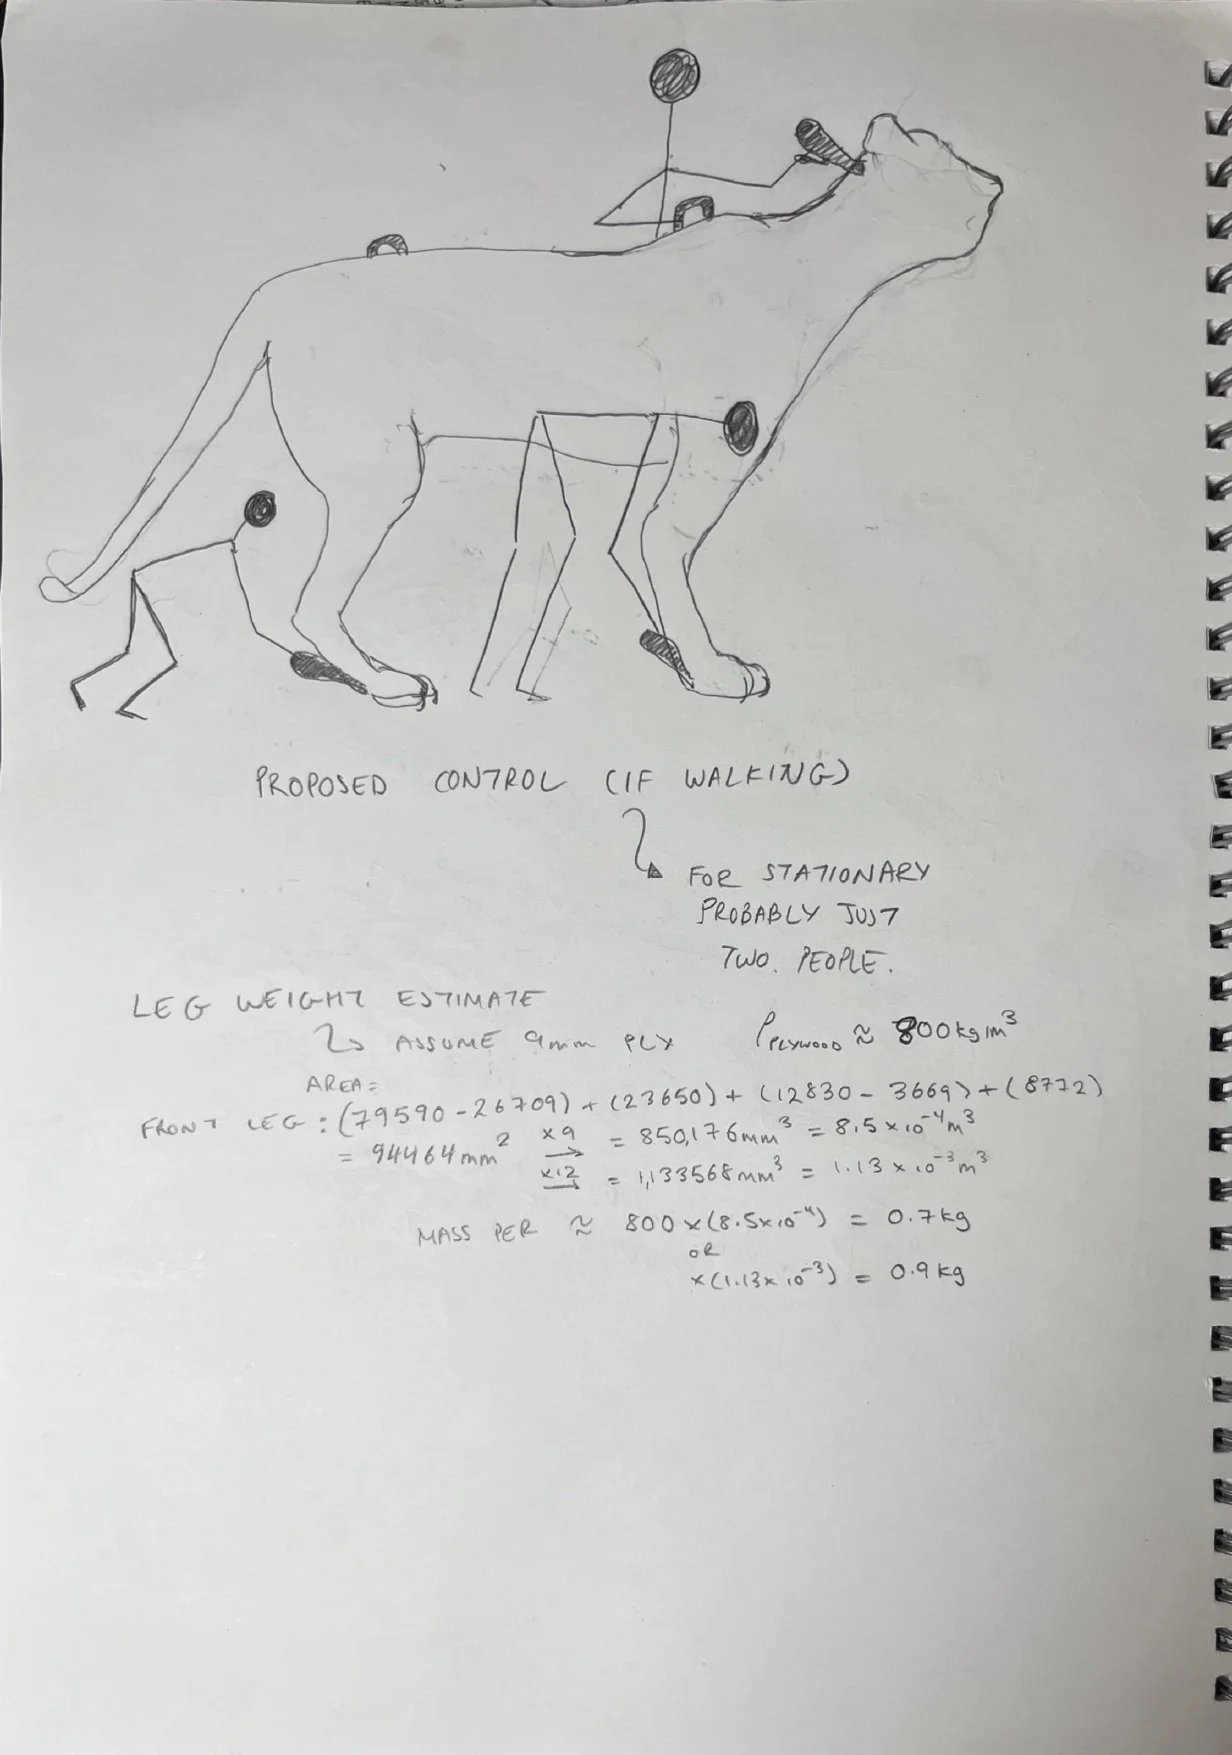
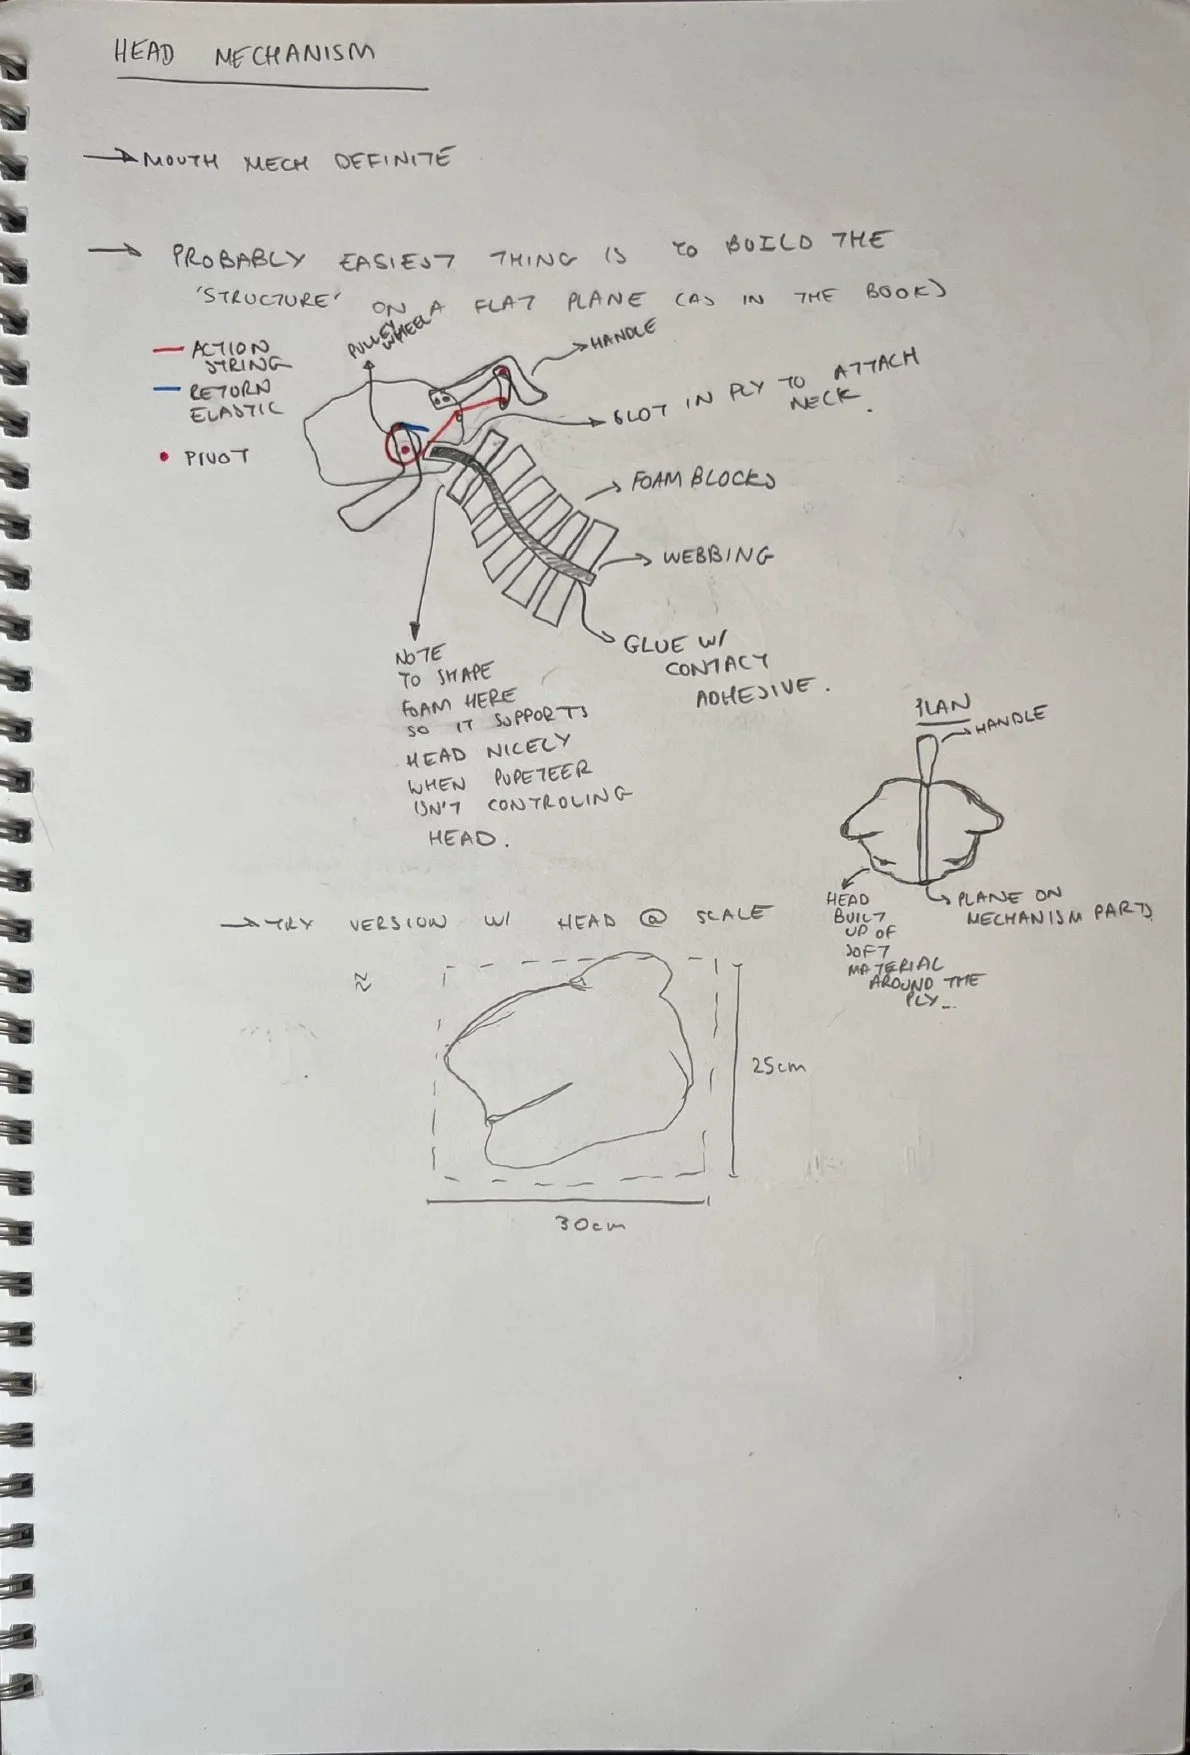
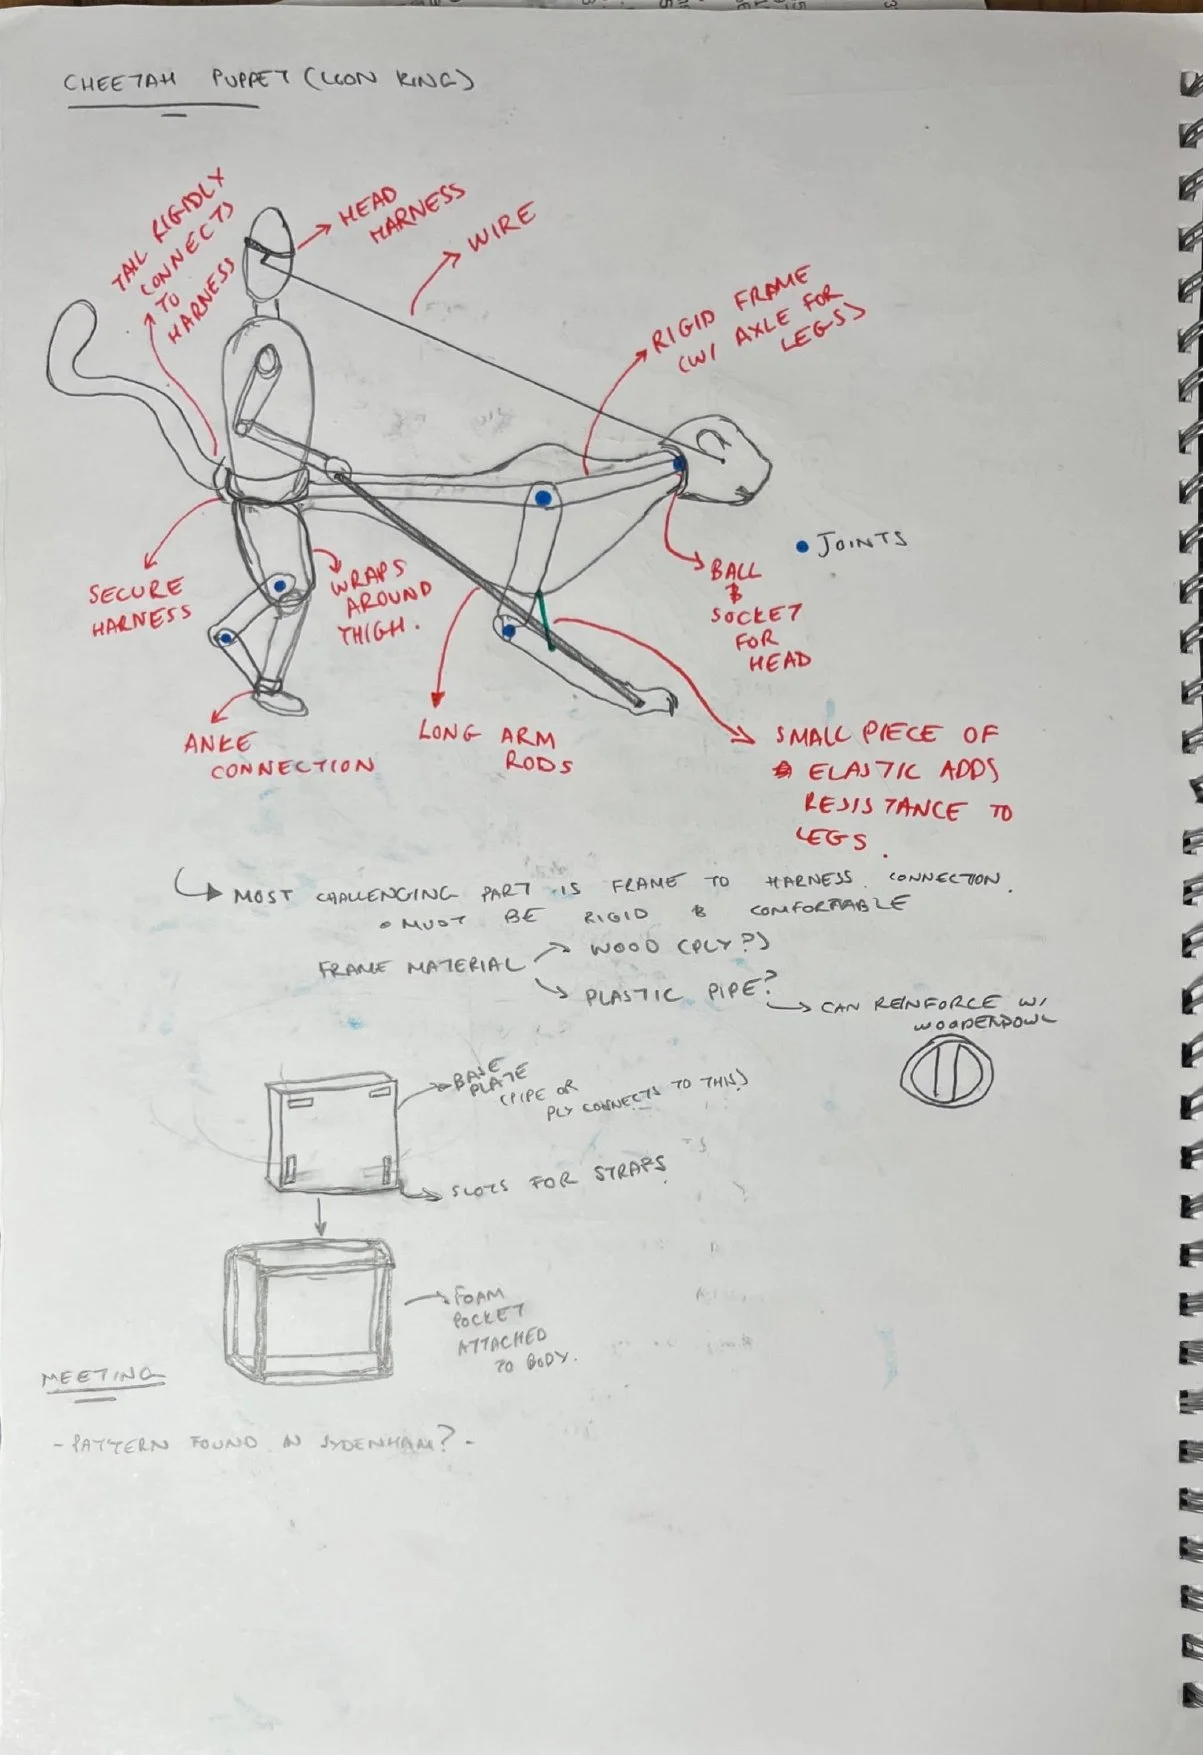
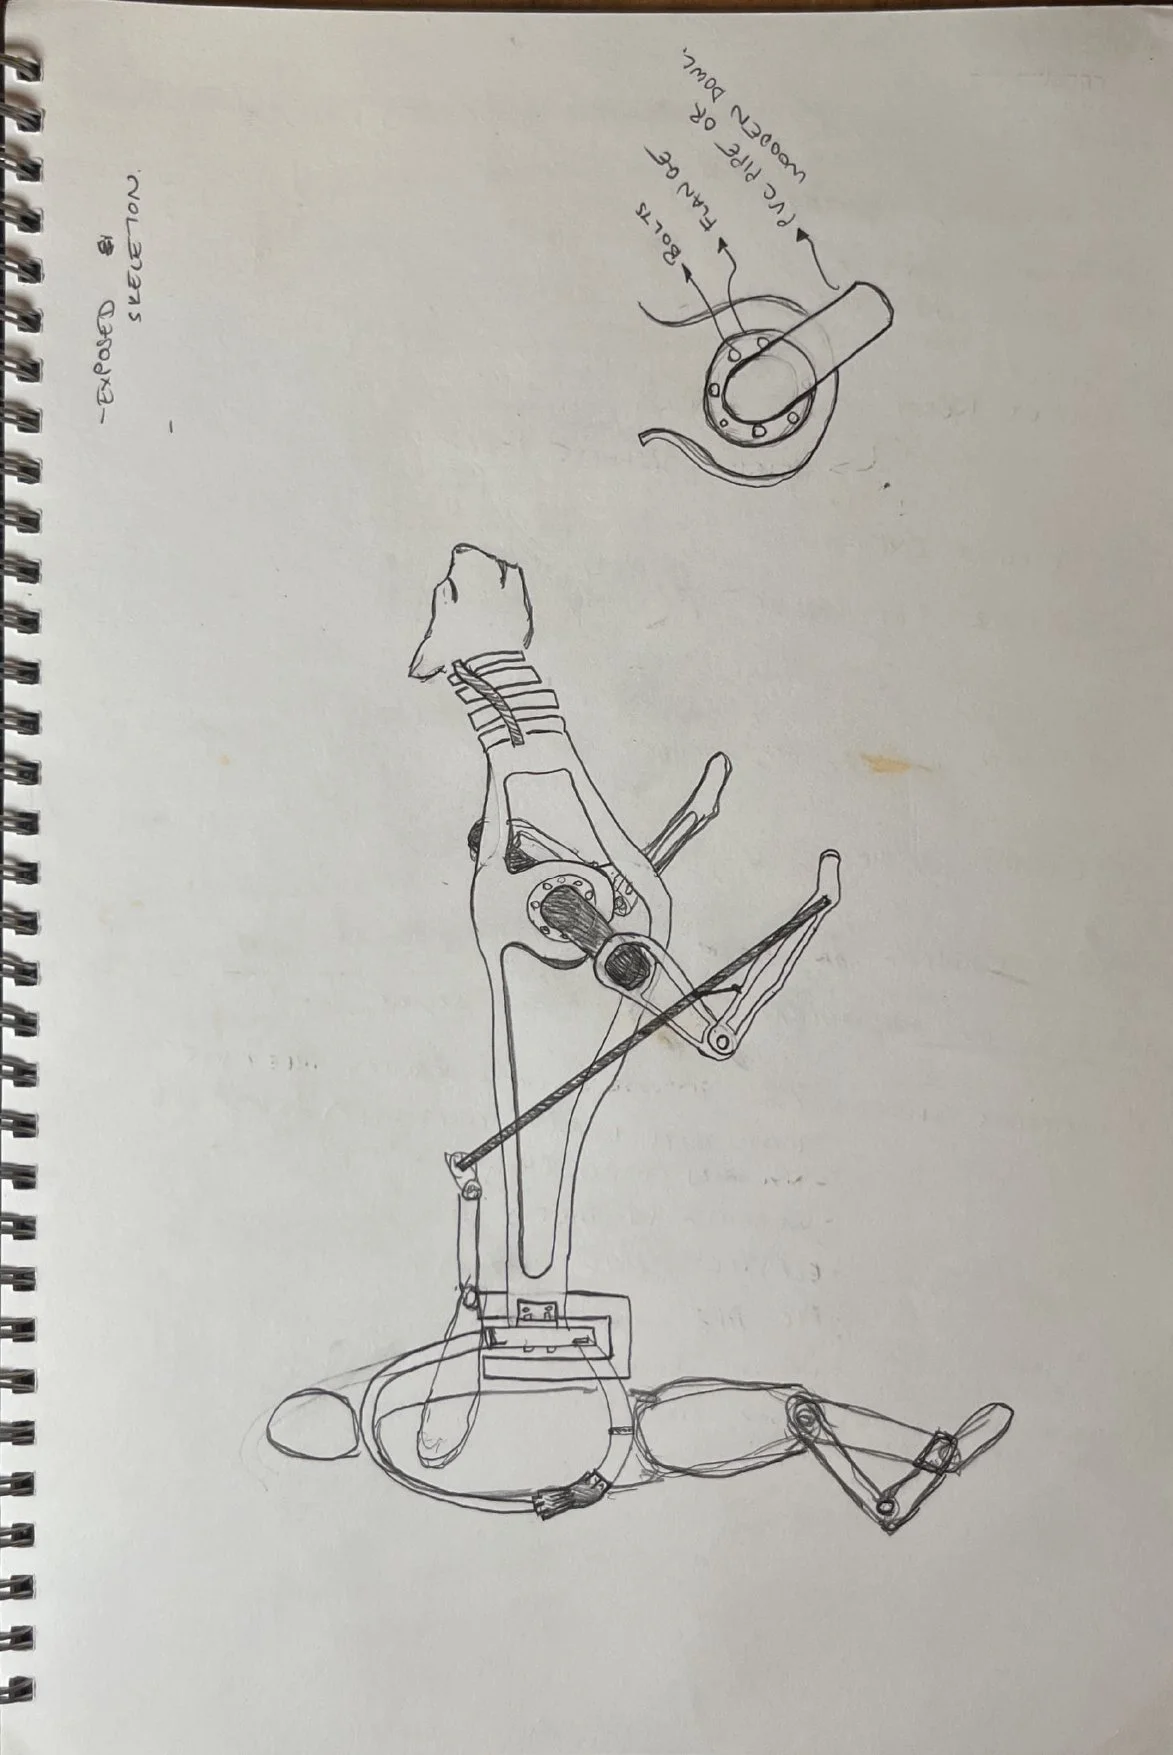
My sketchbook pages showing my initial thoughts on how the puppet could be made and operated. Many of these design choices were iterated and improved upon over the course of the project. One initial idea was inspired by the Cheetah puppet from The Lion King theatre show.
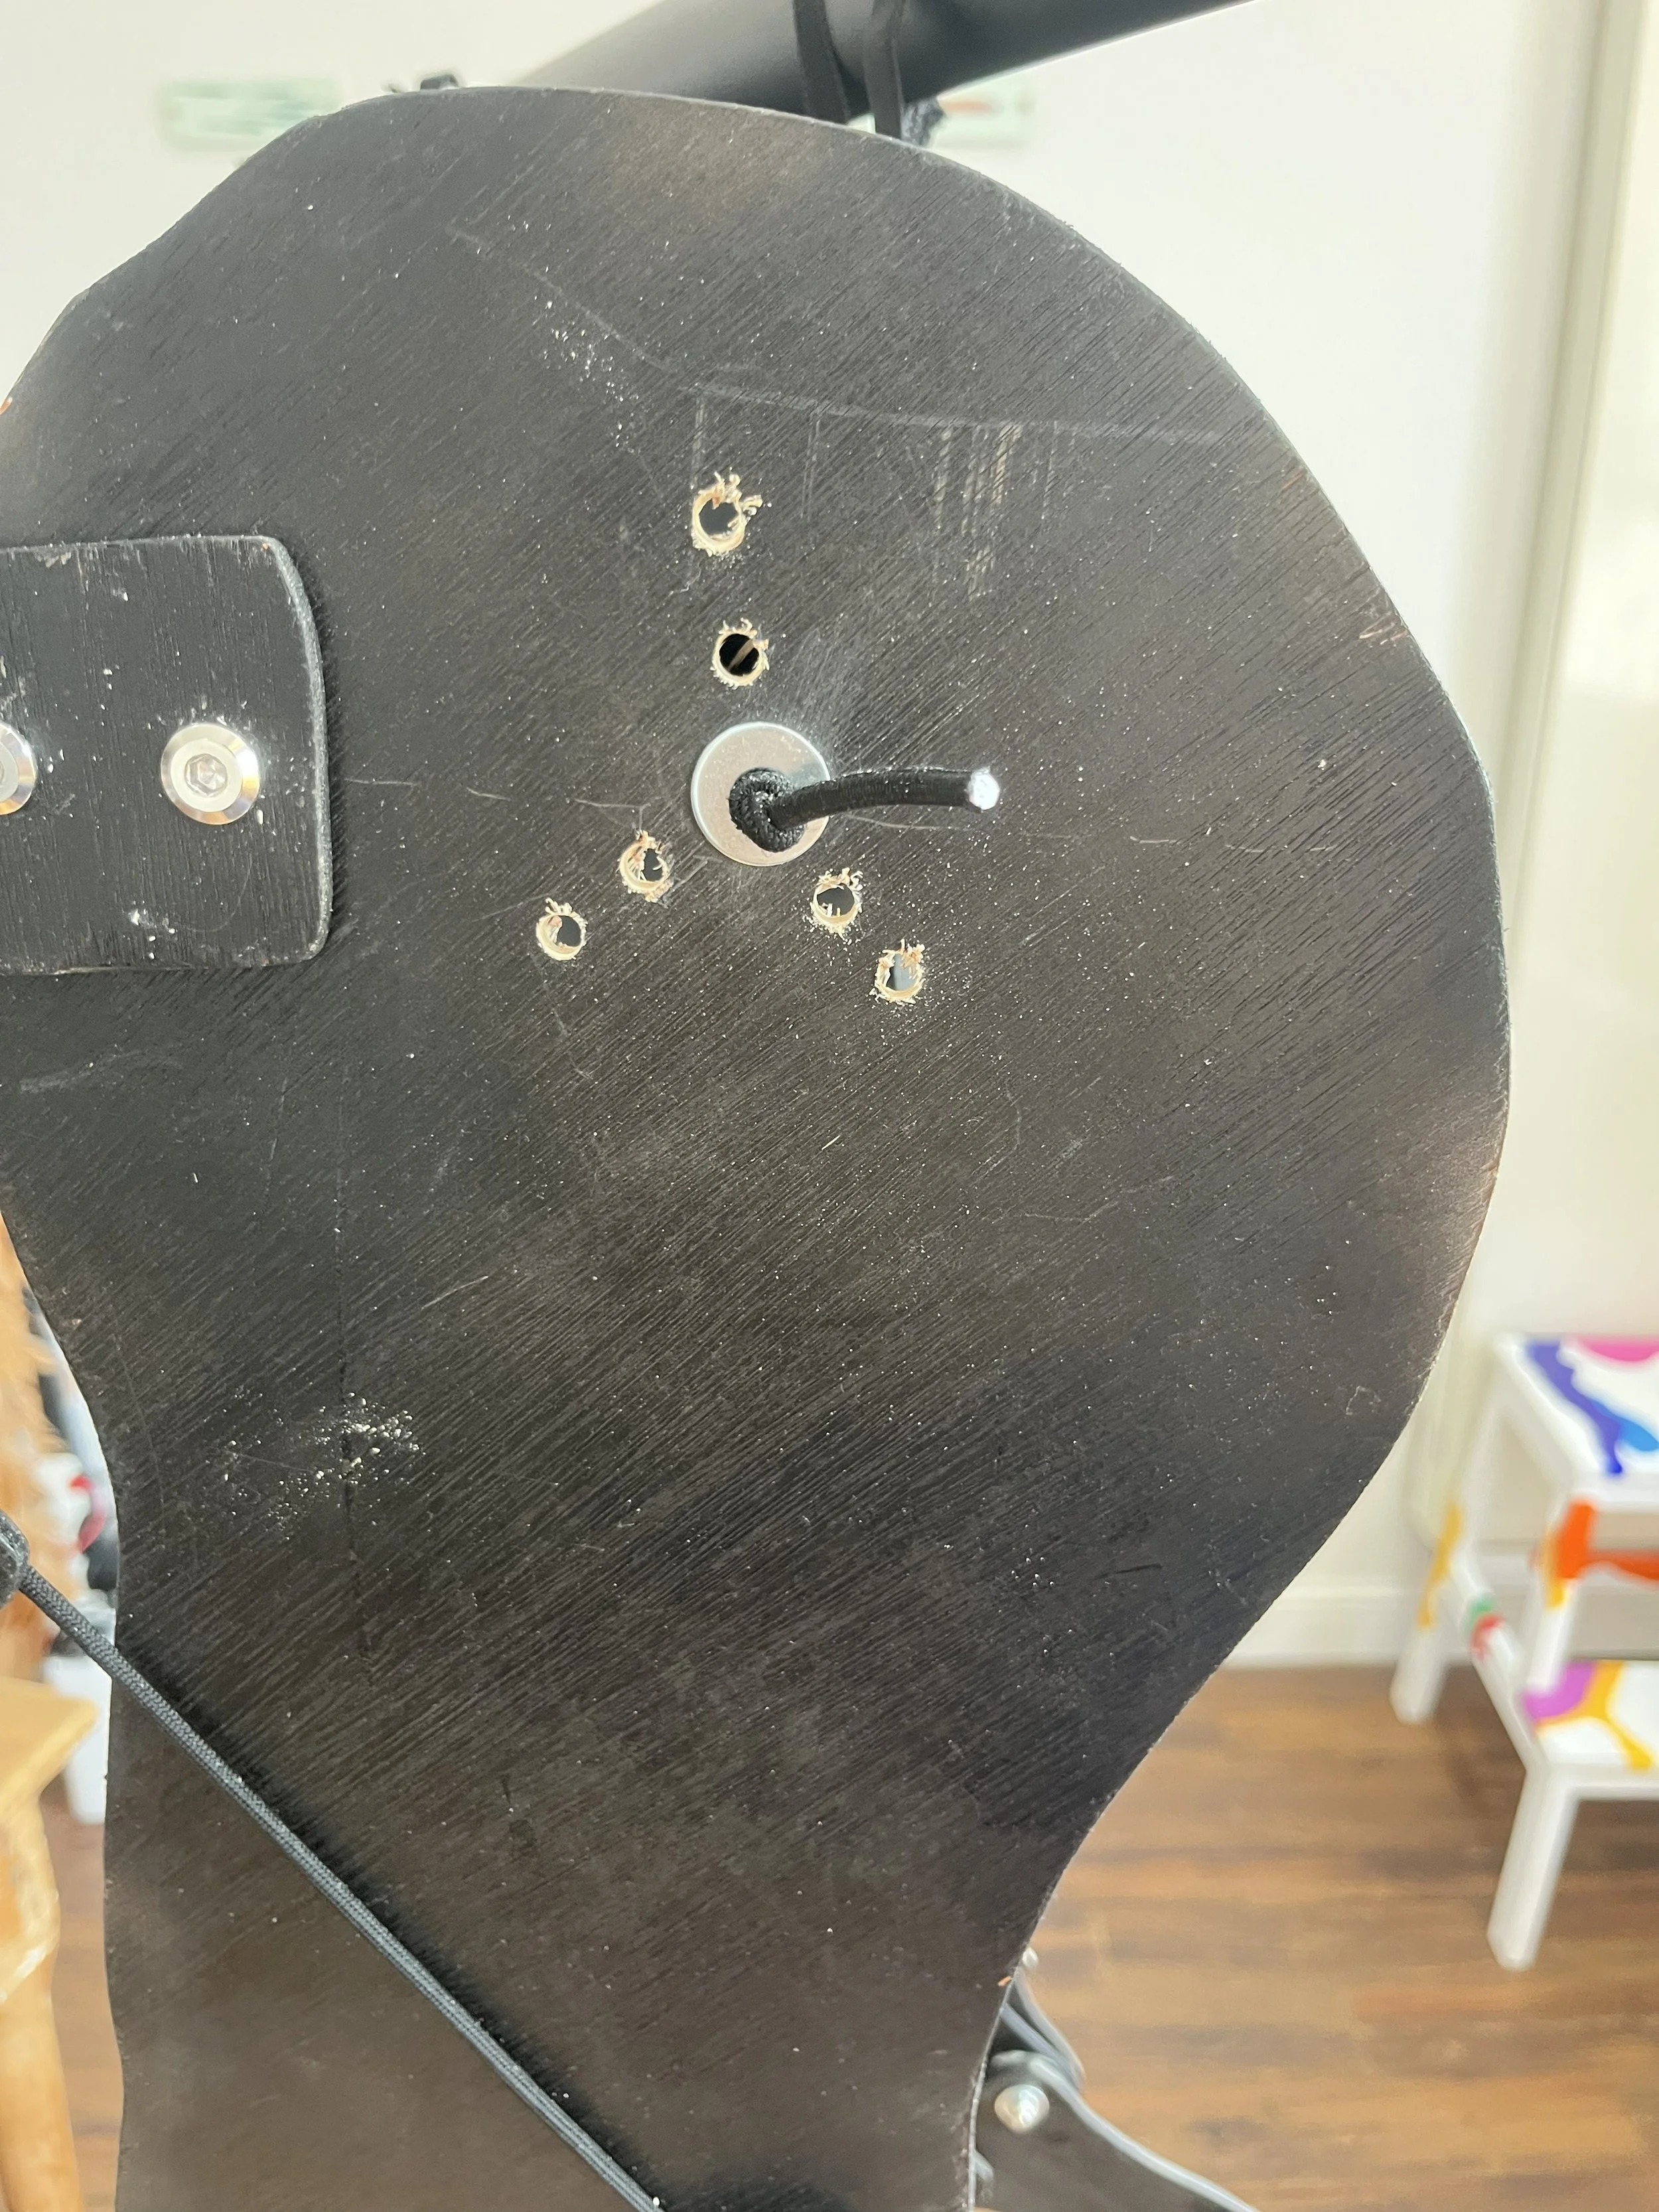
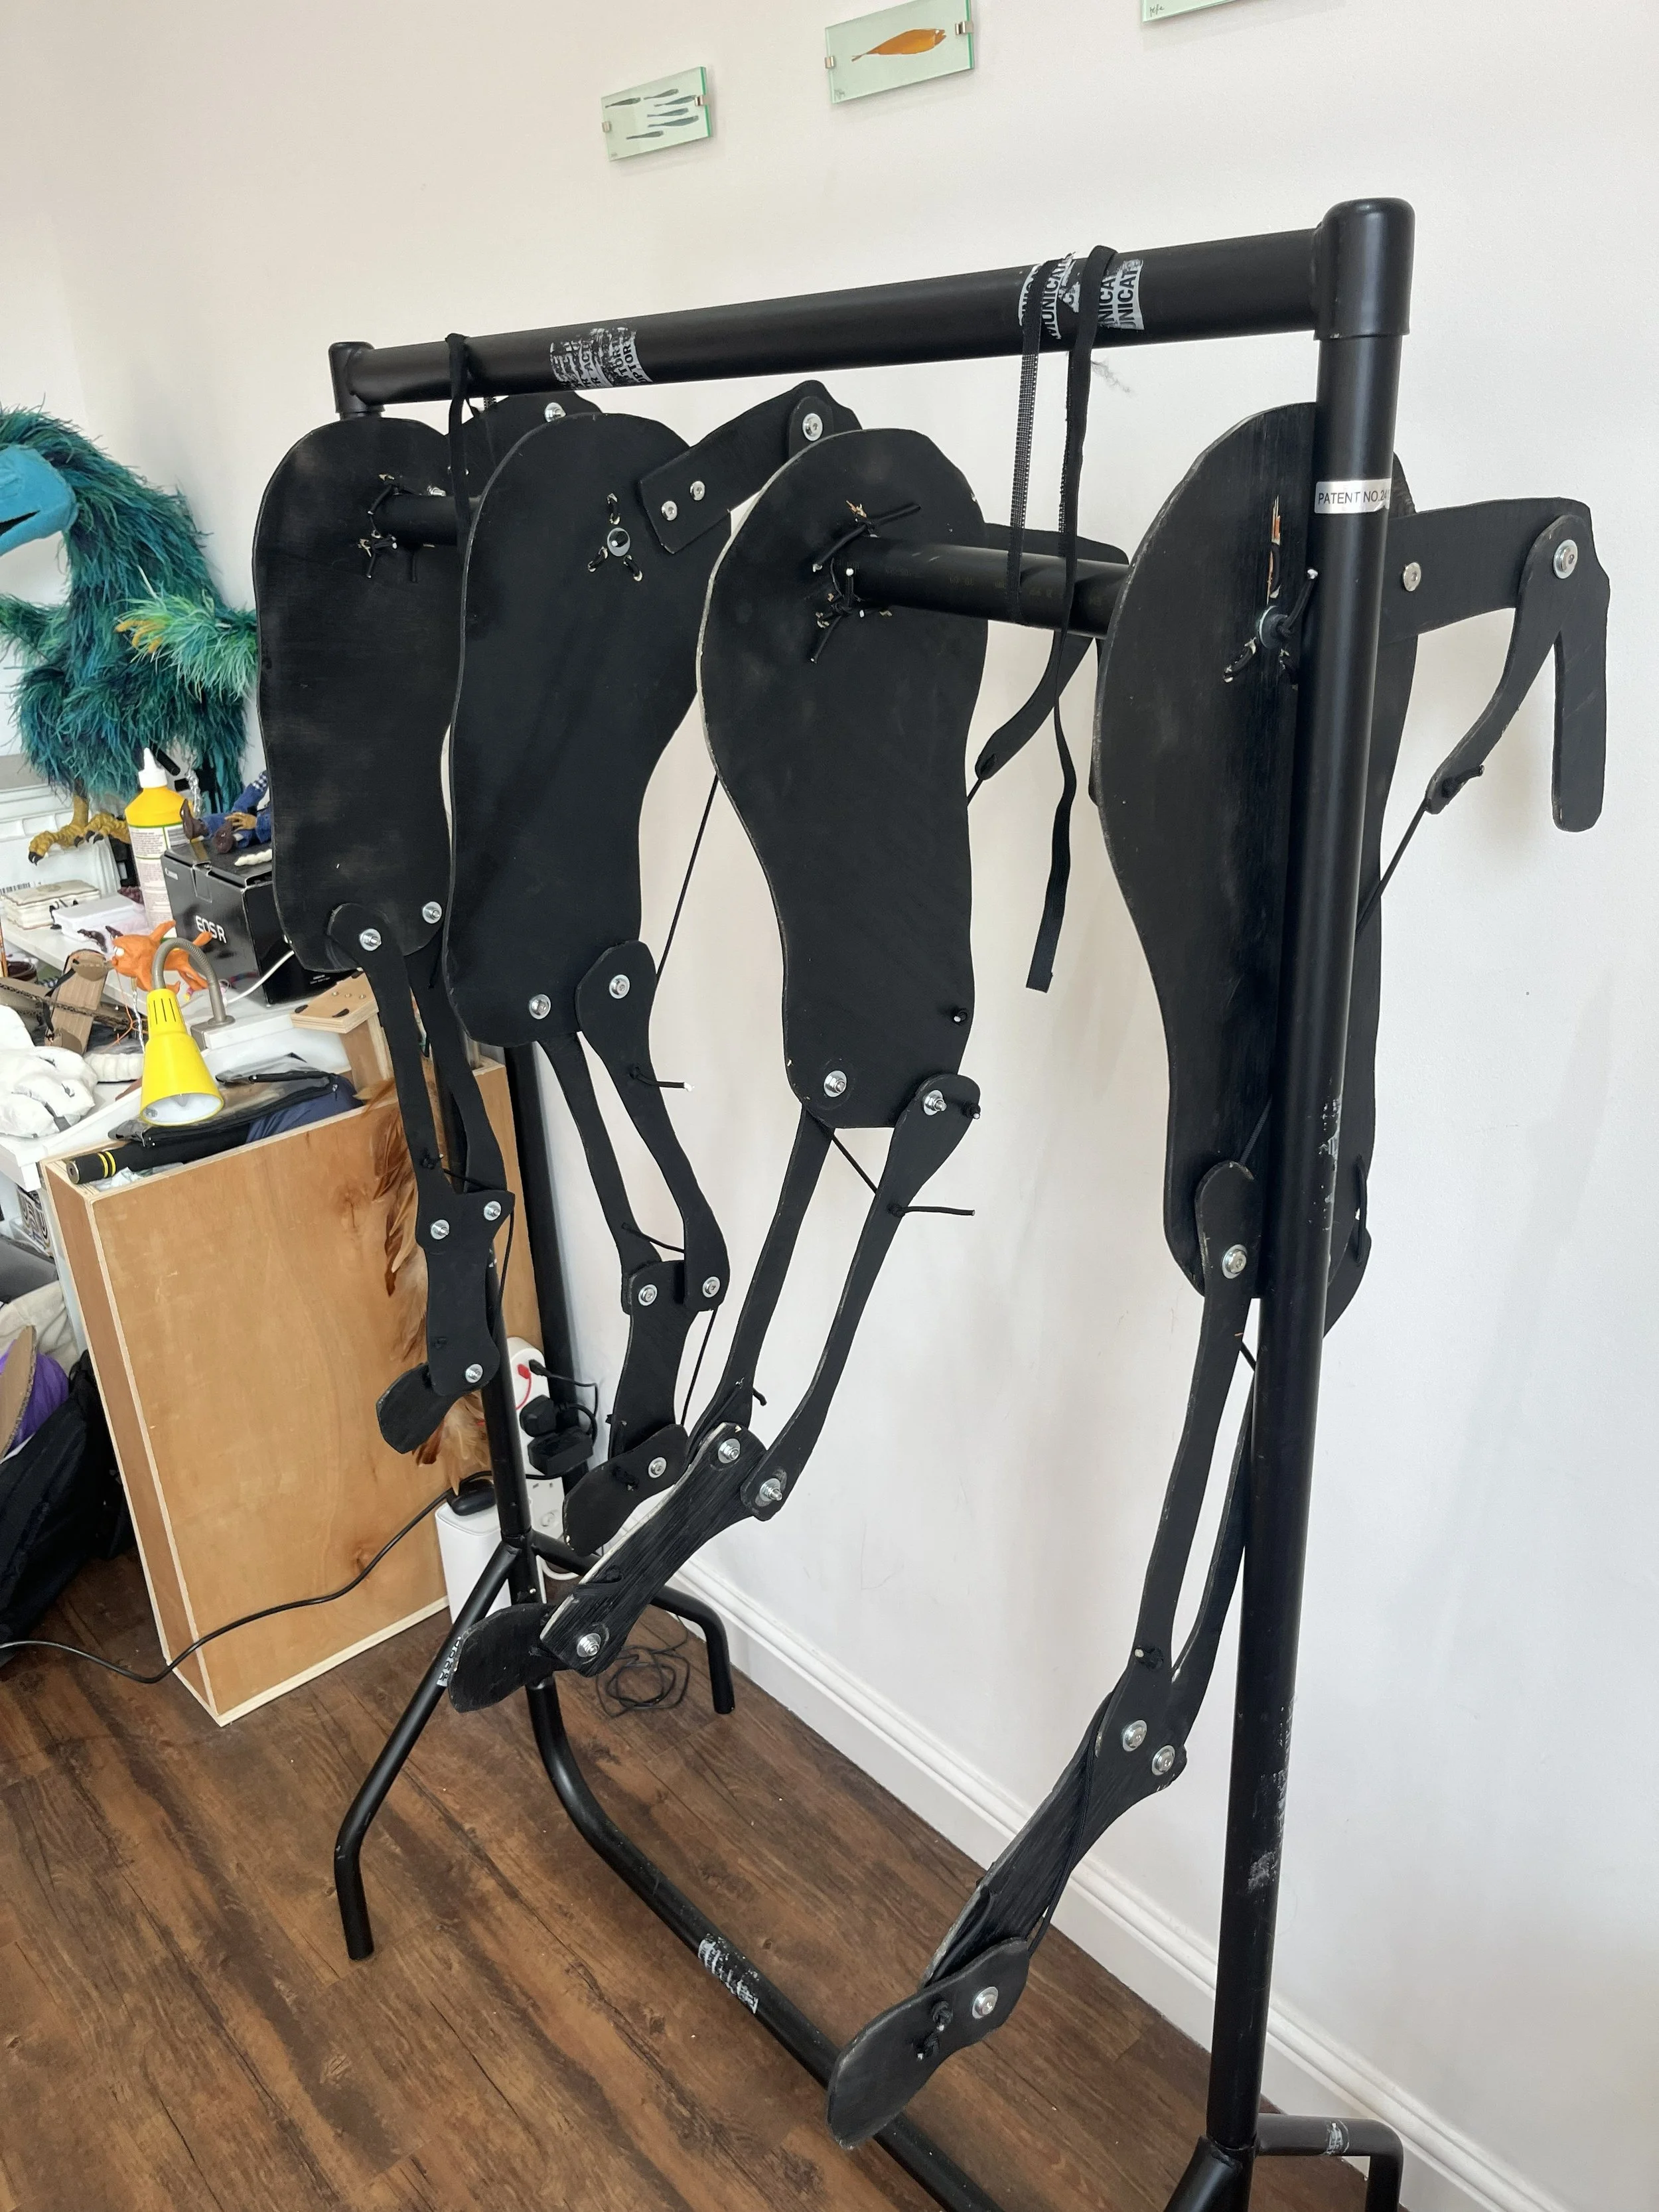
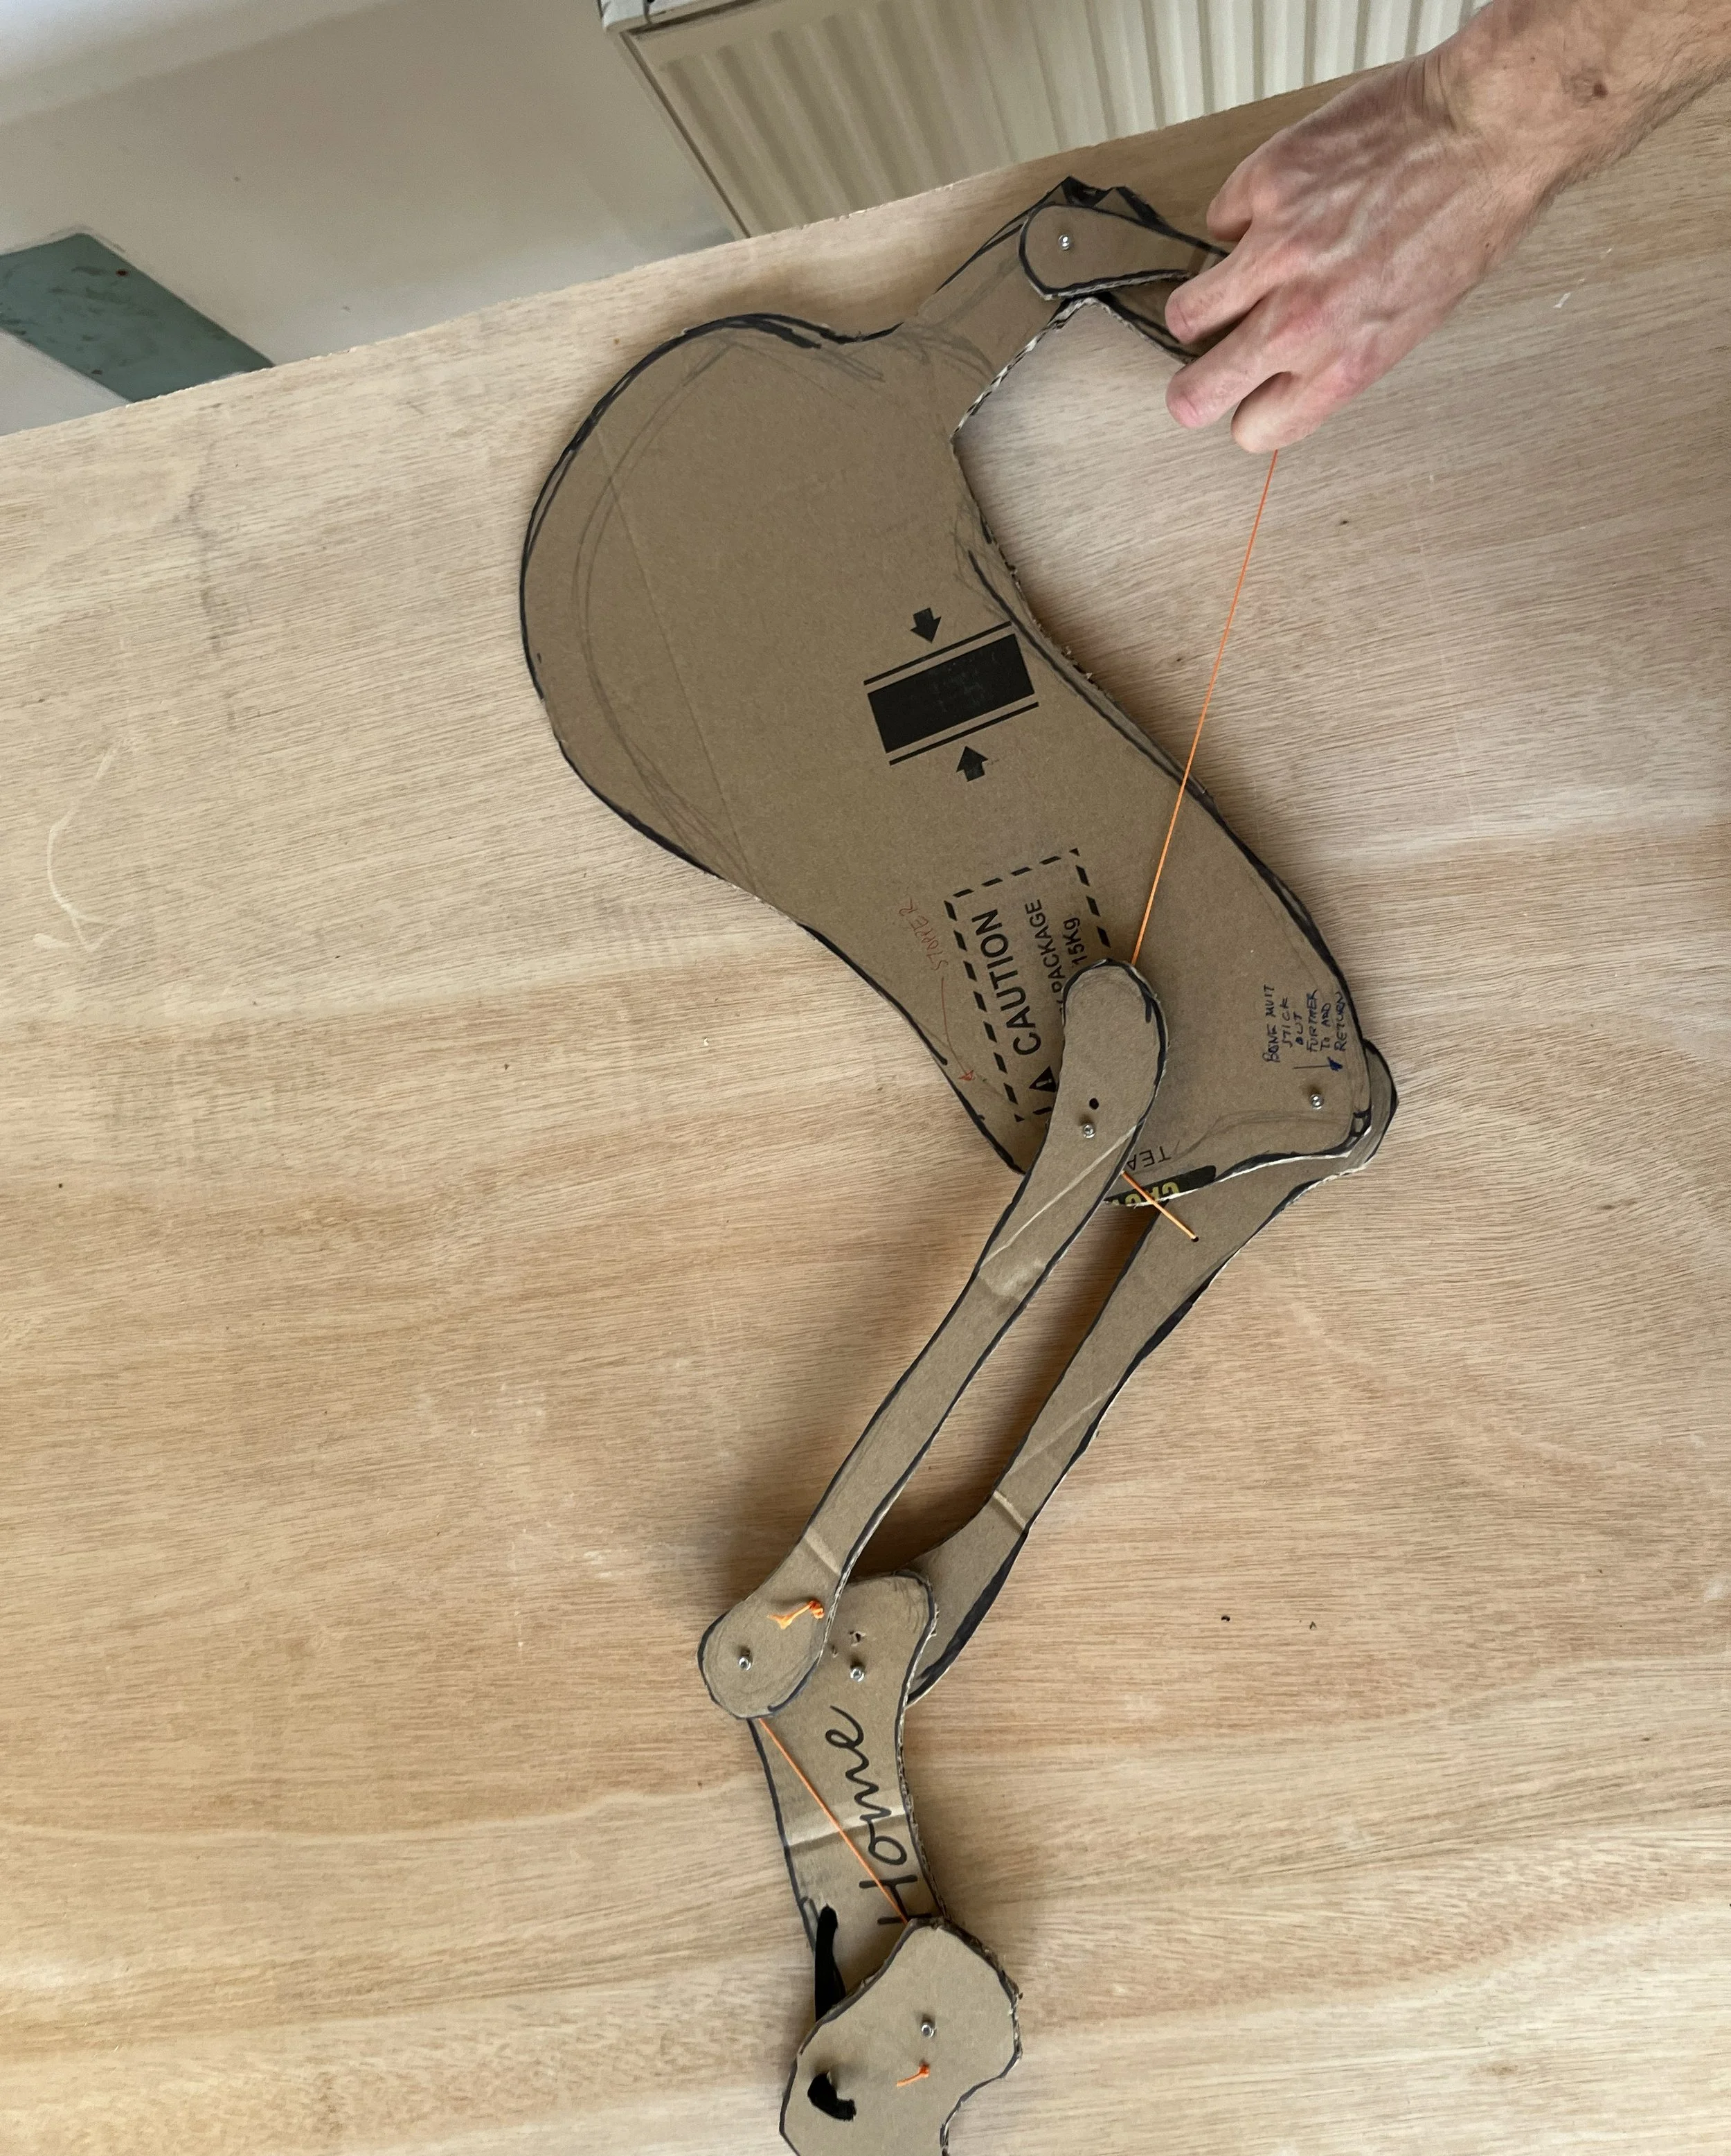
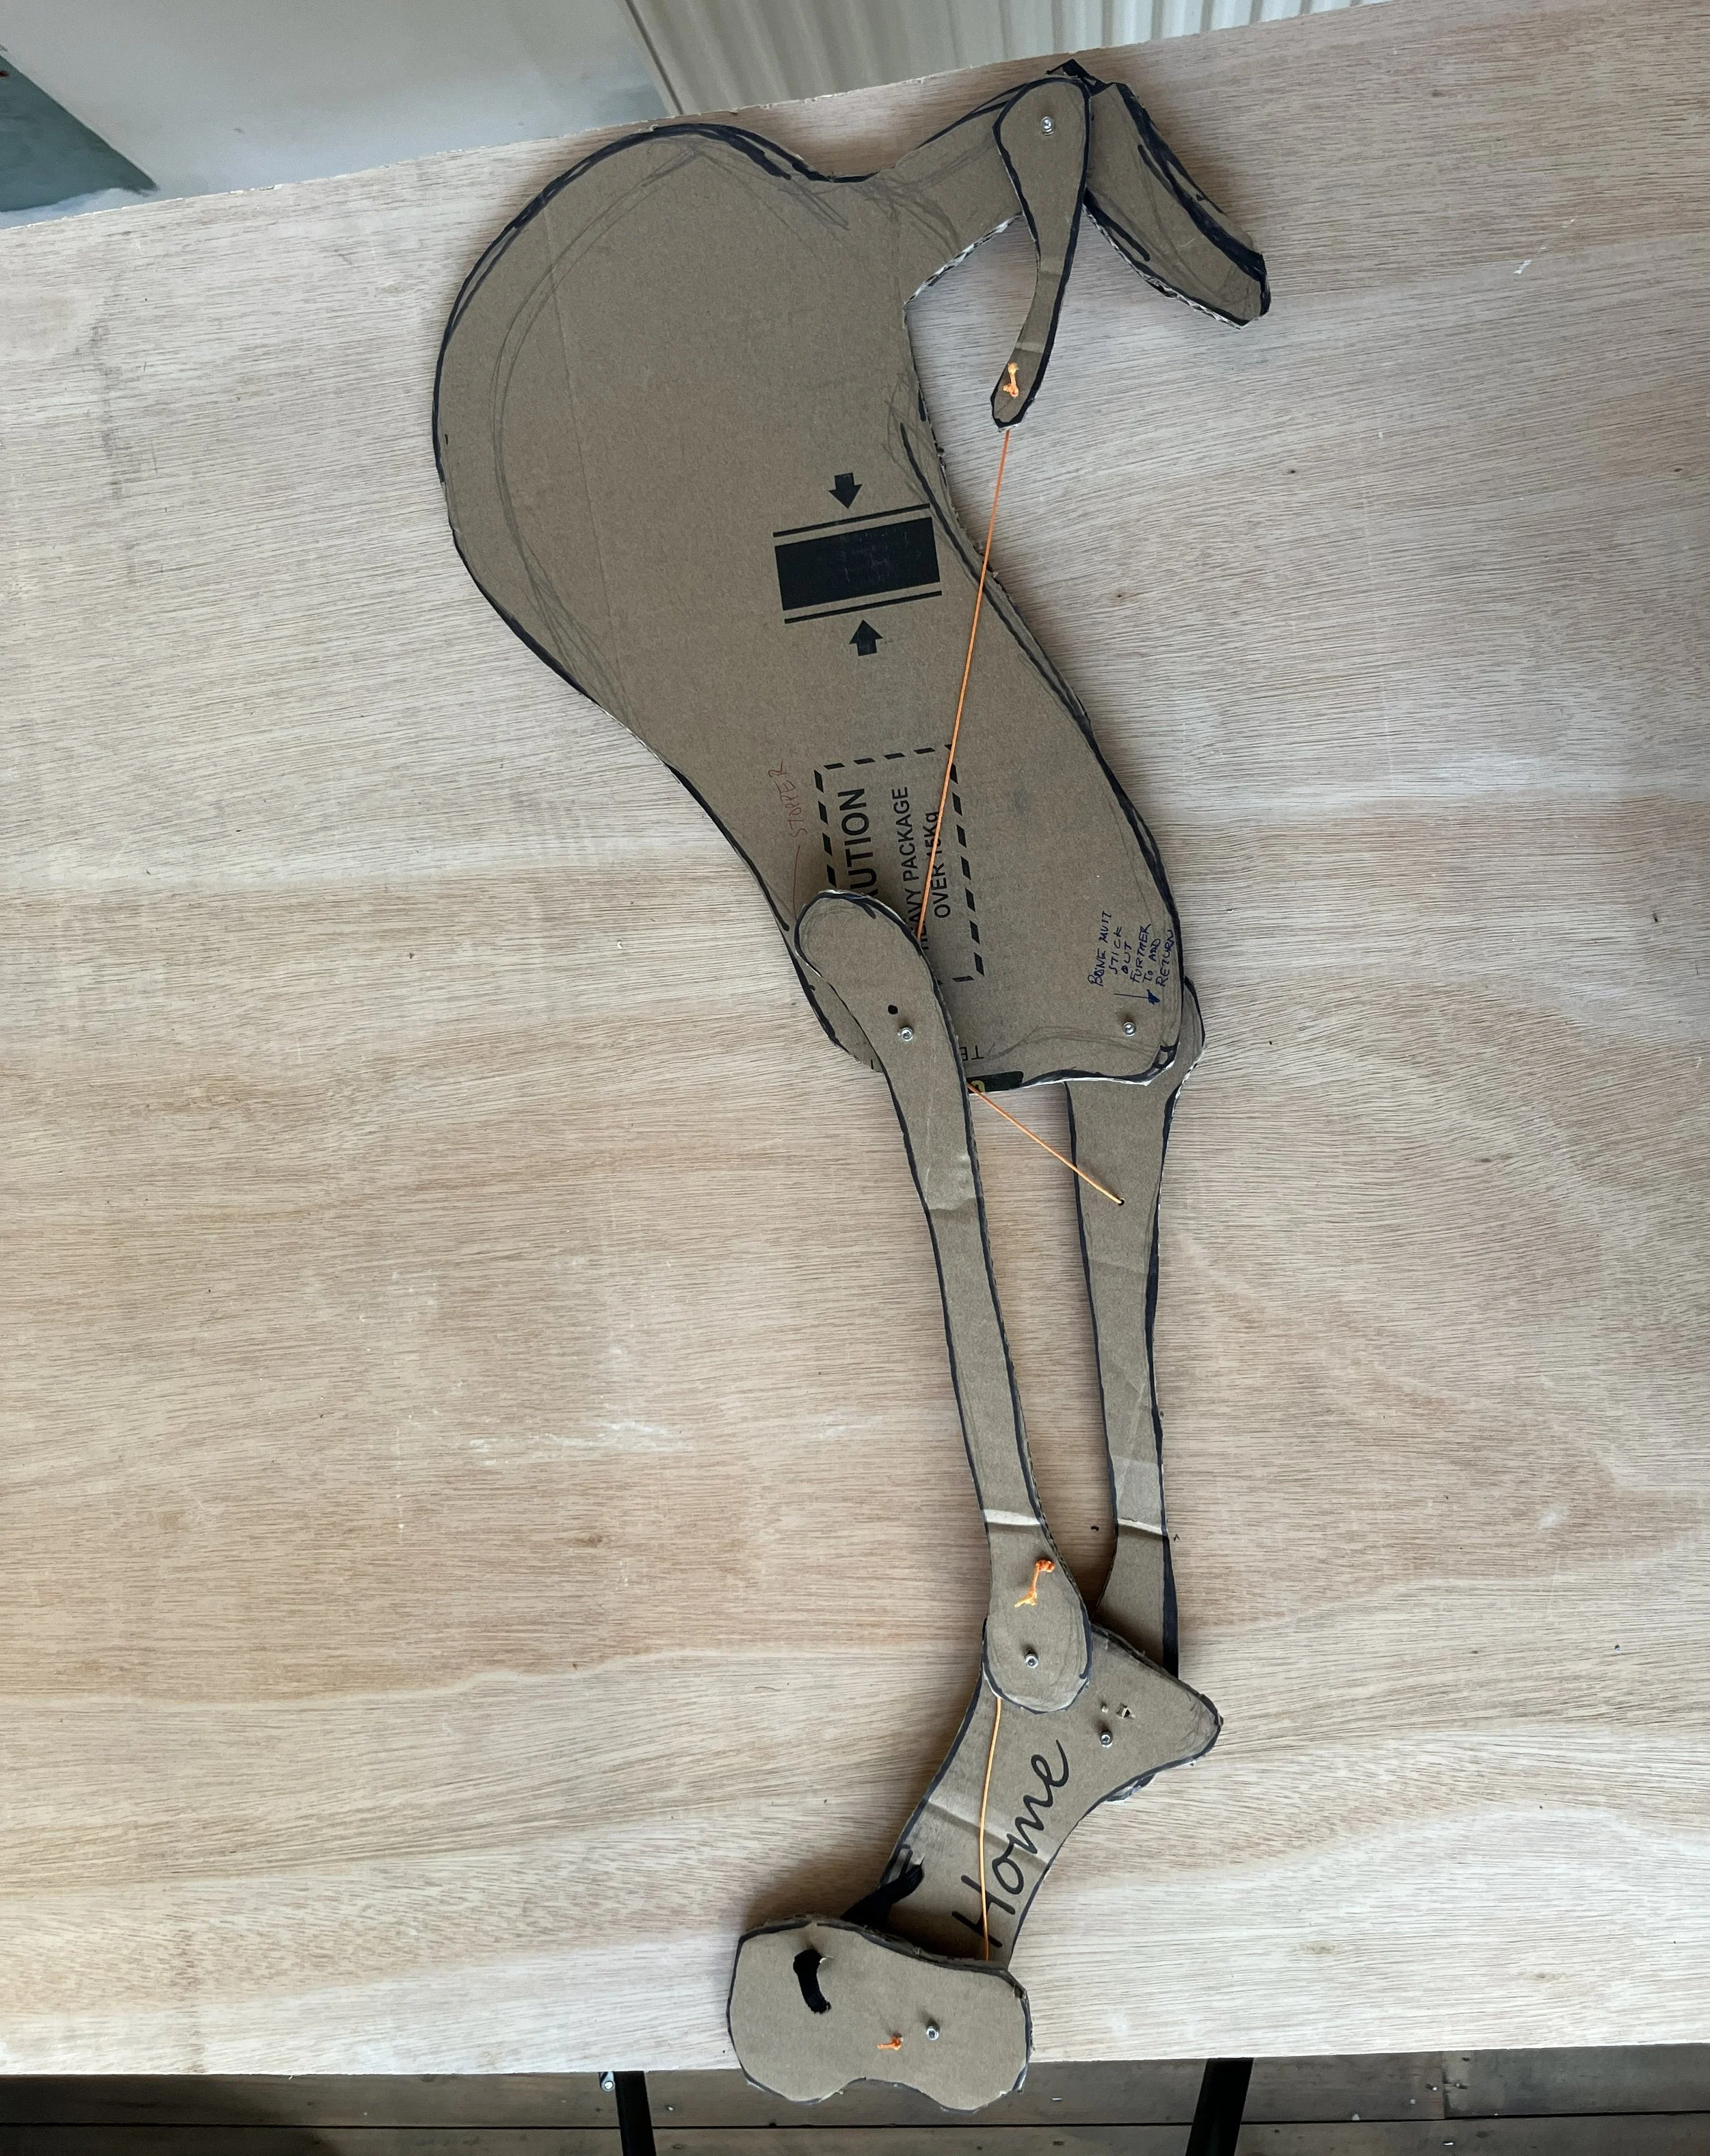
The legs were first made out of cardboard to ensure the mechanism functioned as intended and the scale was correct. The legs are inspired heavily by designs in Jimmy Grimes’ fantastic book Puppet Mechanisms and How to Make Them. The mechanism includes a trigger activated four-part linkage to create lifelike movement, with pulley wheels to direct the strings and control the amount of movement.
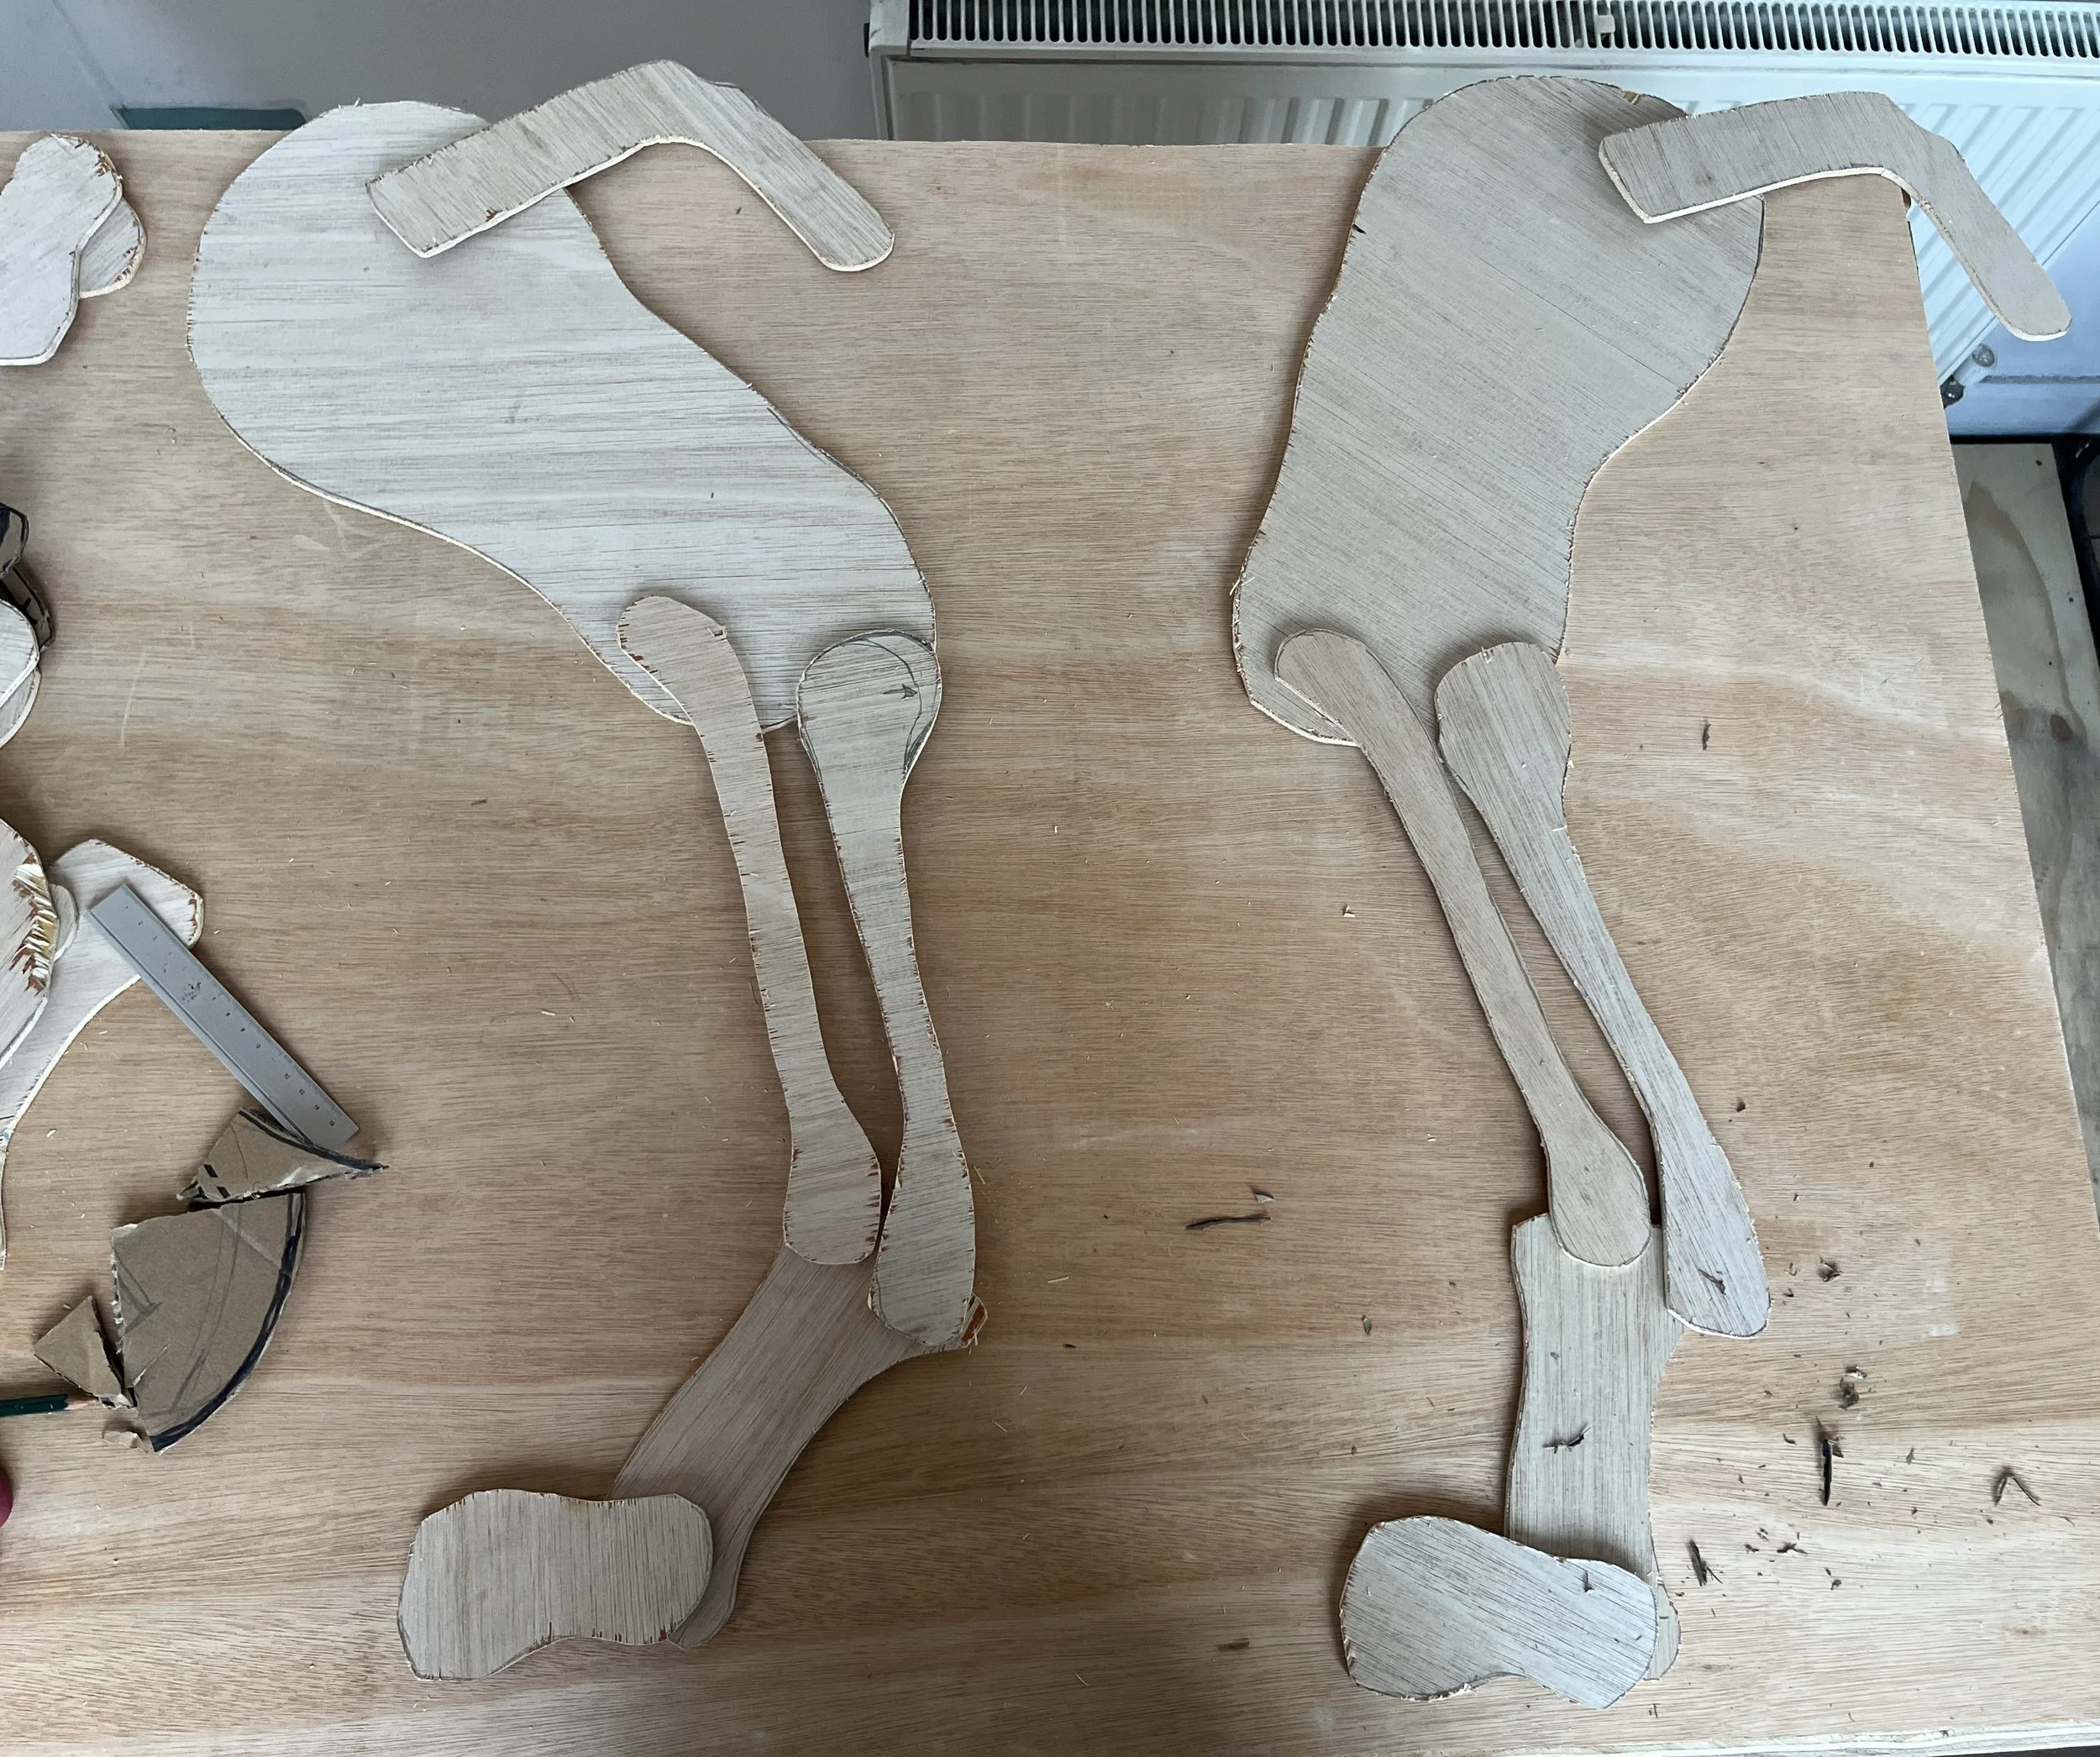
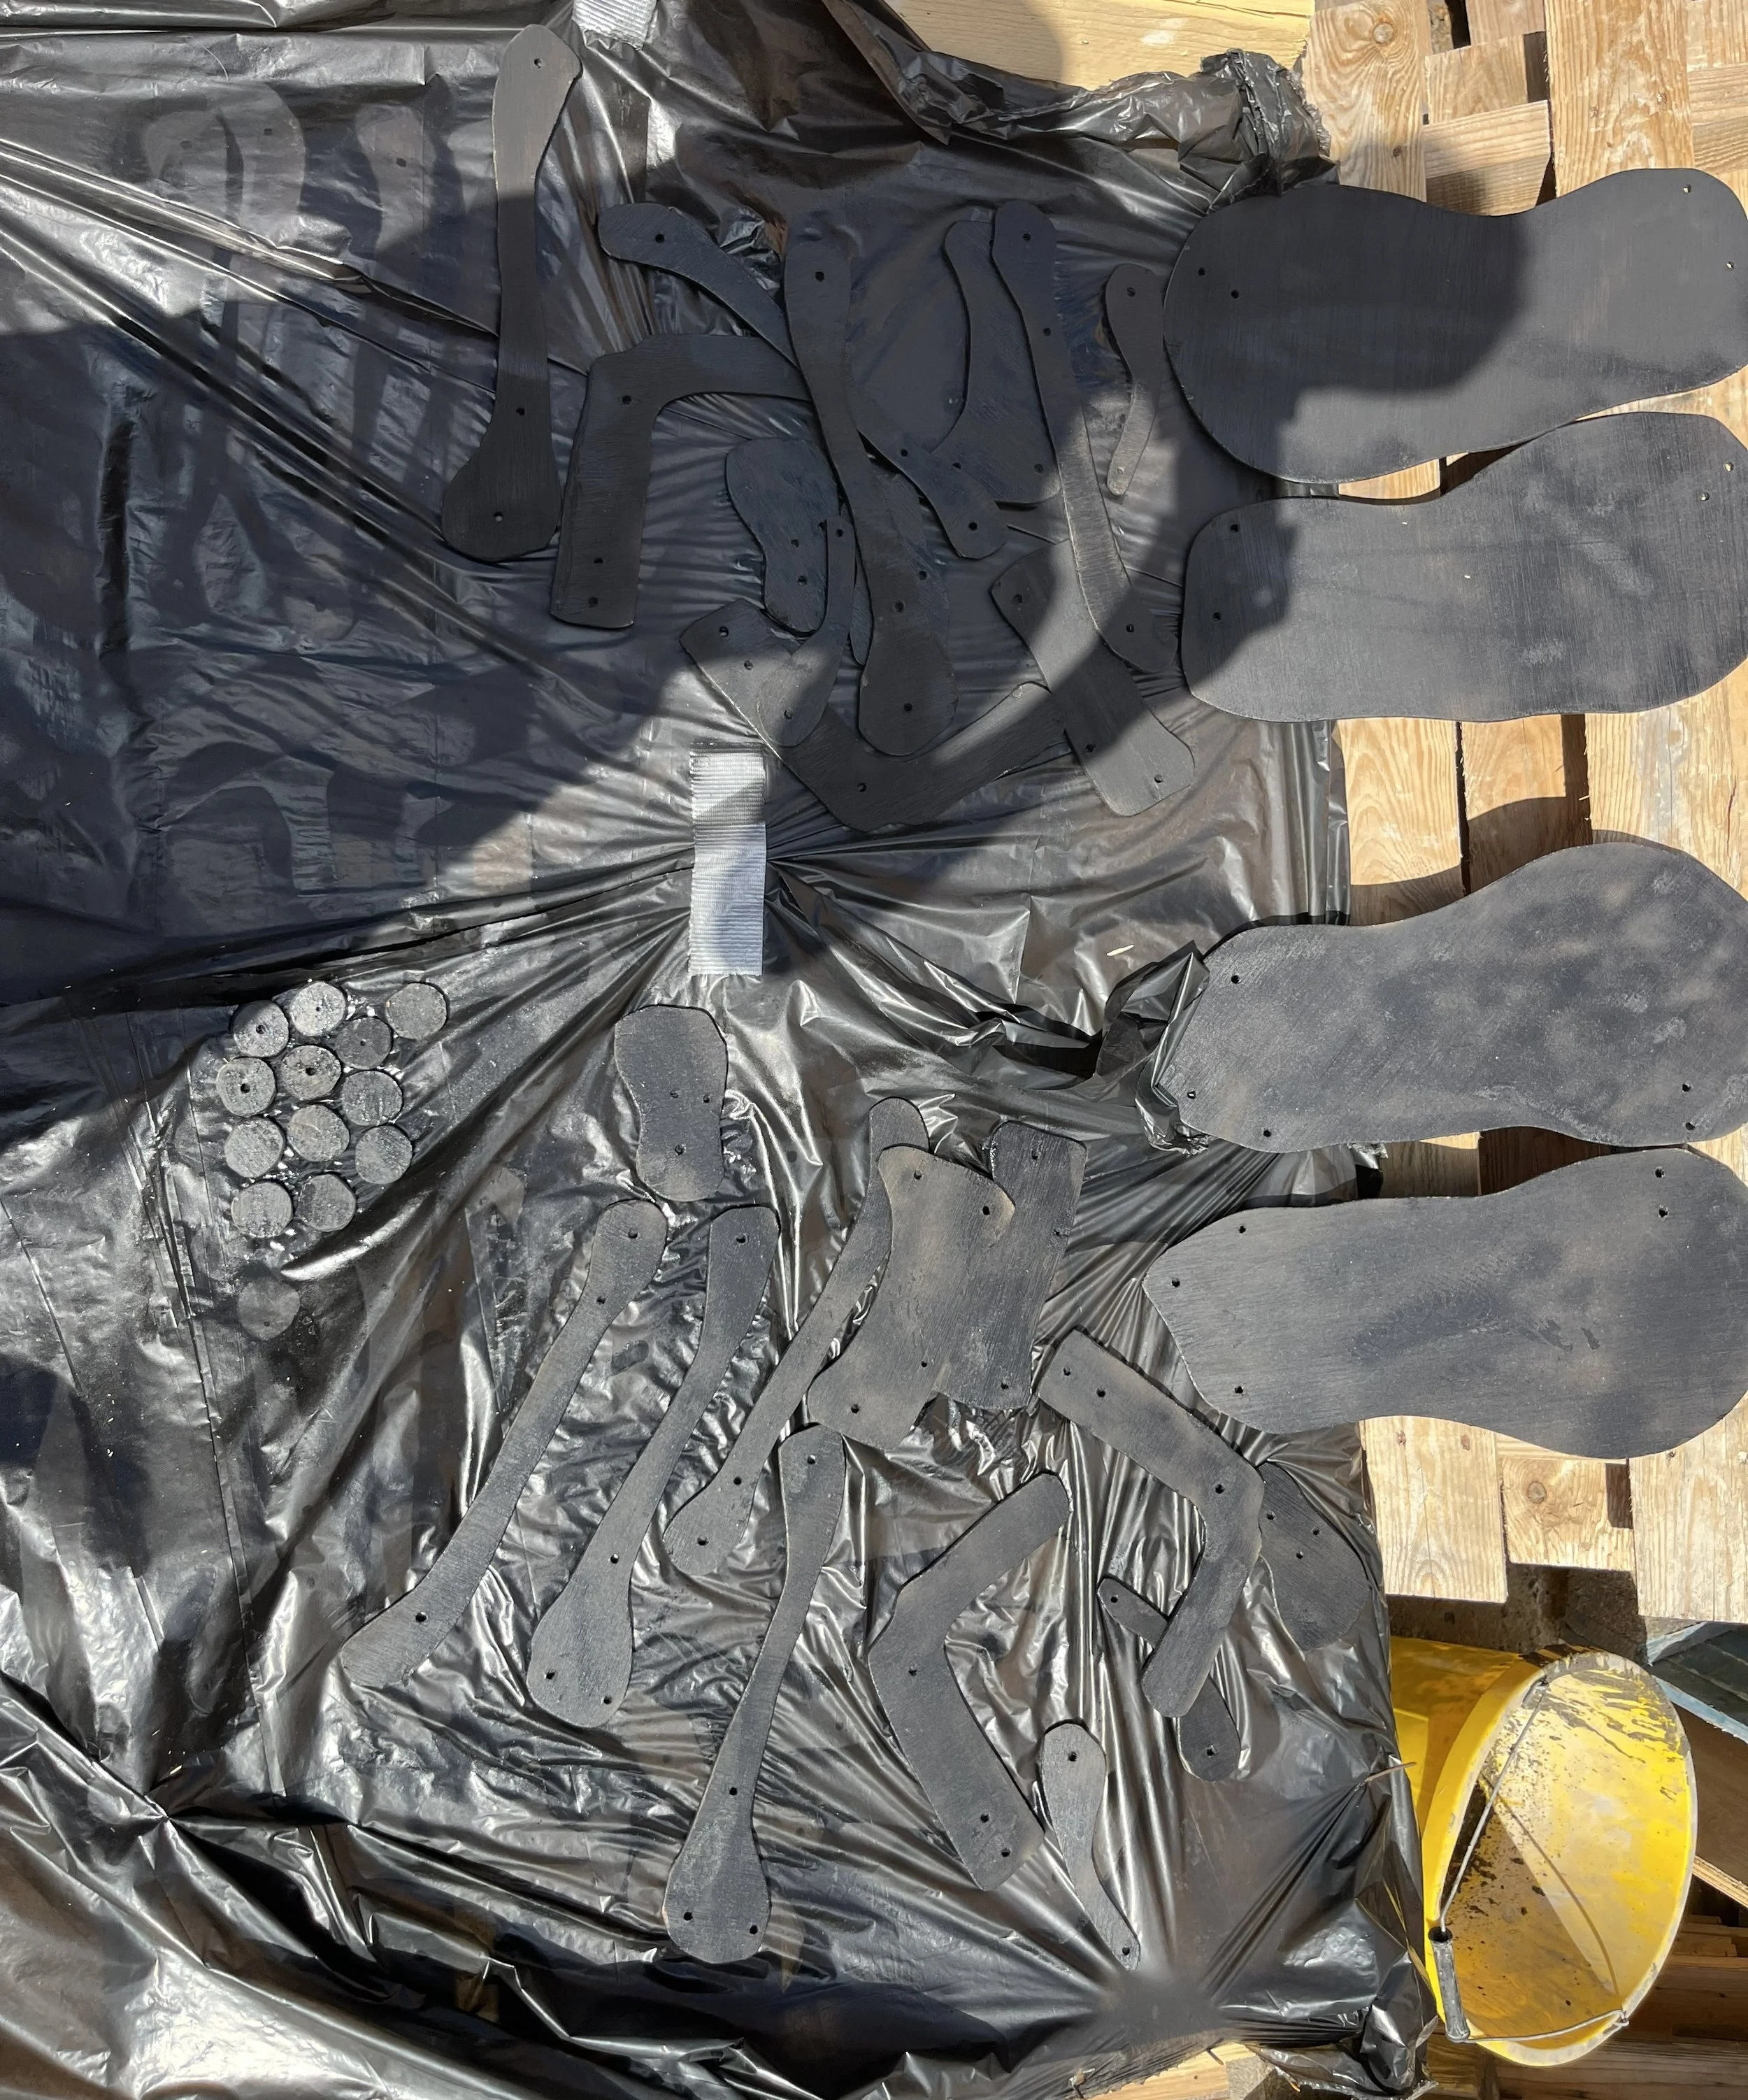
After making a few adjustments to the pattern, the pieces were cut out of 5mm plywood using a jigsaw
The pieces were then spray painted black and assembled. Bolts with Nyloc nuts were used, these do not come loose on their own once tightened.
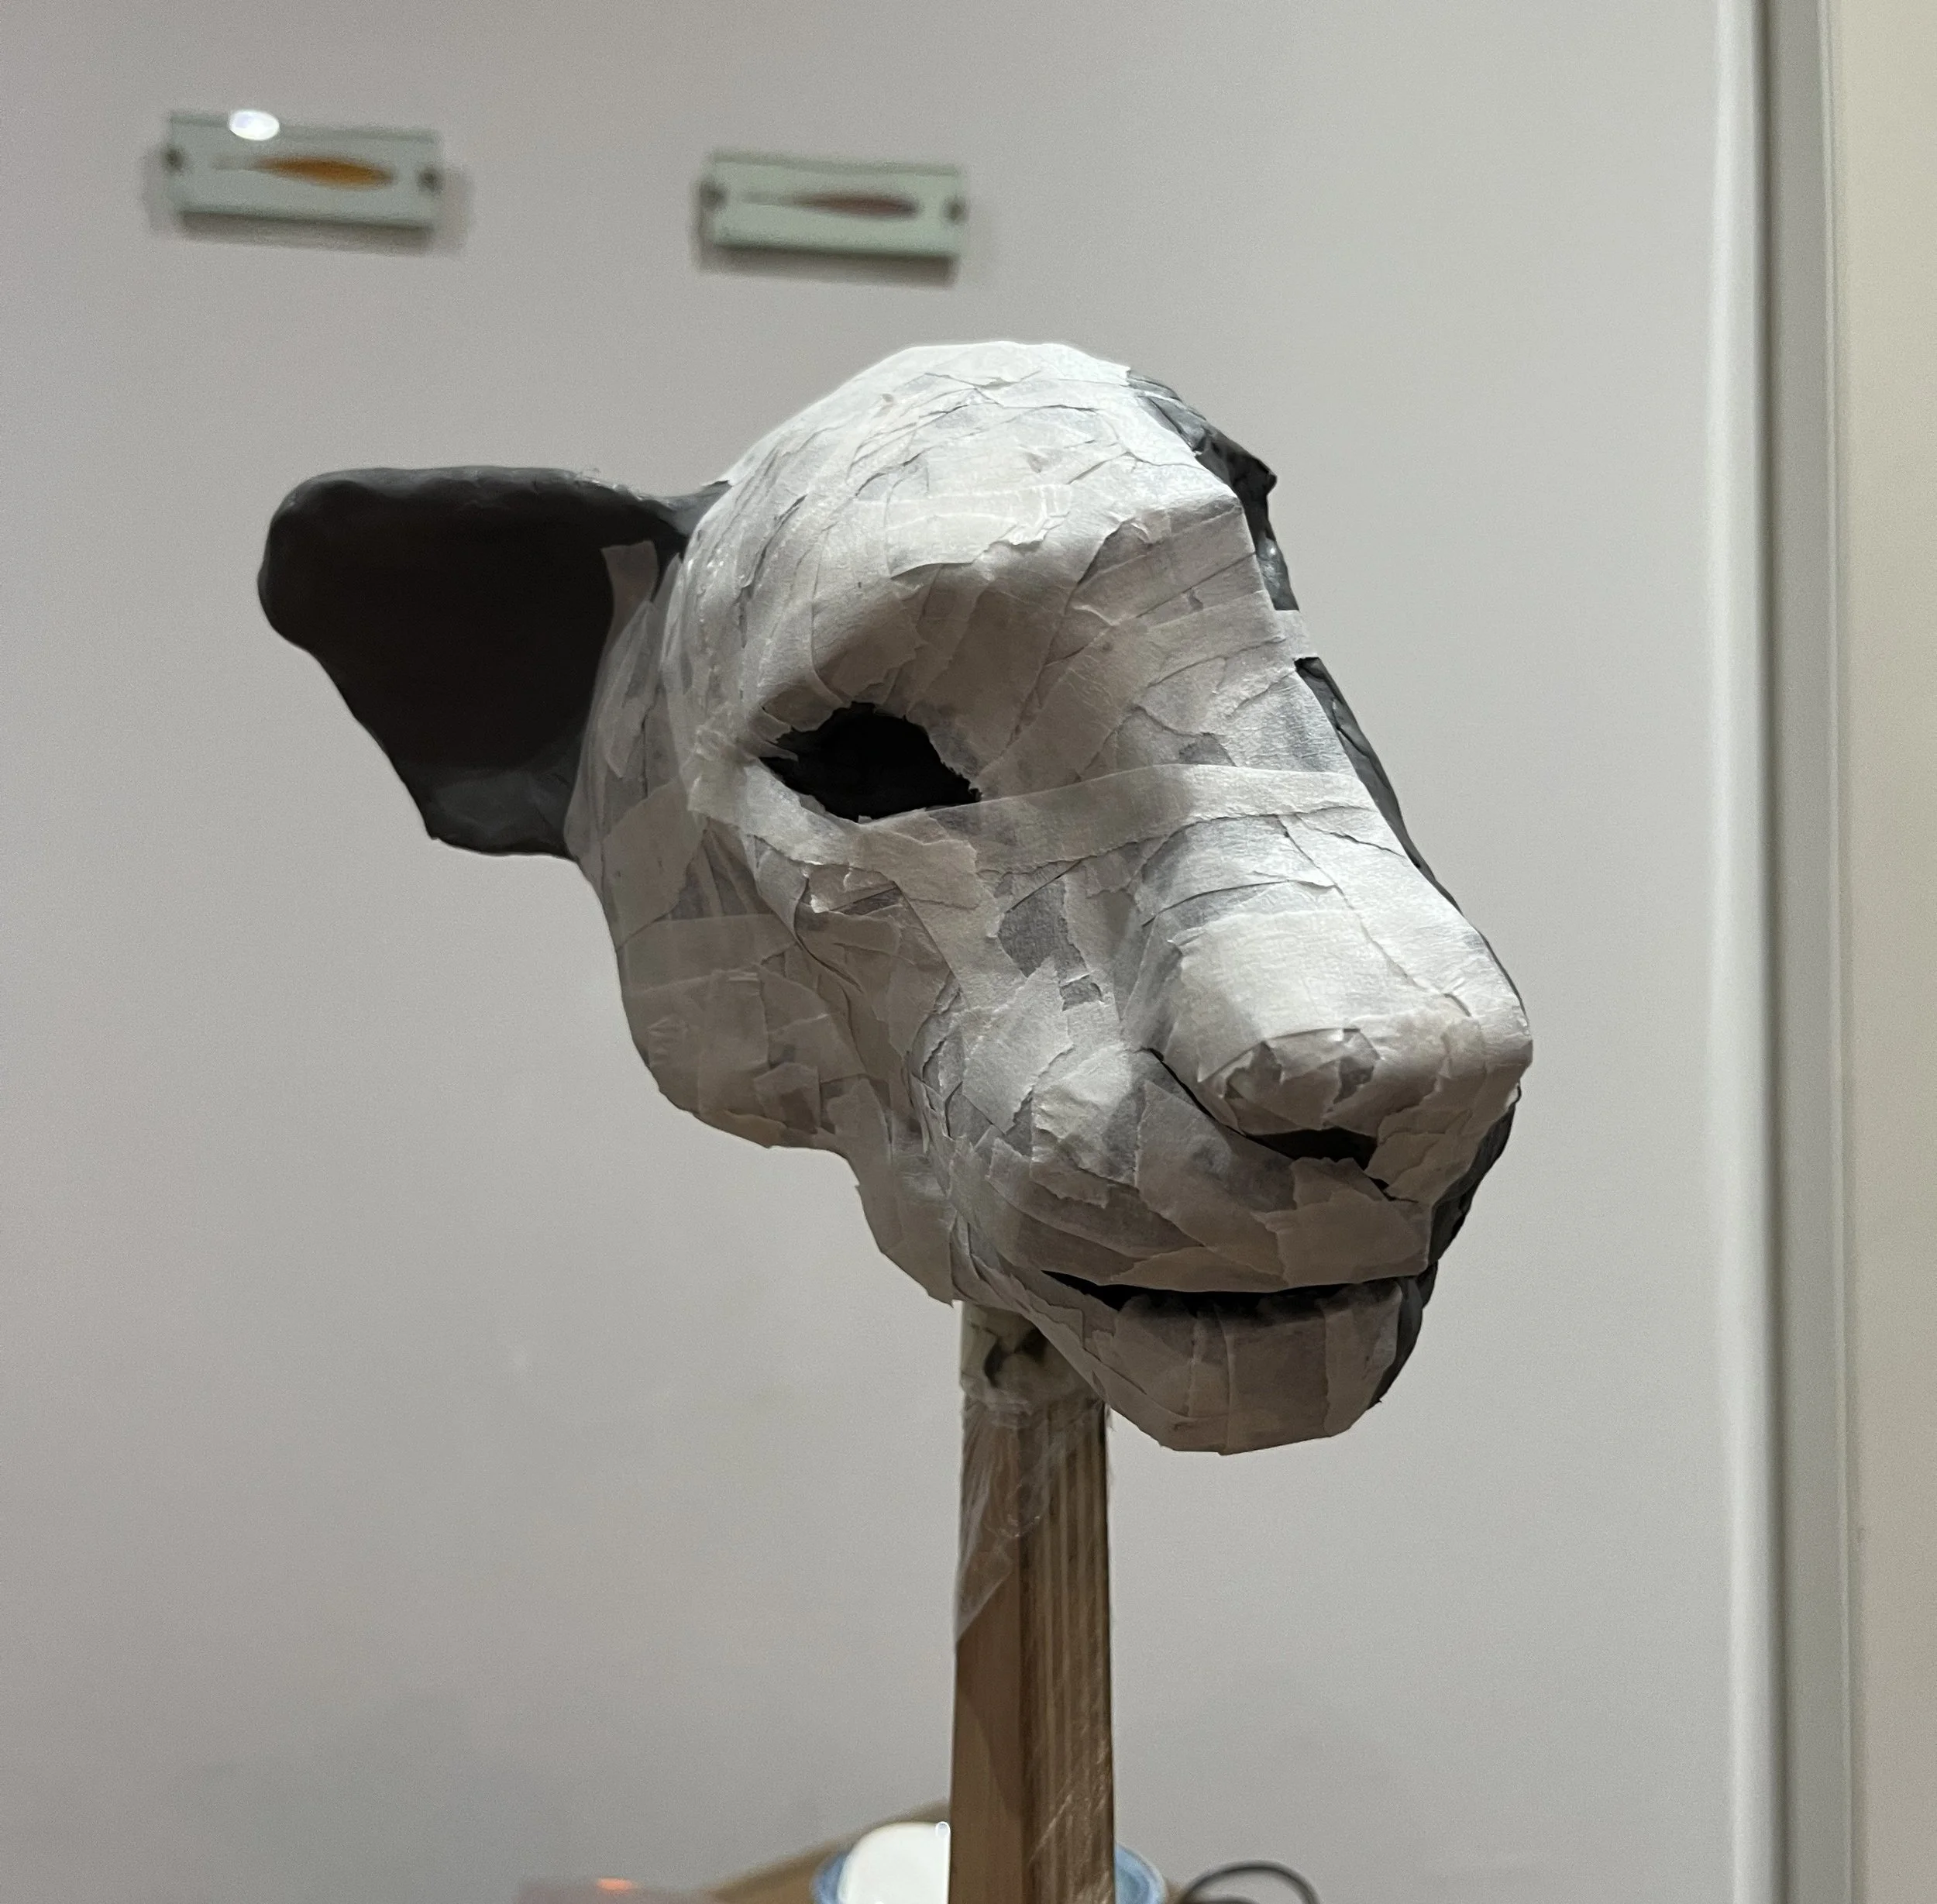
To make the head a core was first made from aluminium foil, the basic shape was then sculpted from clay.
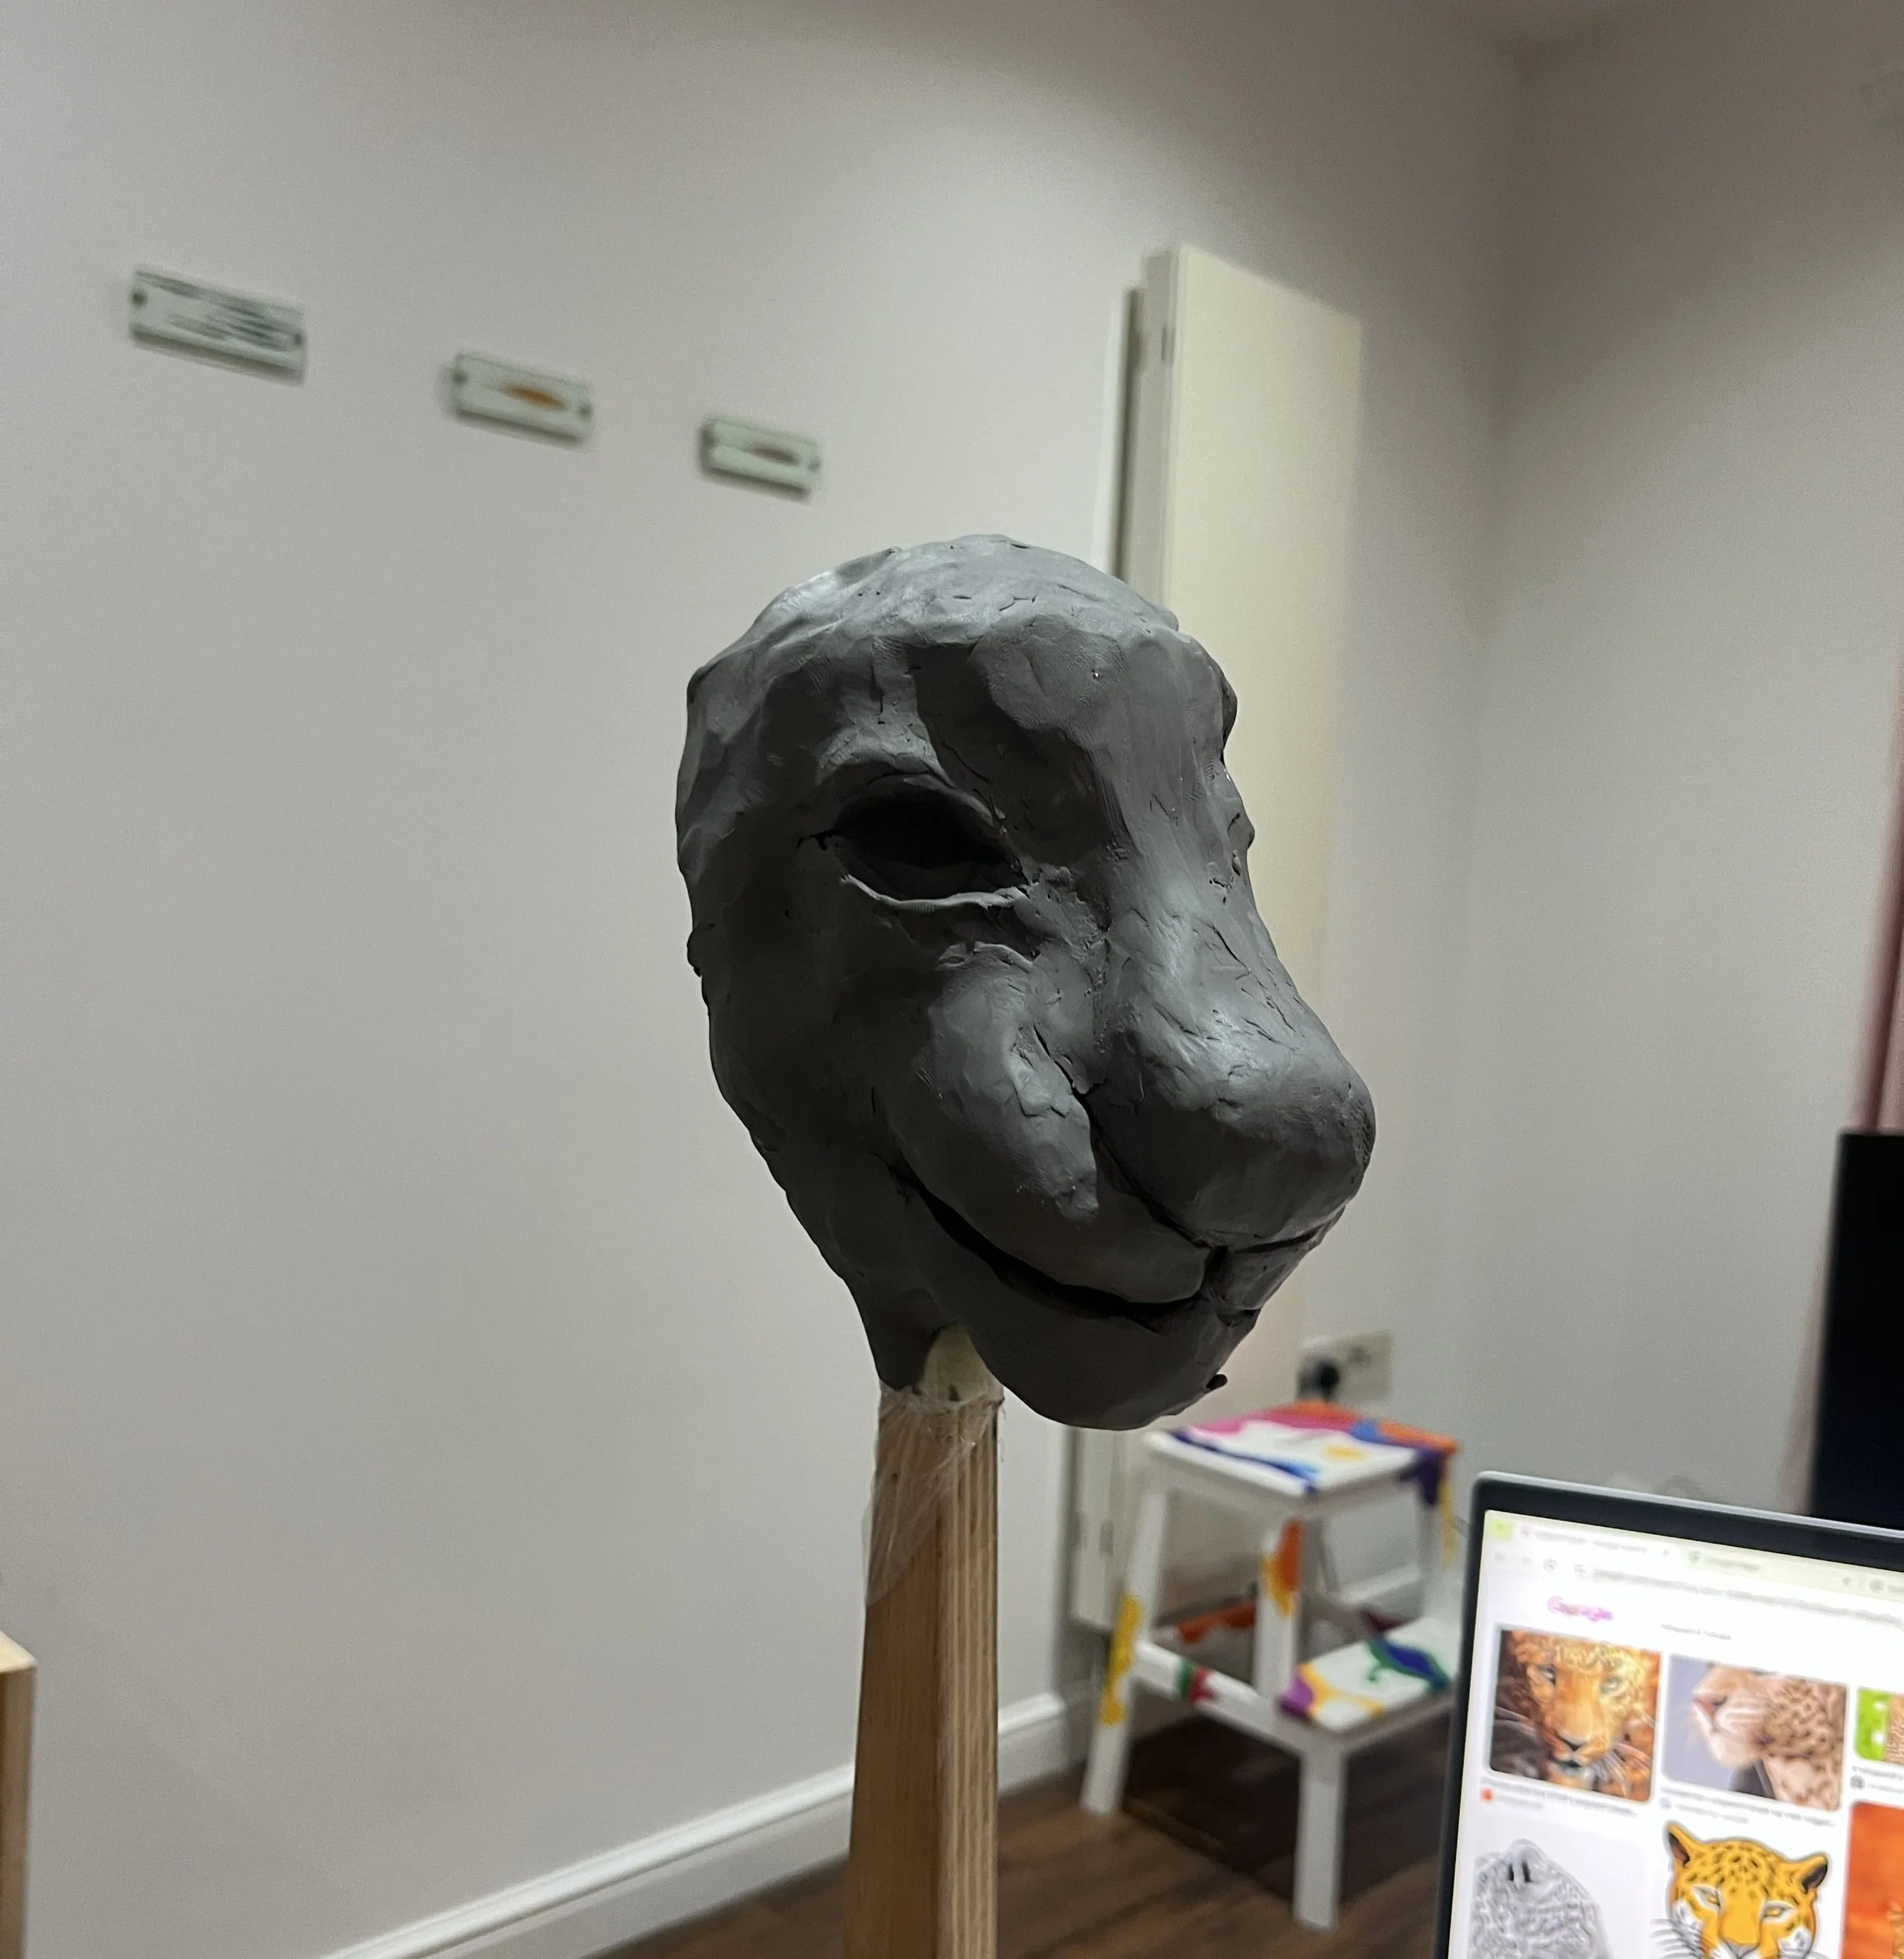
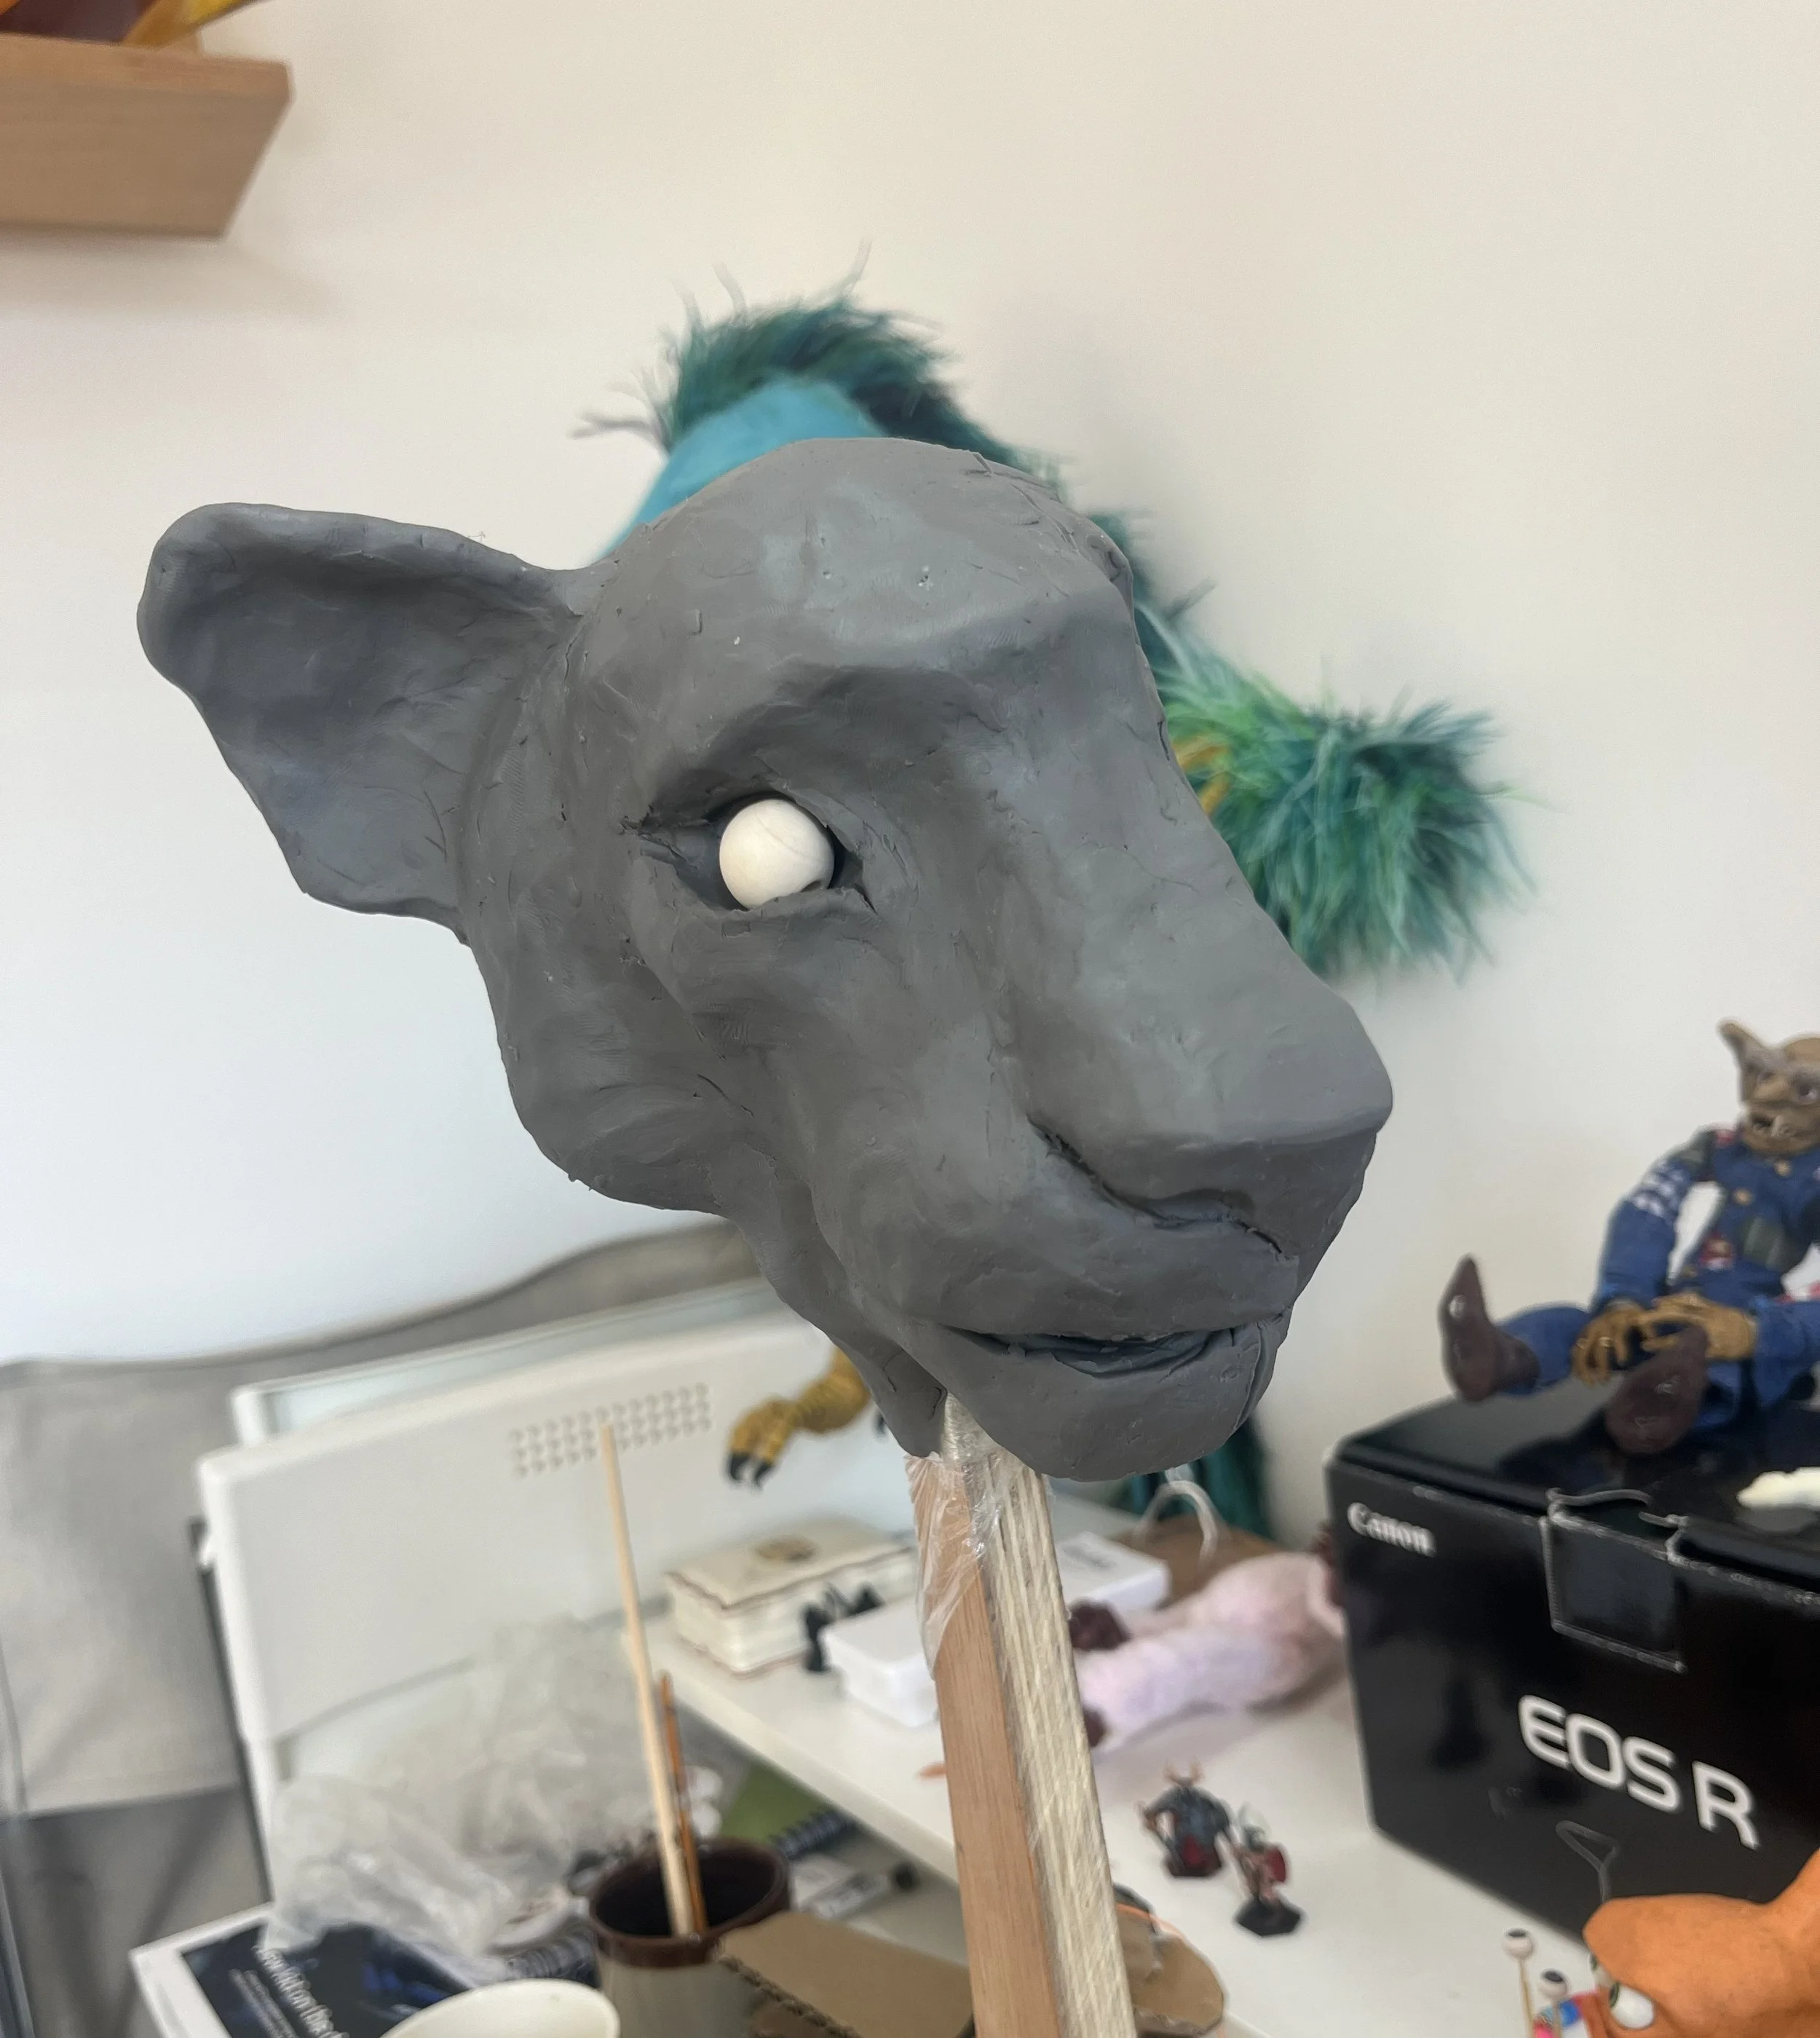
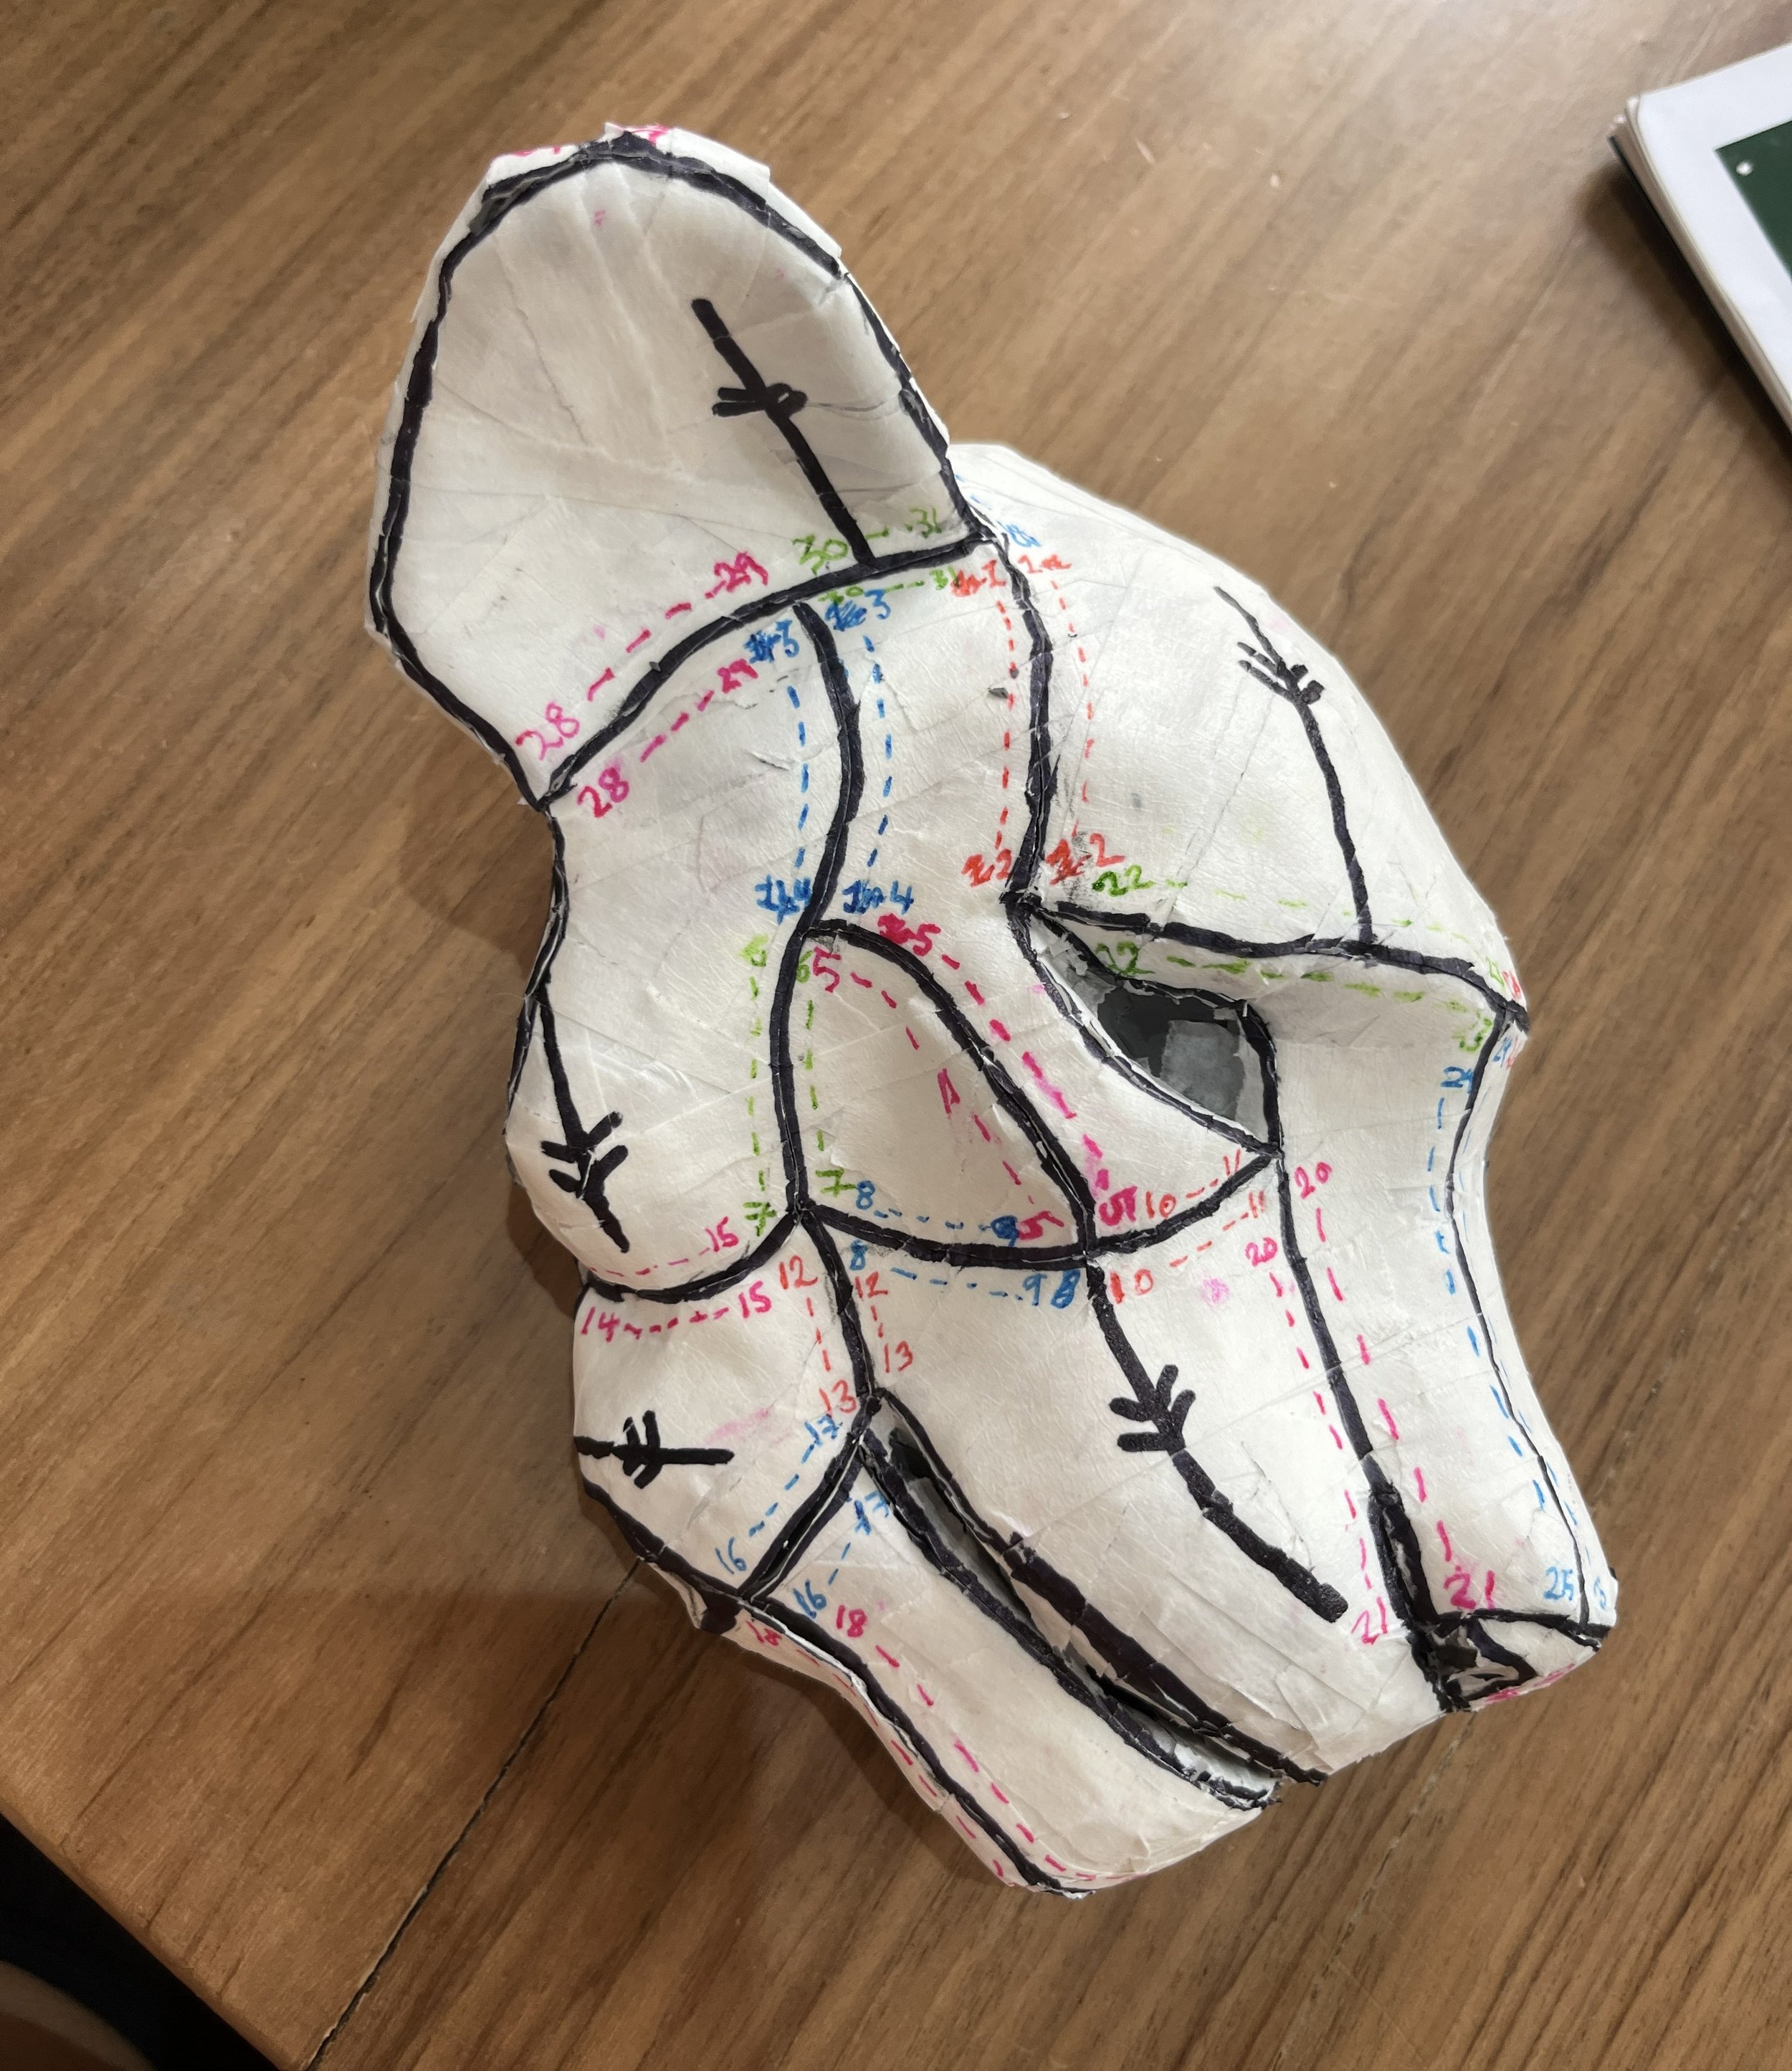
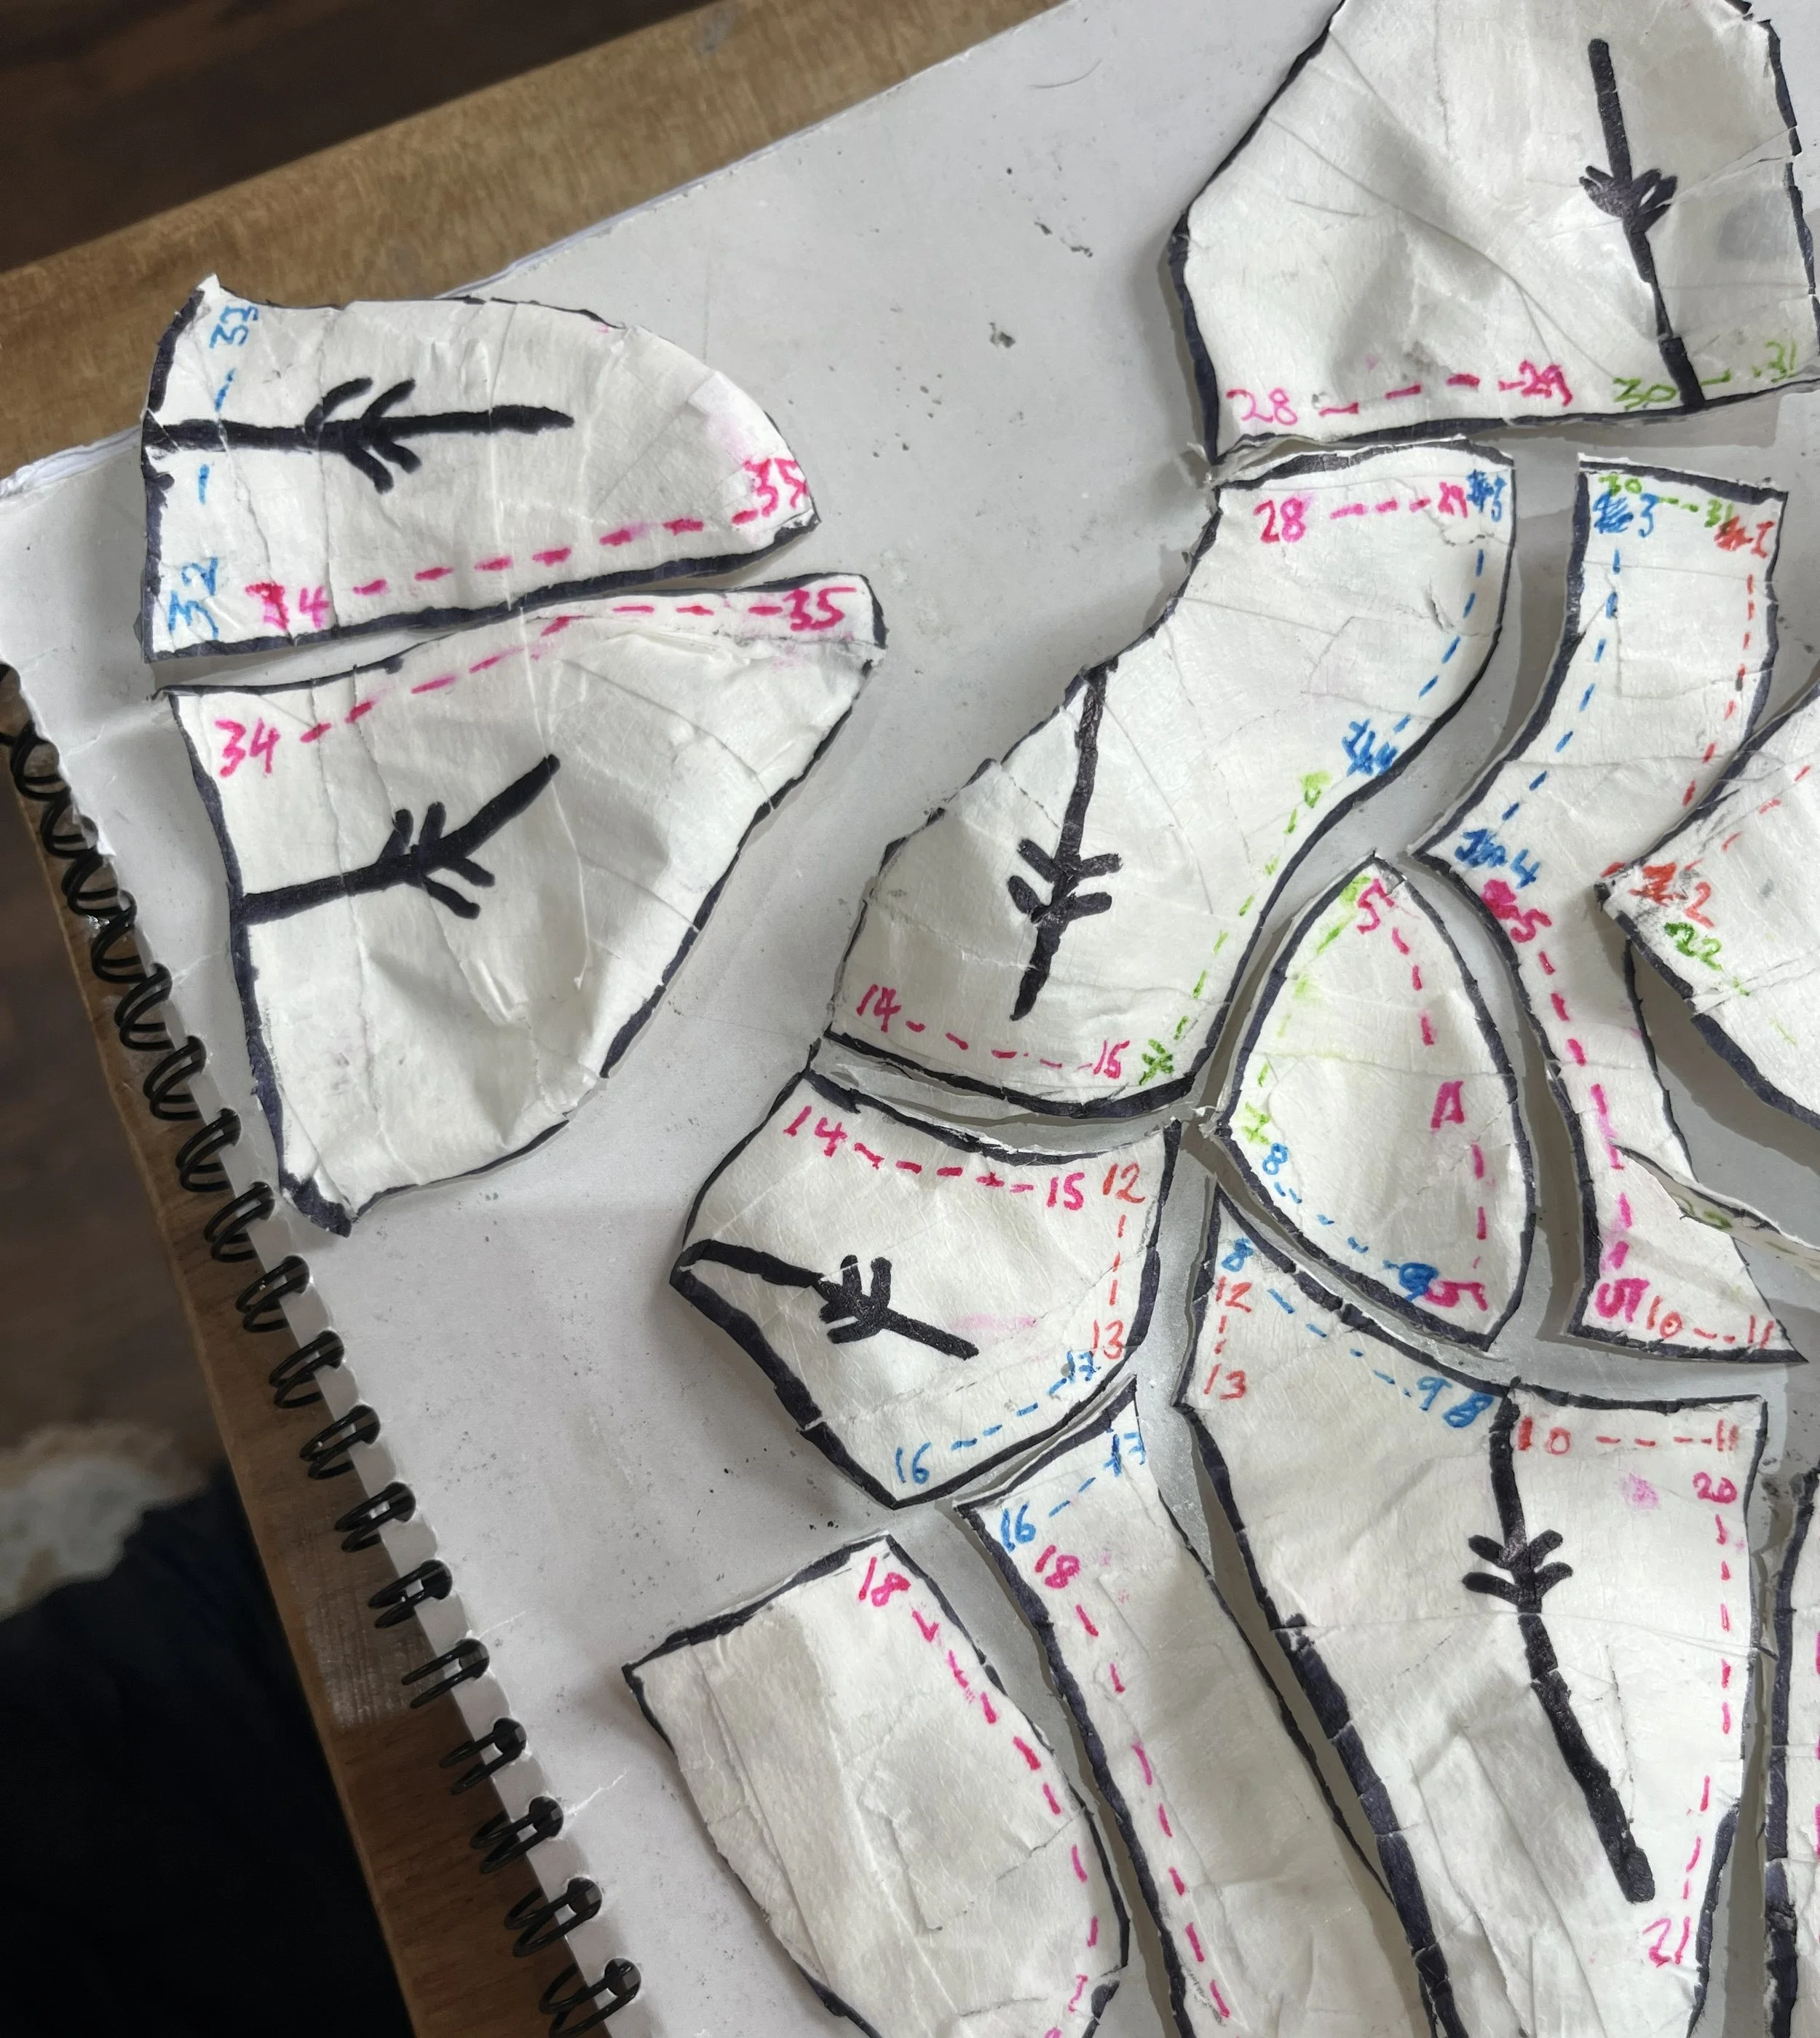
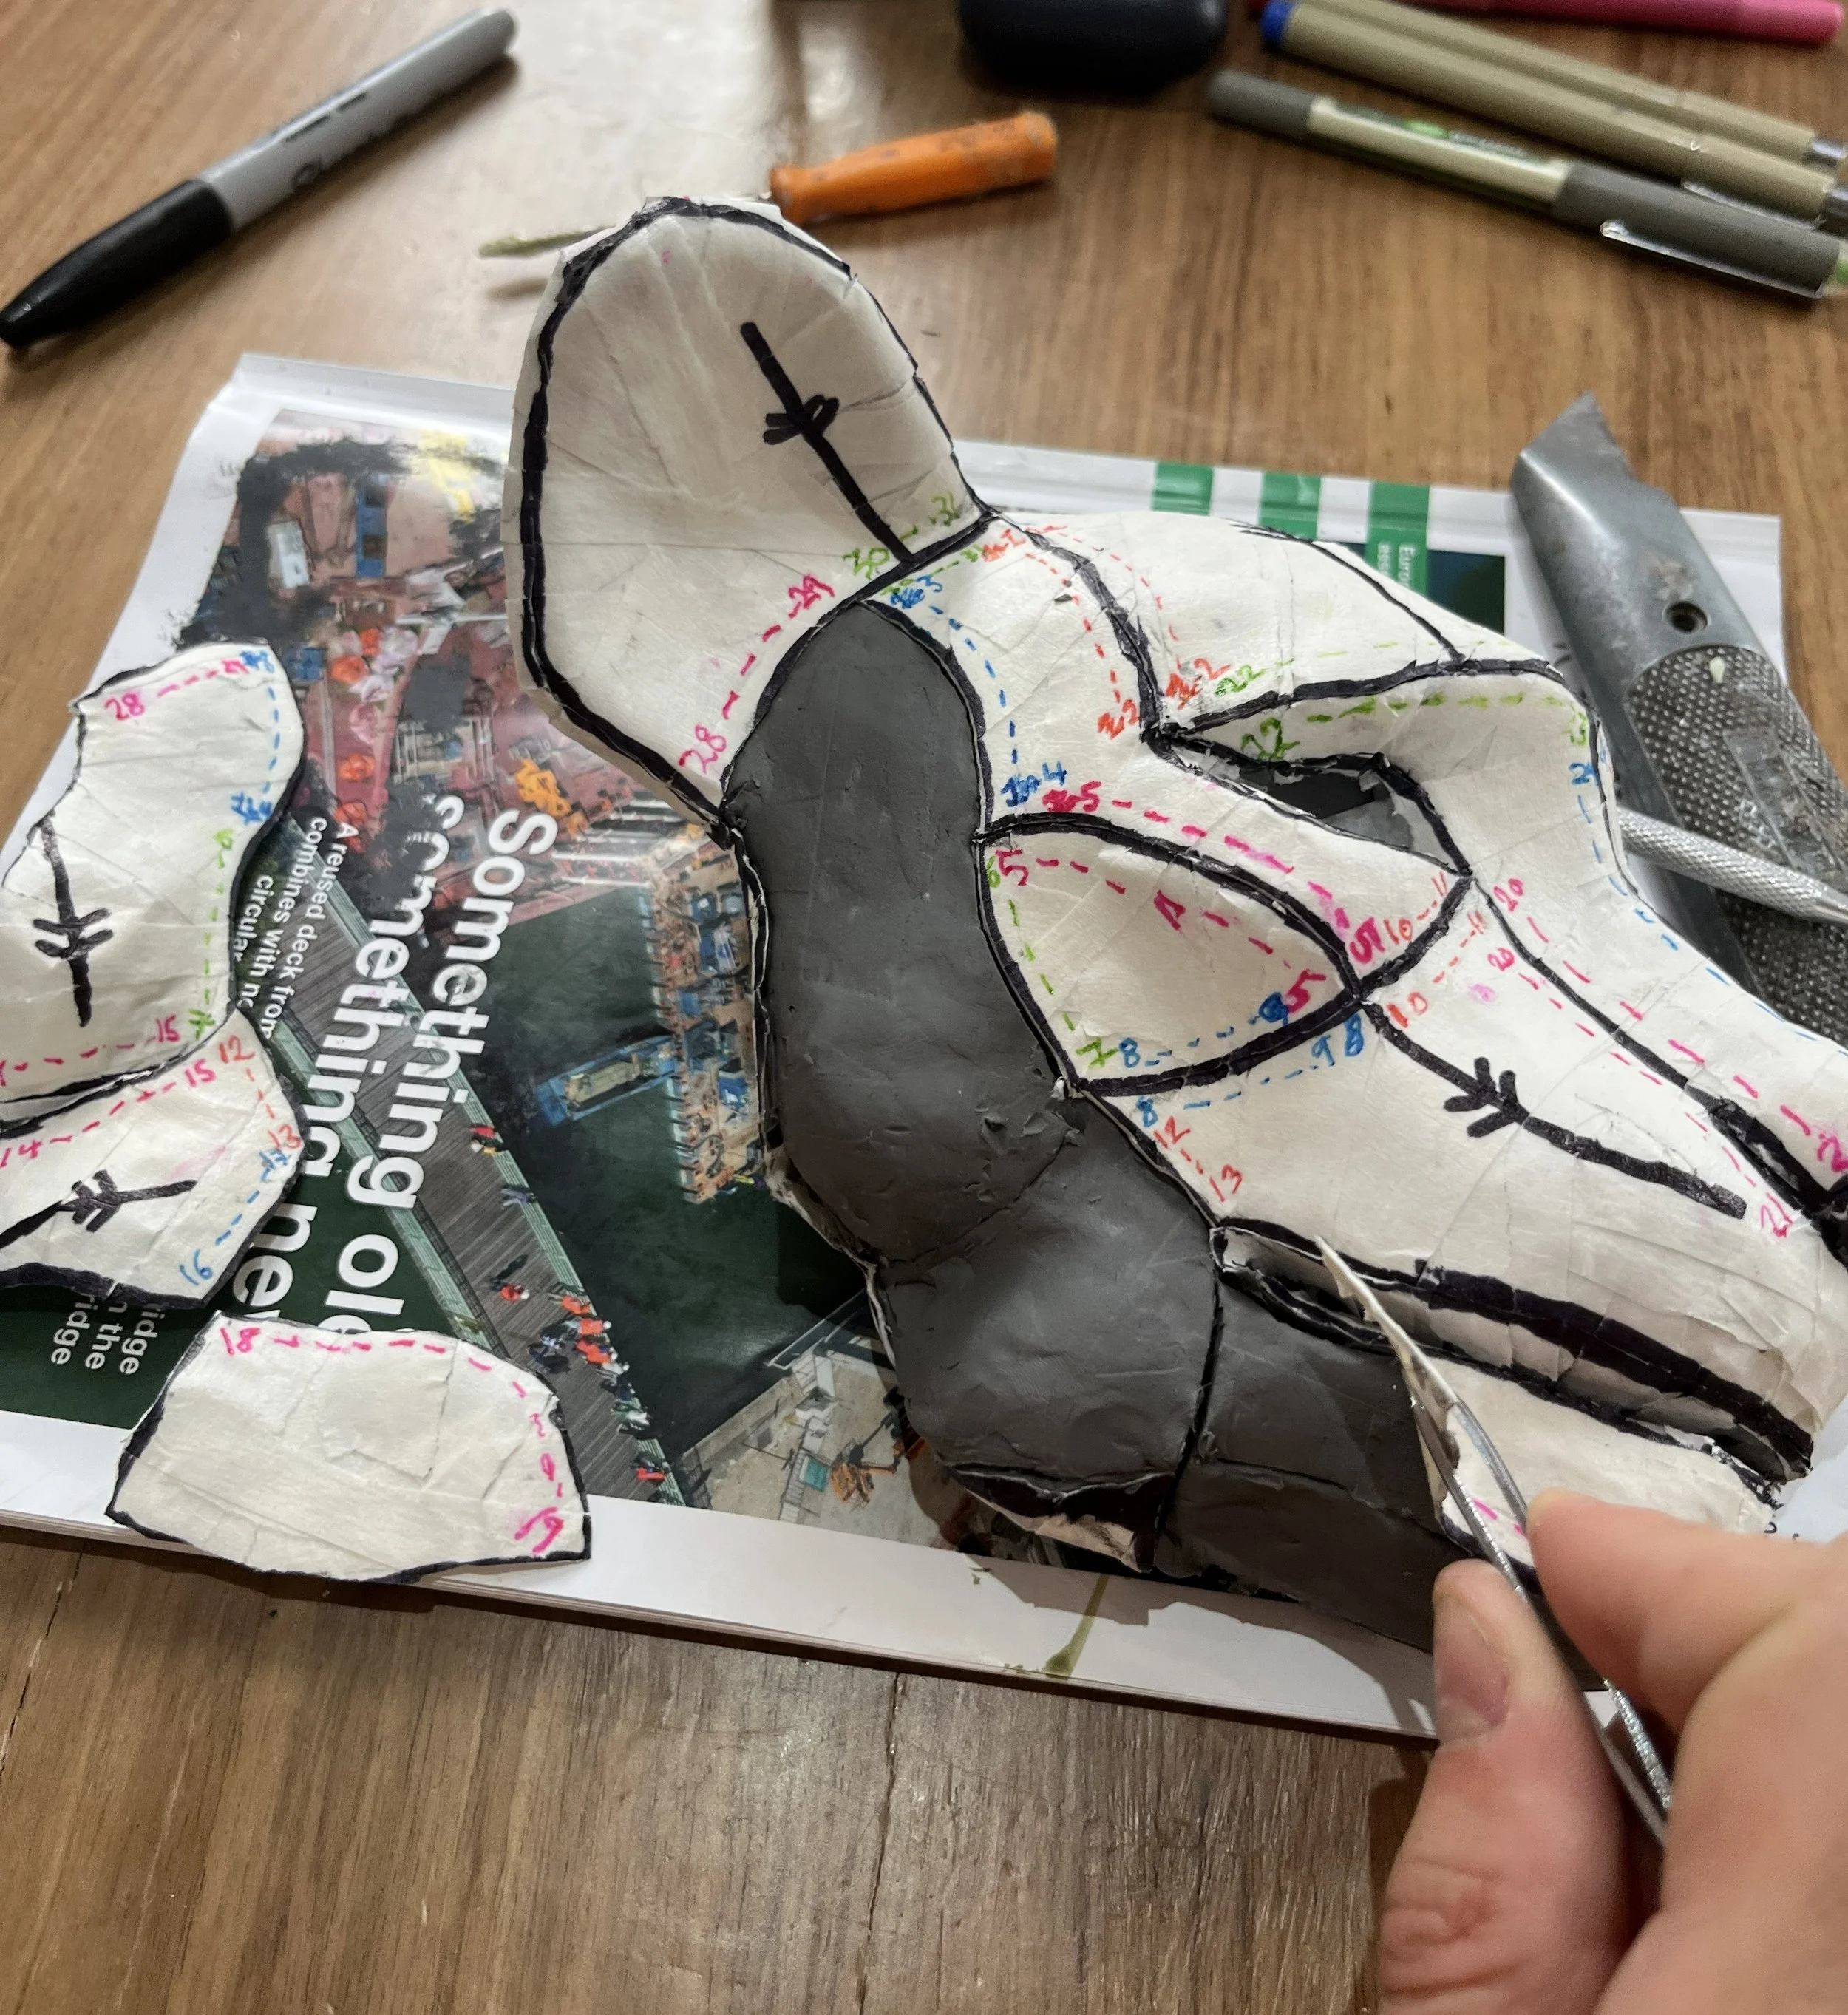
The pattern pieces were then carefully cut up using a scalpel and removed from the sculpture.
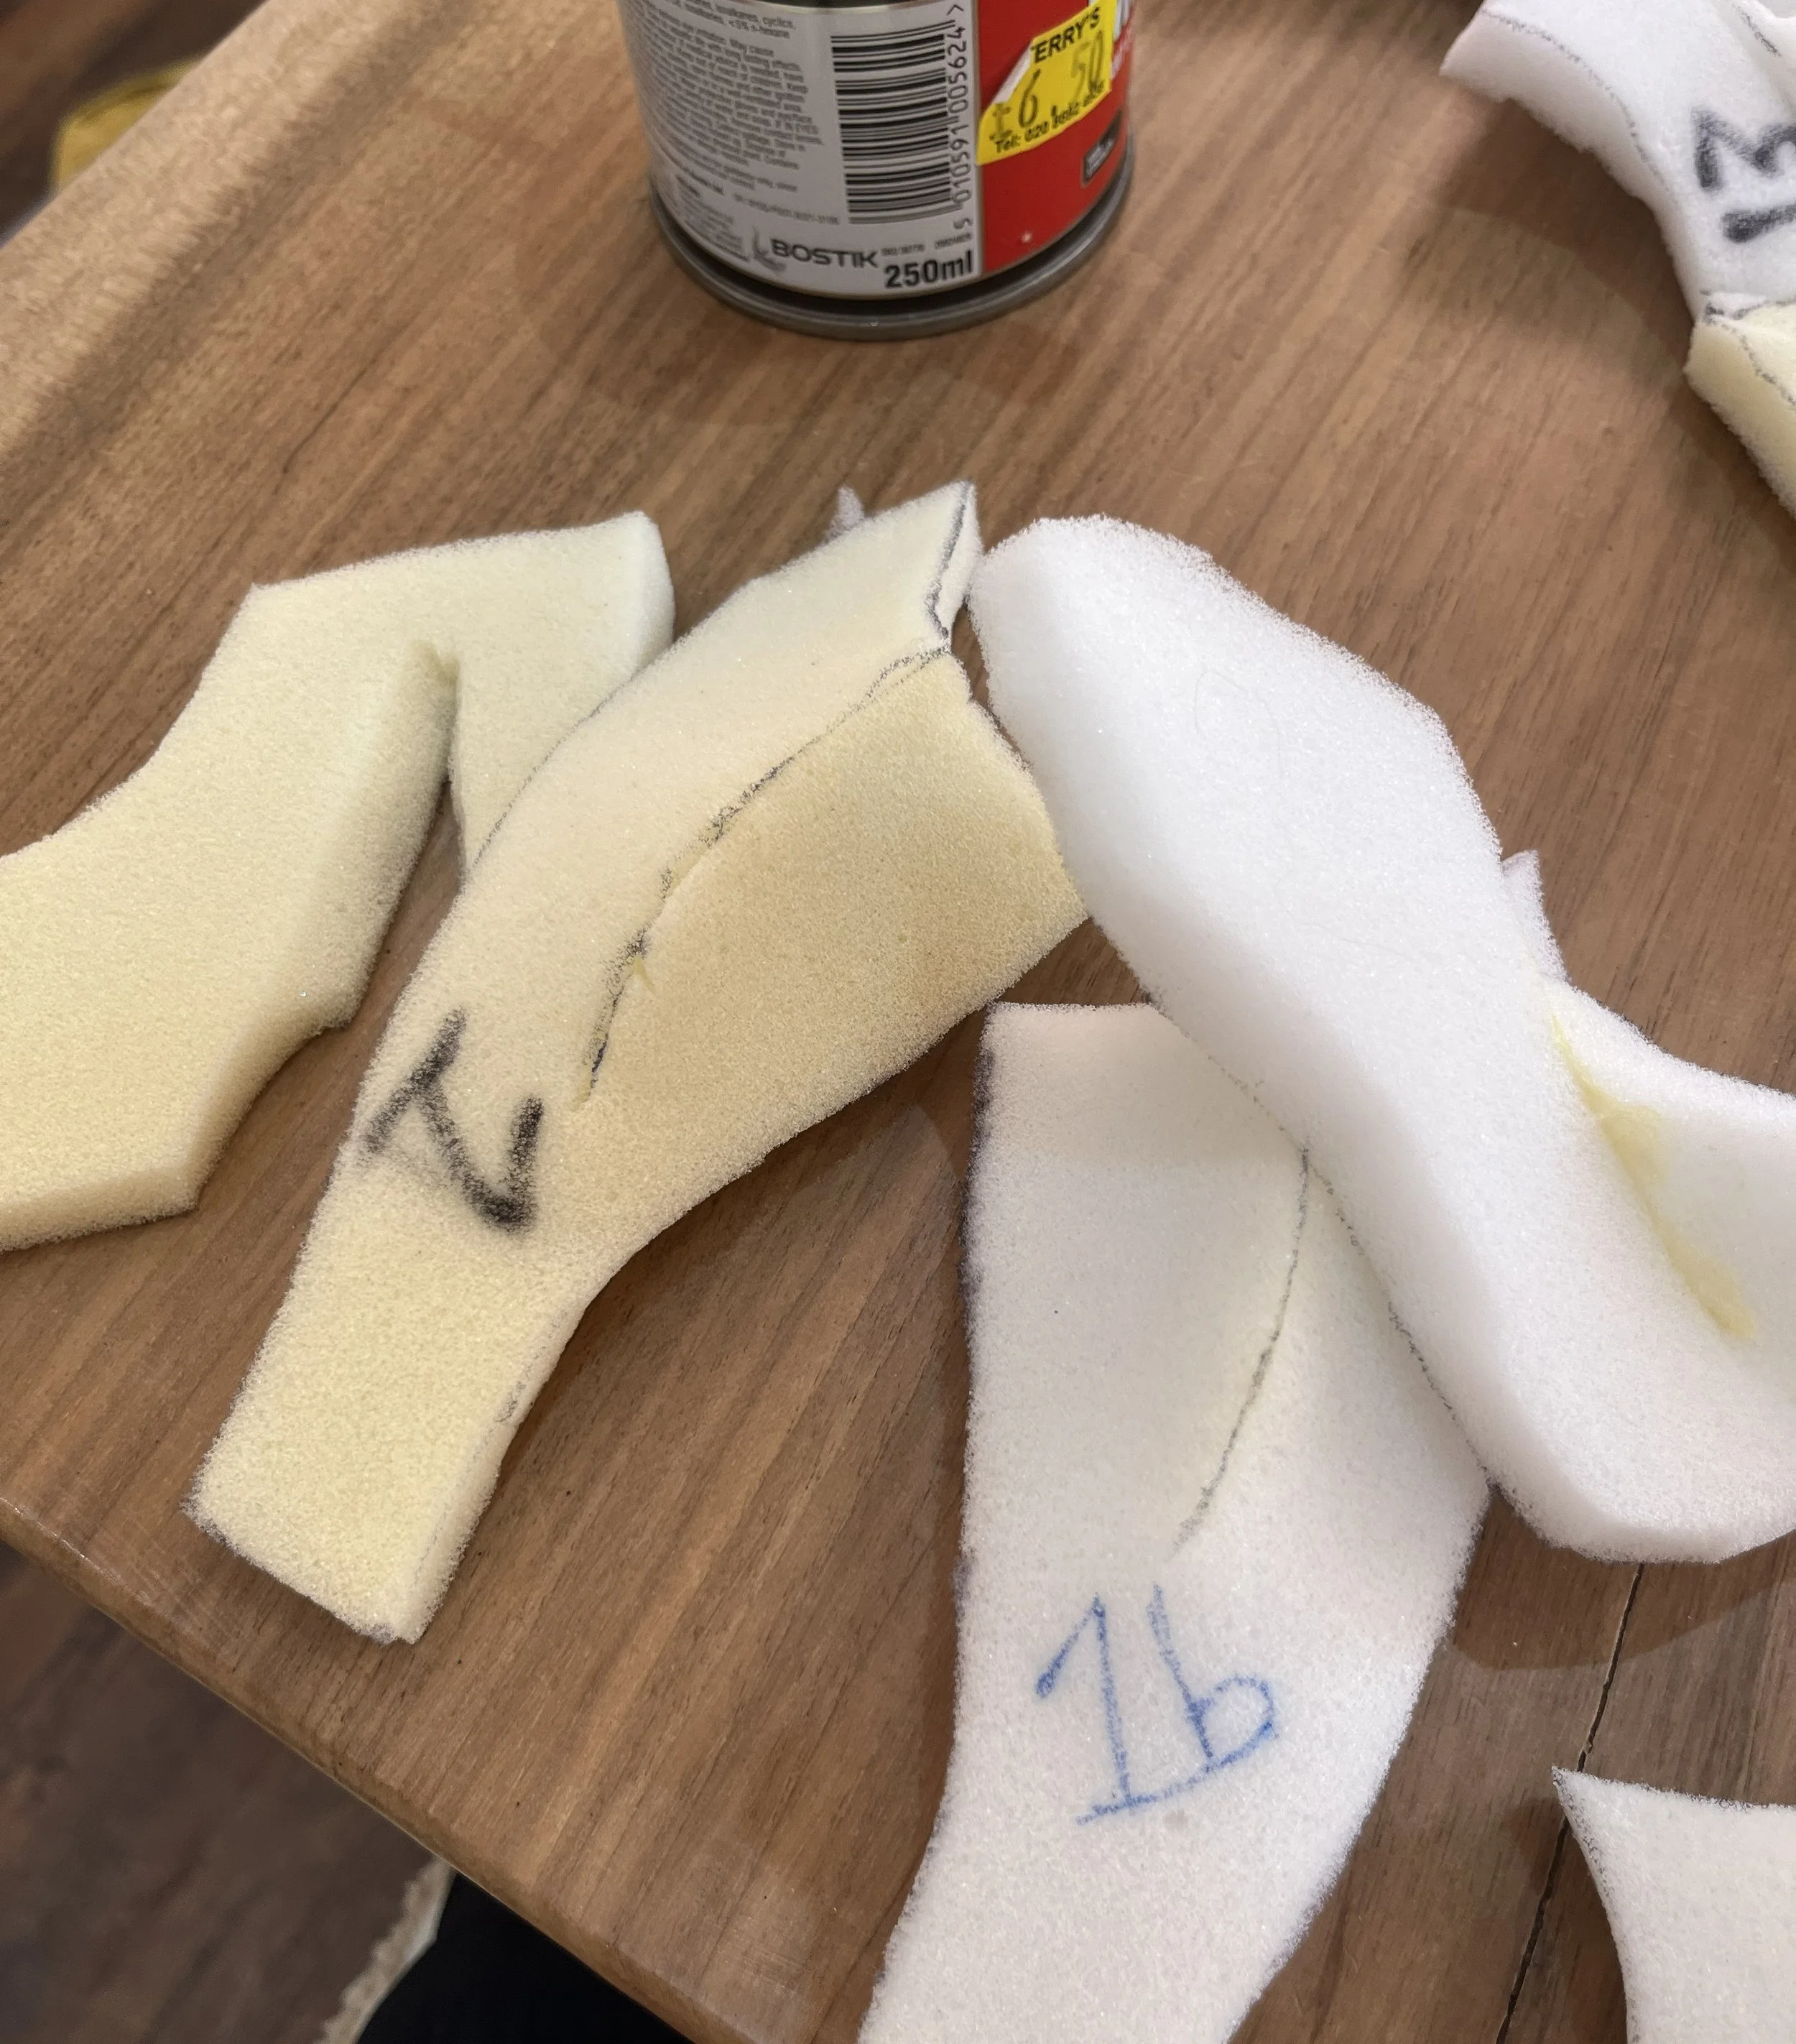
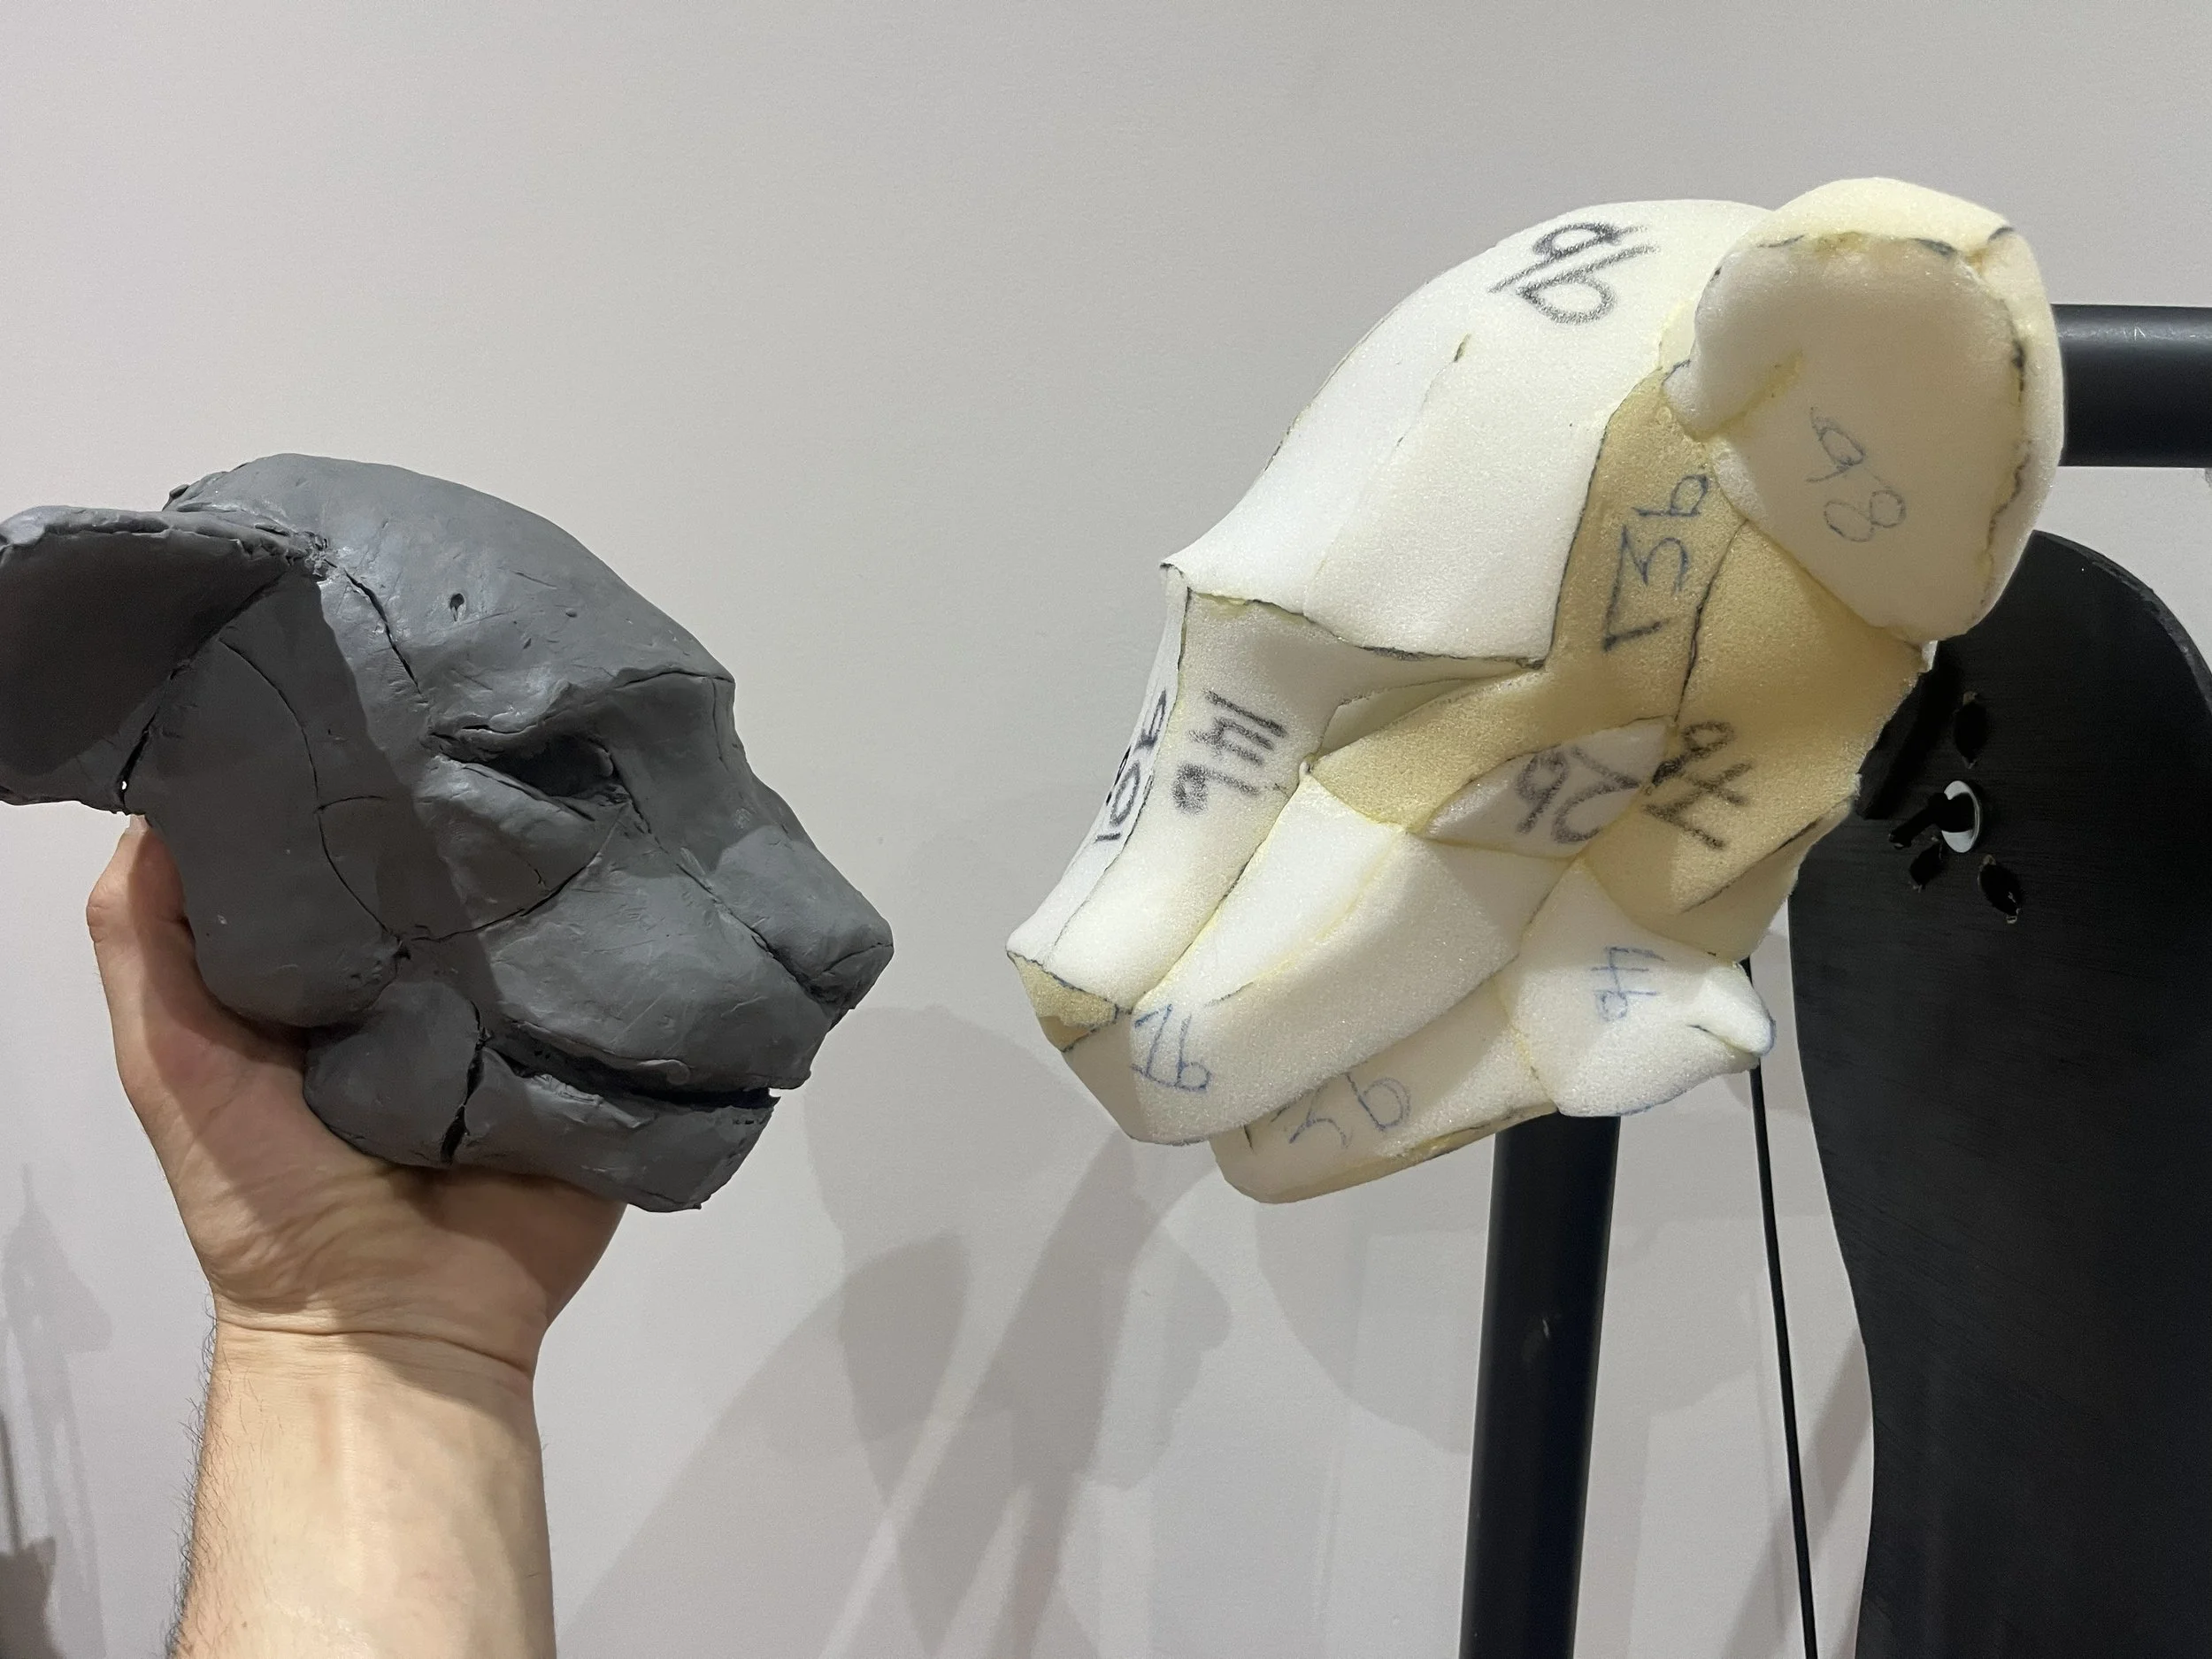
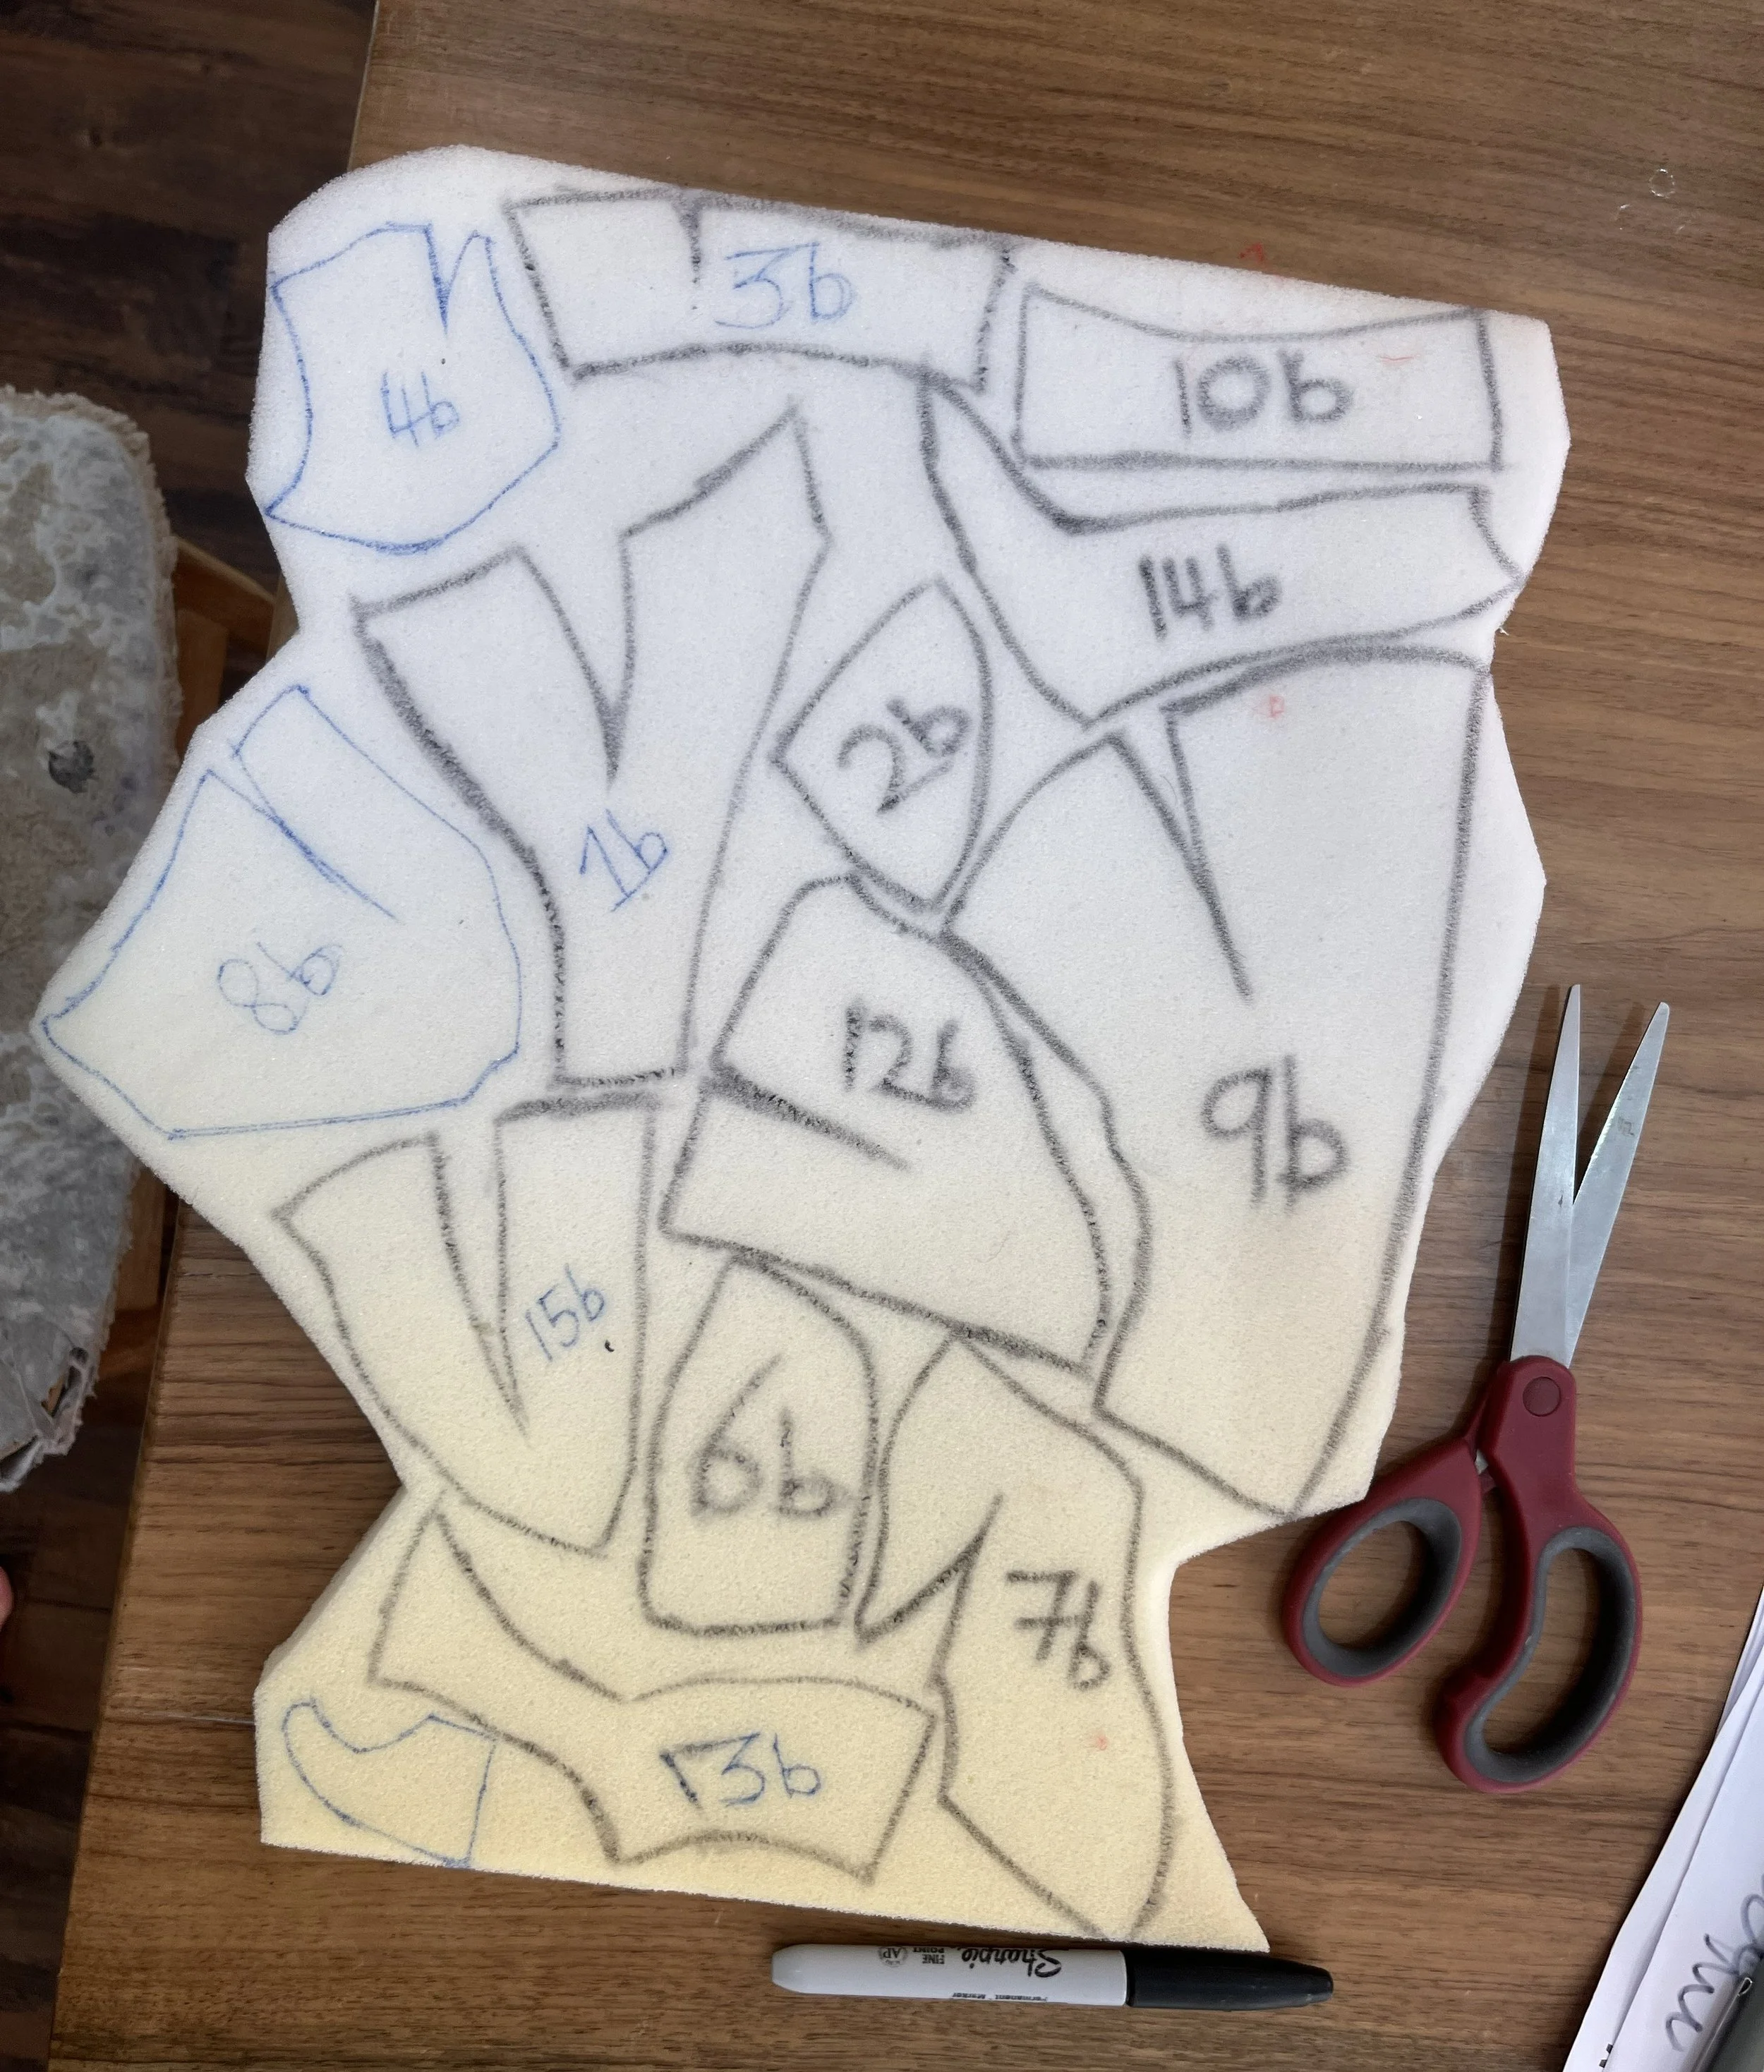
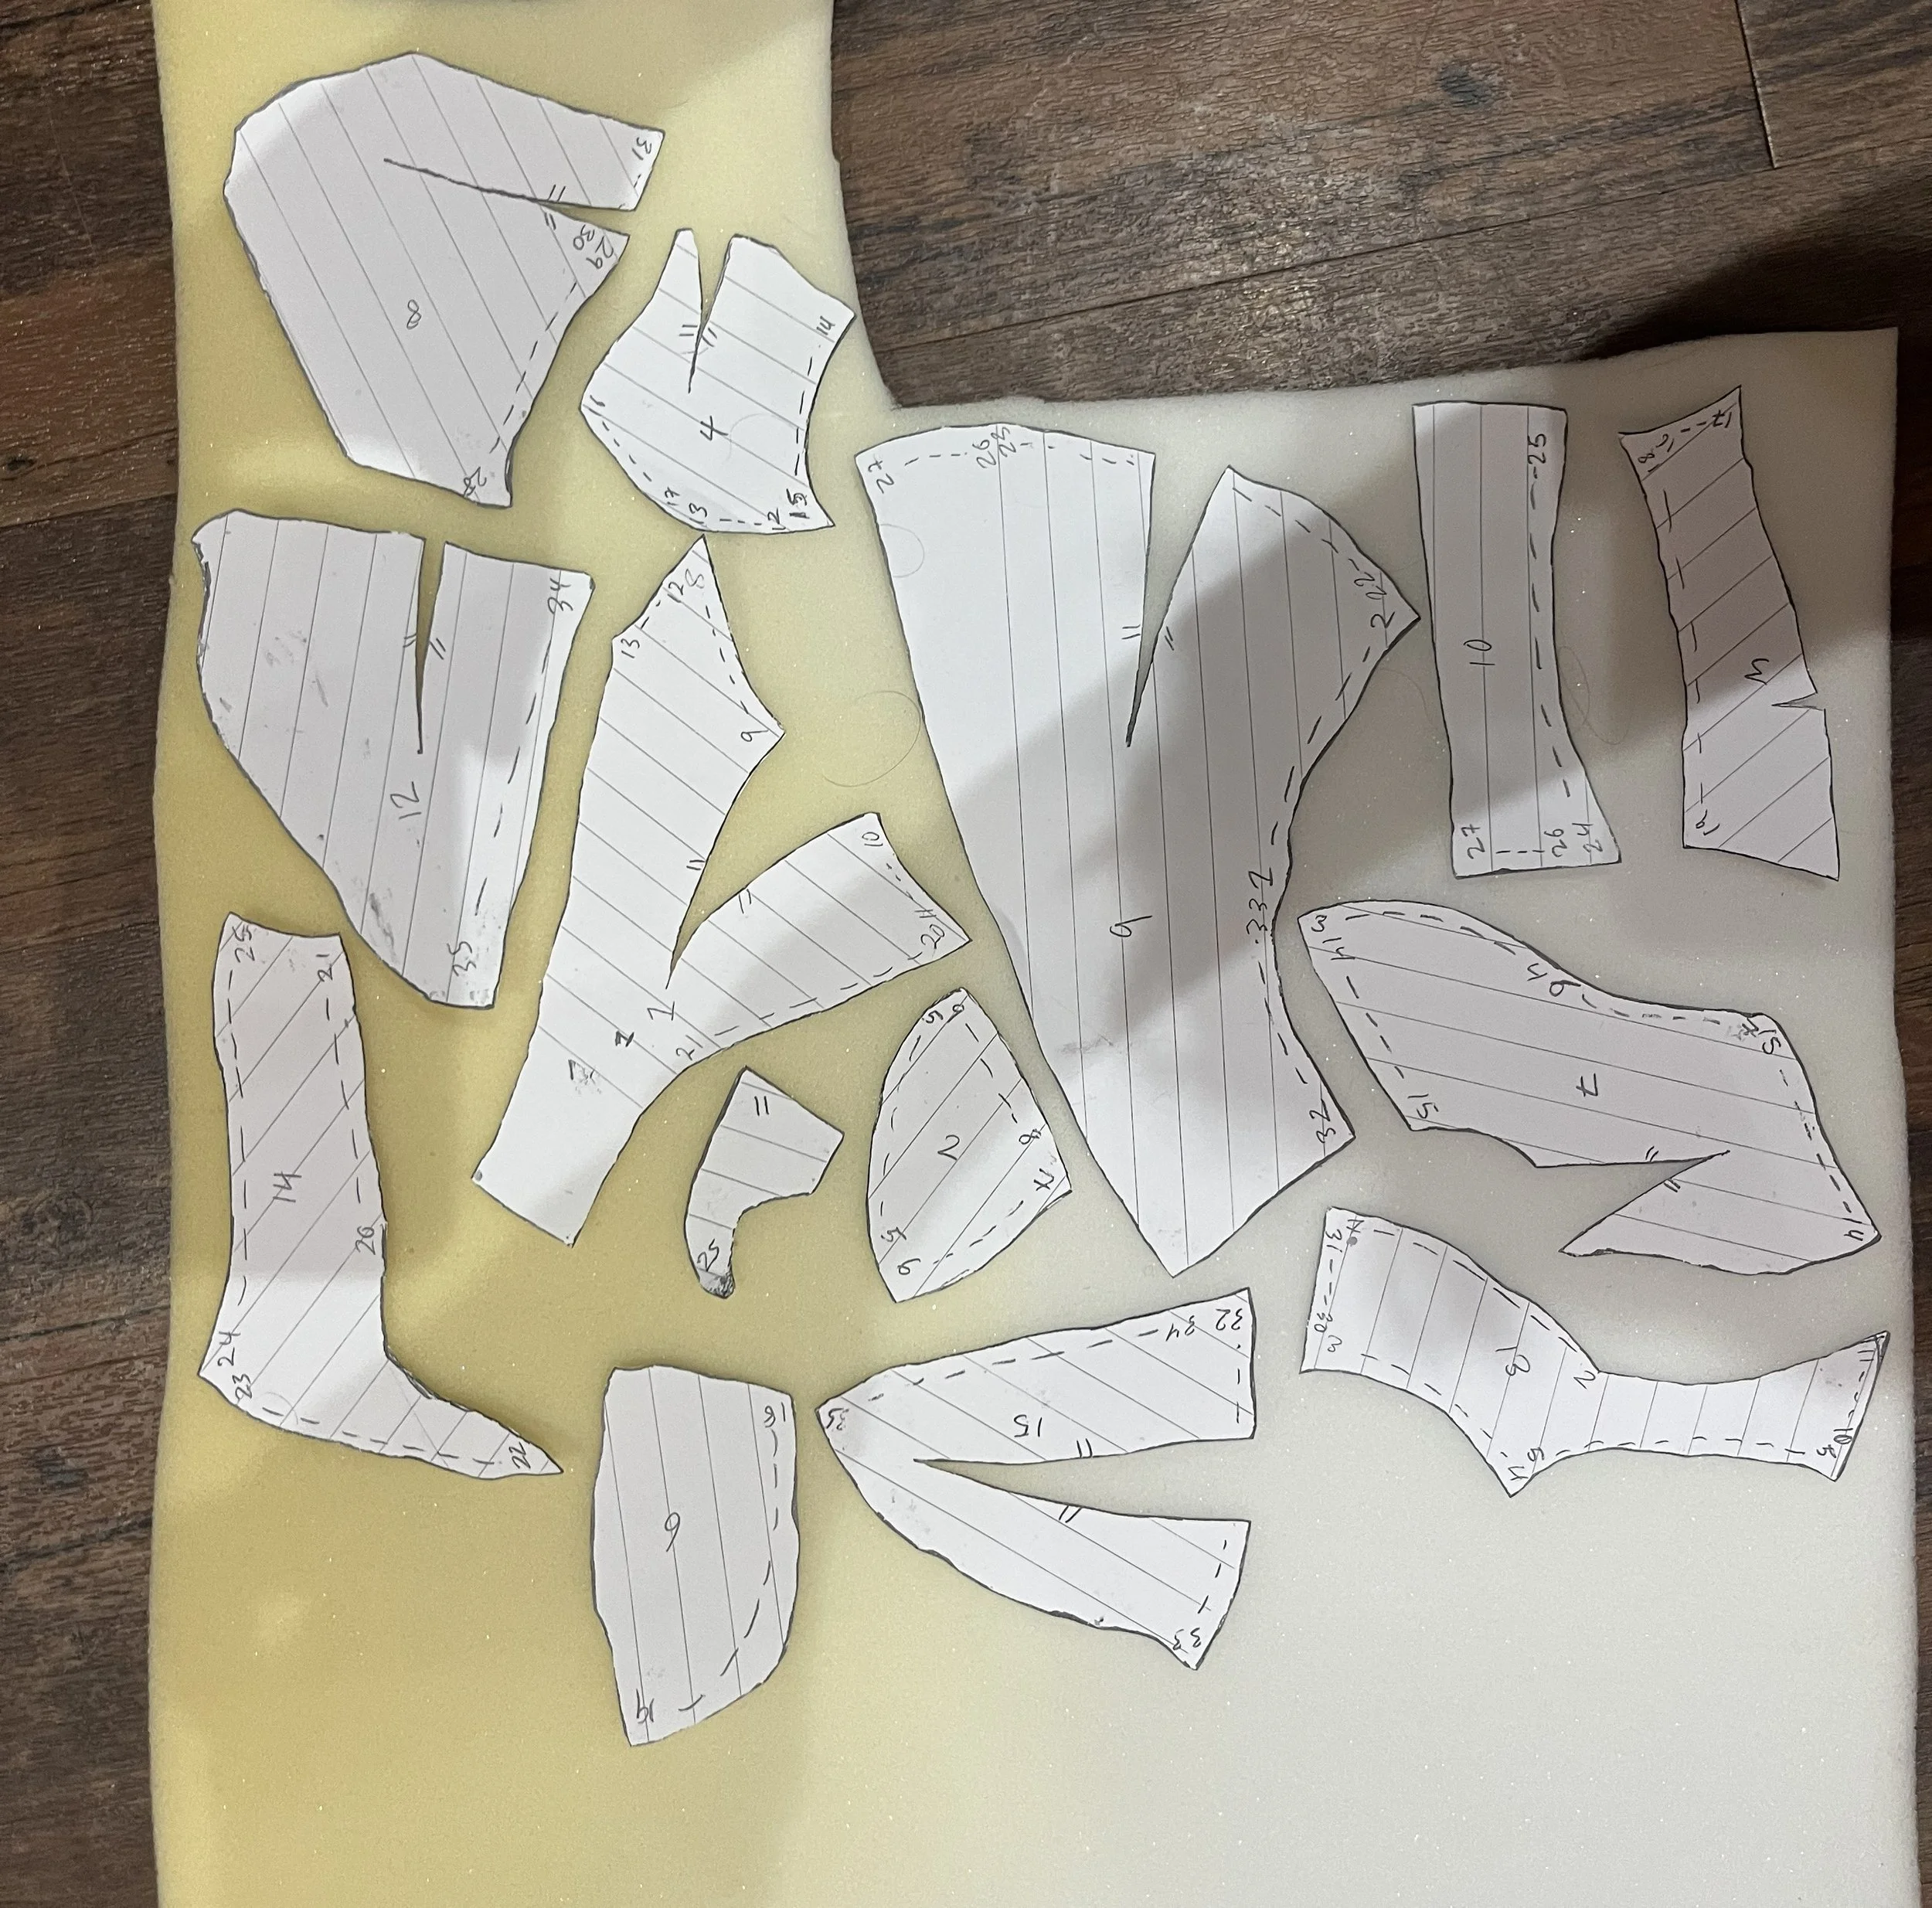
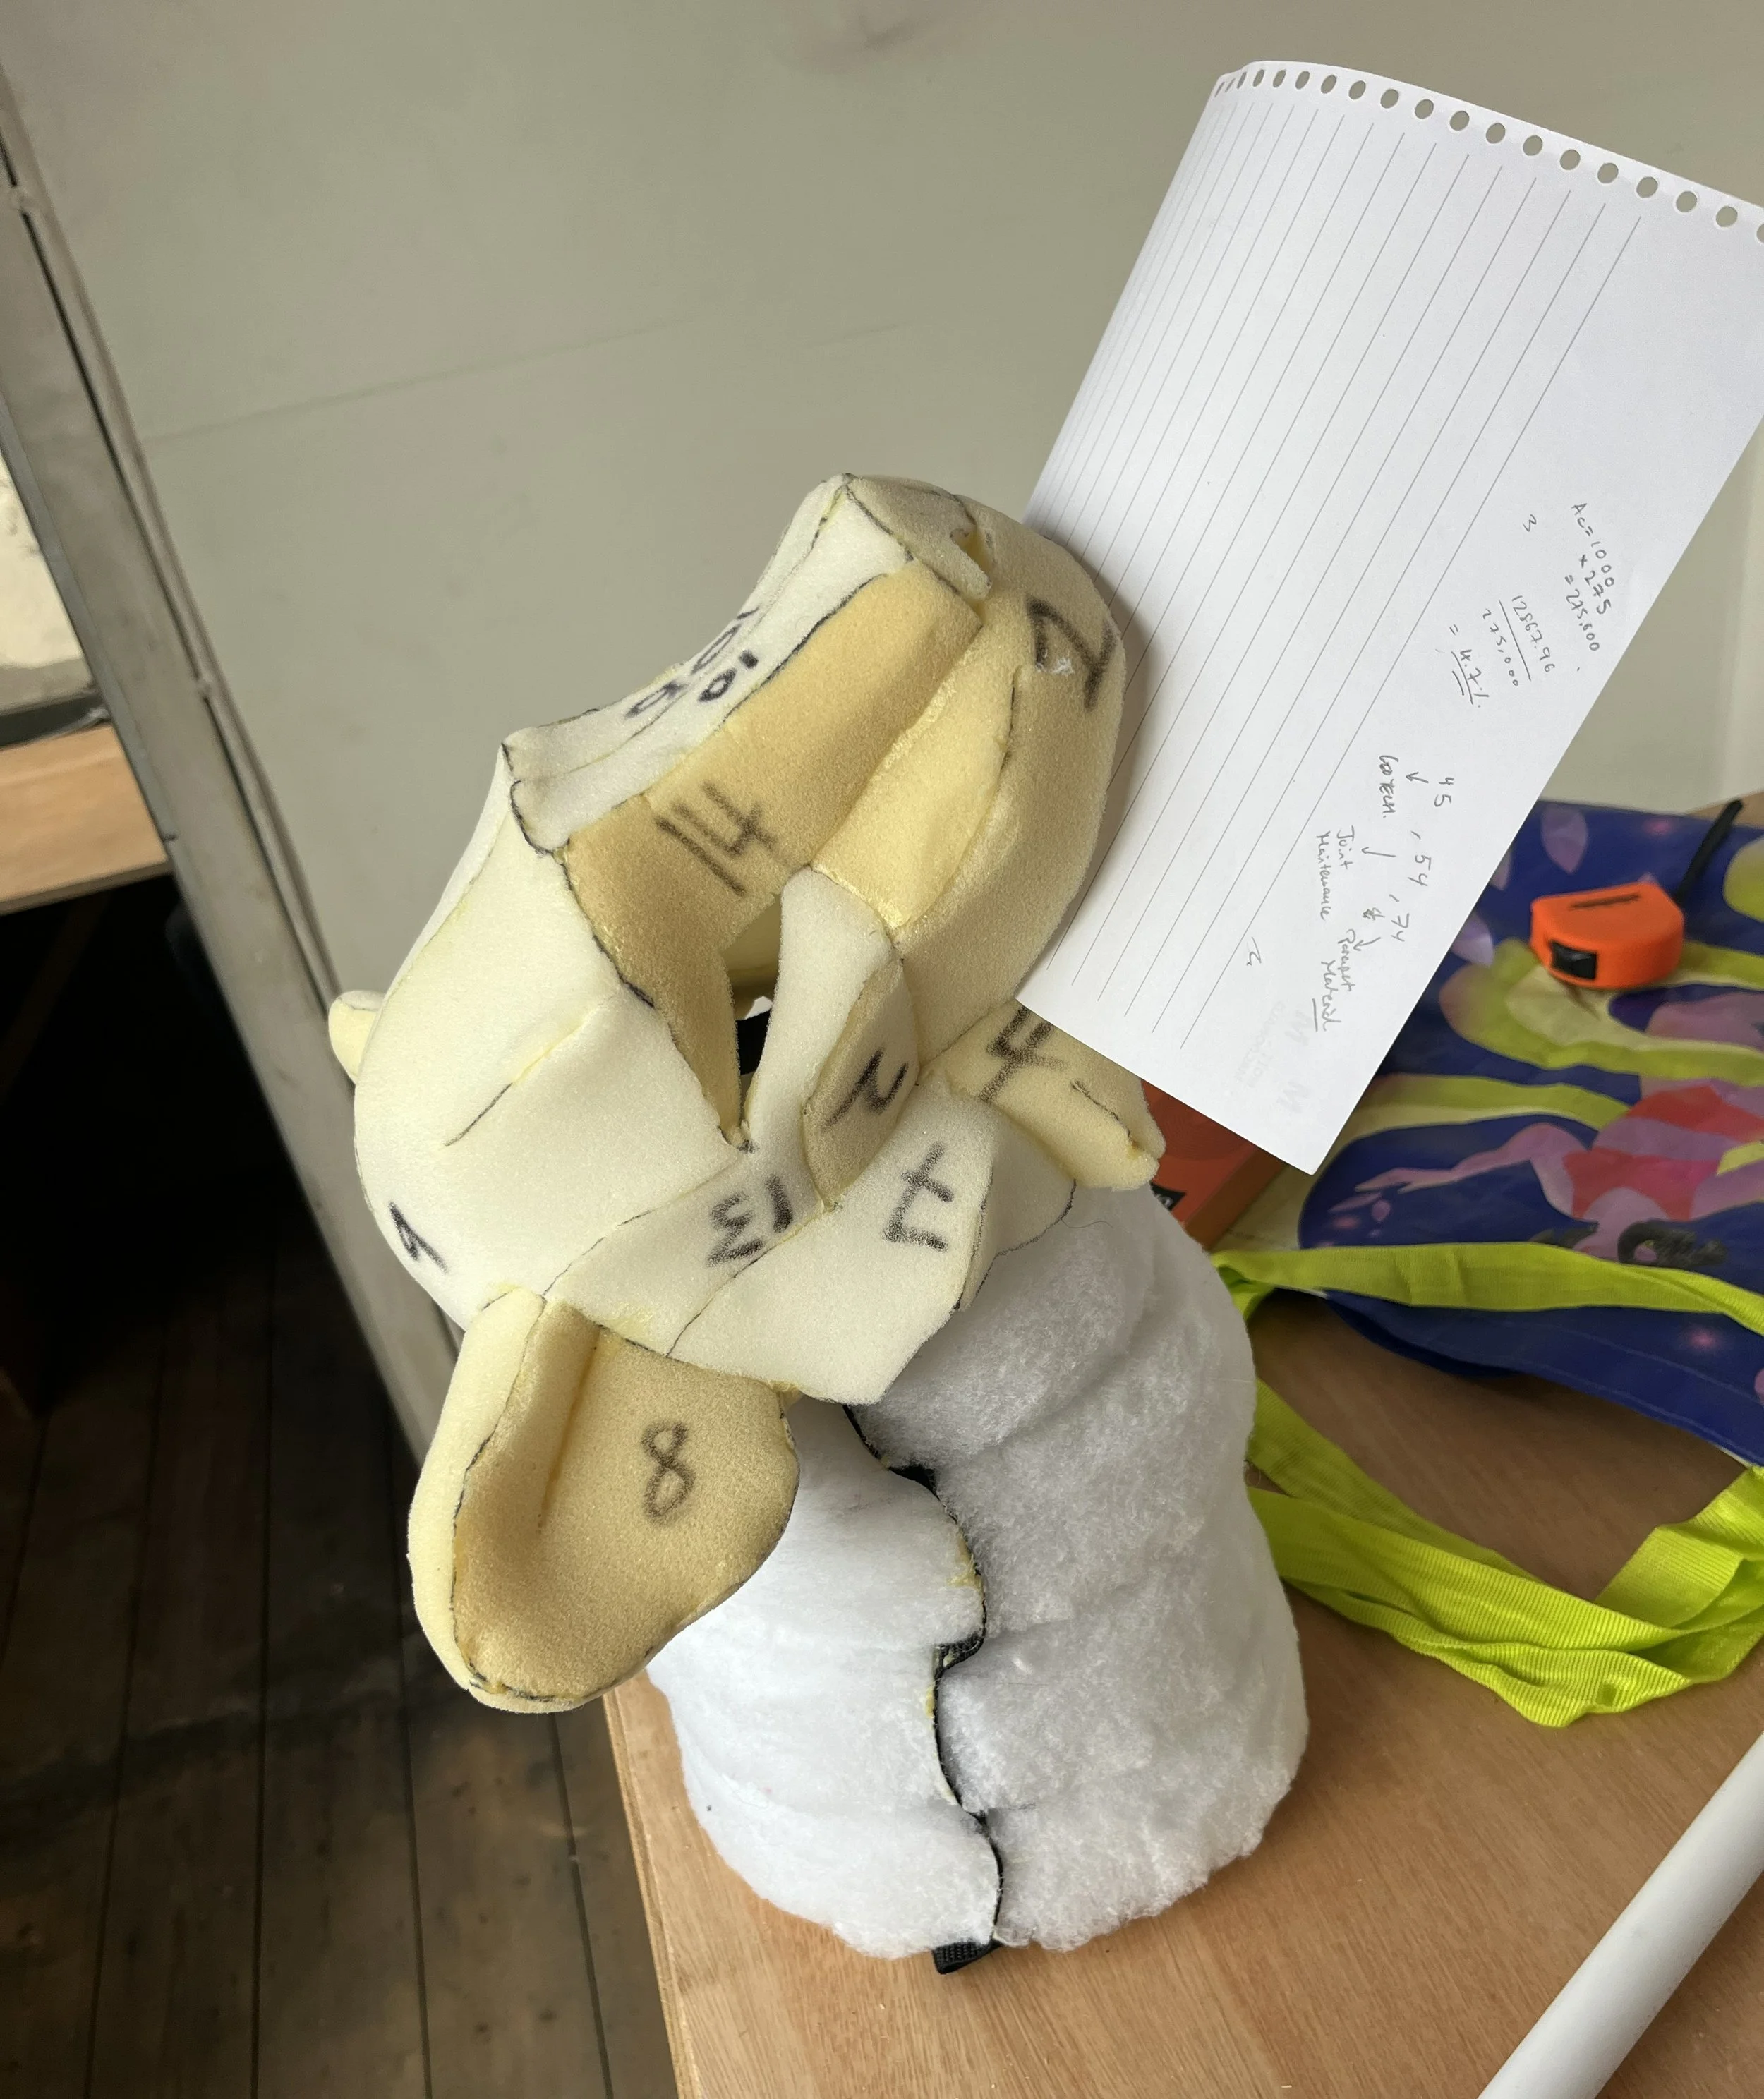
The pattern shapes were then copied onto paper and scaled up to the correct size using a printer. They were then copied onto upholstery foam to make the final pieces.
The pieces were first pinned together to check the rough shape and scale before proceeding. Bevels were then cut into the edges where needed to improve the shape.
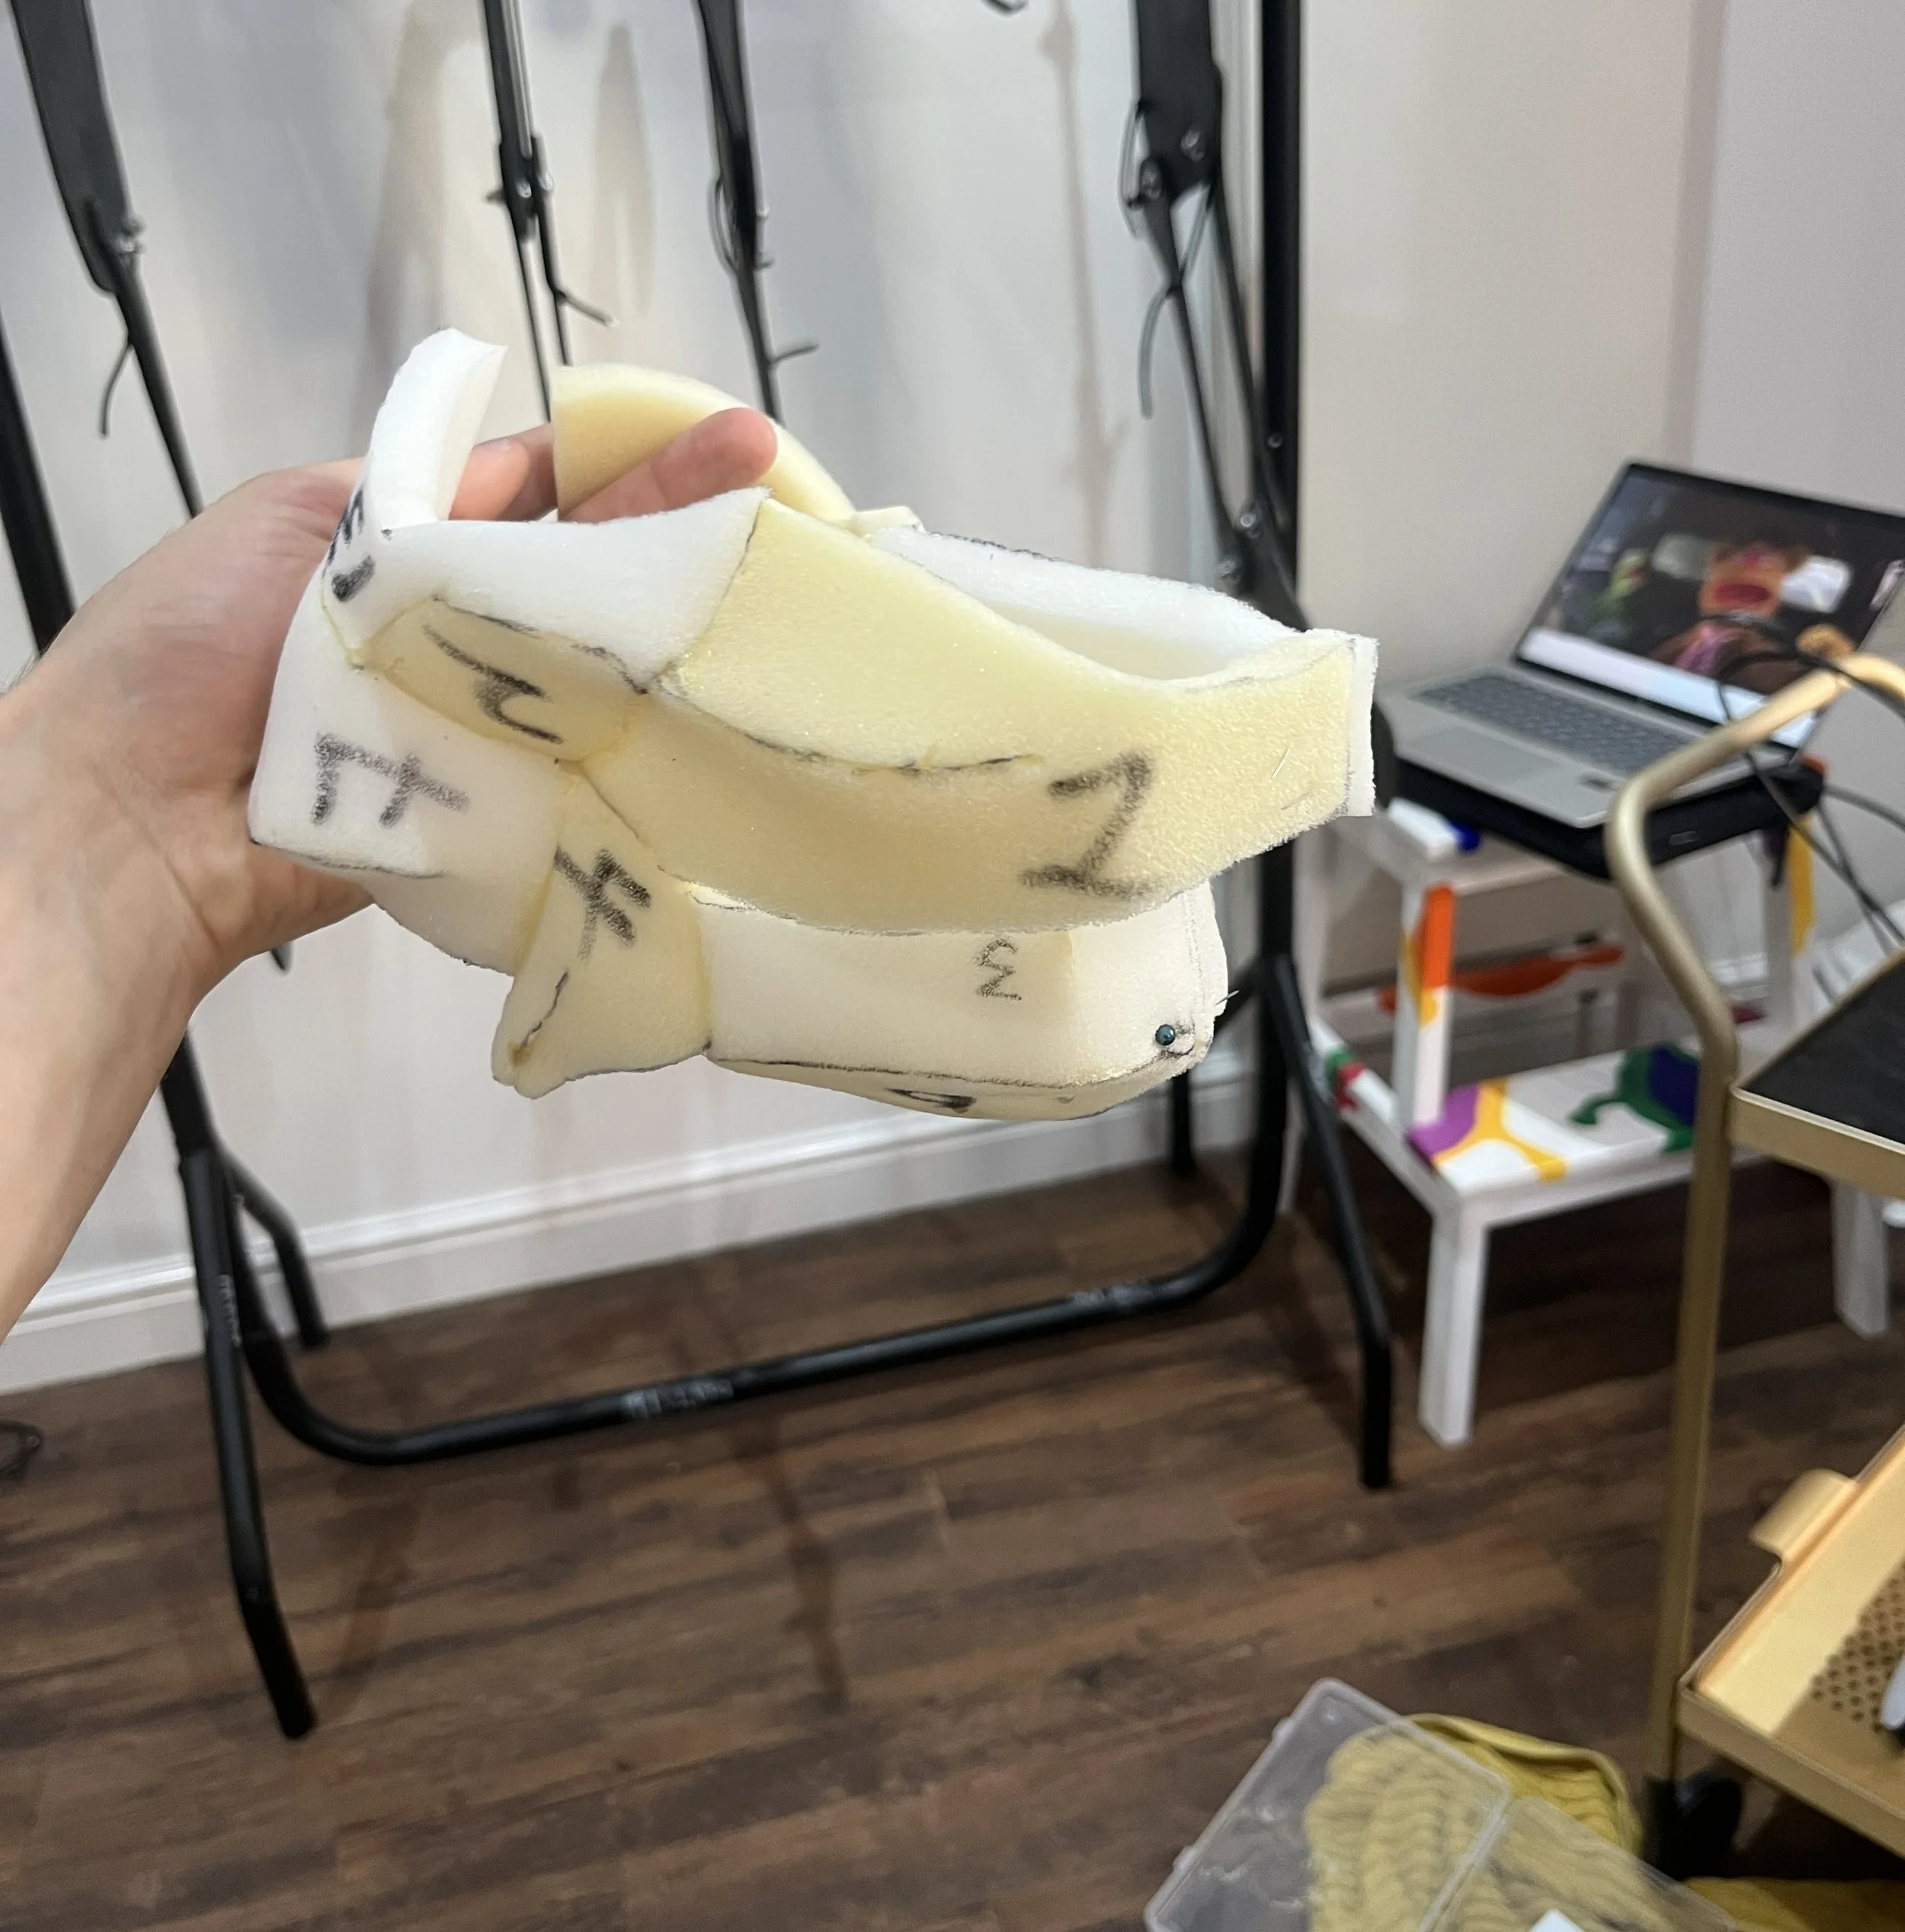
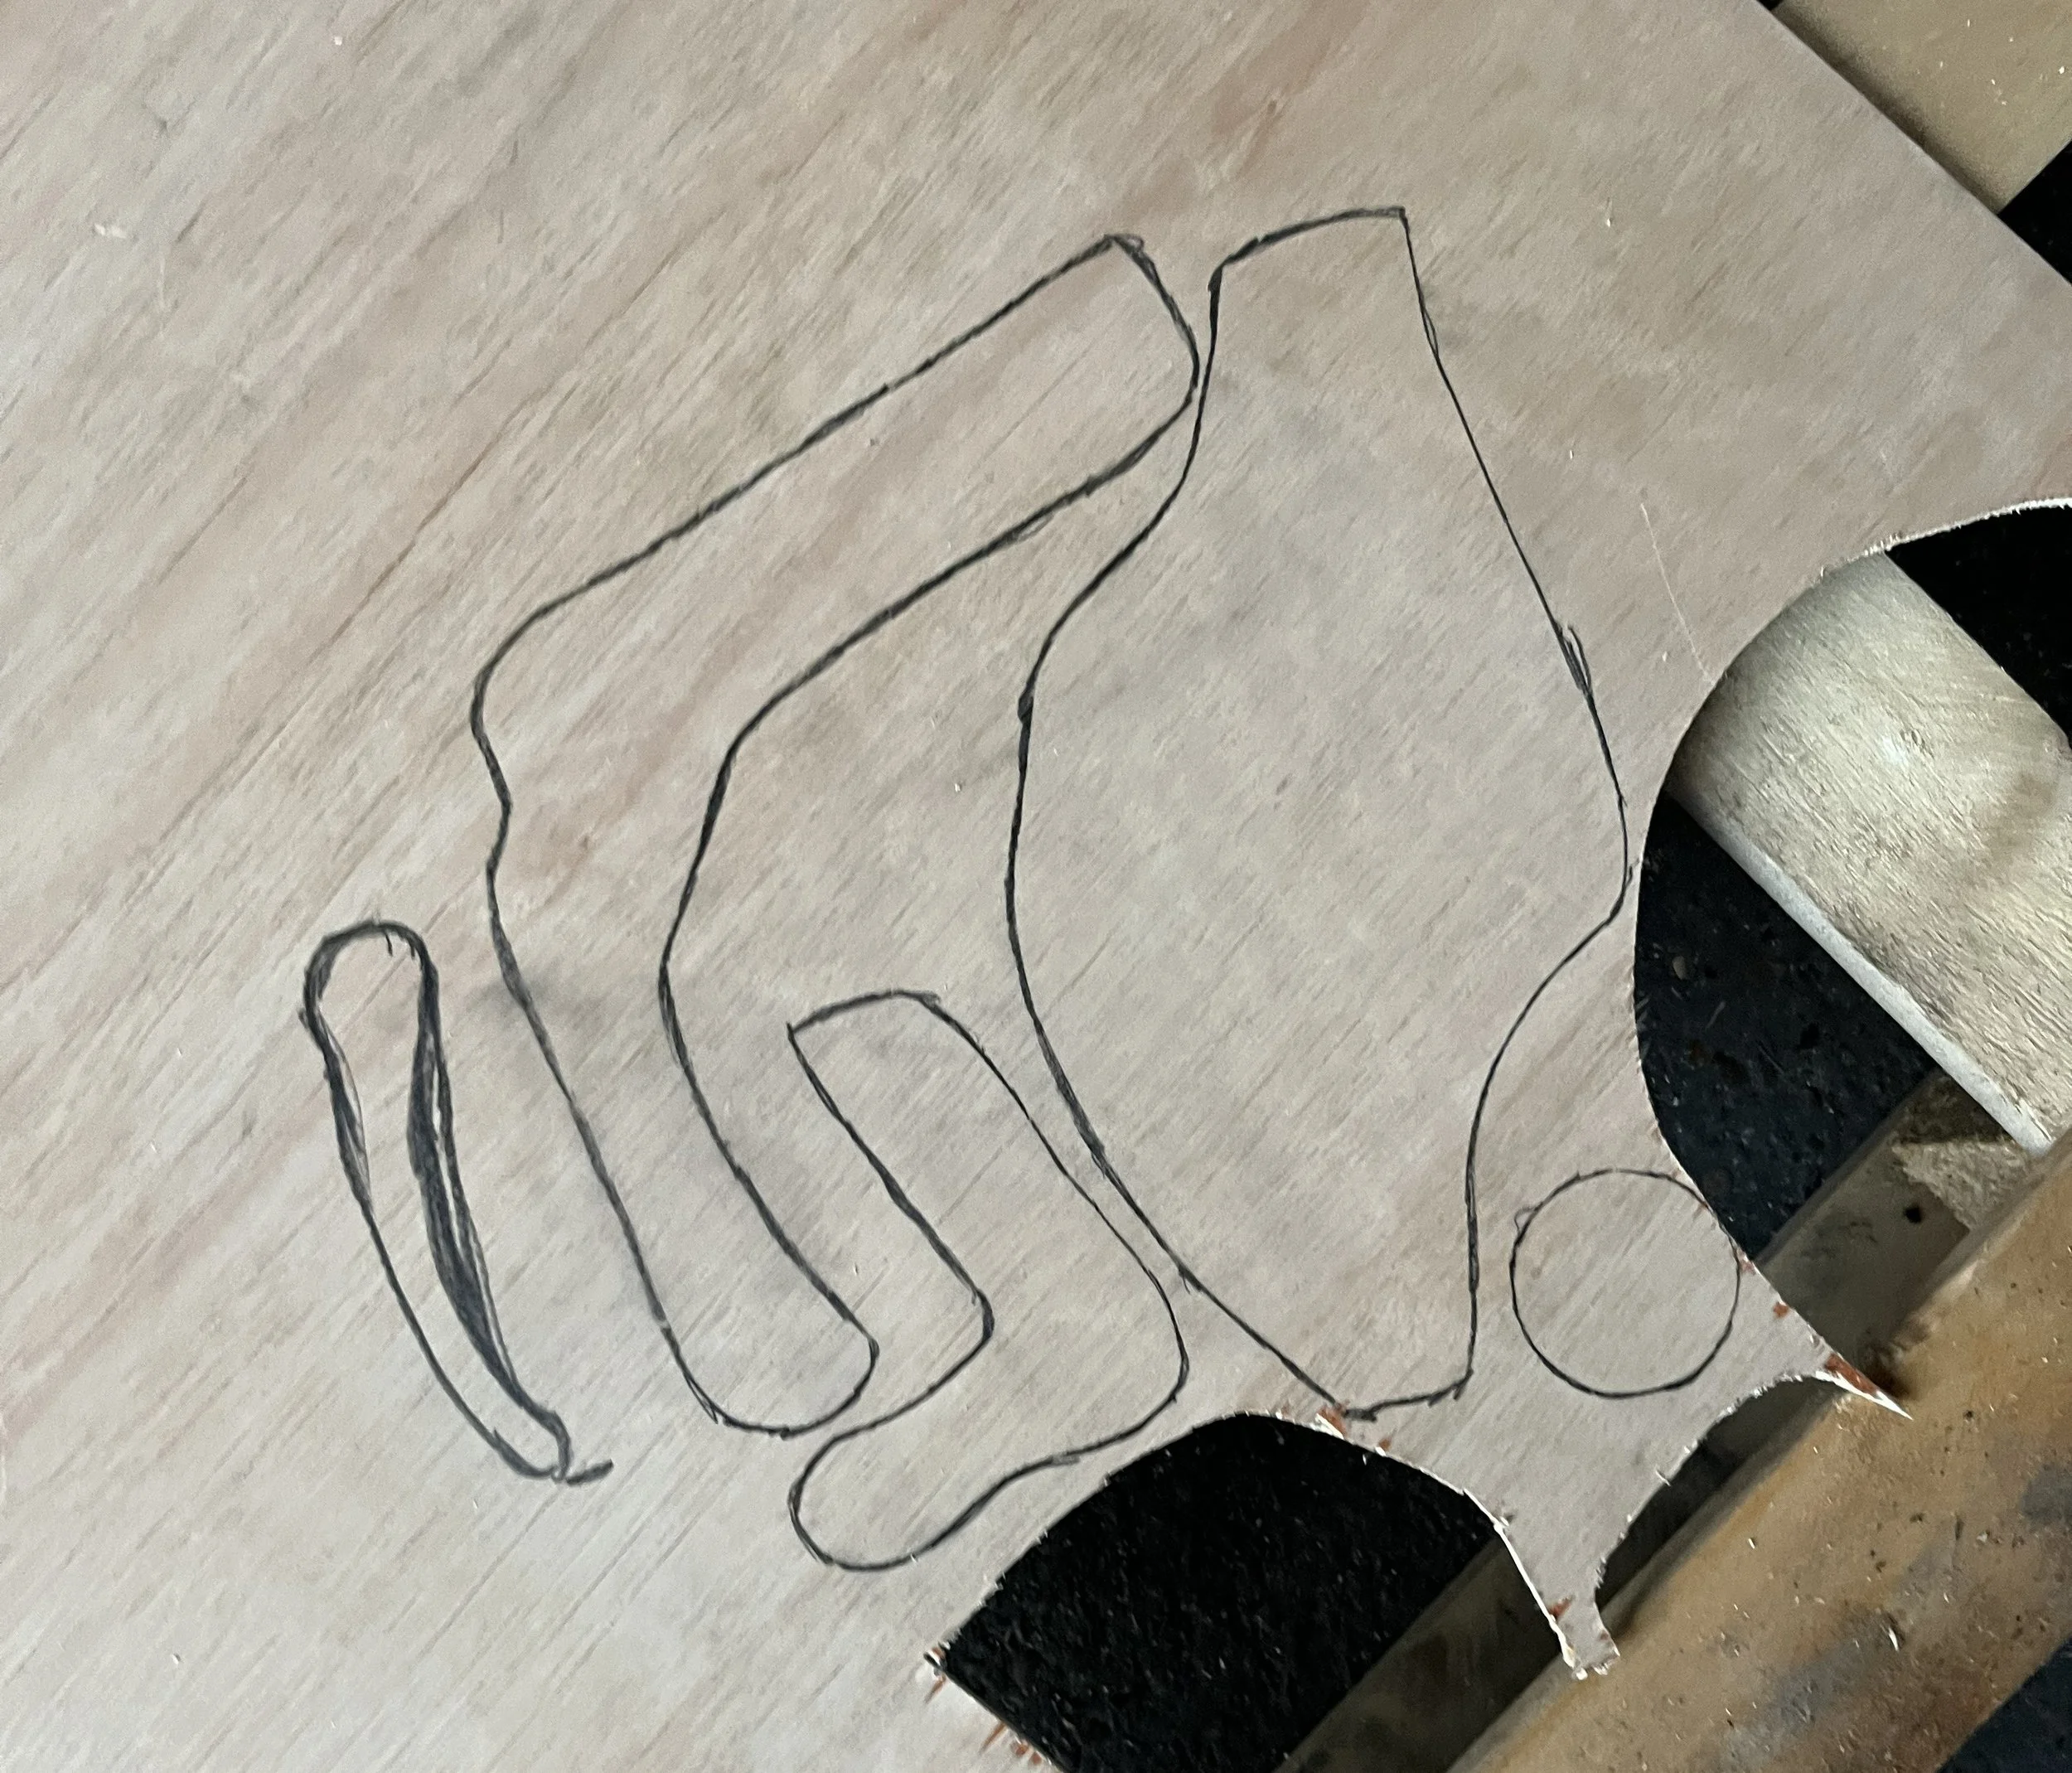
Patterns for the head mechanism were made out of paper, using the foam head to ensure the parts will fit correctly.
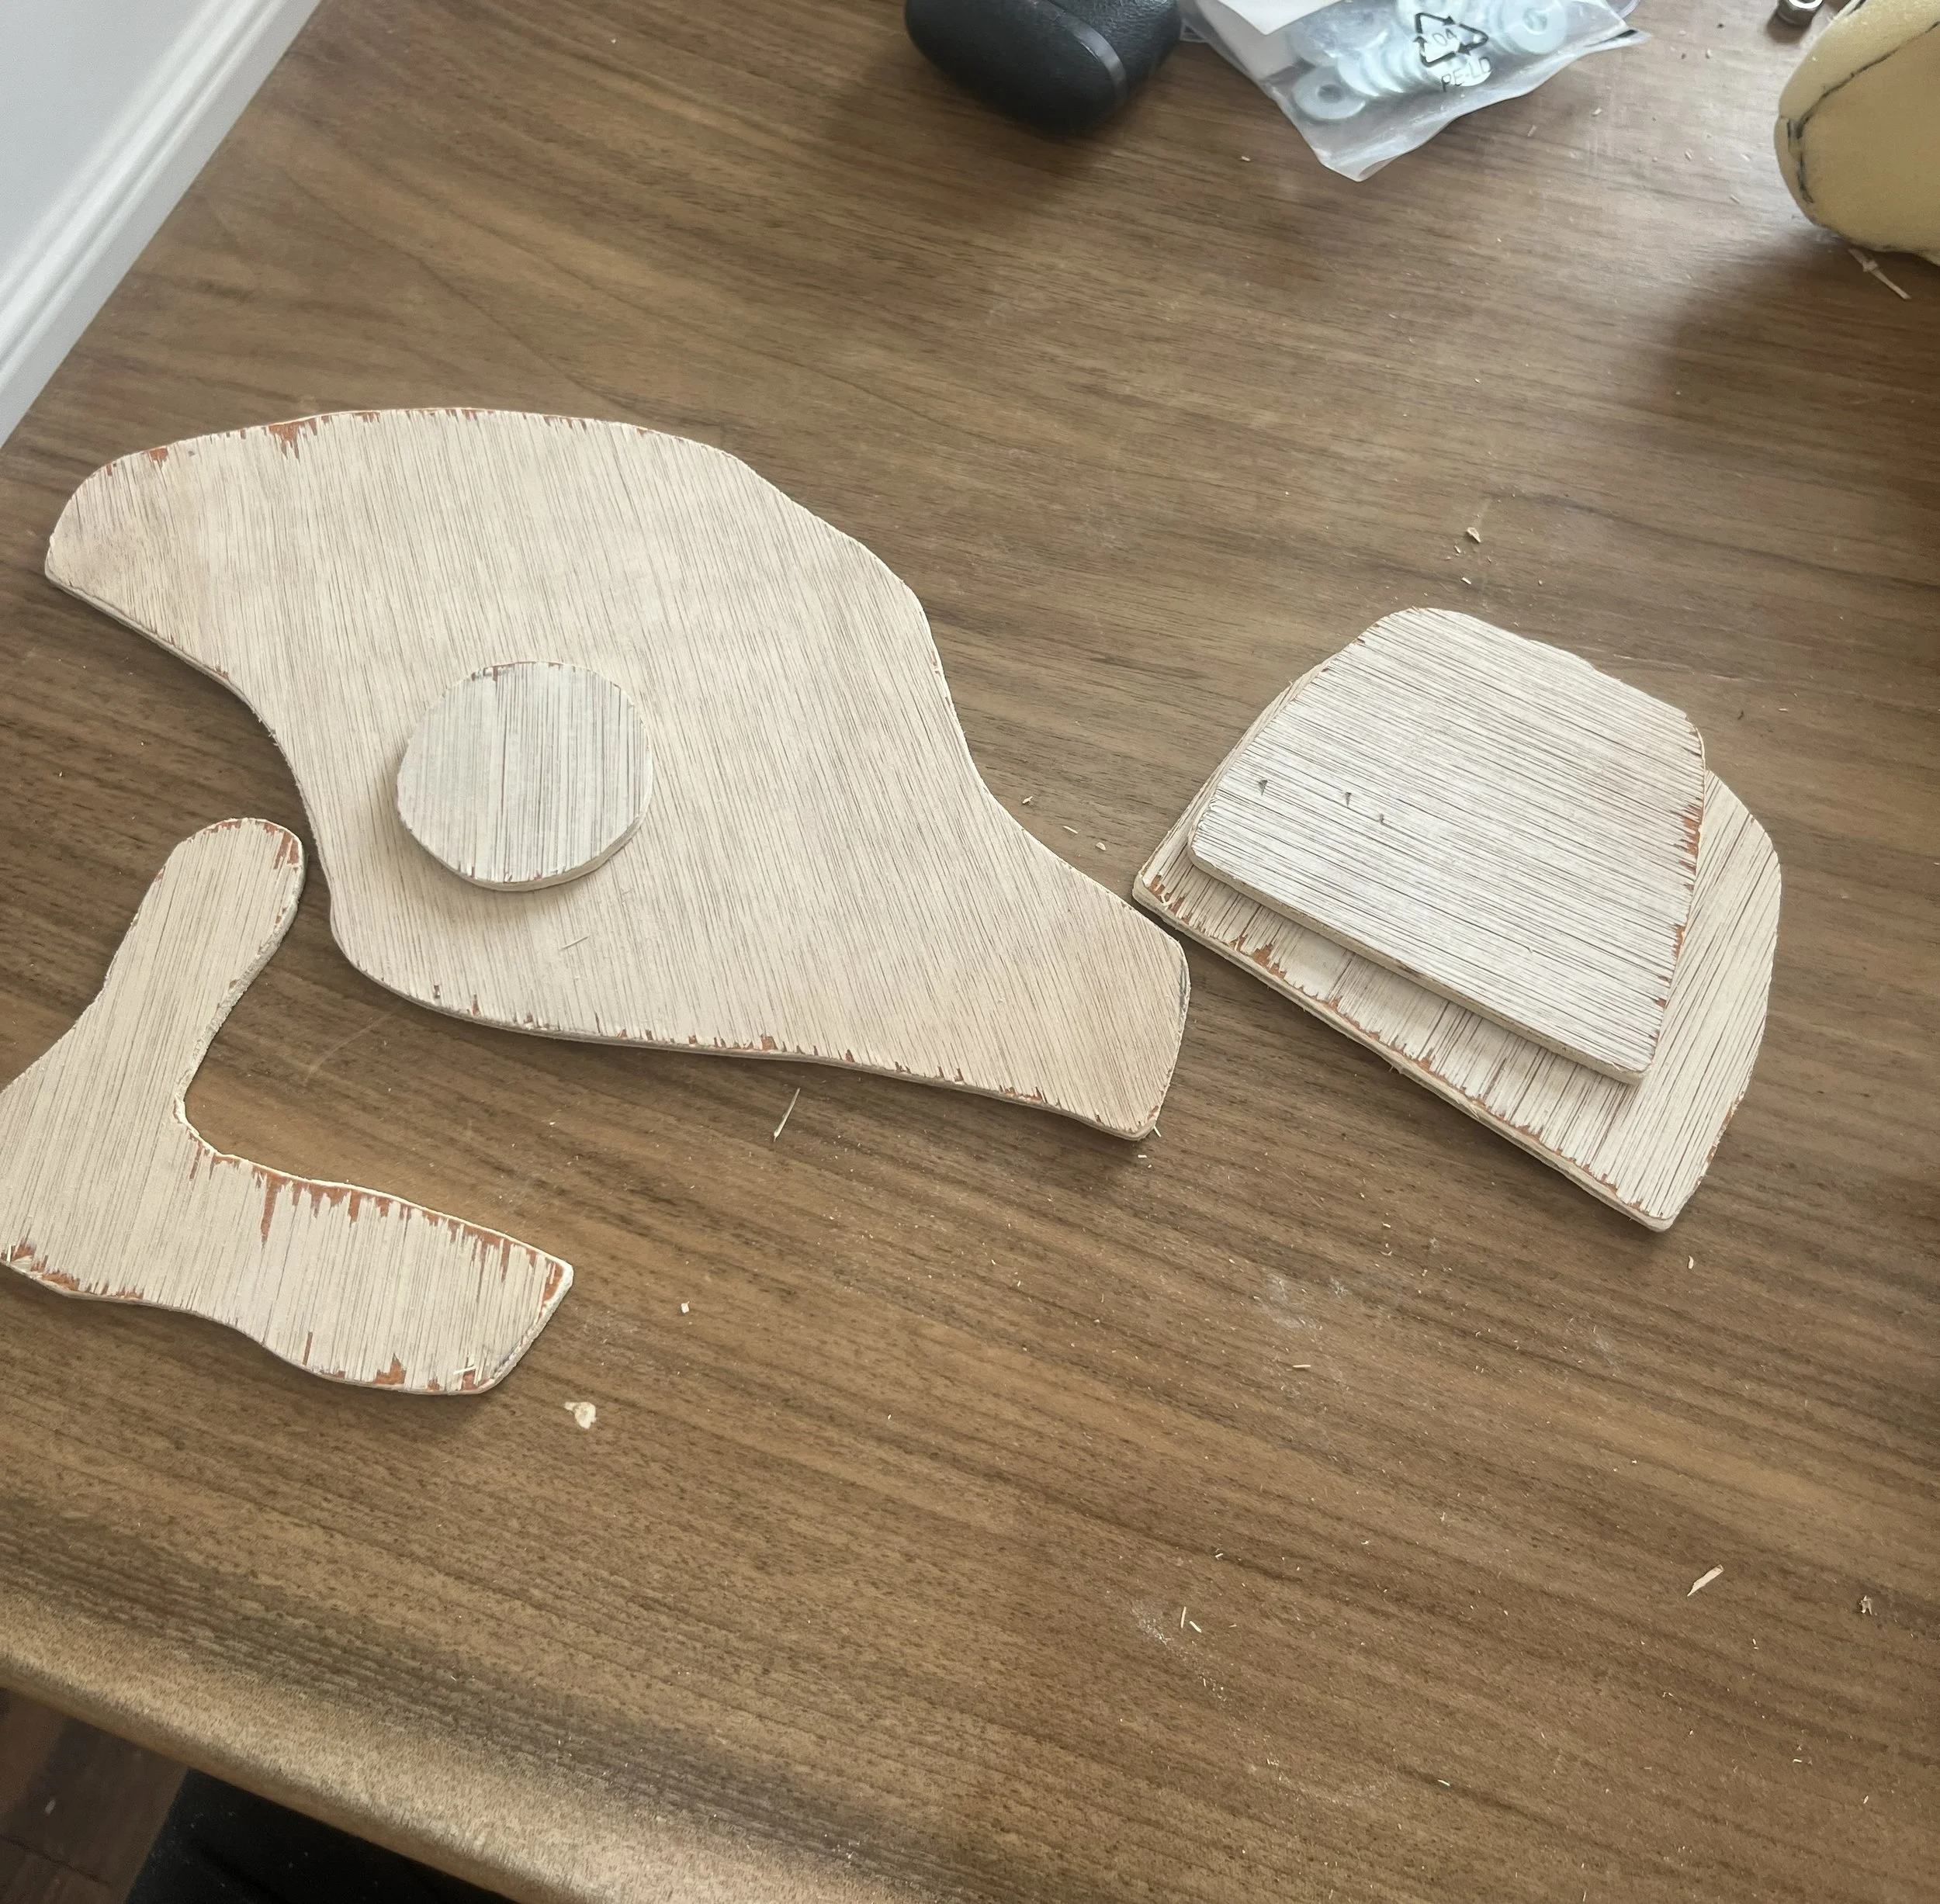
The head mechanism was then attached together using nuts and bolts, and a string and elastic return added to open the mouth. The mechanism was then put into the foam head, with the mouth pate being glued into place.
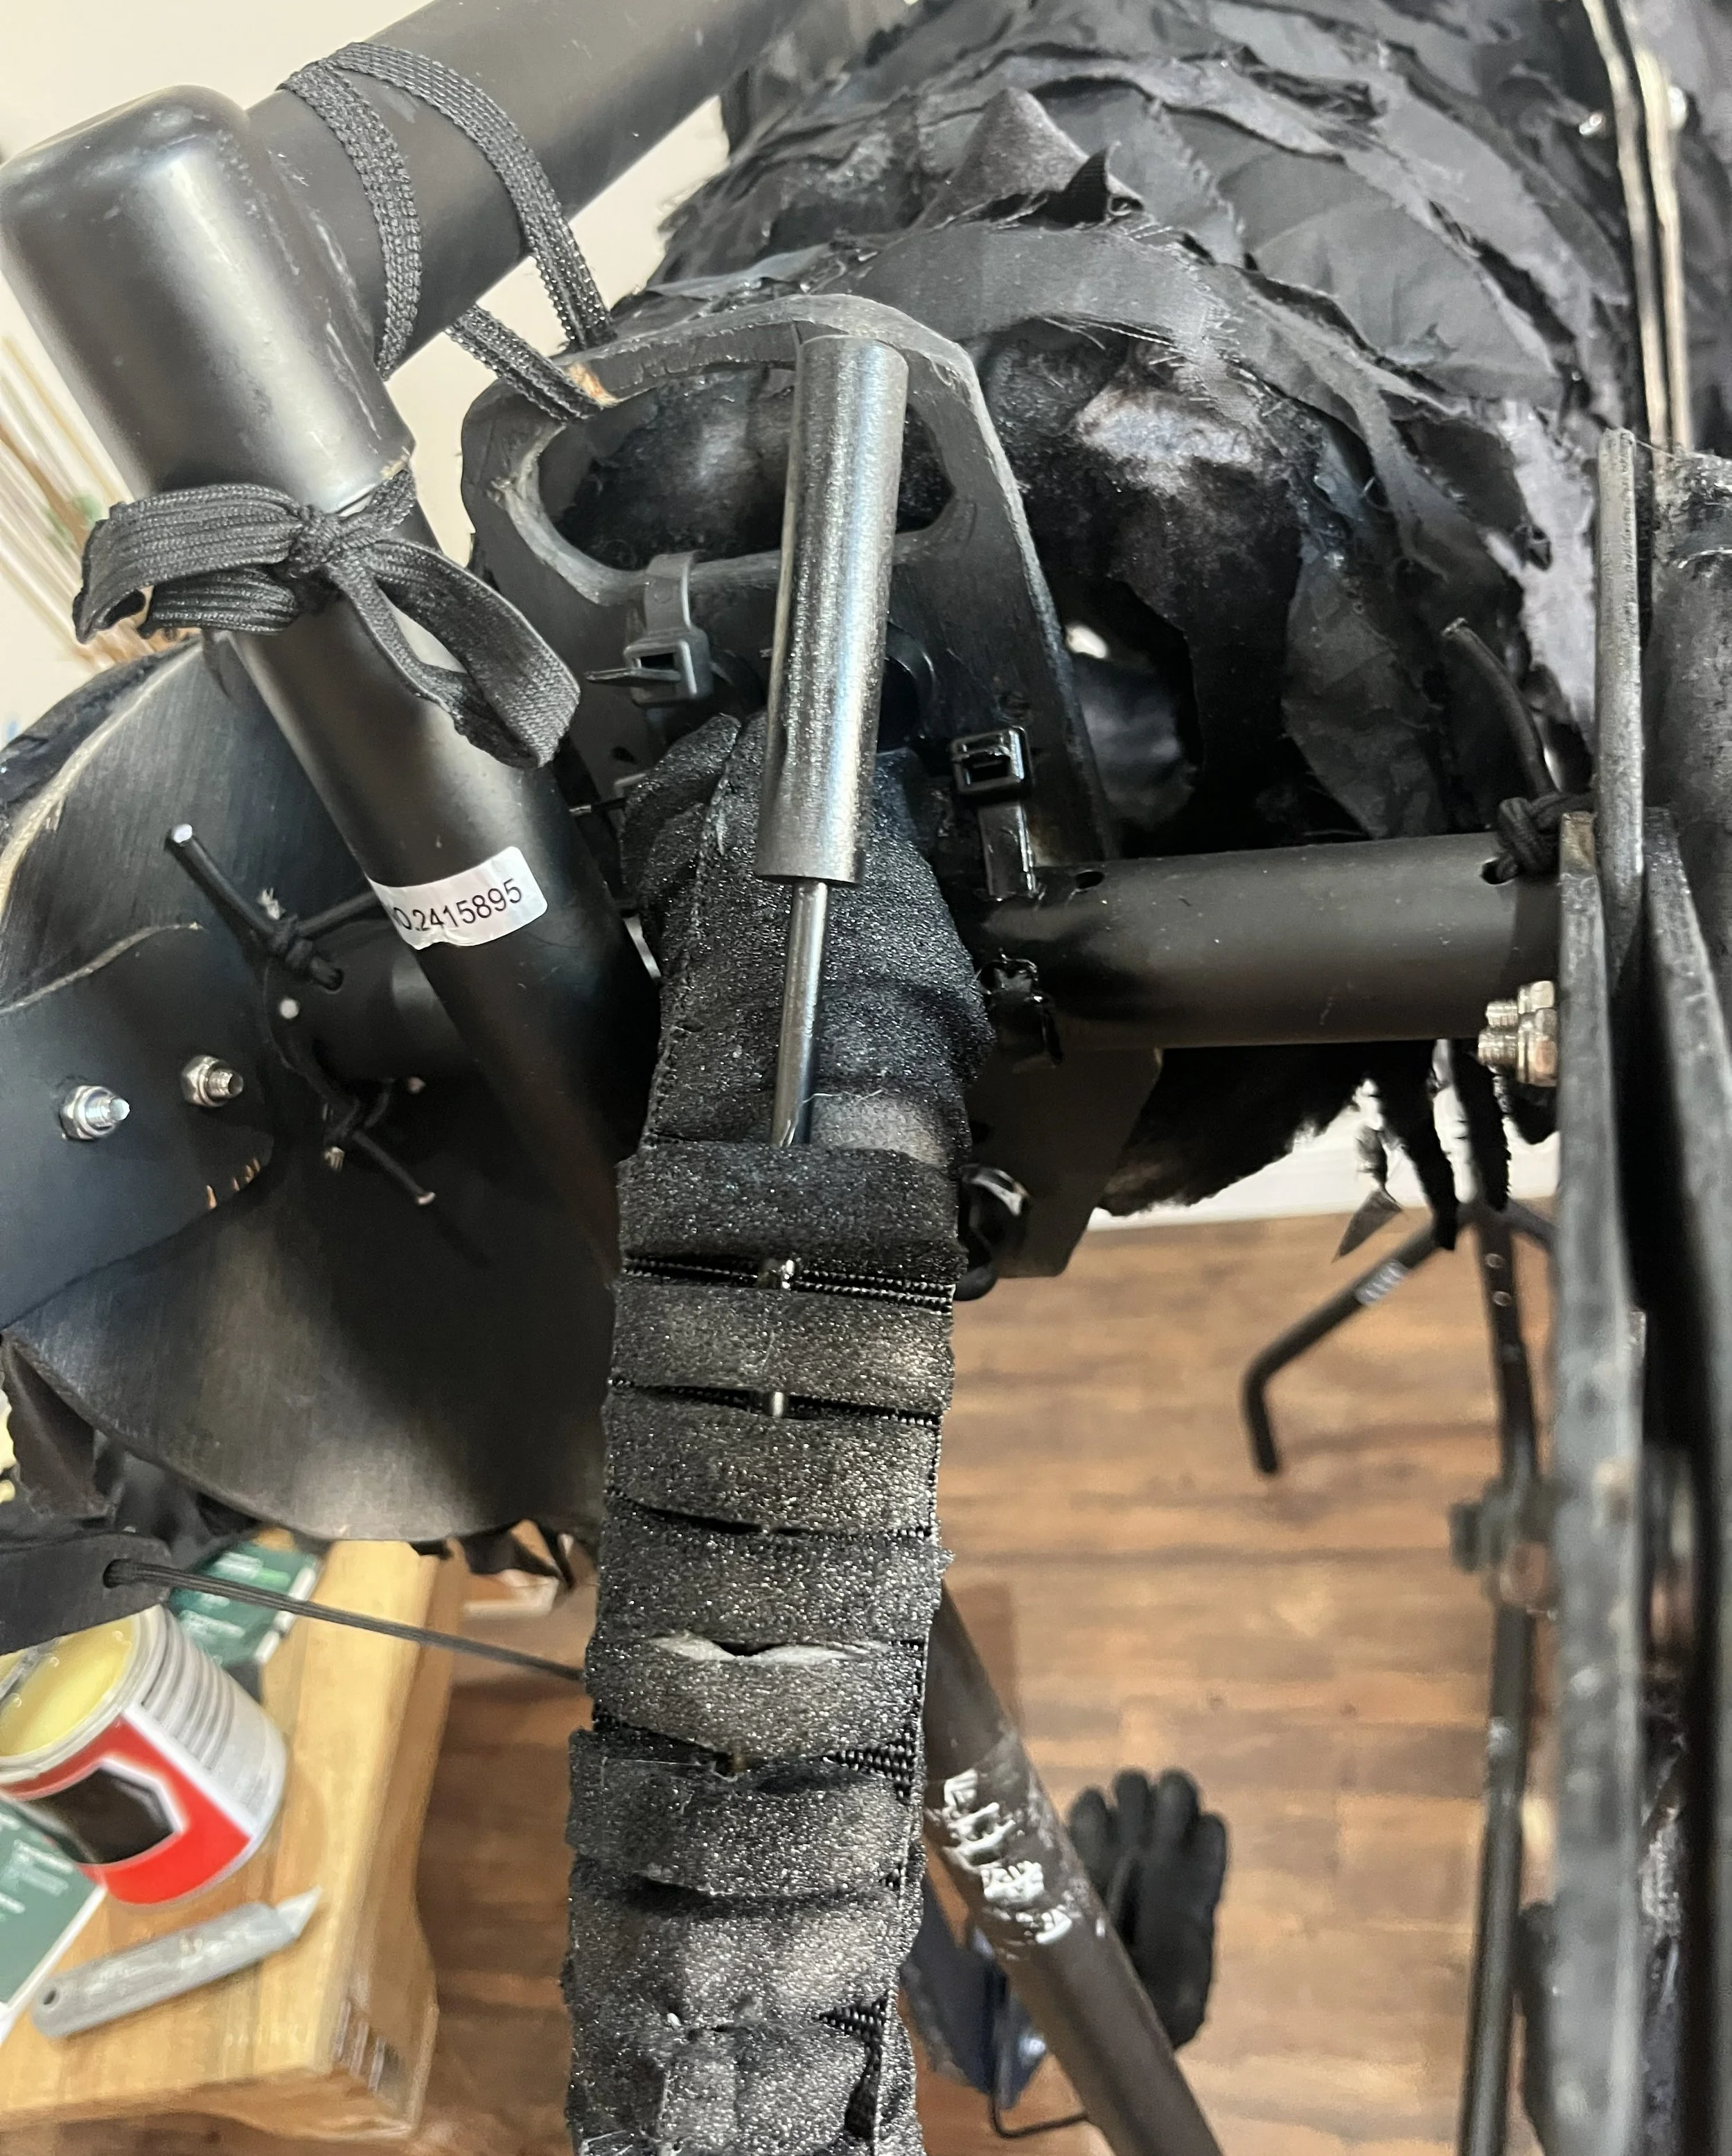
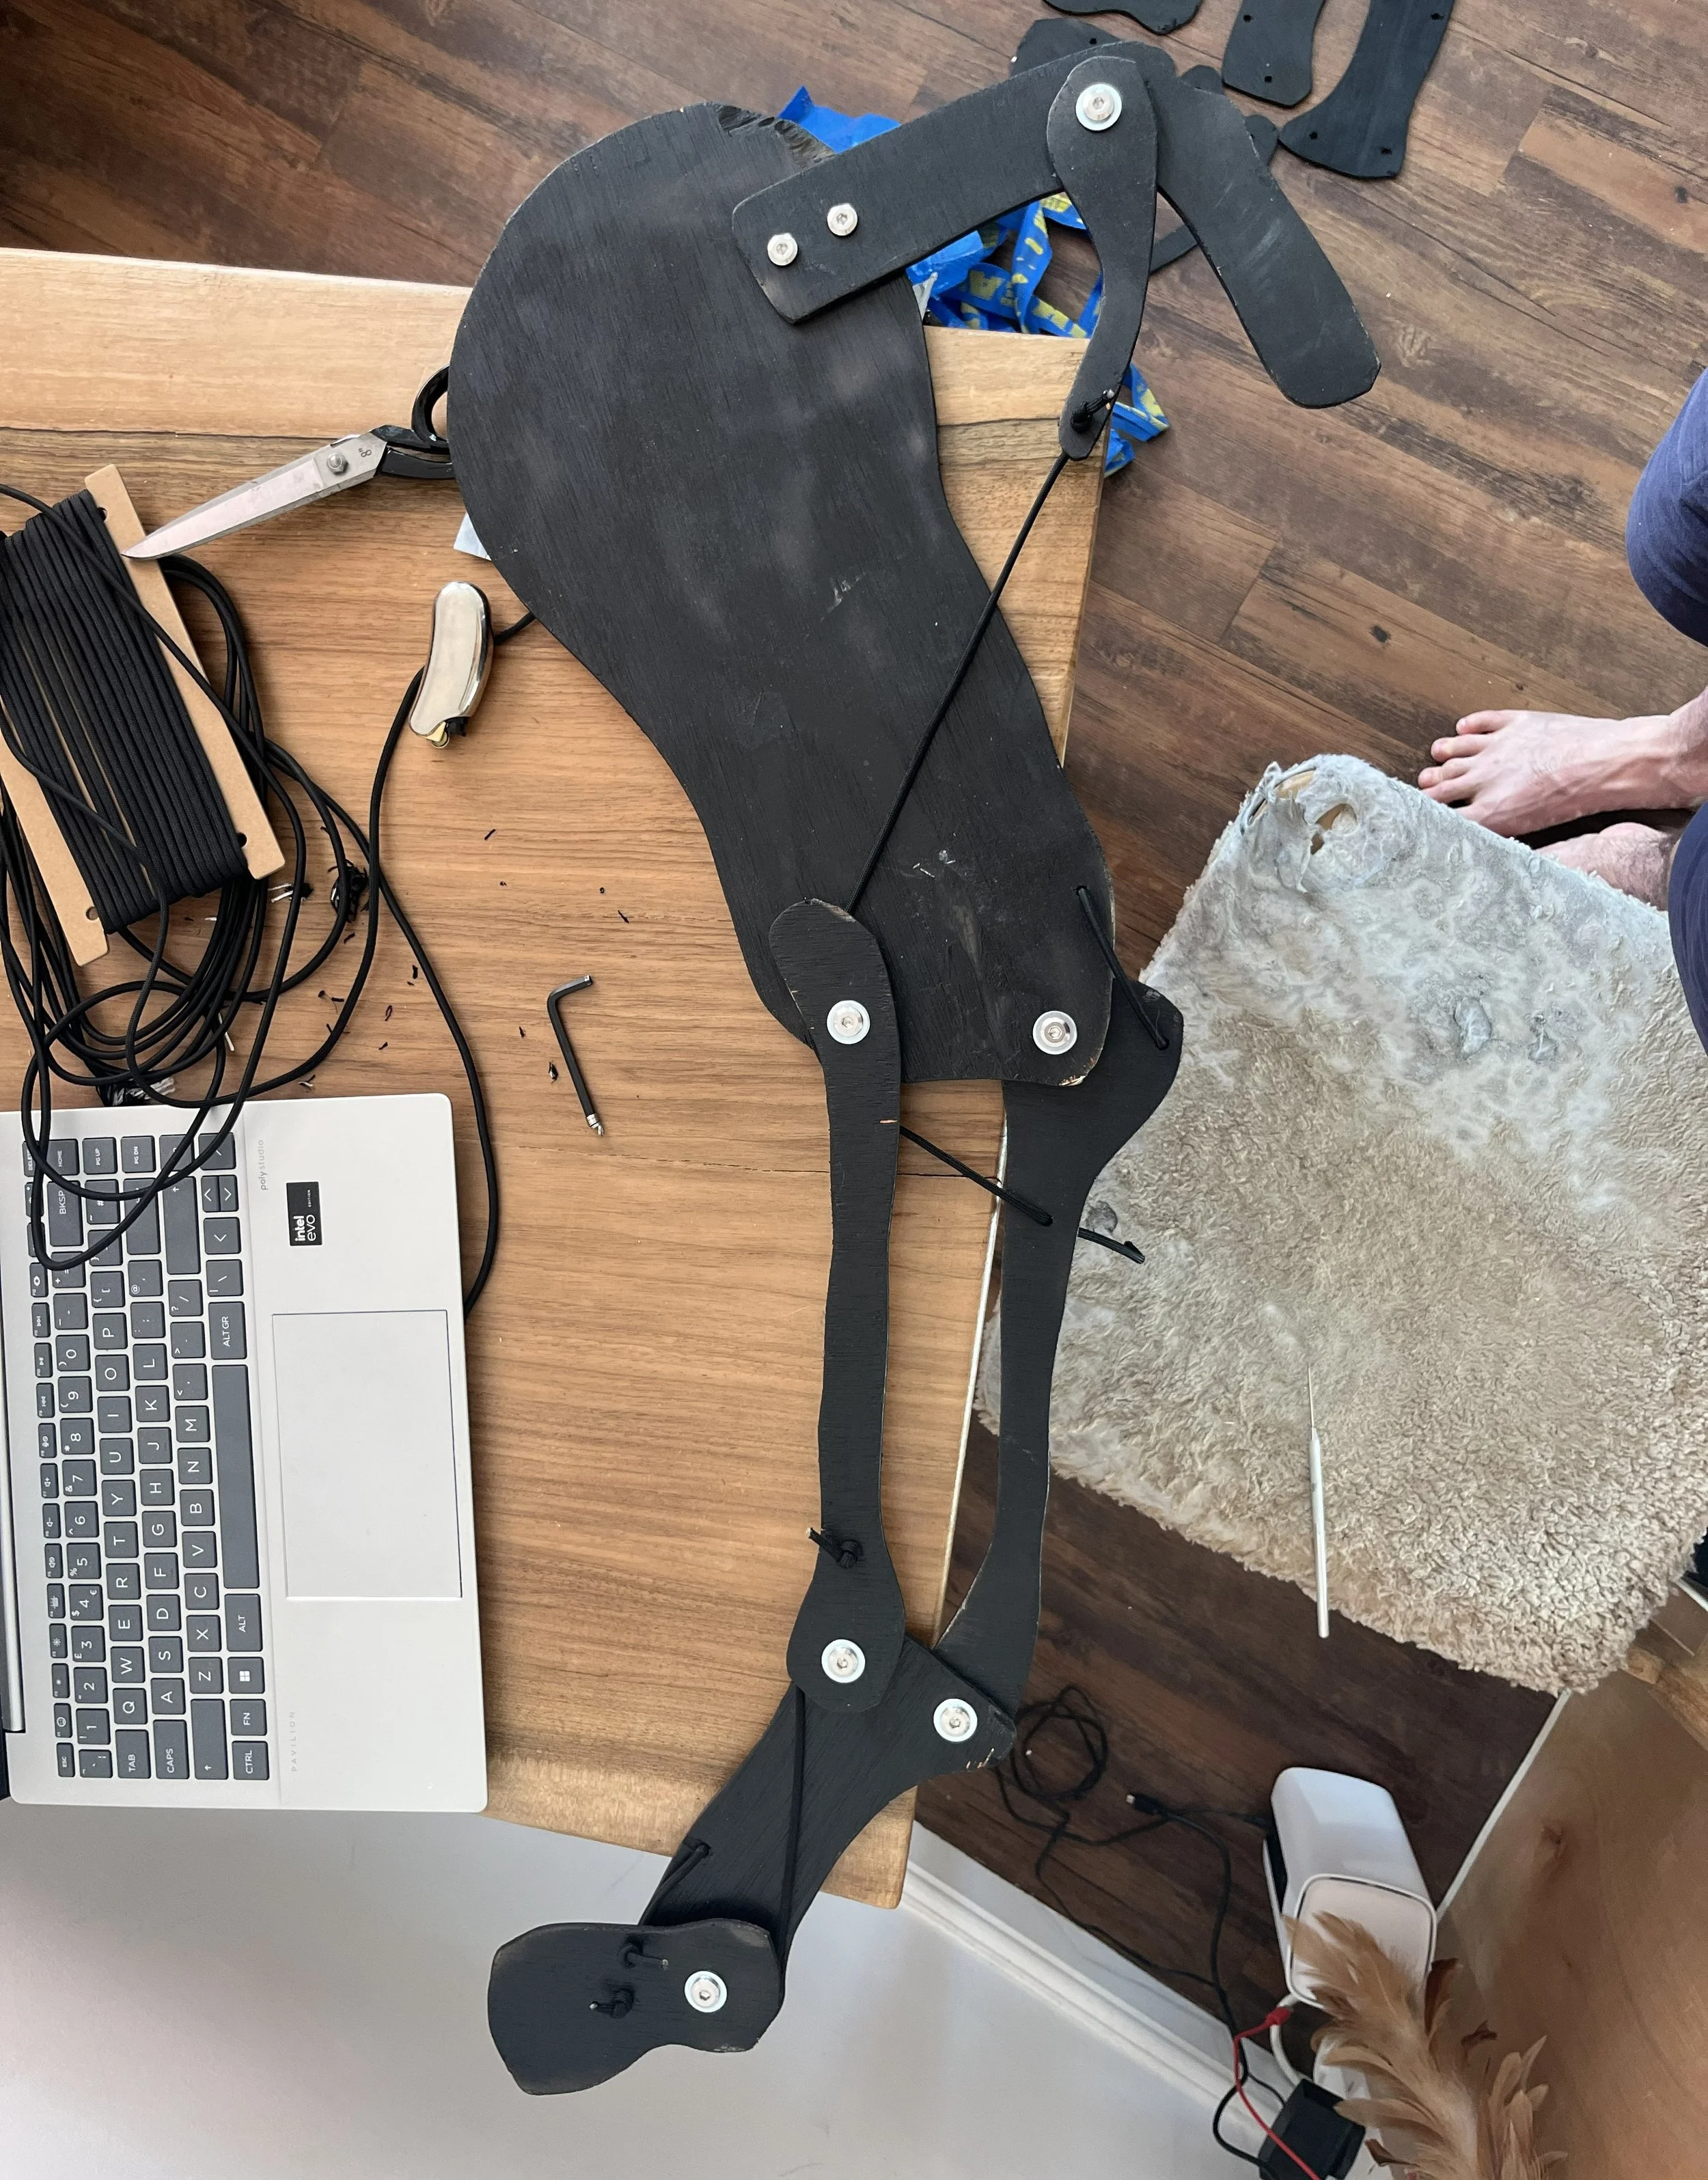
Each pair of legs was then attached to an axle made of PVC pipe, a piece of elastic runs through the axle and holds the legs in place providing the puppeteers good flexibility in the hips and shoulders.
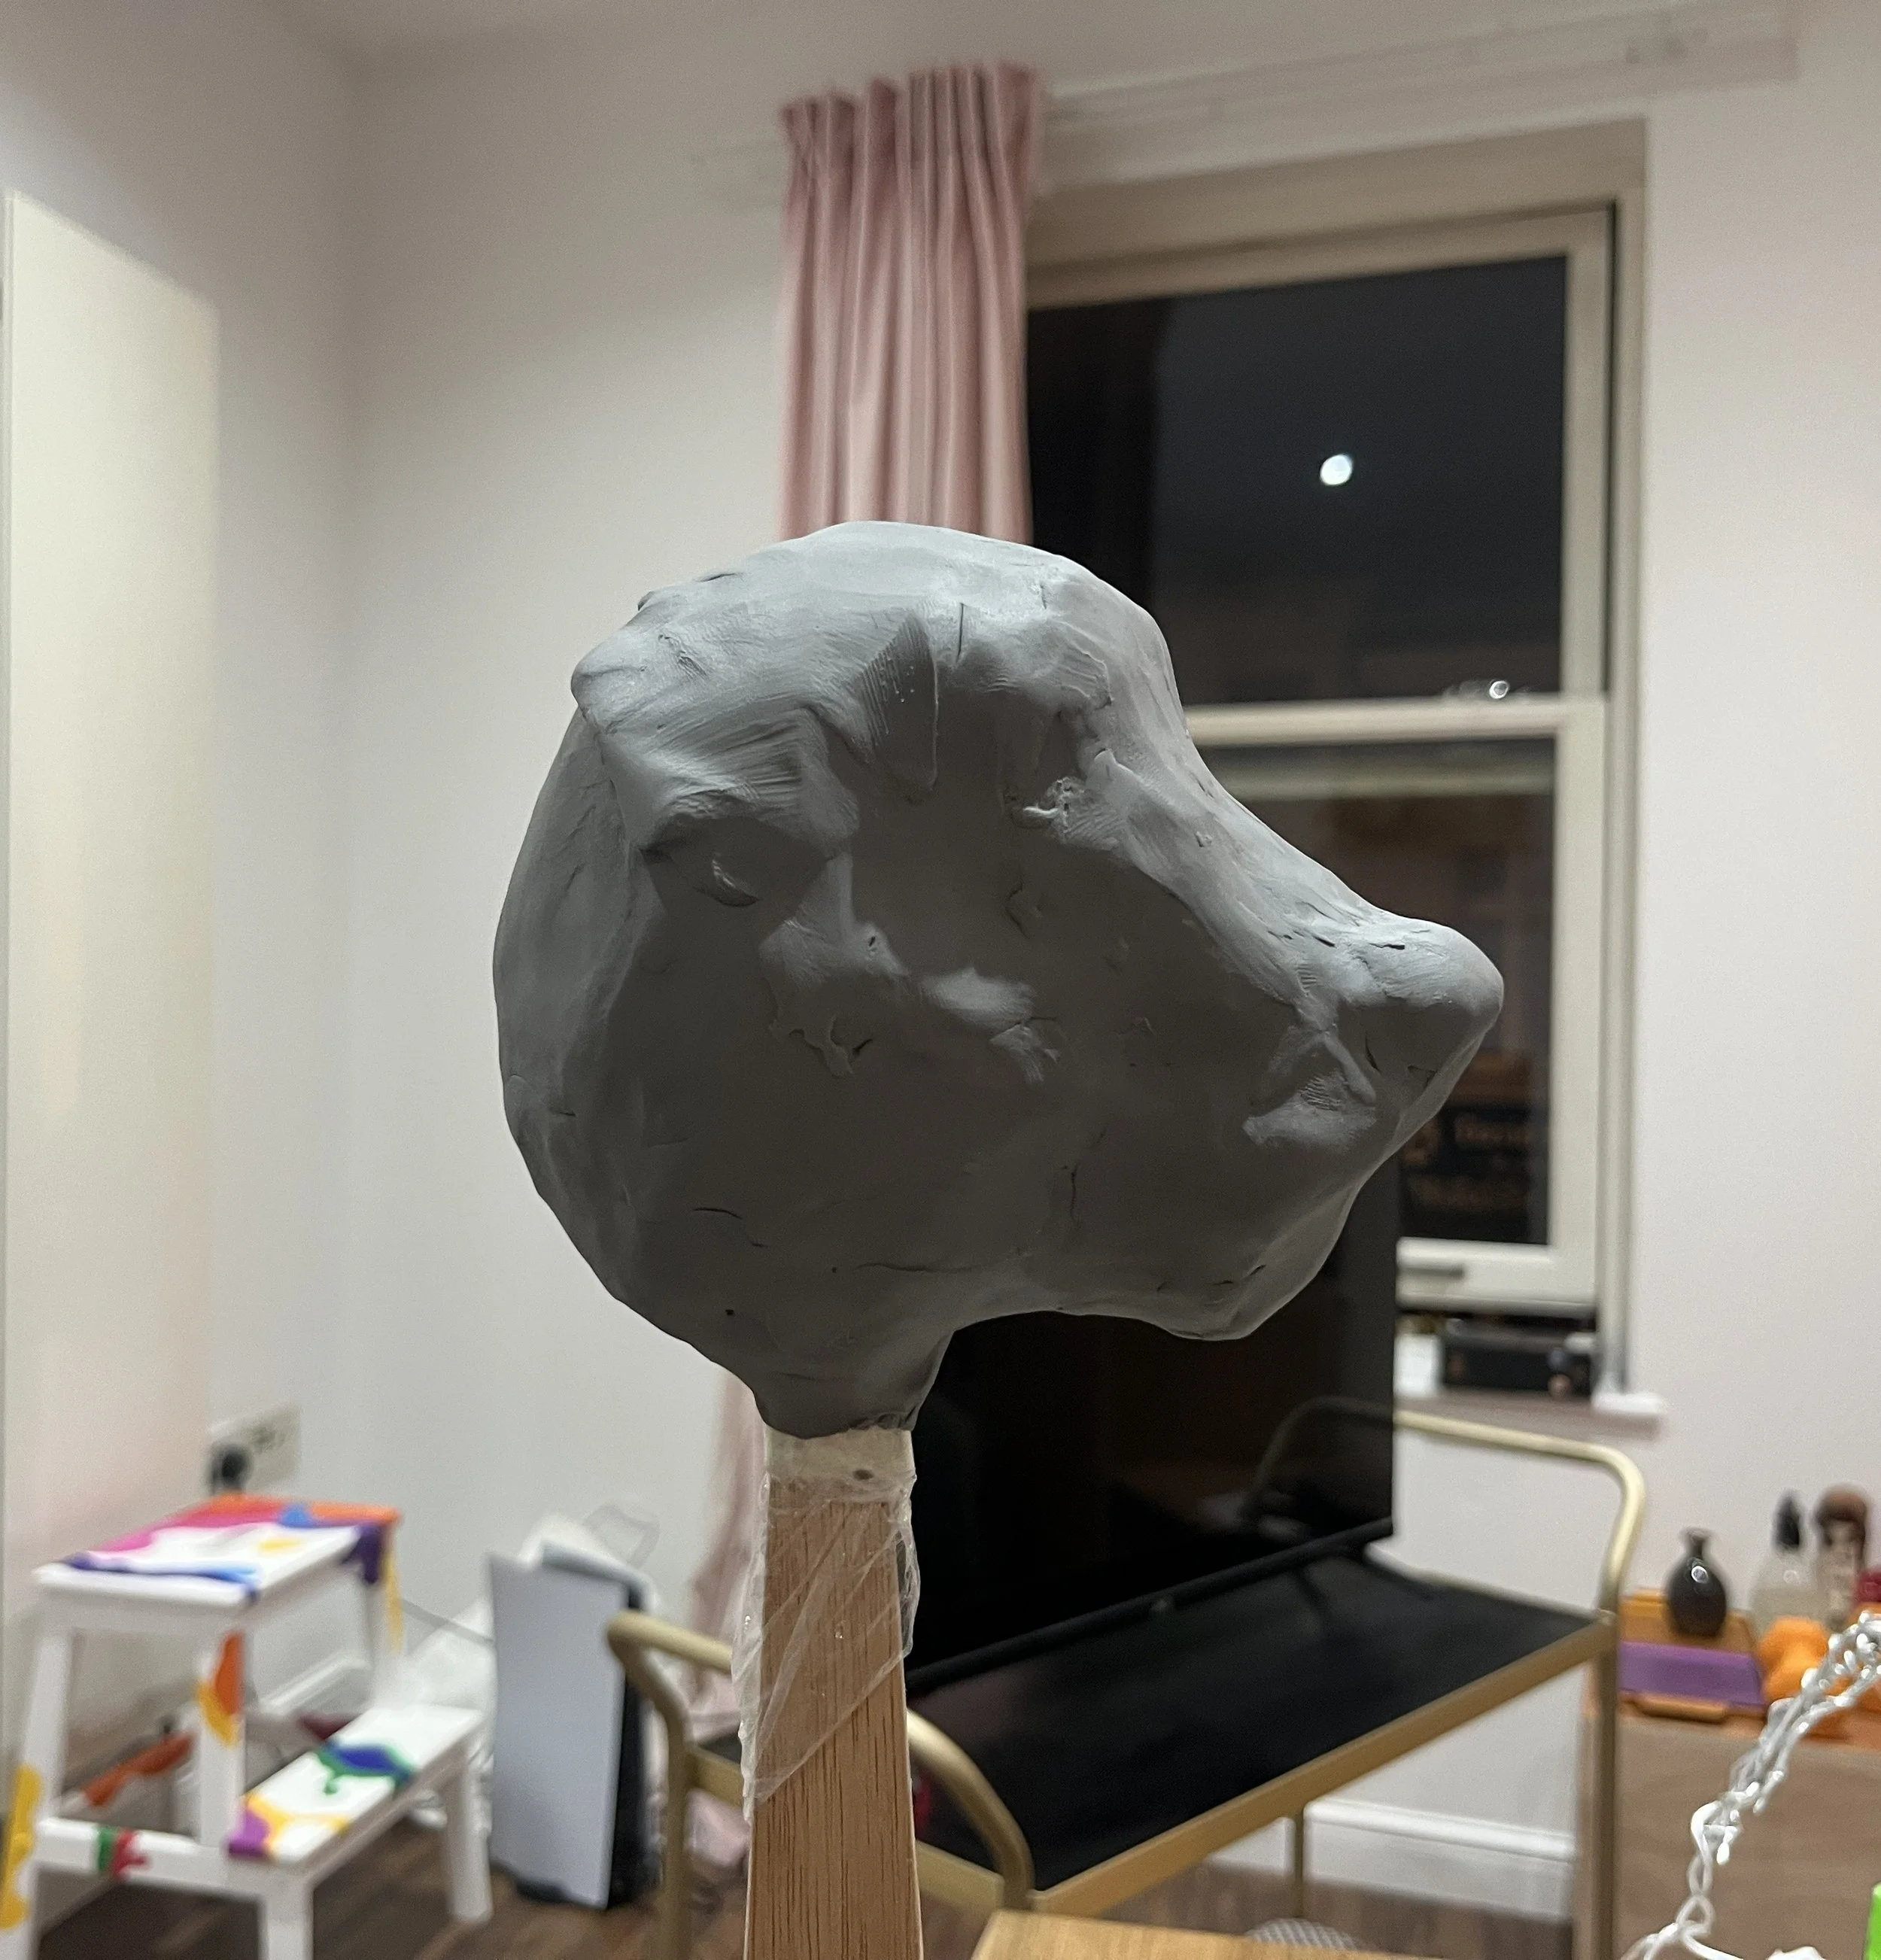
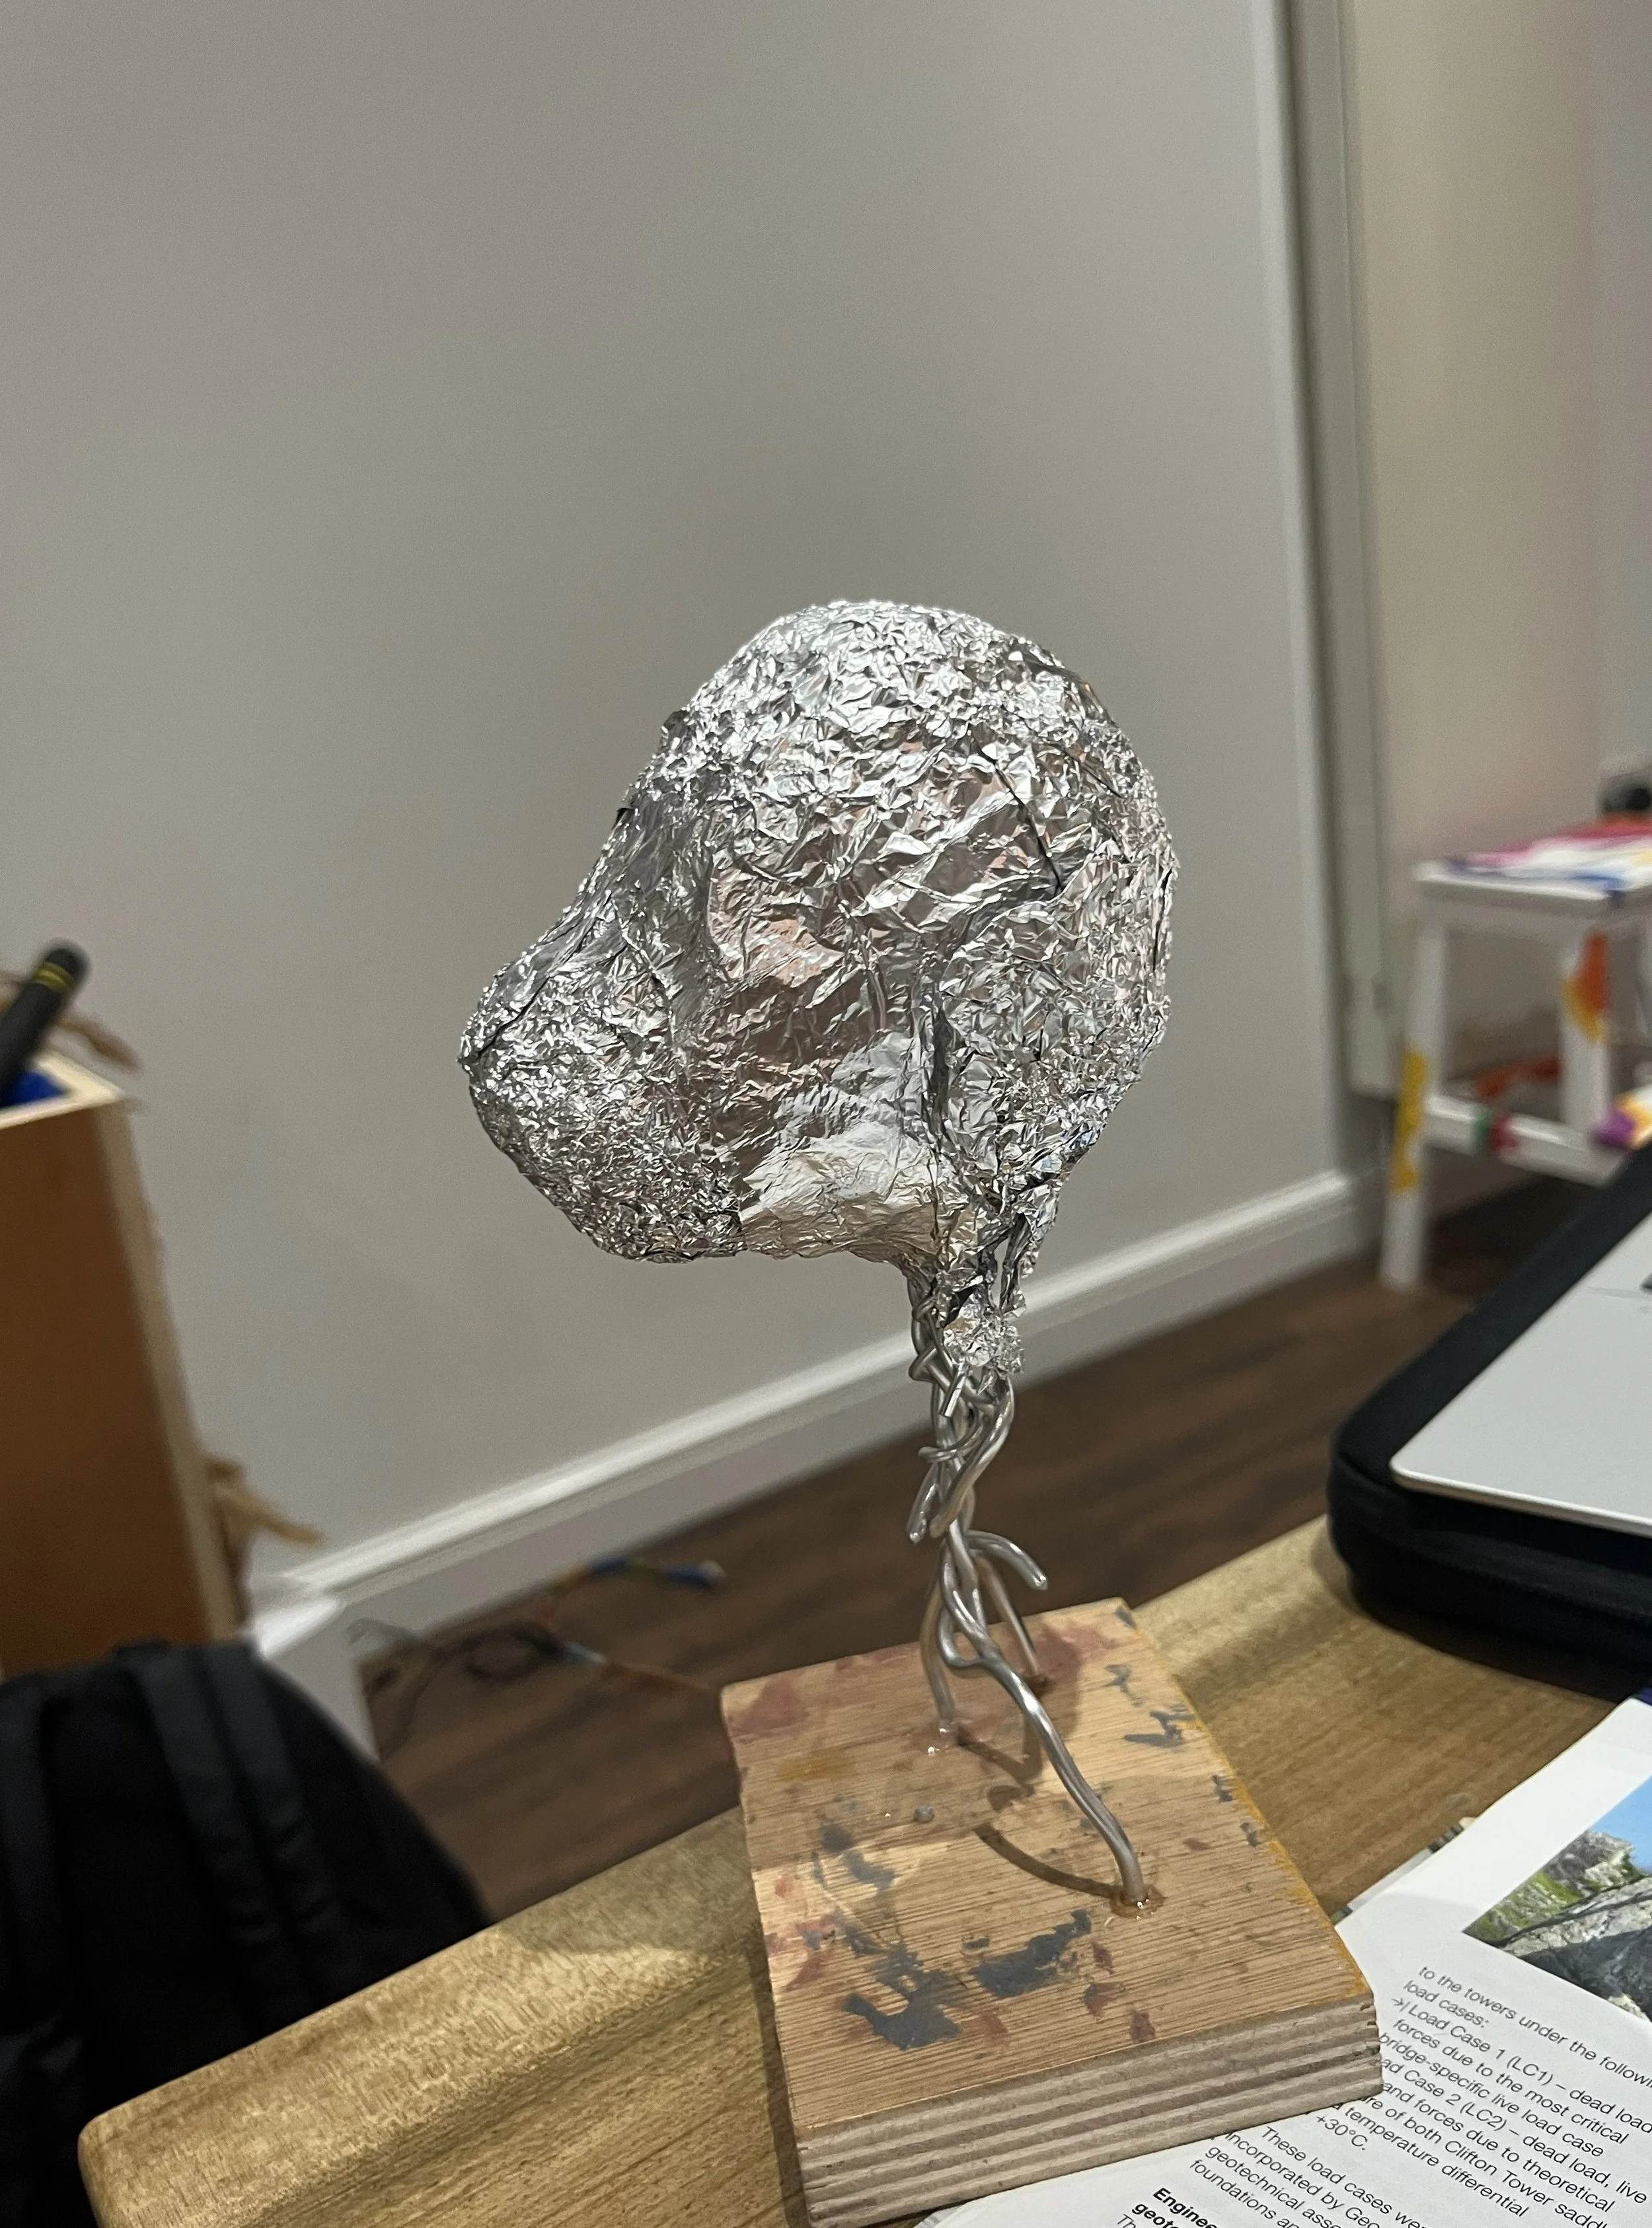
The clay form was further developed - I only sculpted half the head as it was for foam pattern making.
To make the pattern from the clay sculpture, small pieces of masking tape were built up over the clay. The covered head was then divided into parts adding darts where necessary to capture the curved shapes. The edges that must meet up were also marked carefully using coloured pens.
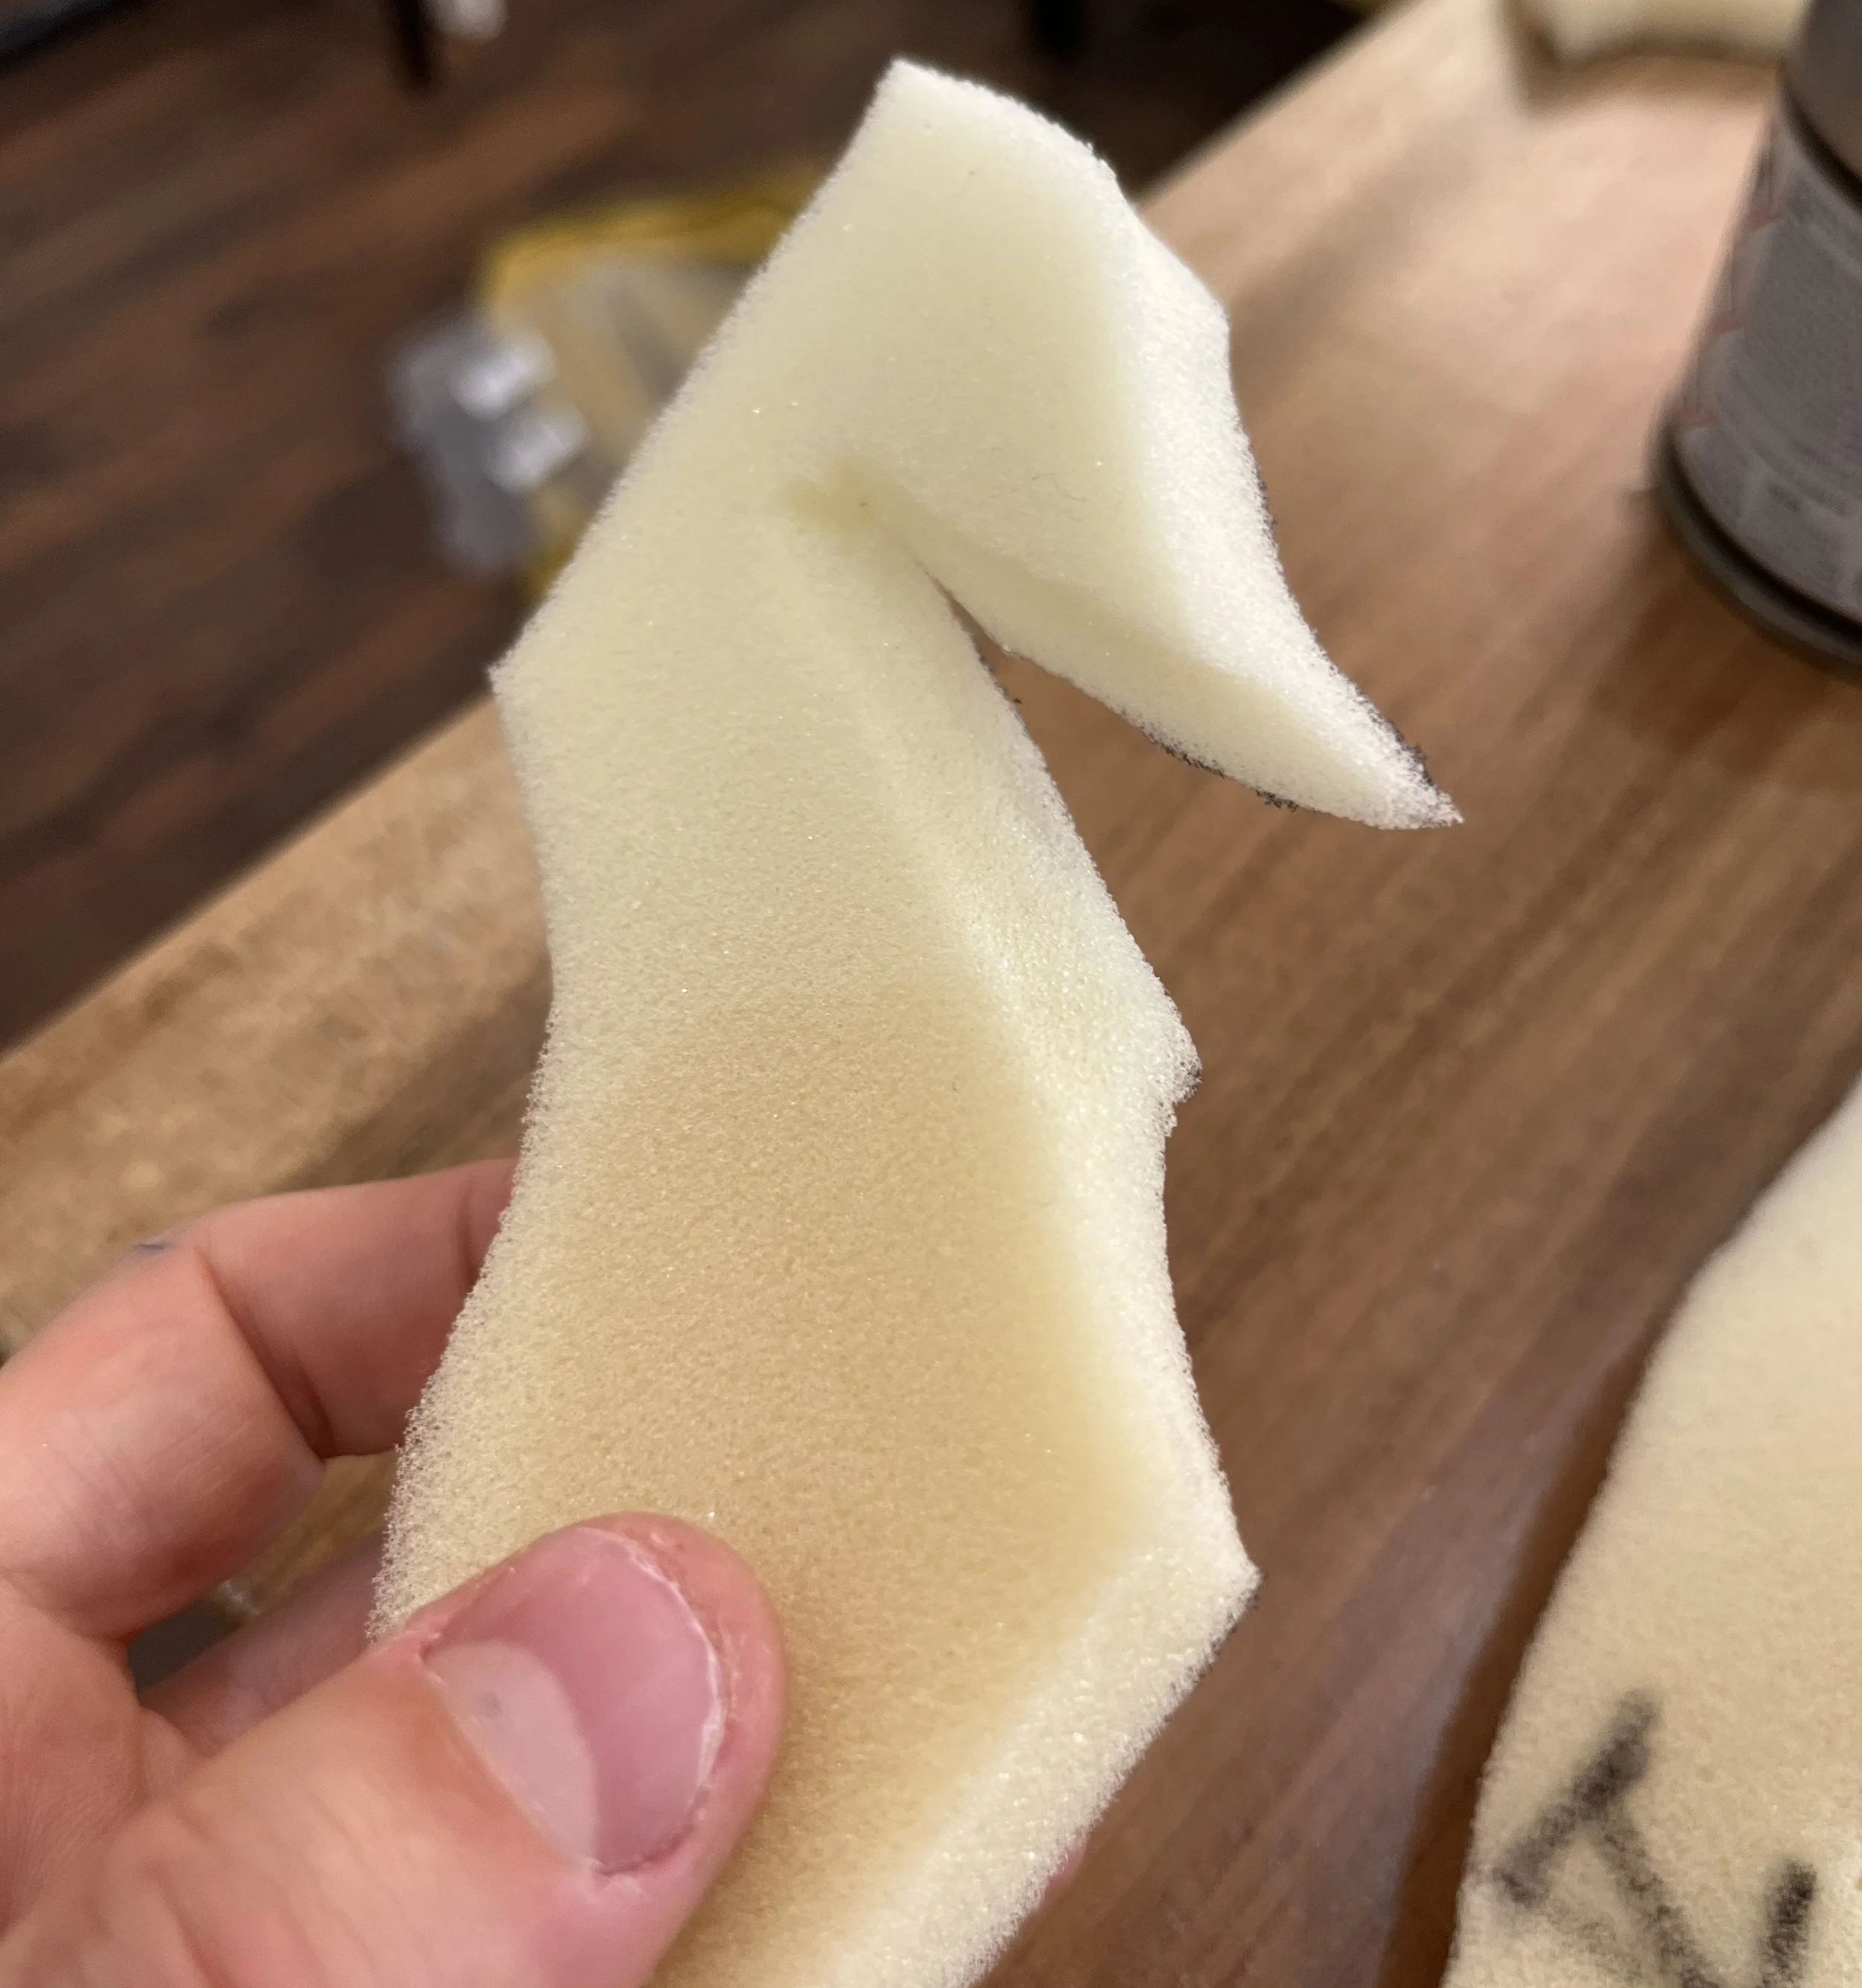
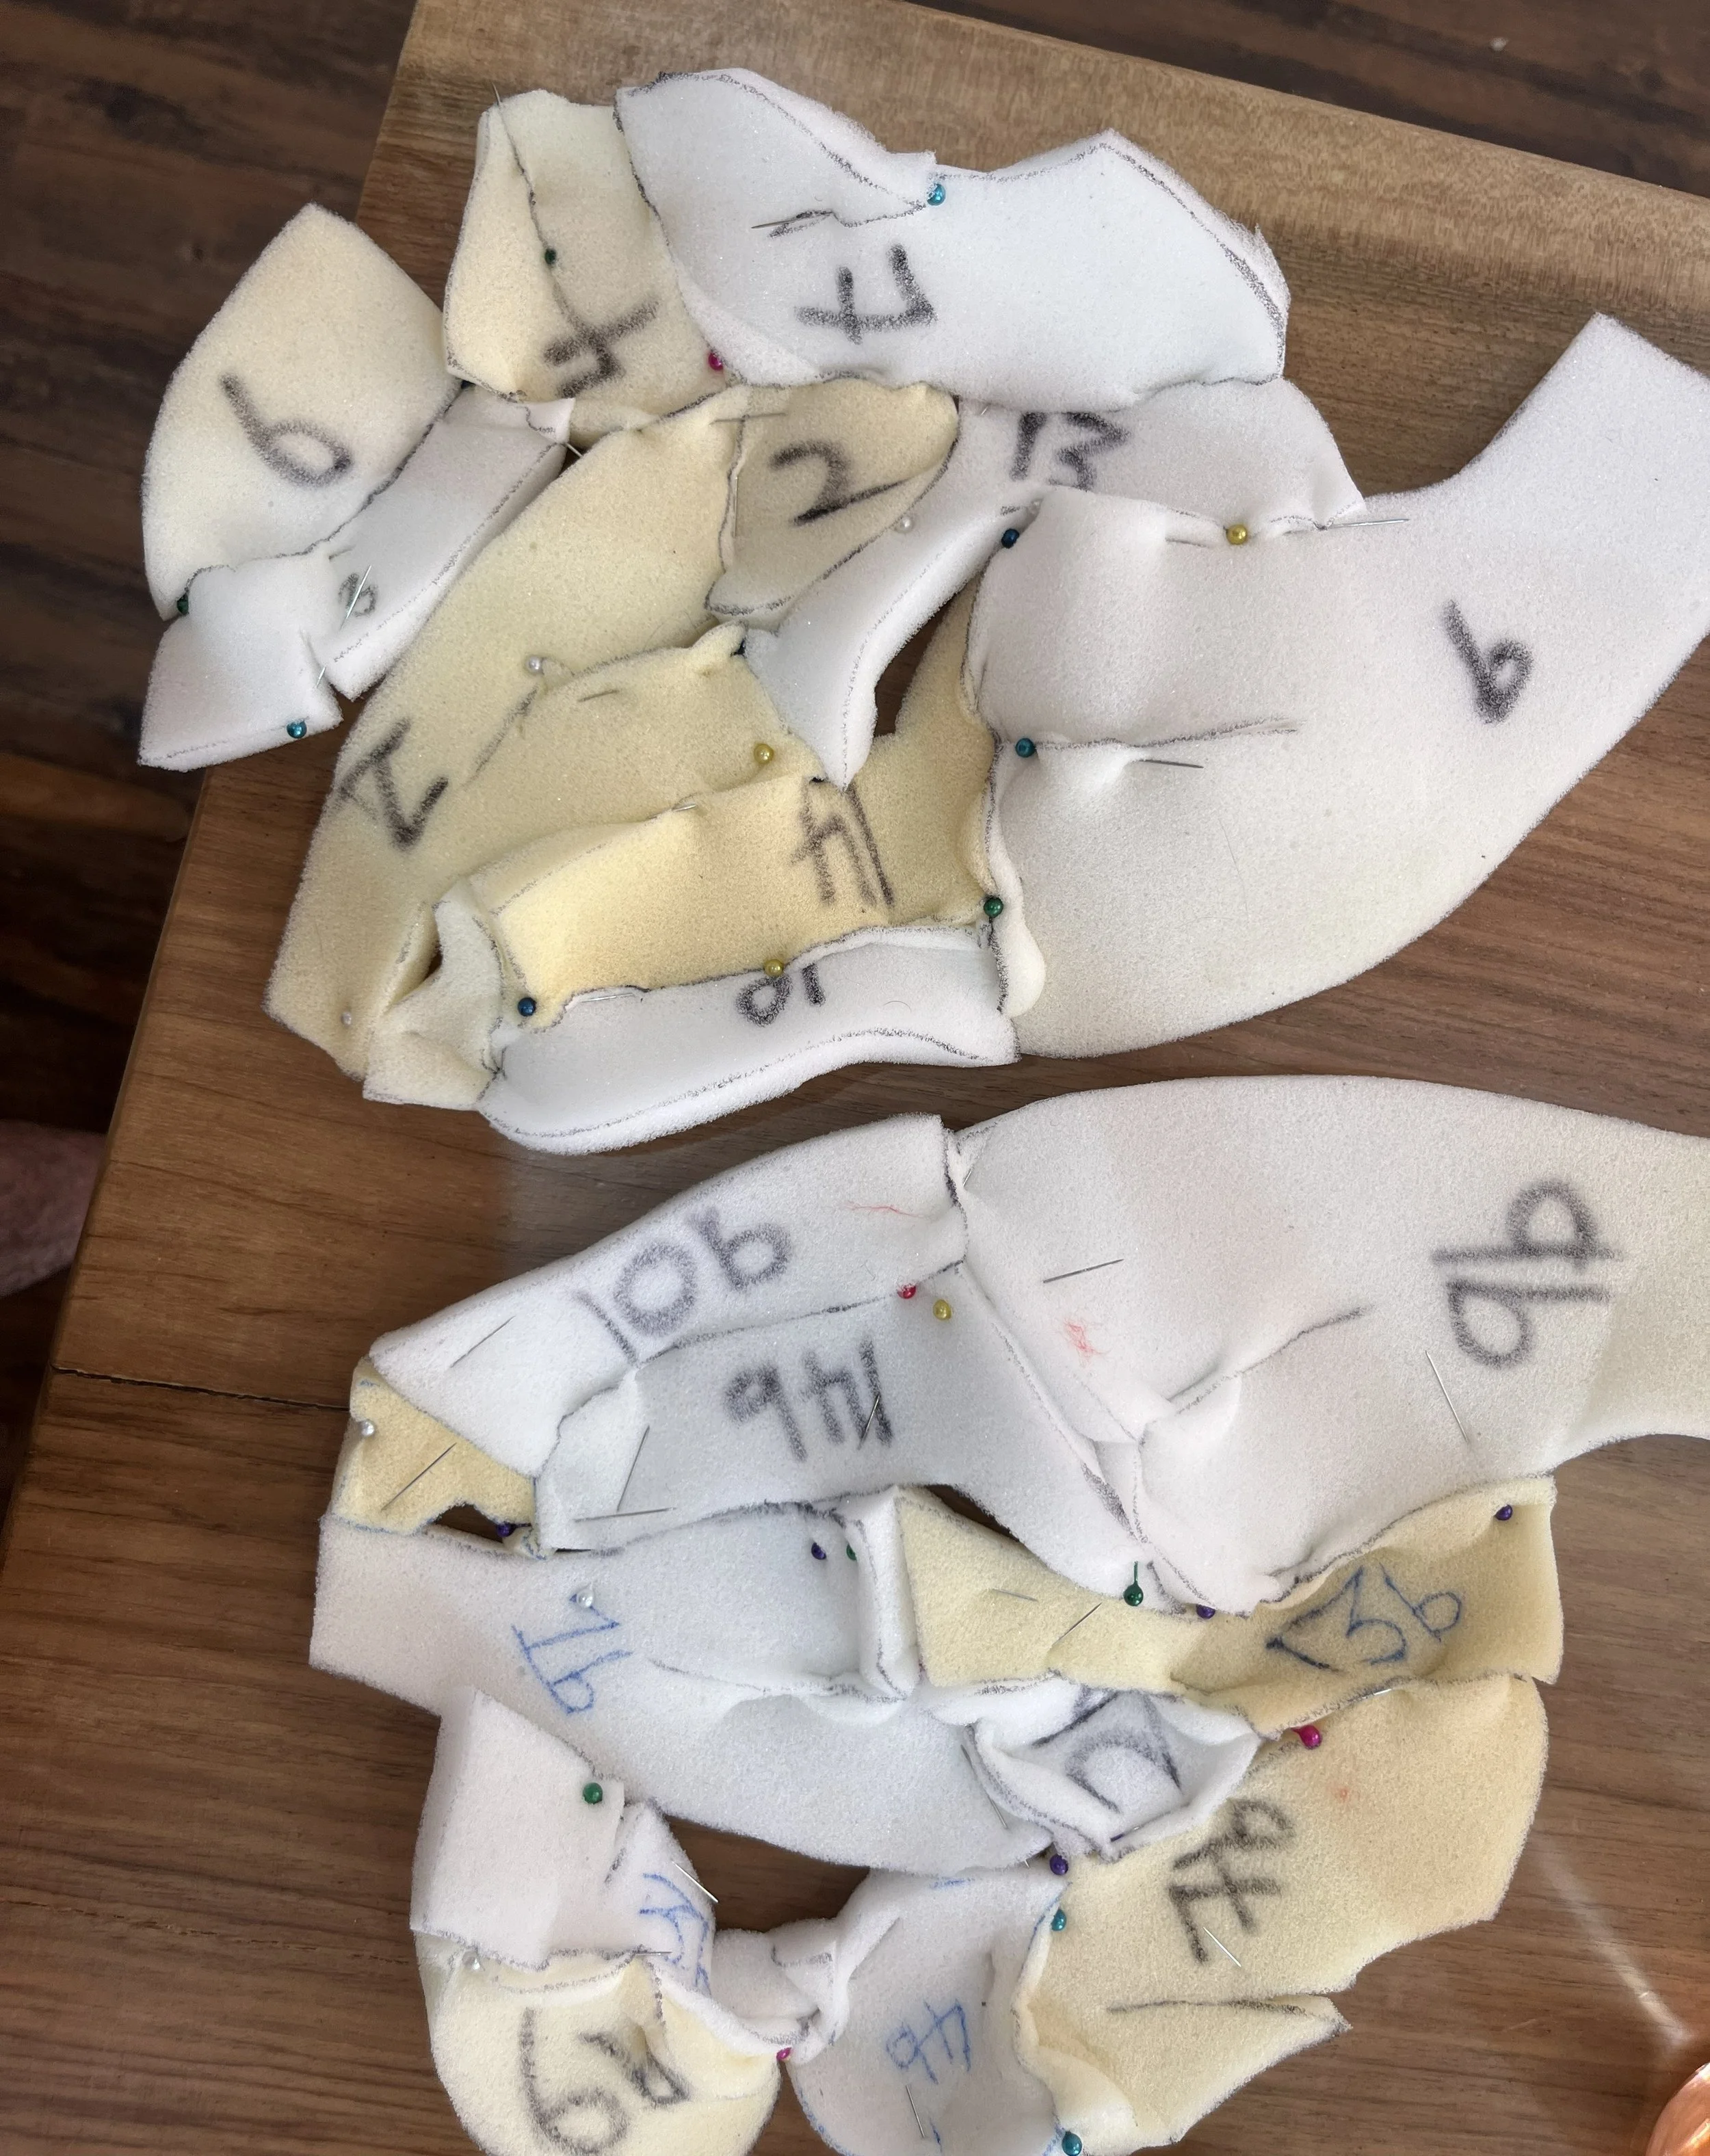
The pieces are finally glued together using contact adhesive.
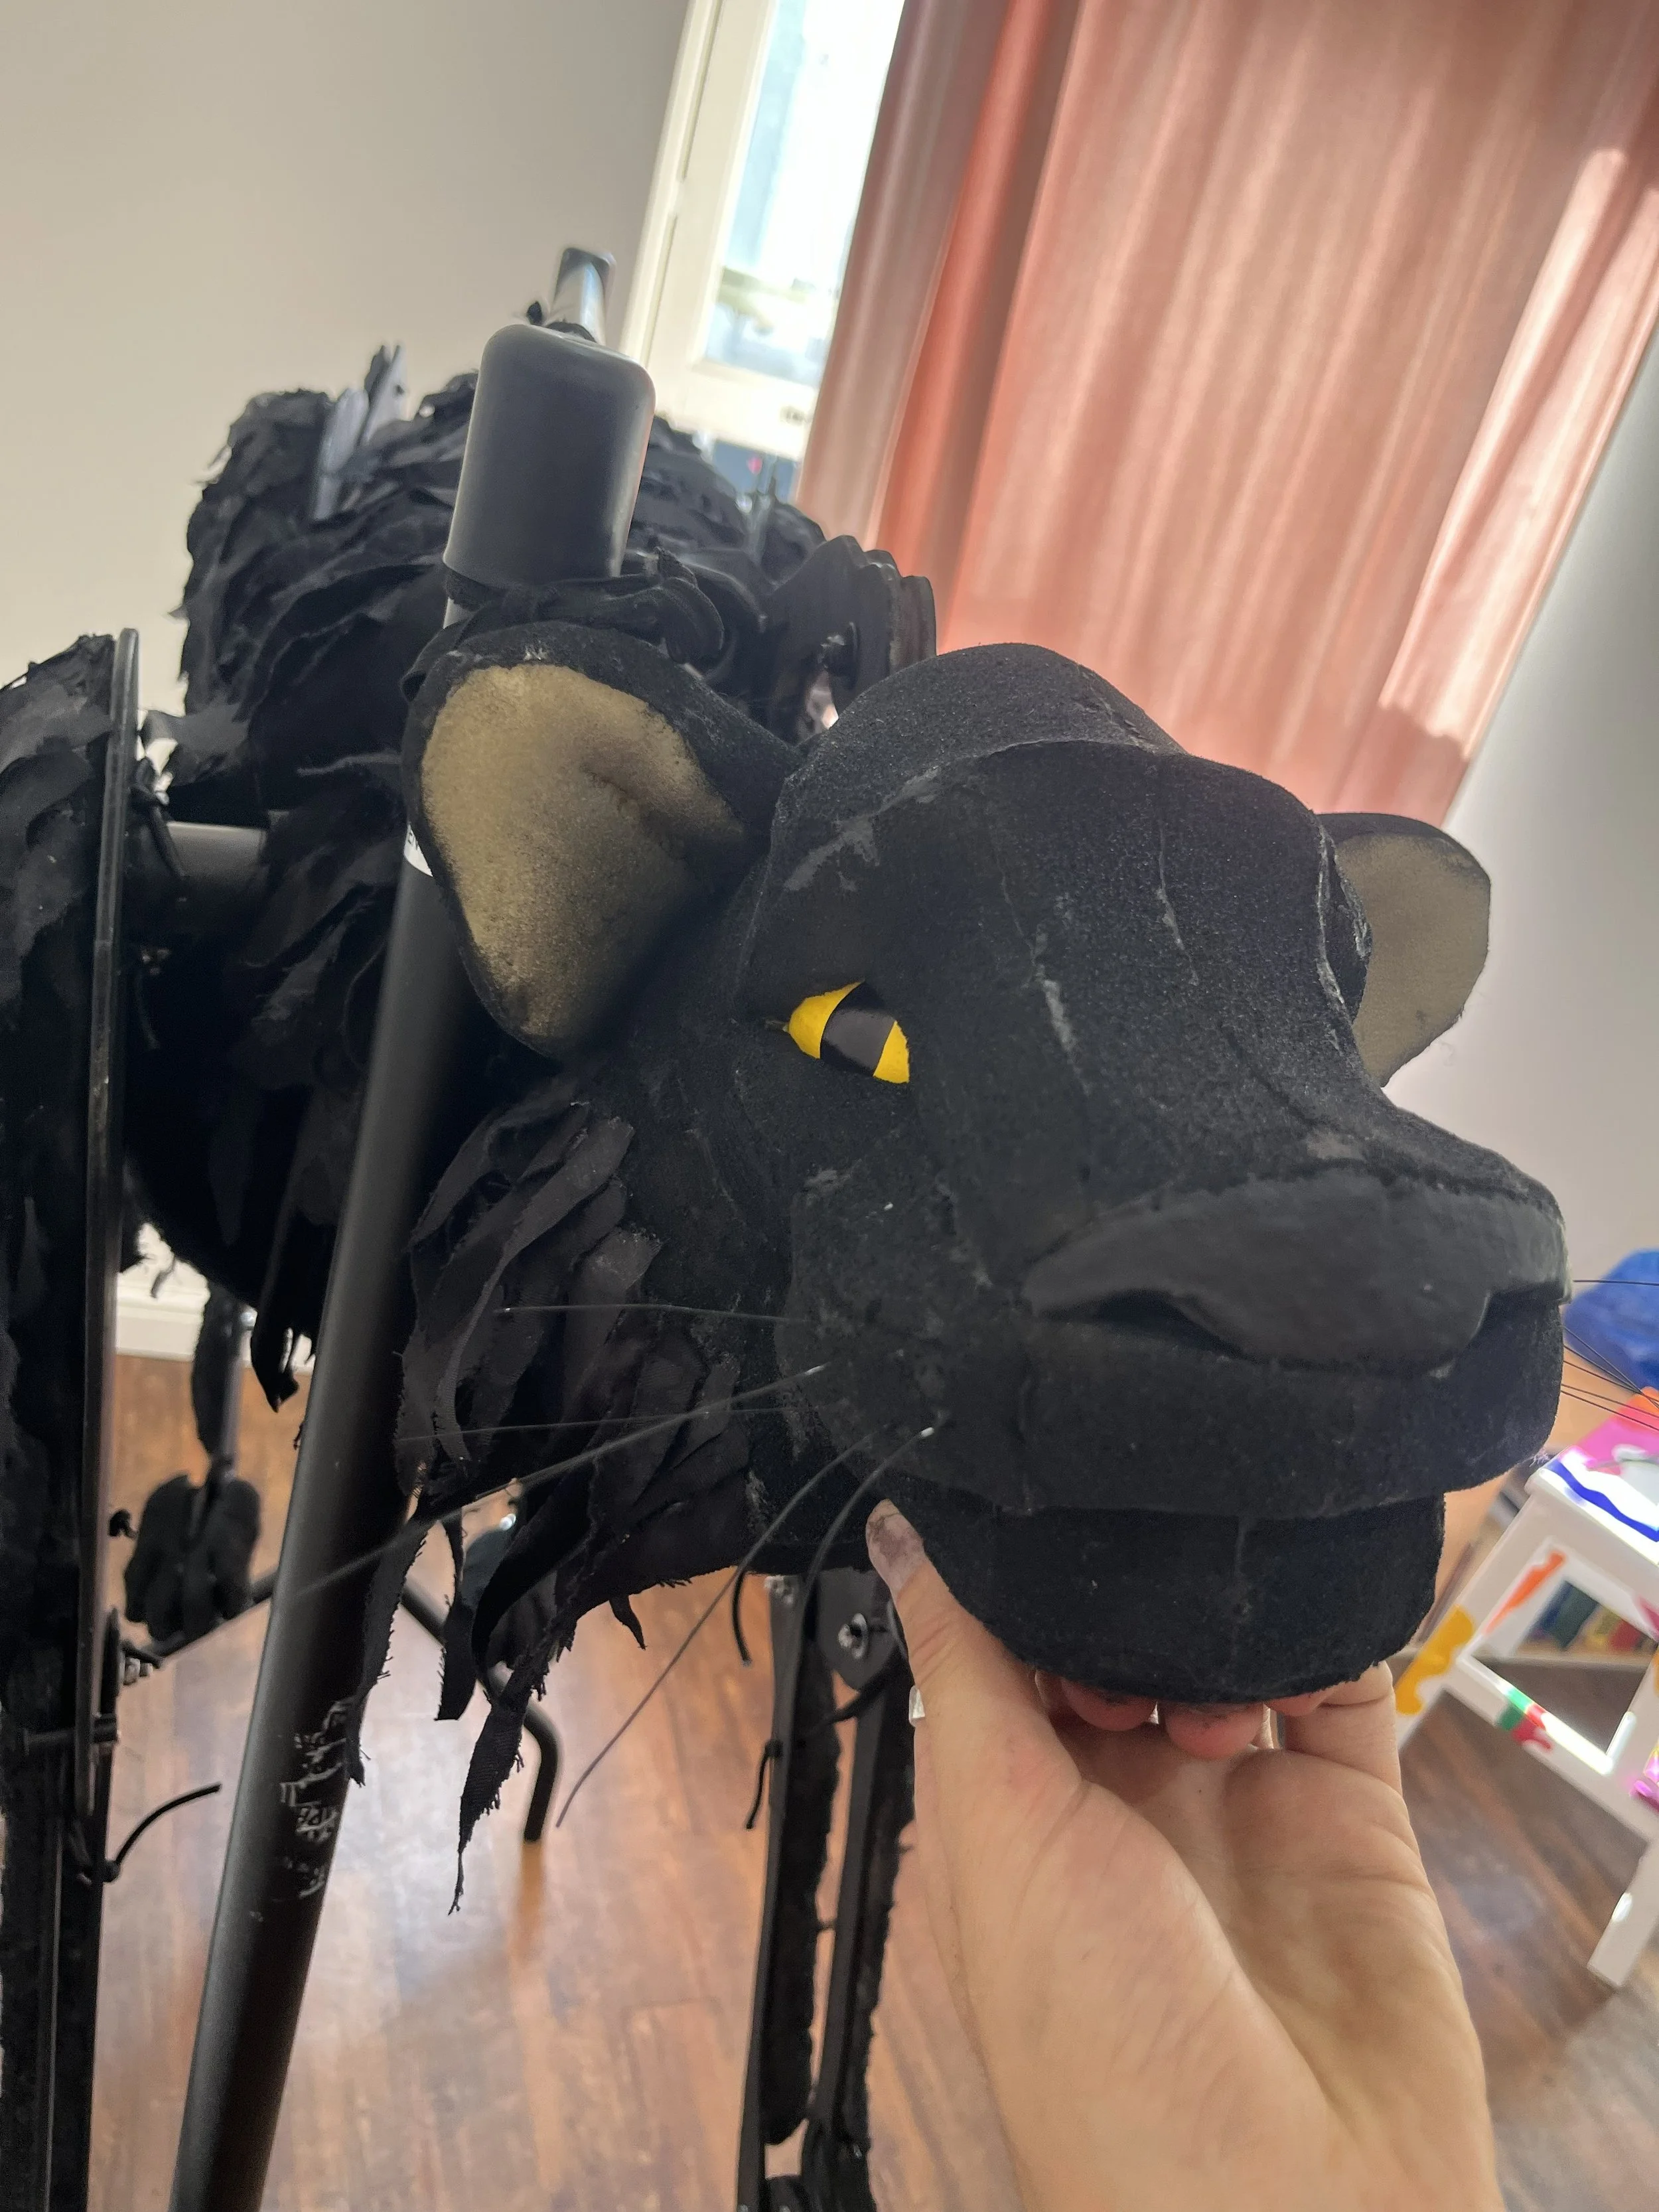
The finished foam head next to the original clay sculpture.
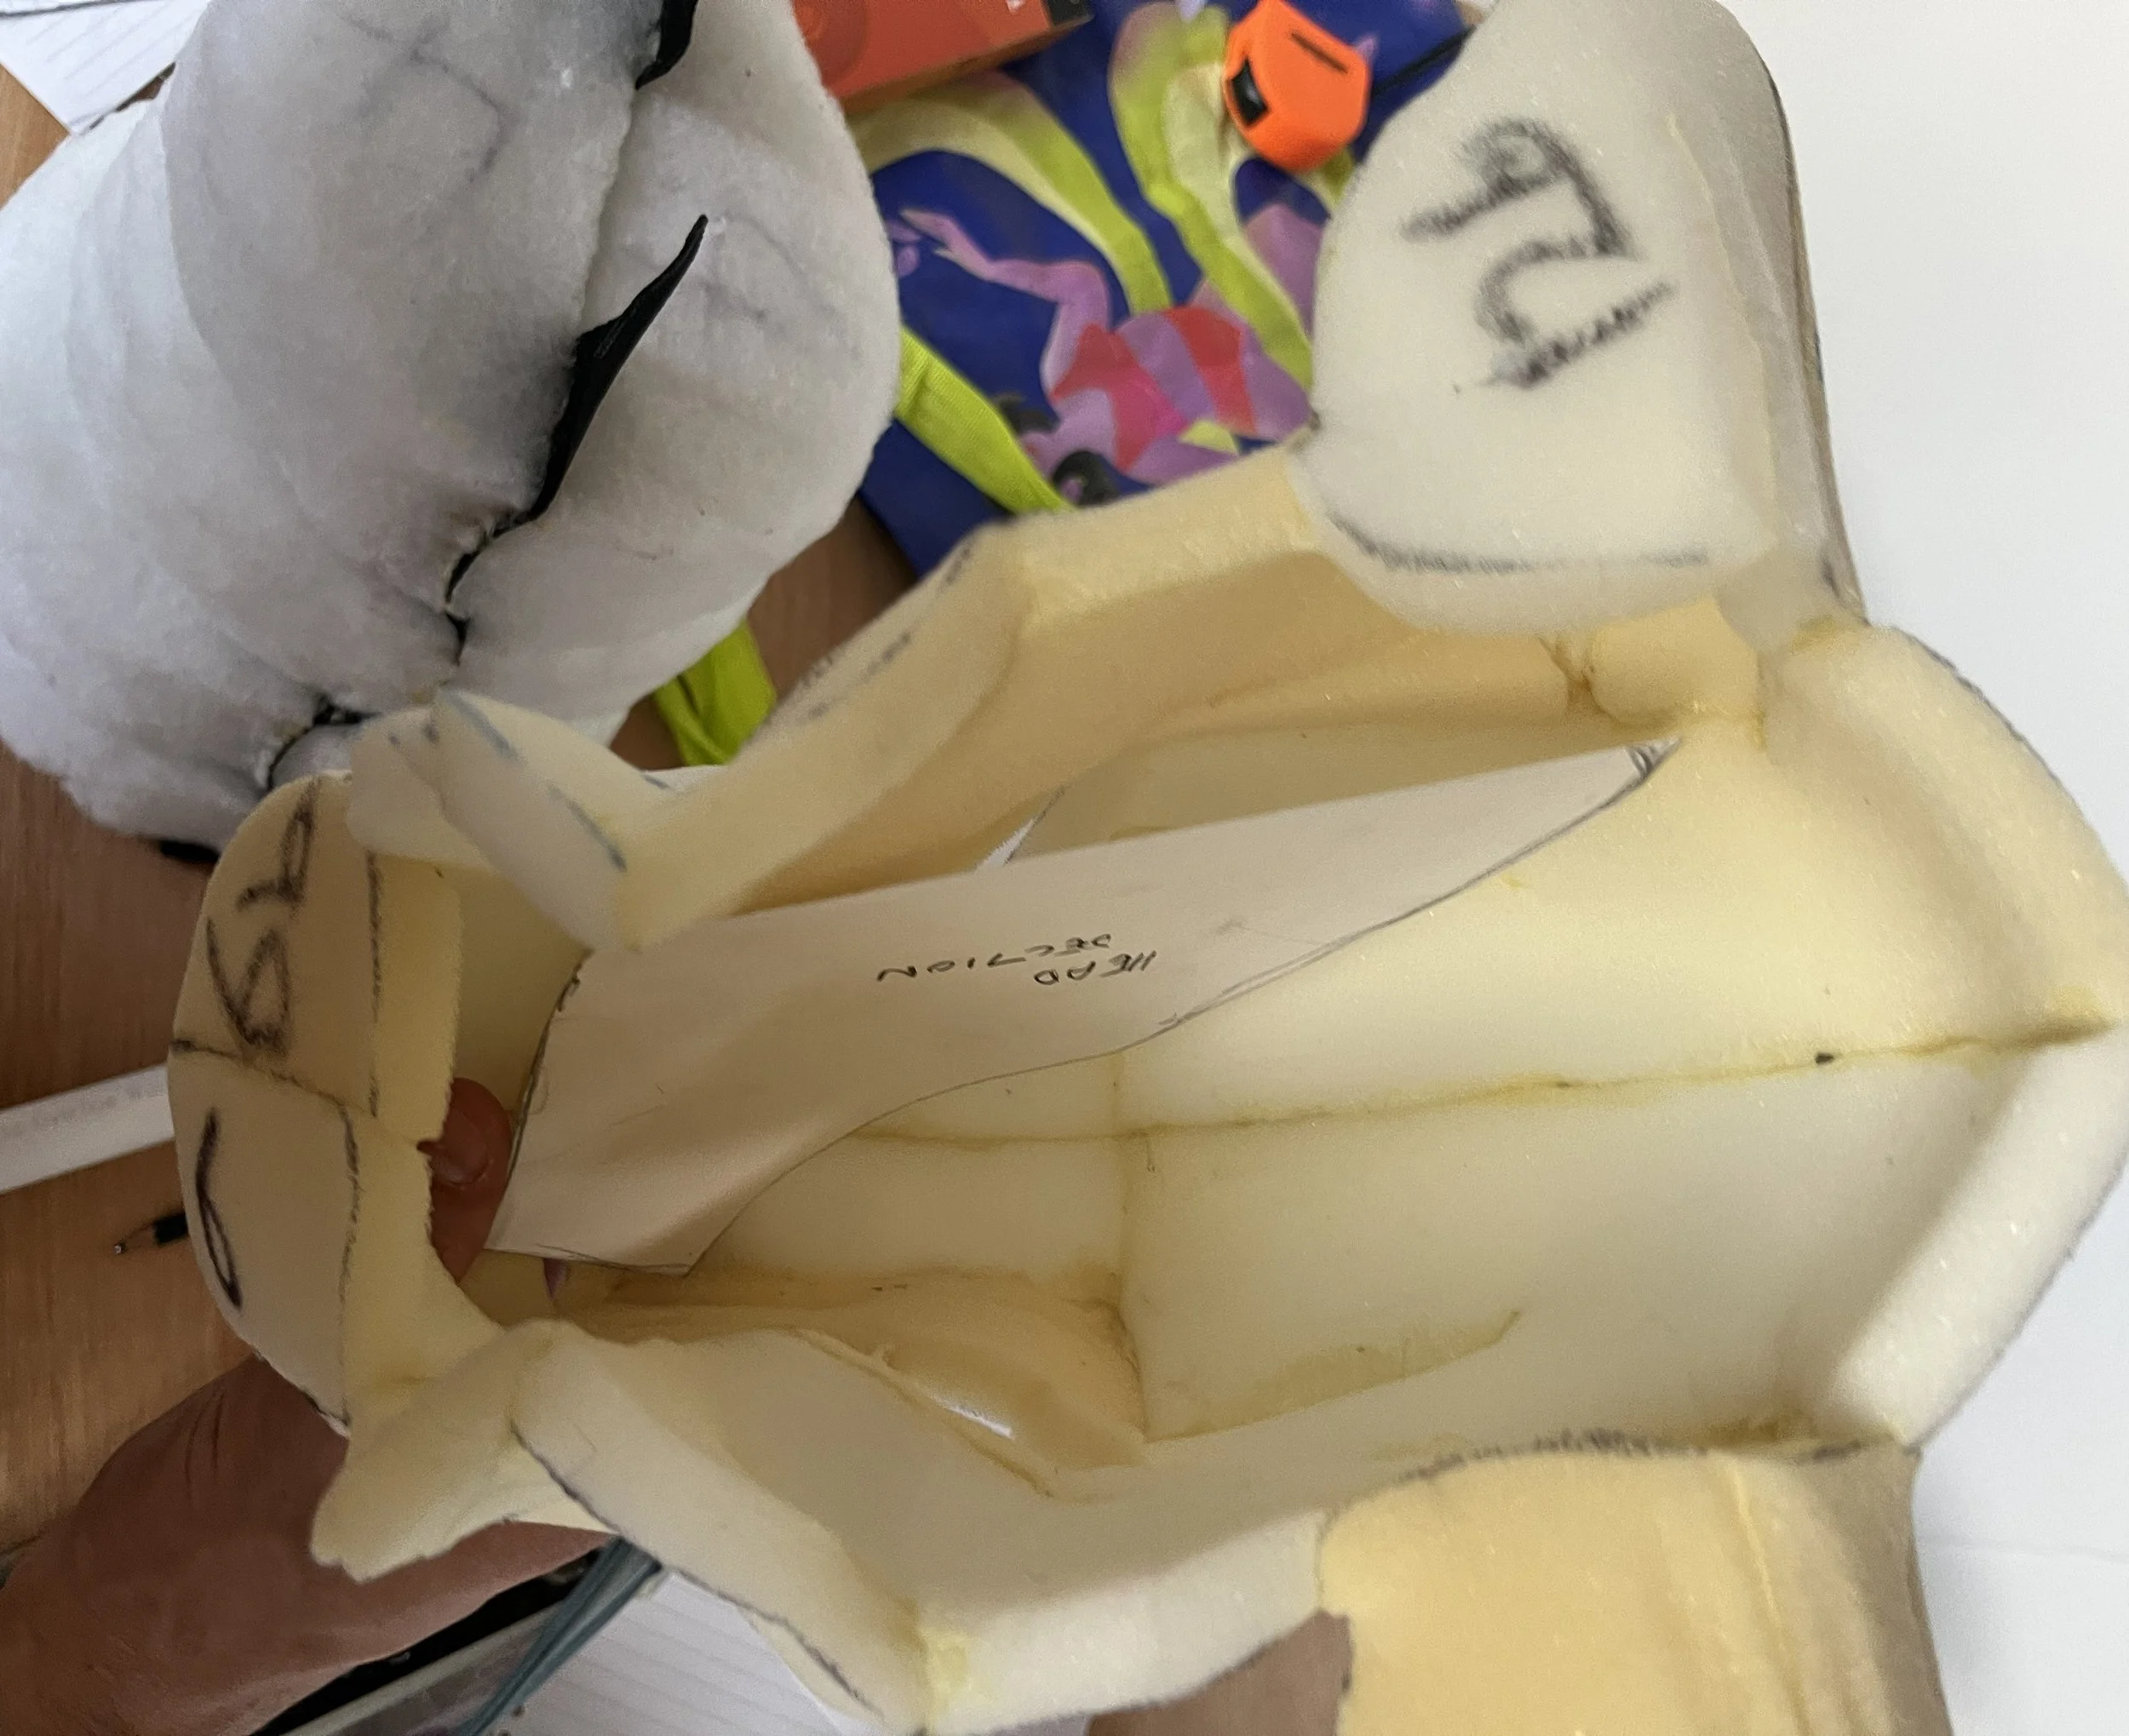
The pieces were then cut out of plywood using a jigsaw.
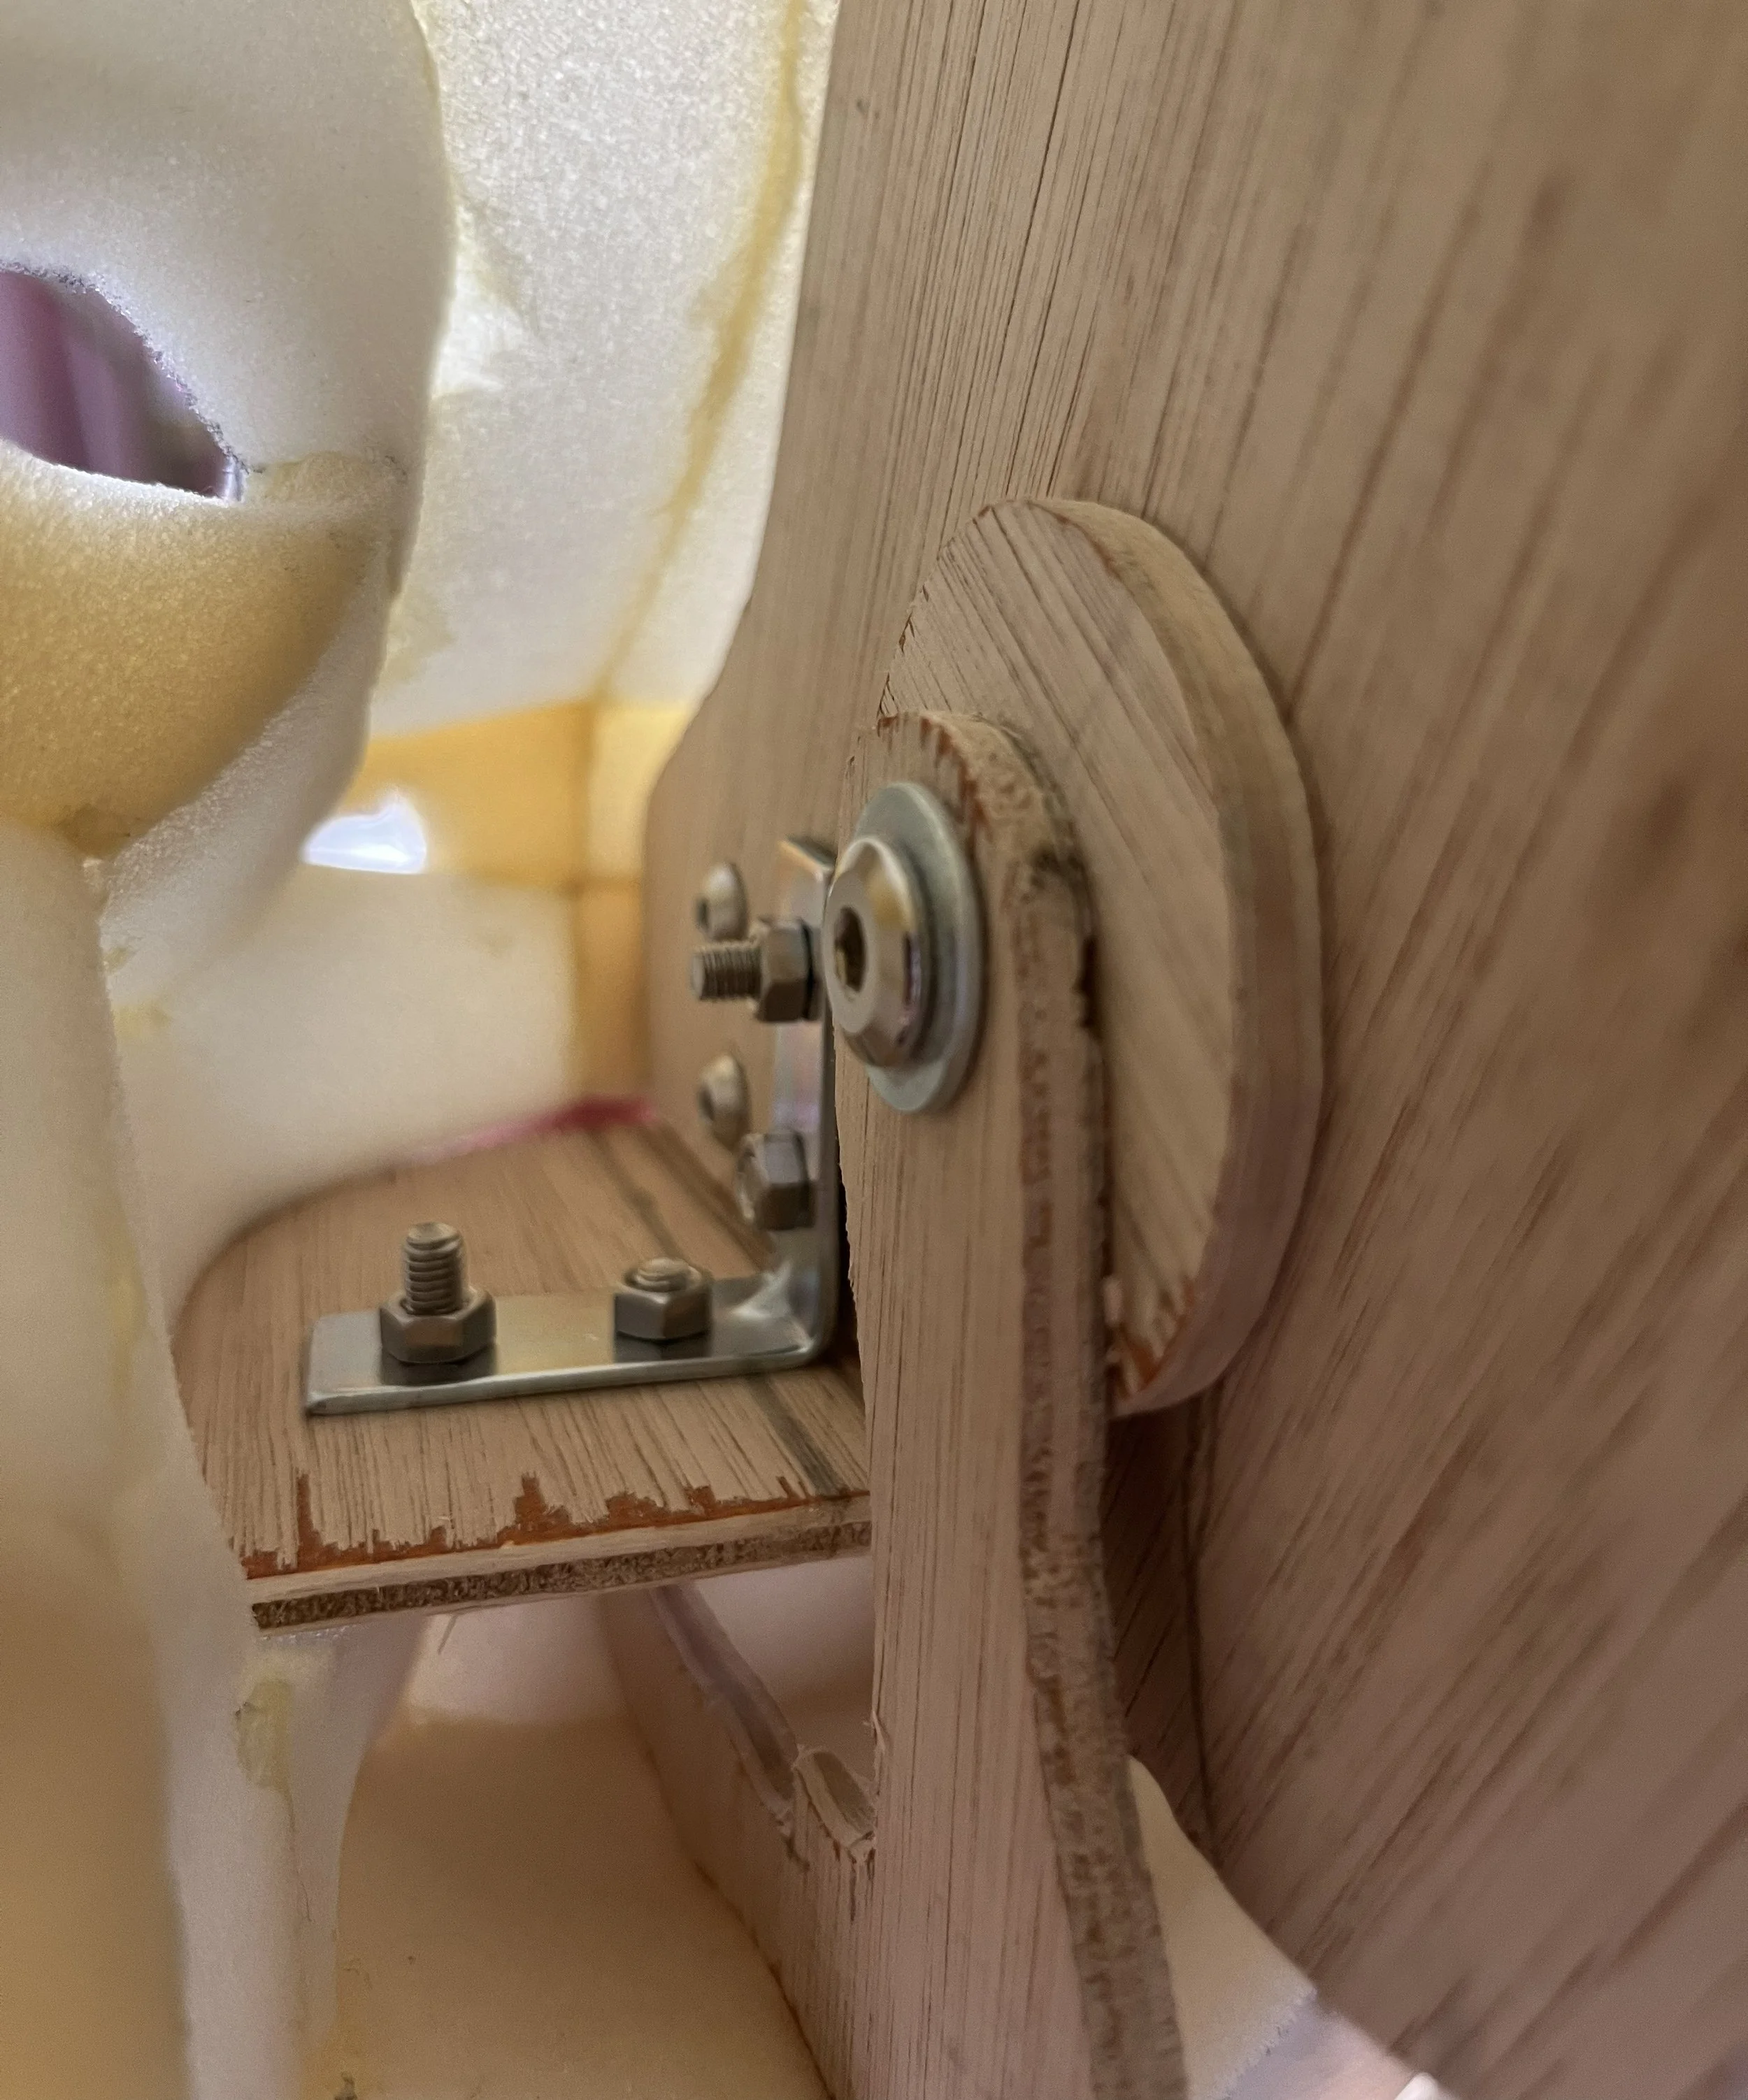
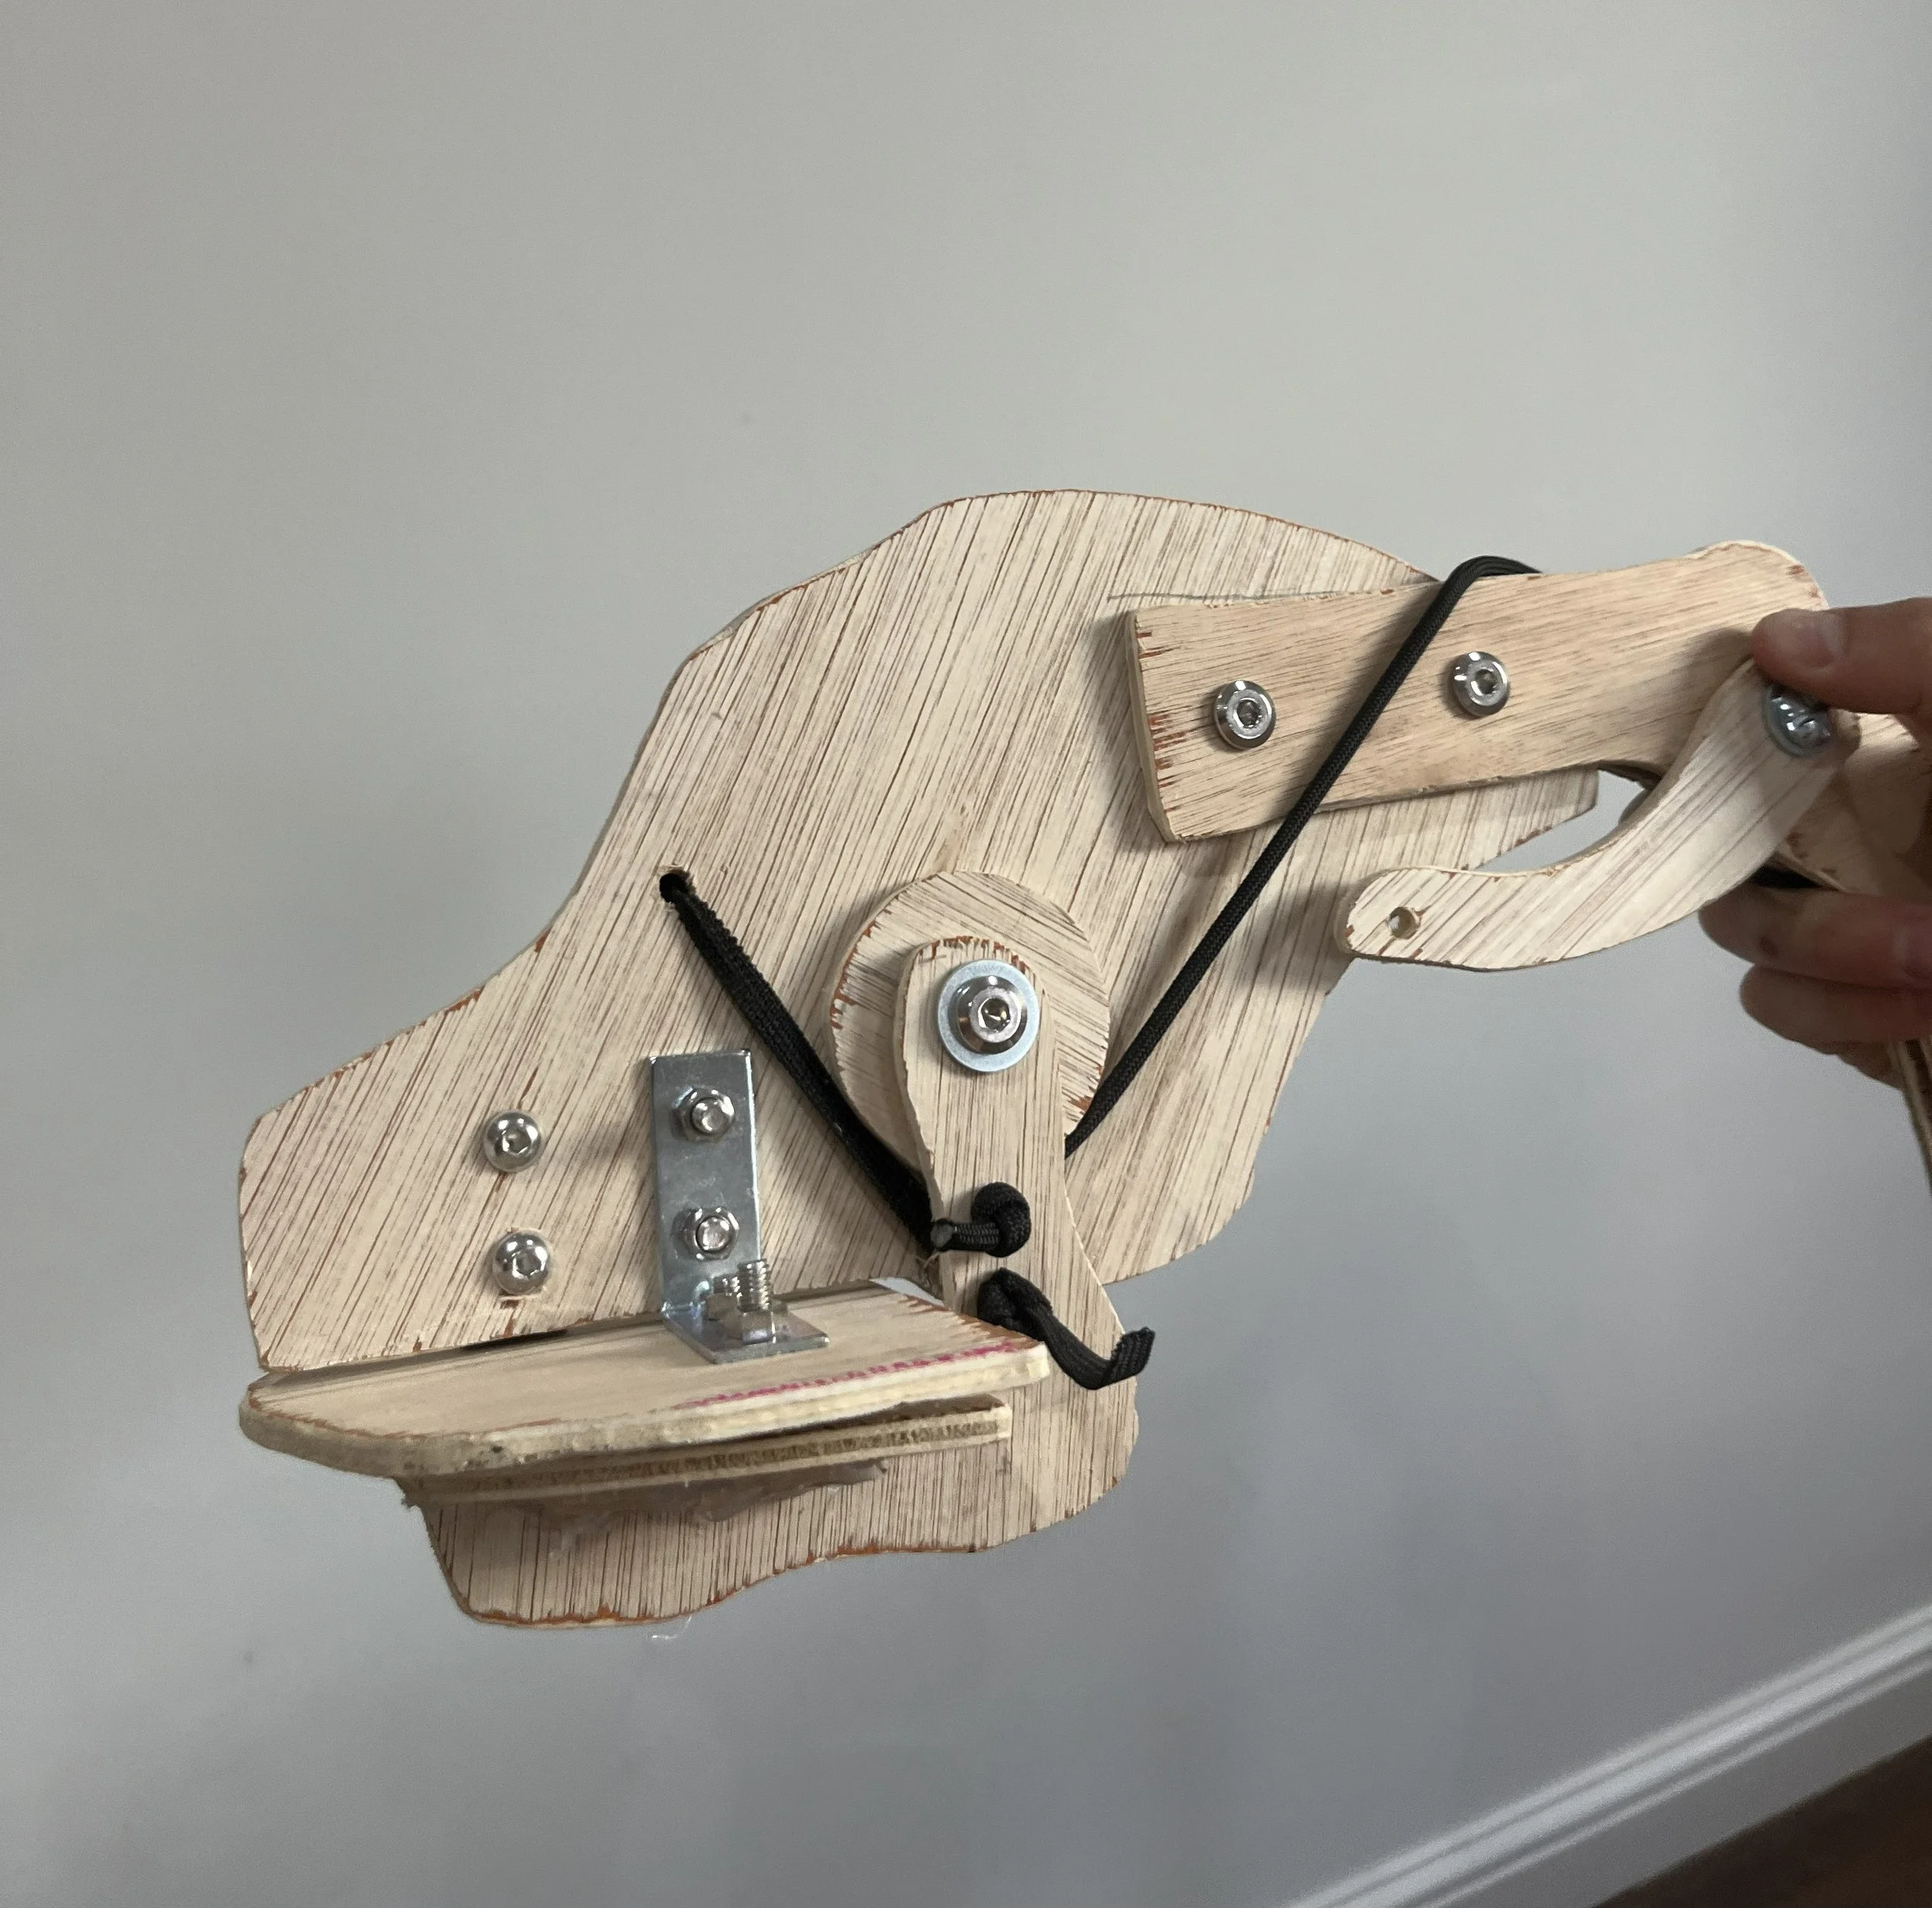
Testing the head mechanism.
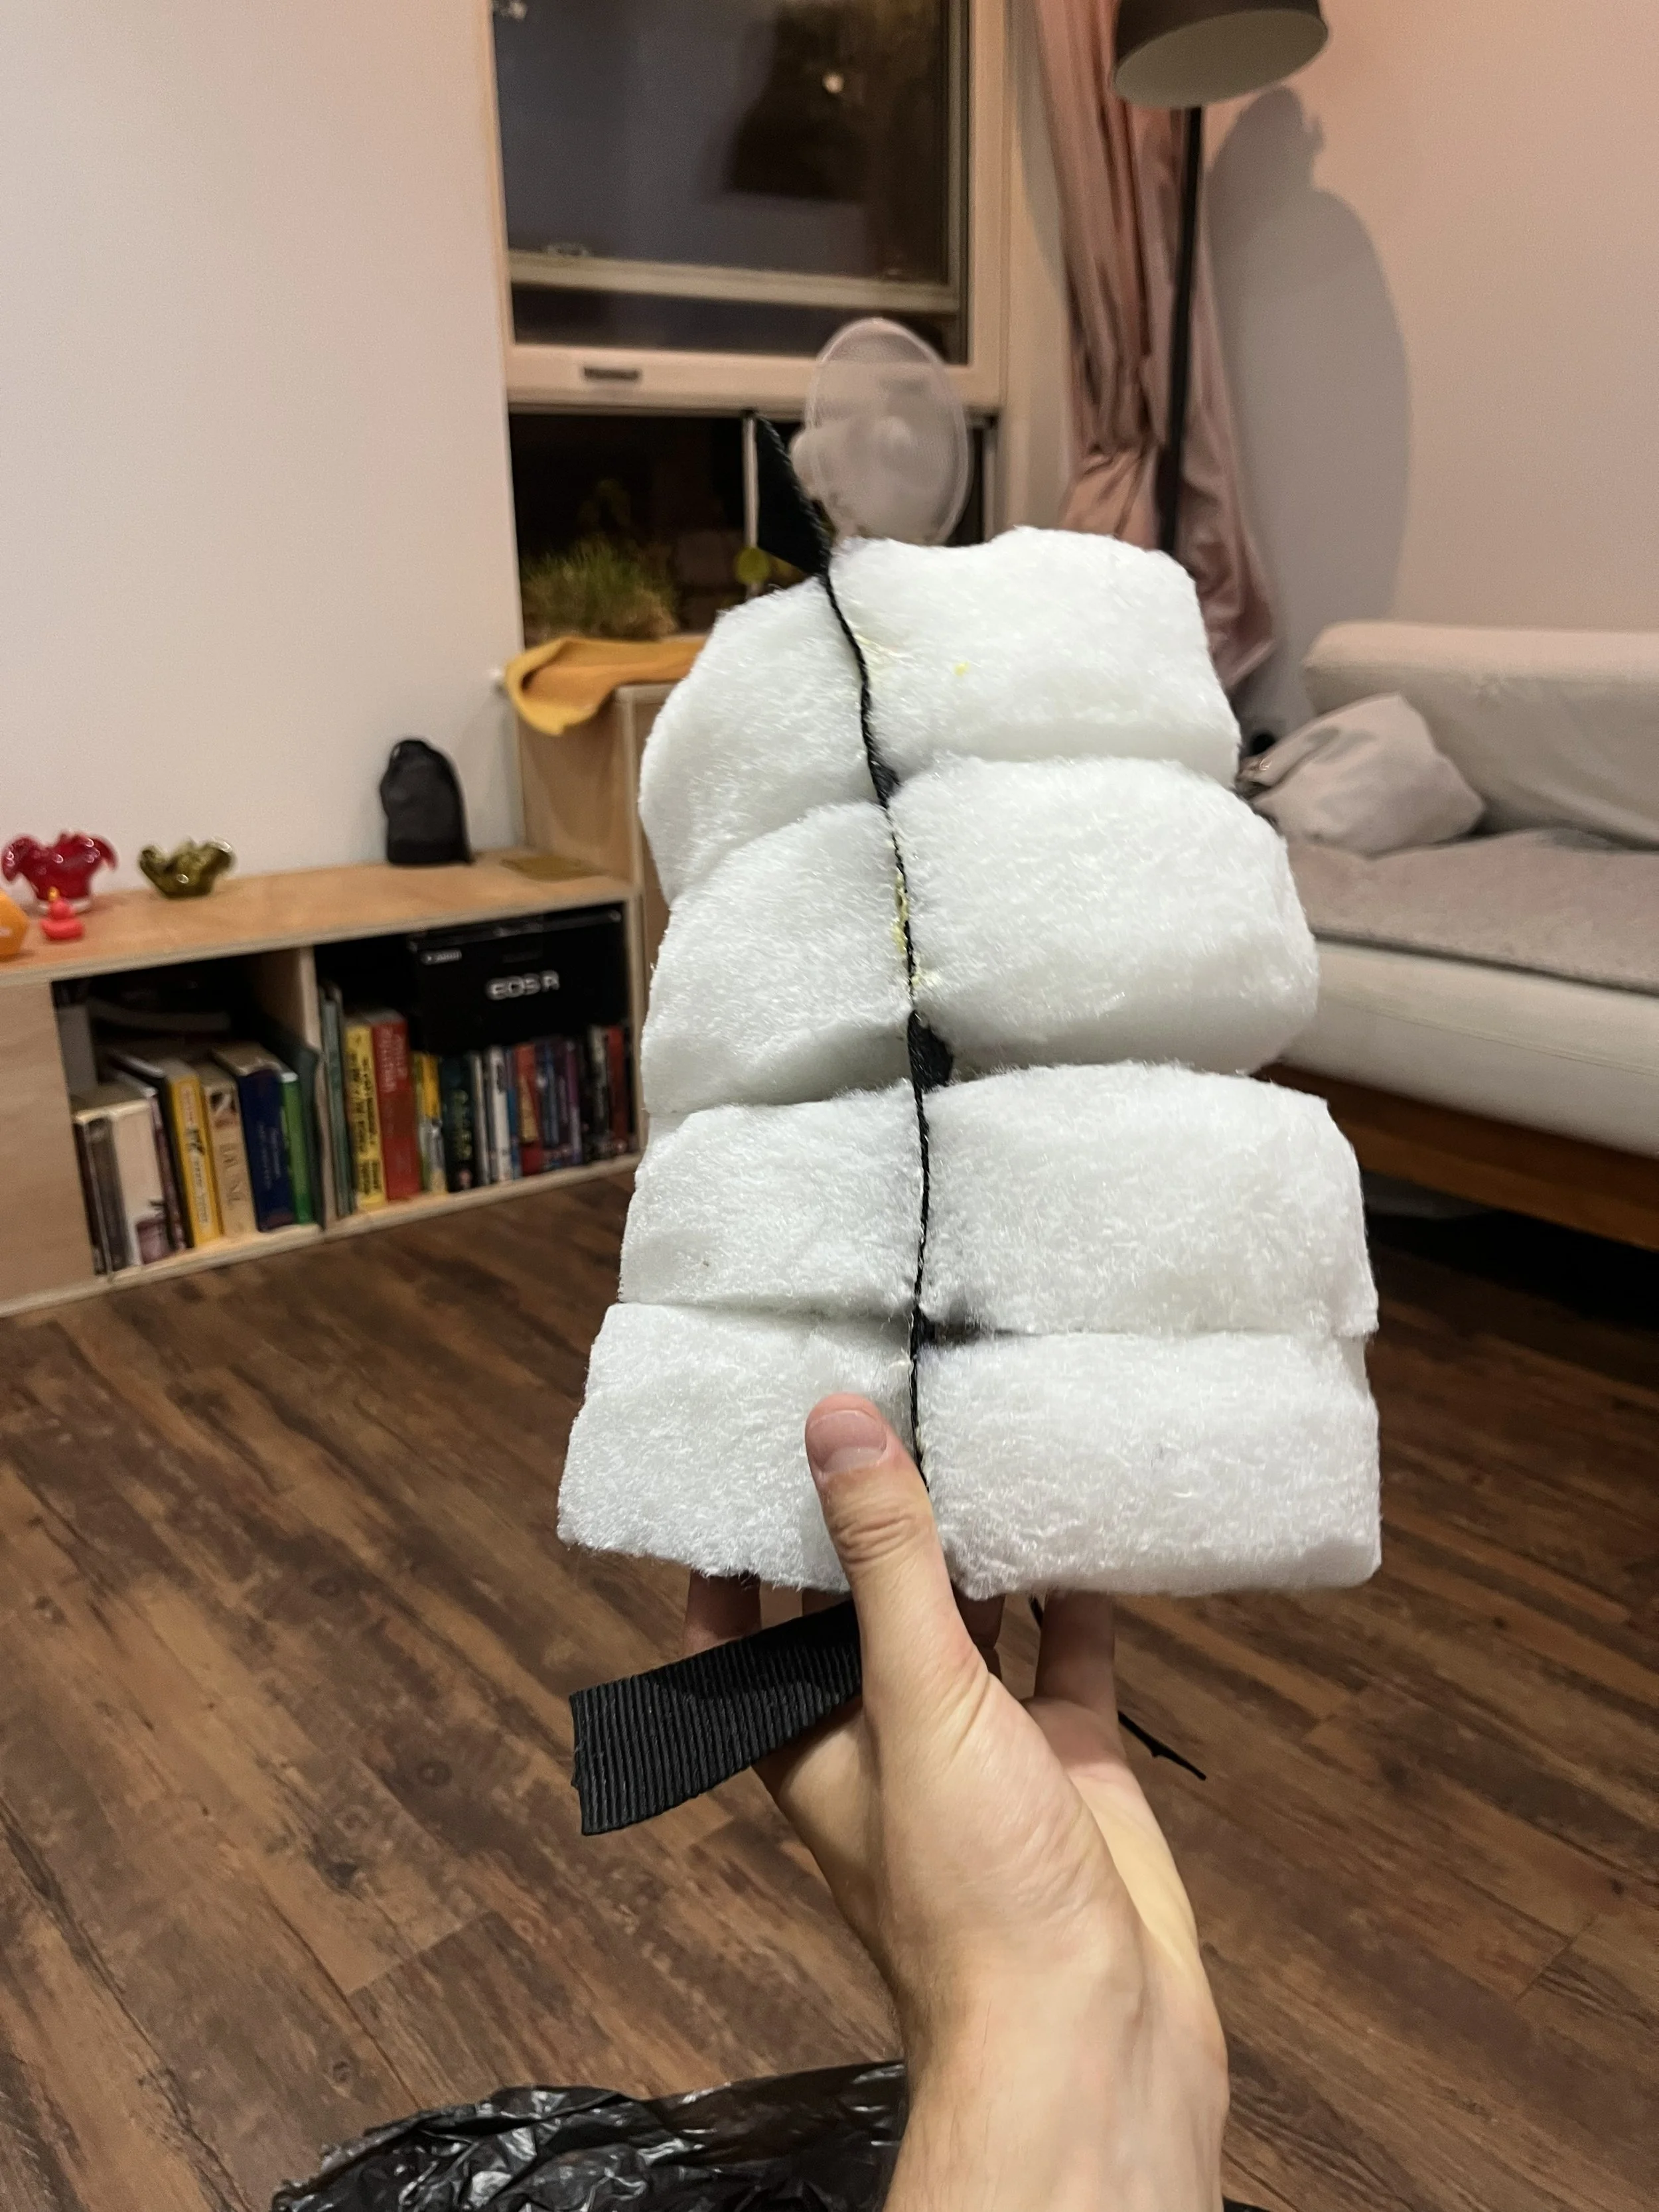
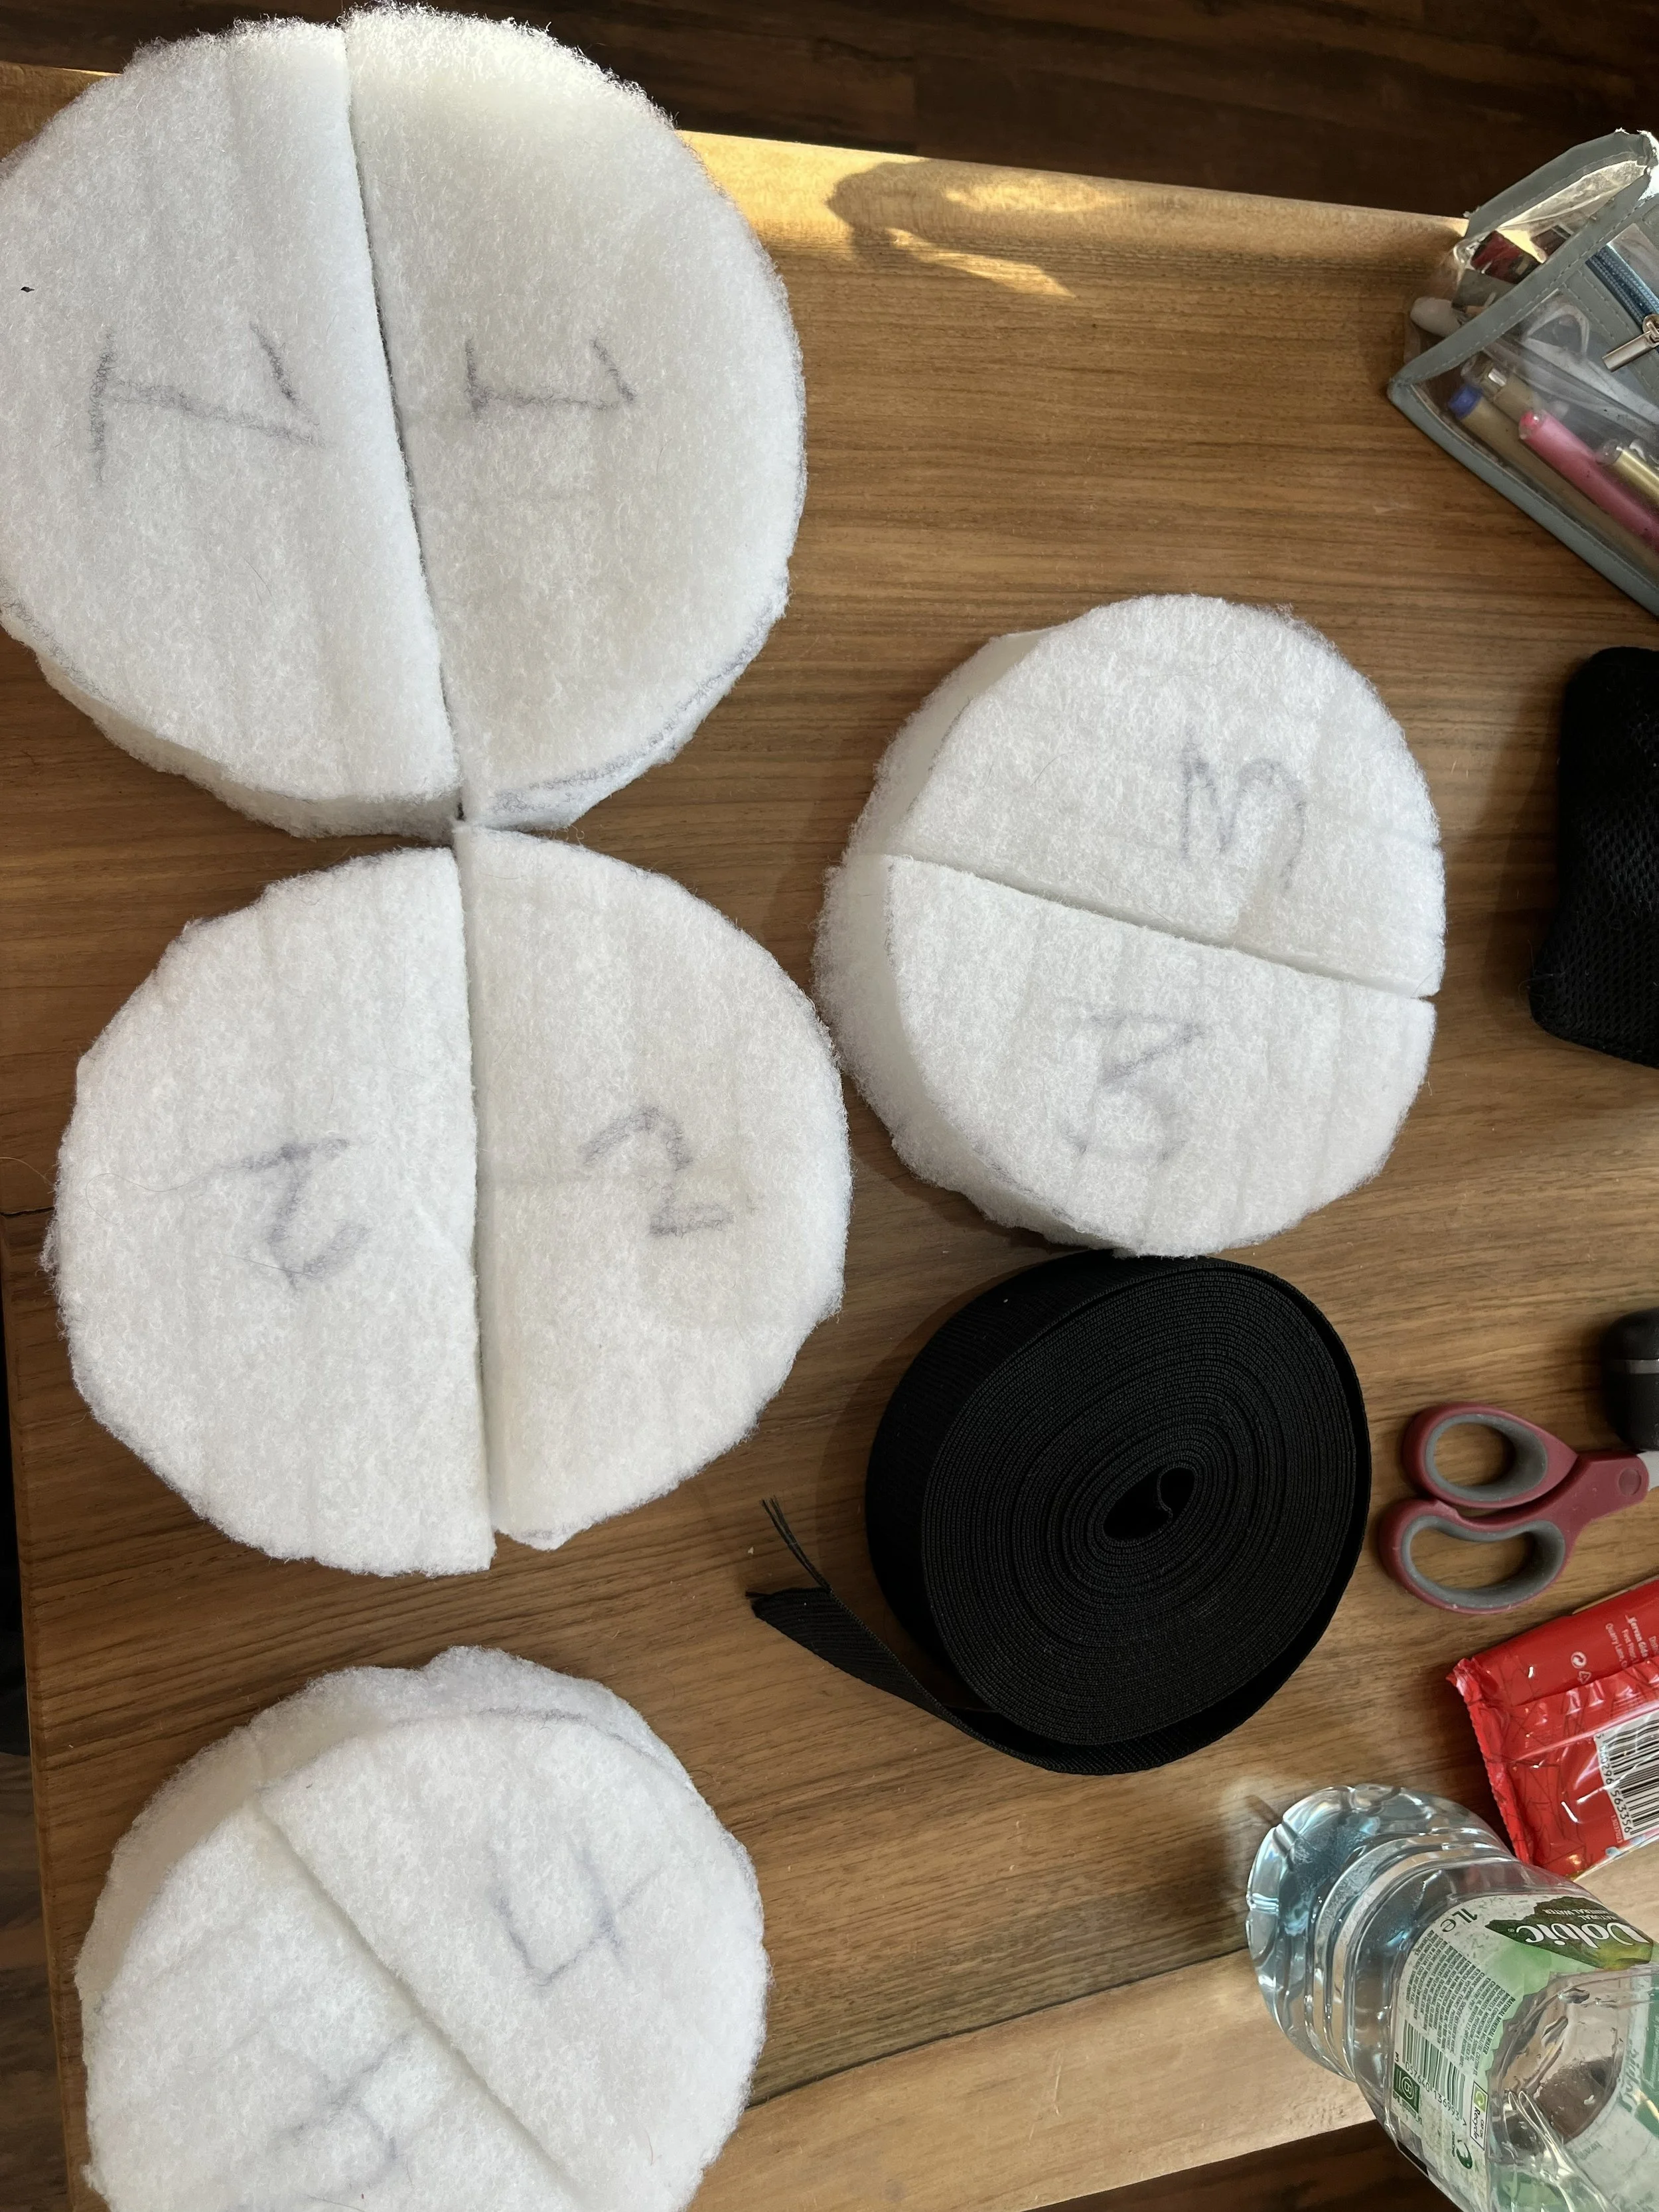
To make the neck, semi circles were cut from thick foam and then glued to strips of webbing. This creates a structure with good flexibility but that won’t completely flop down if not being puppeteered.
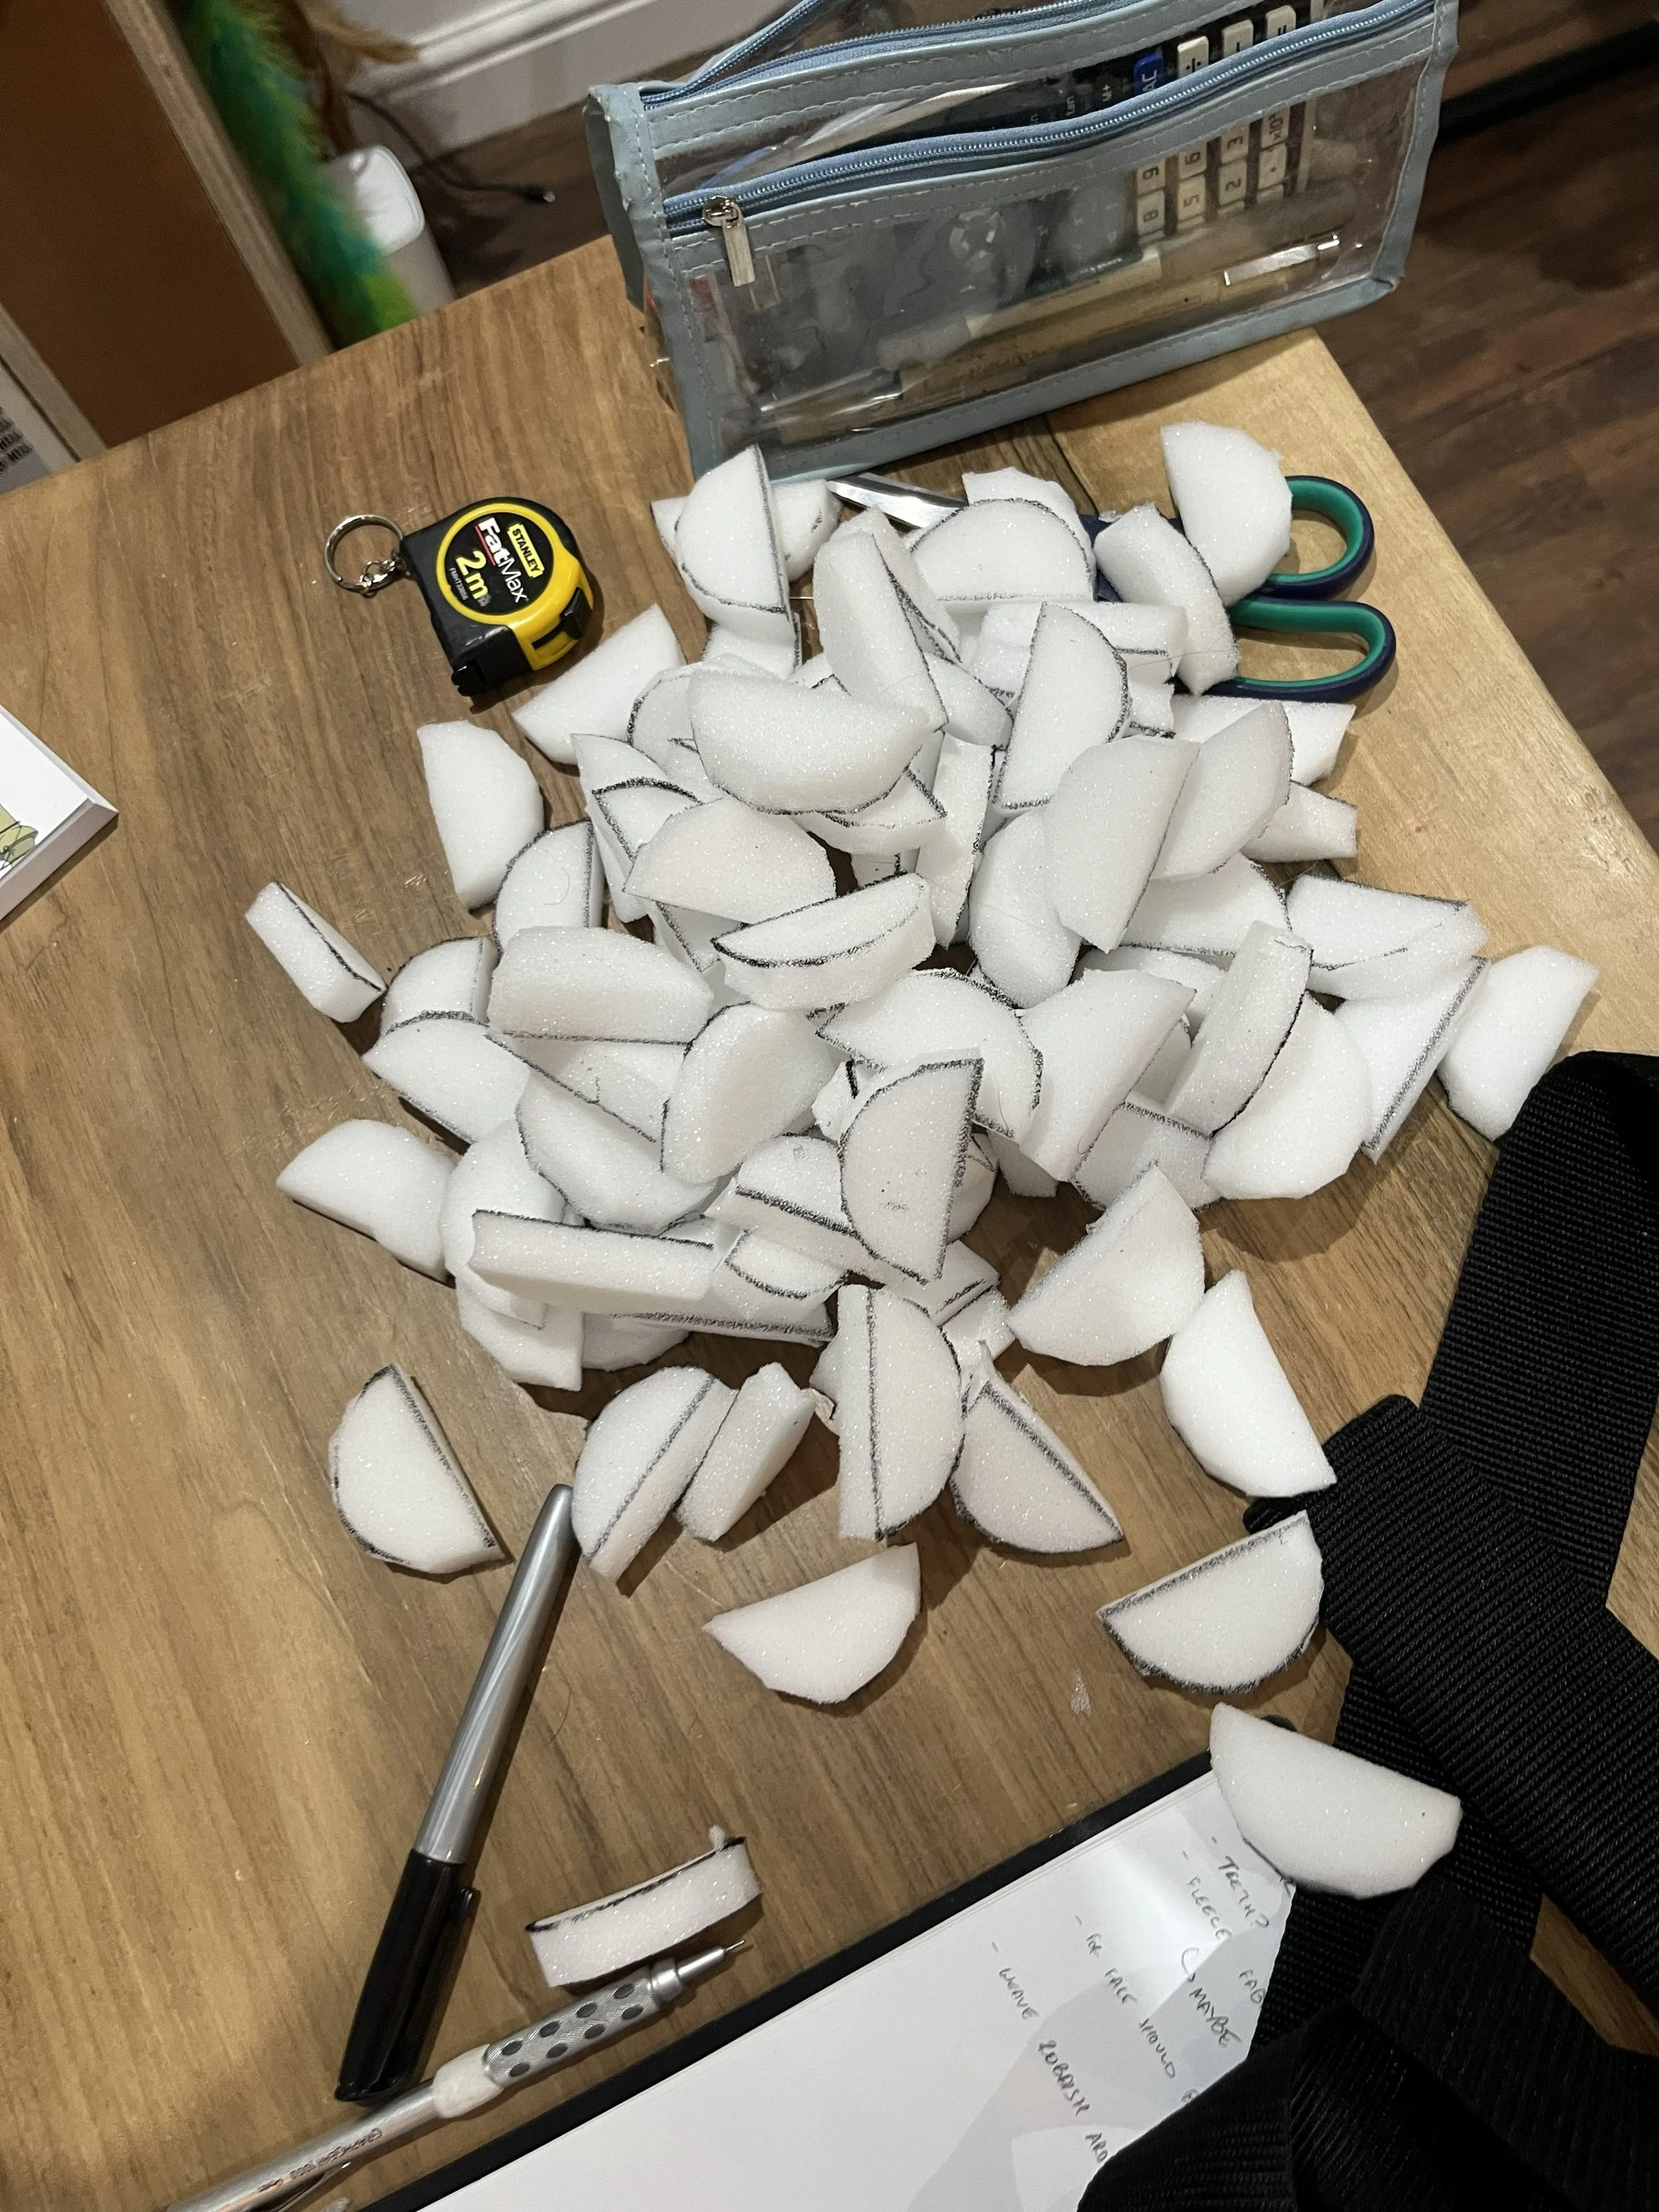
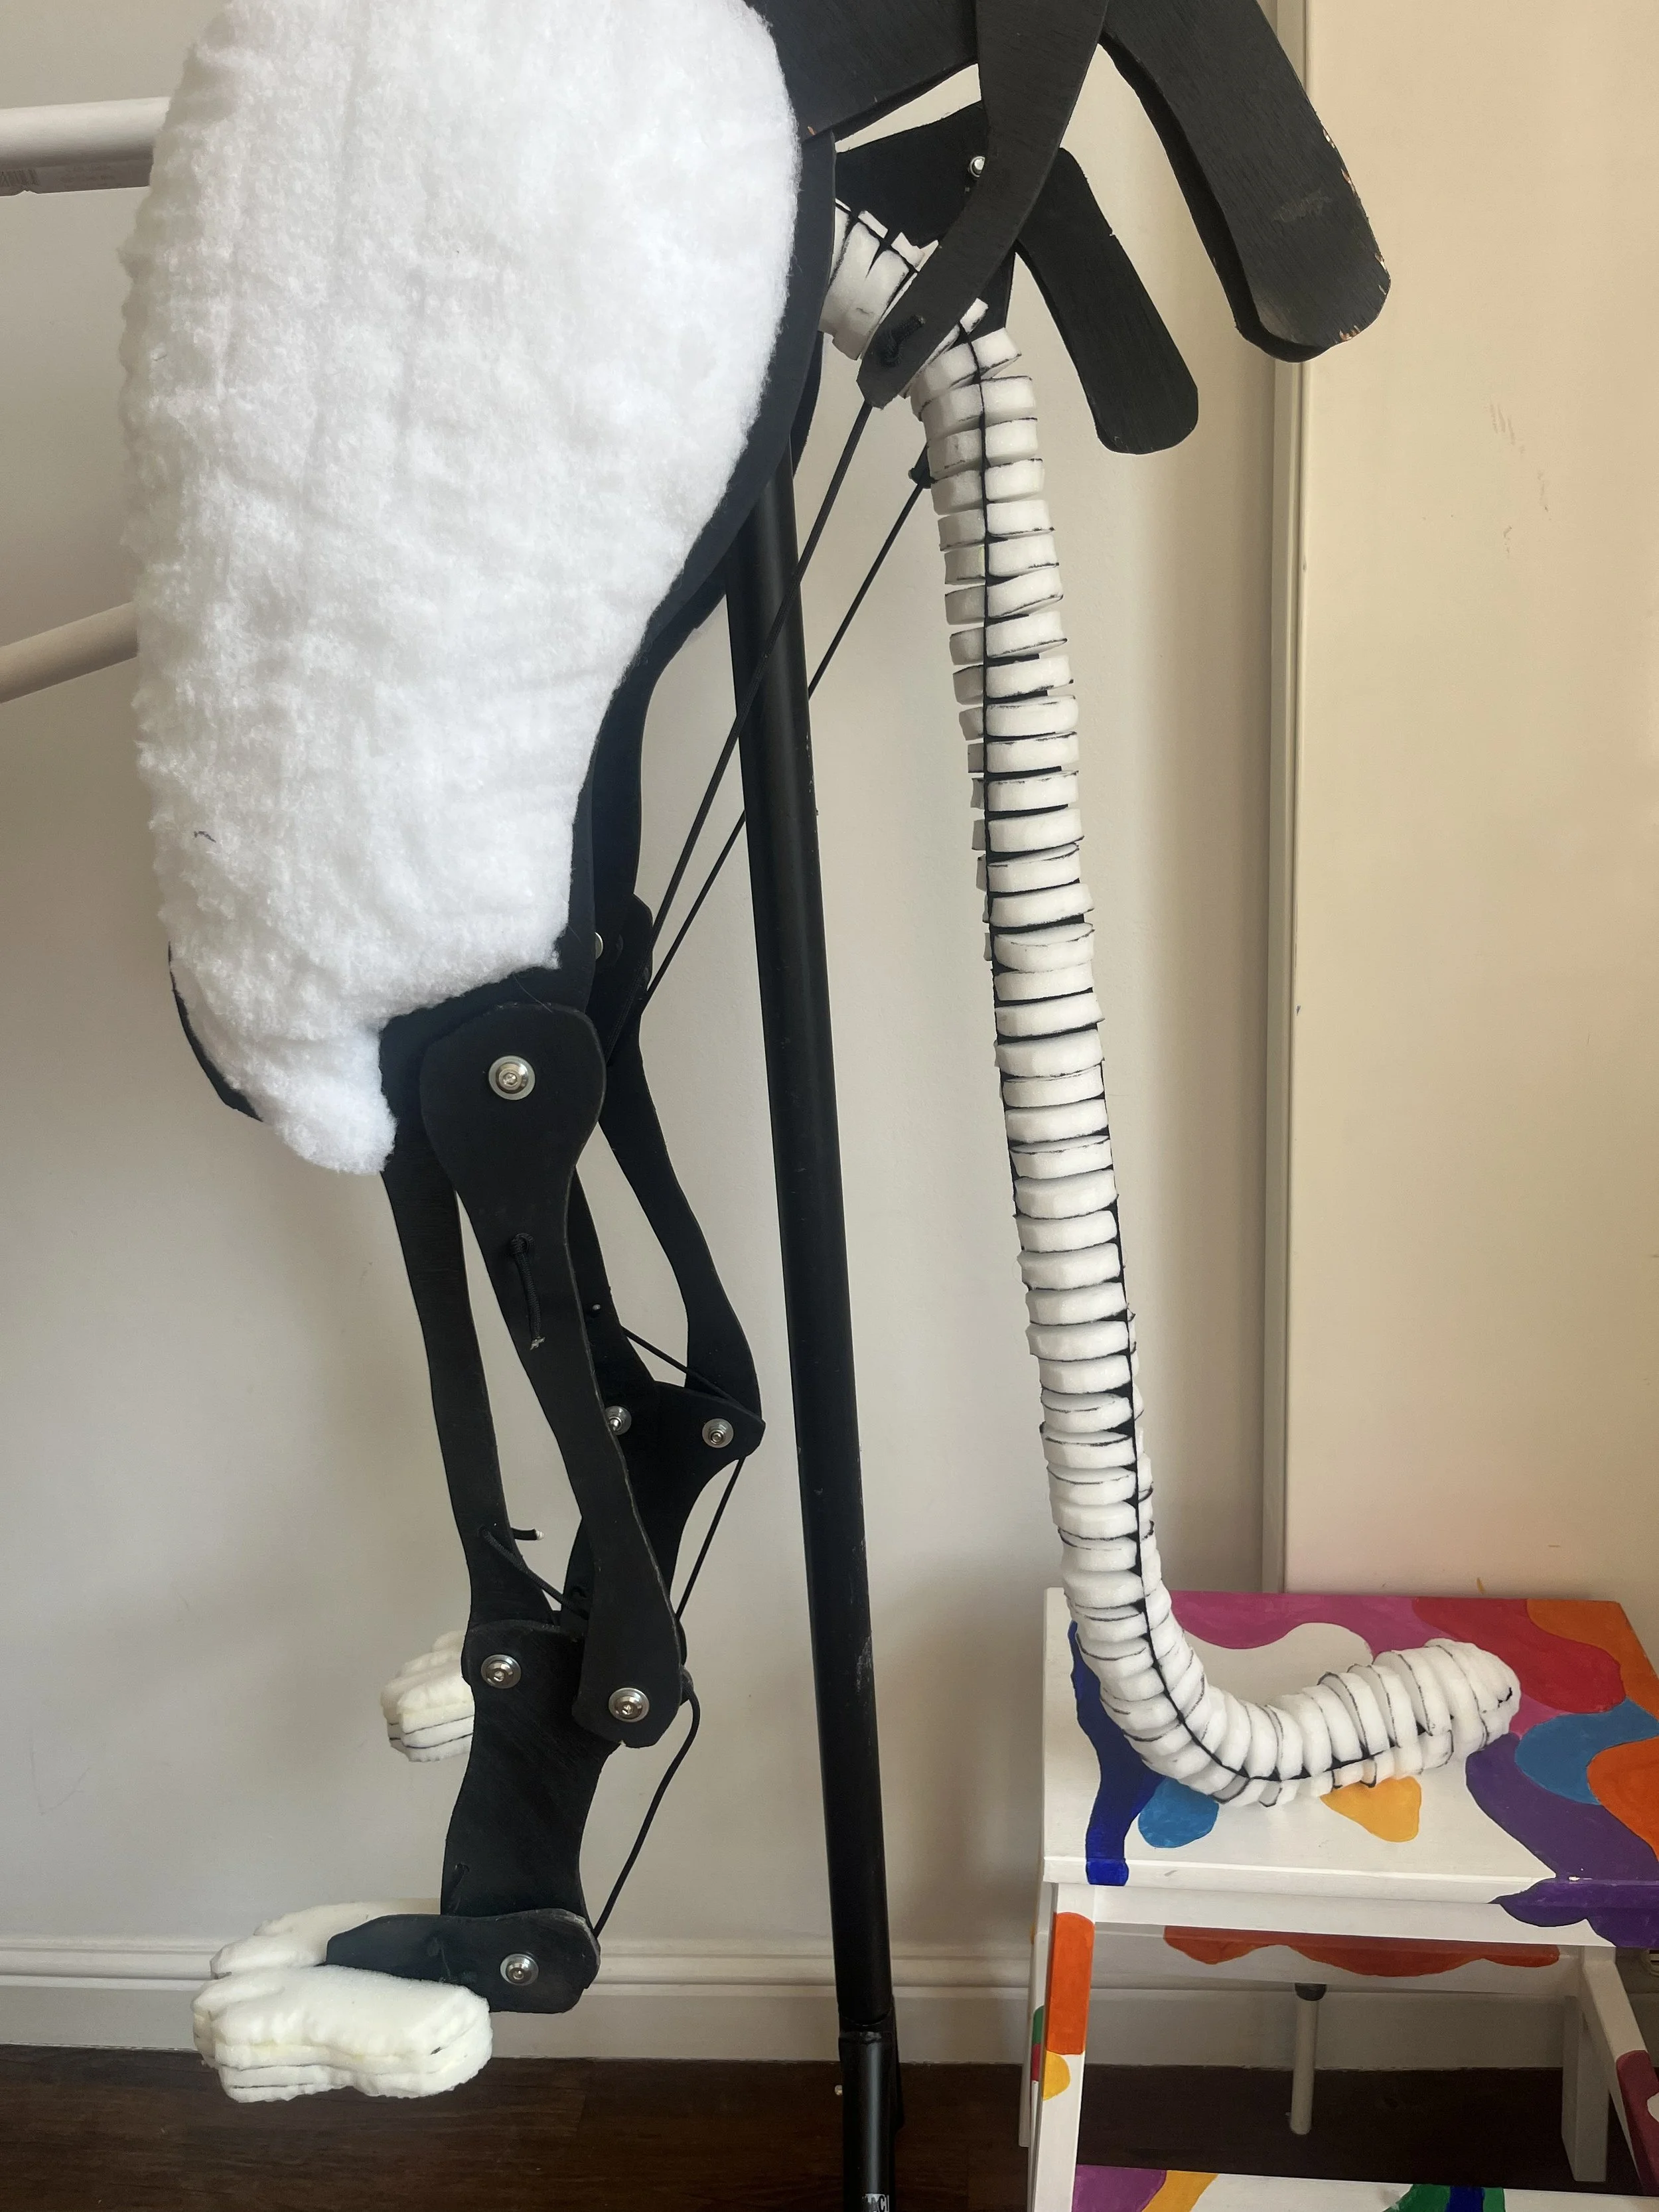
A similar process was used for the tail, but with thinner foam.
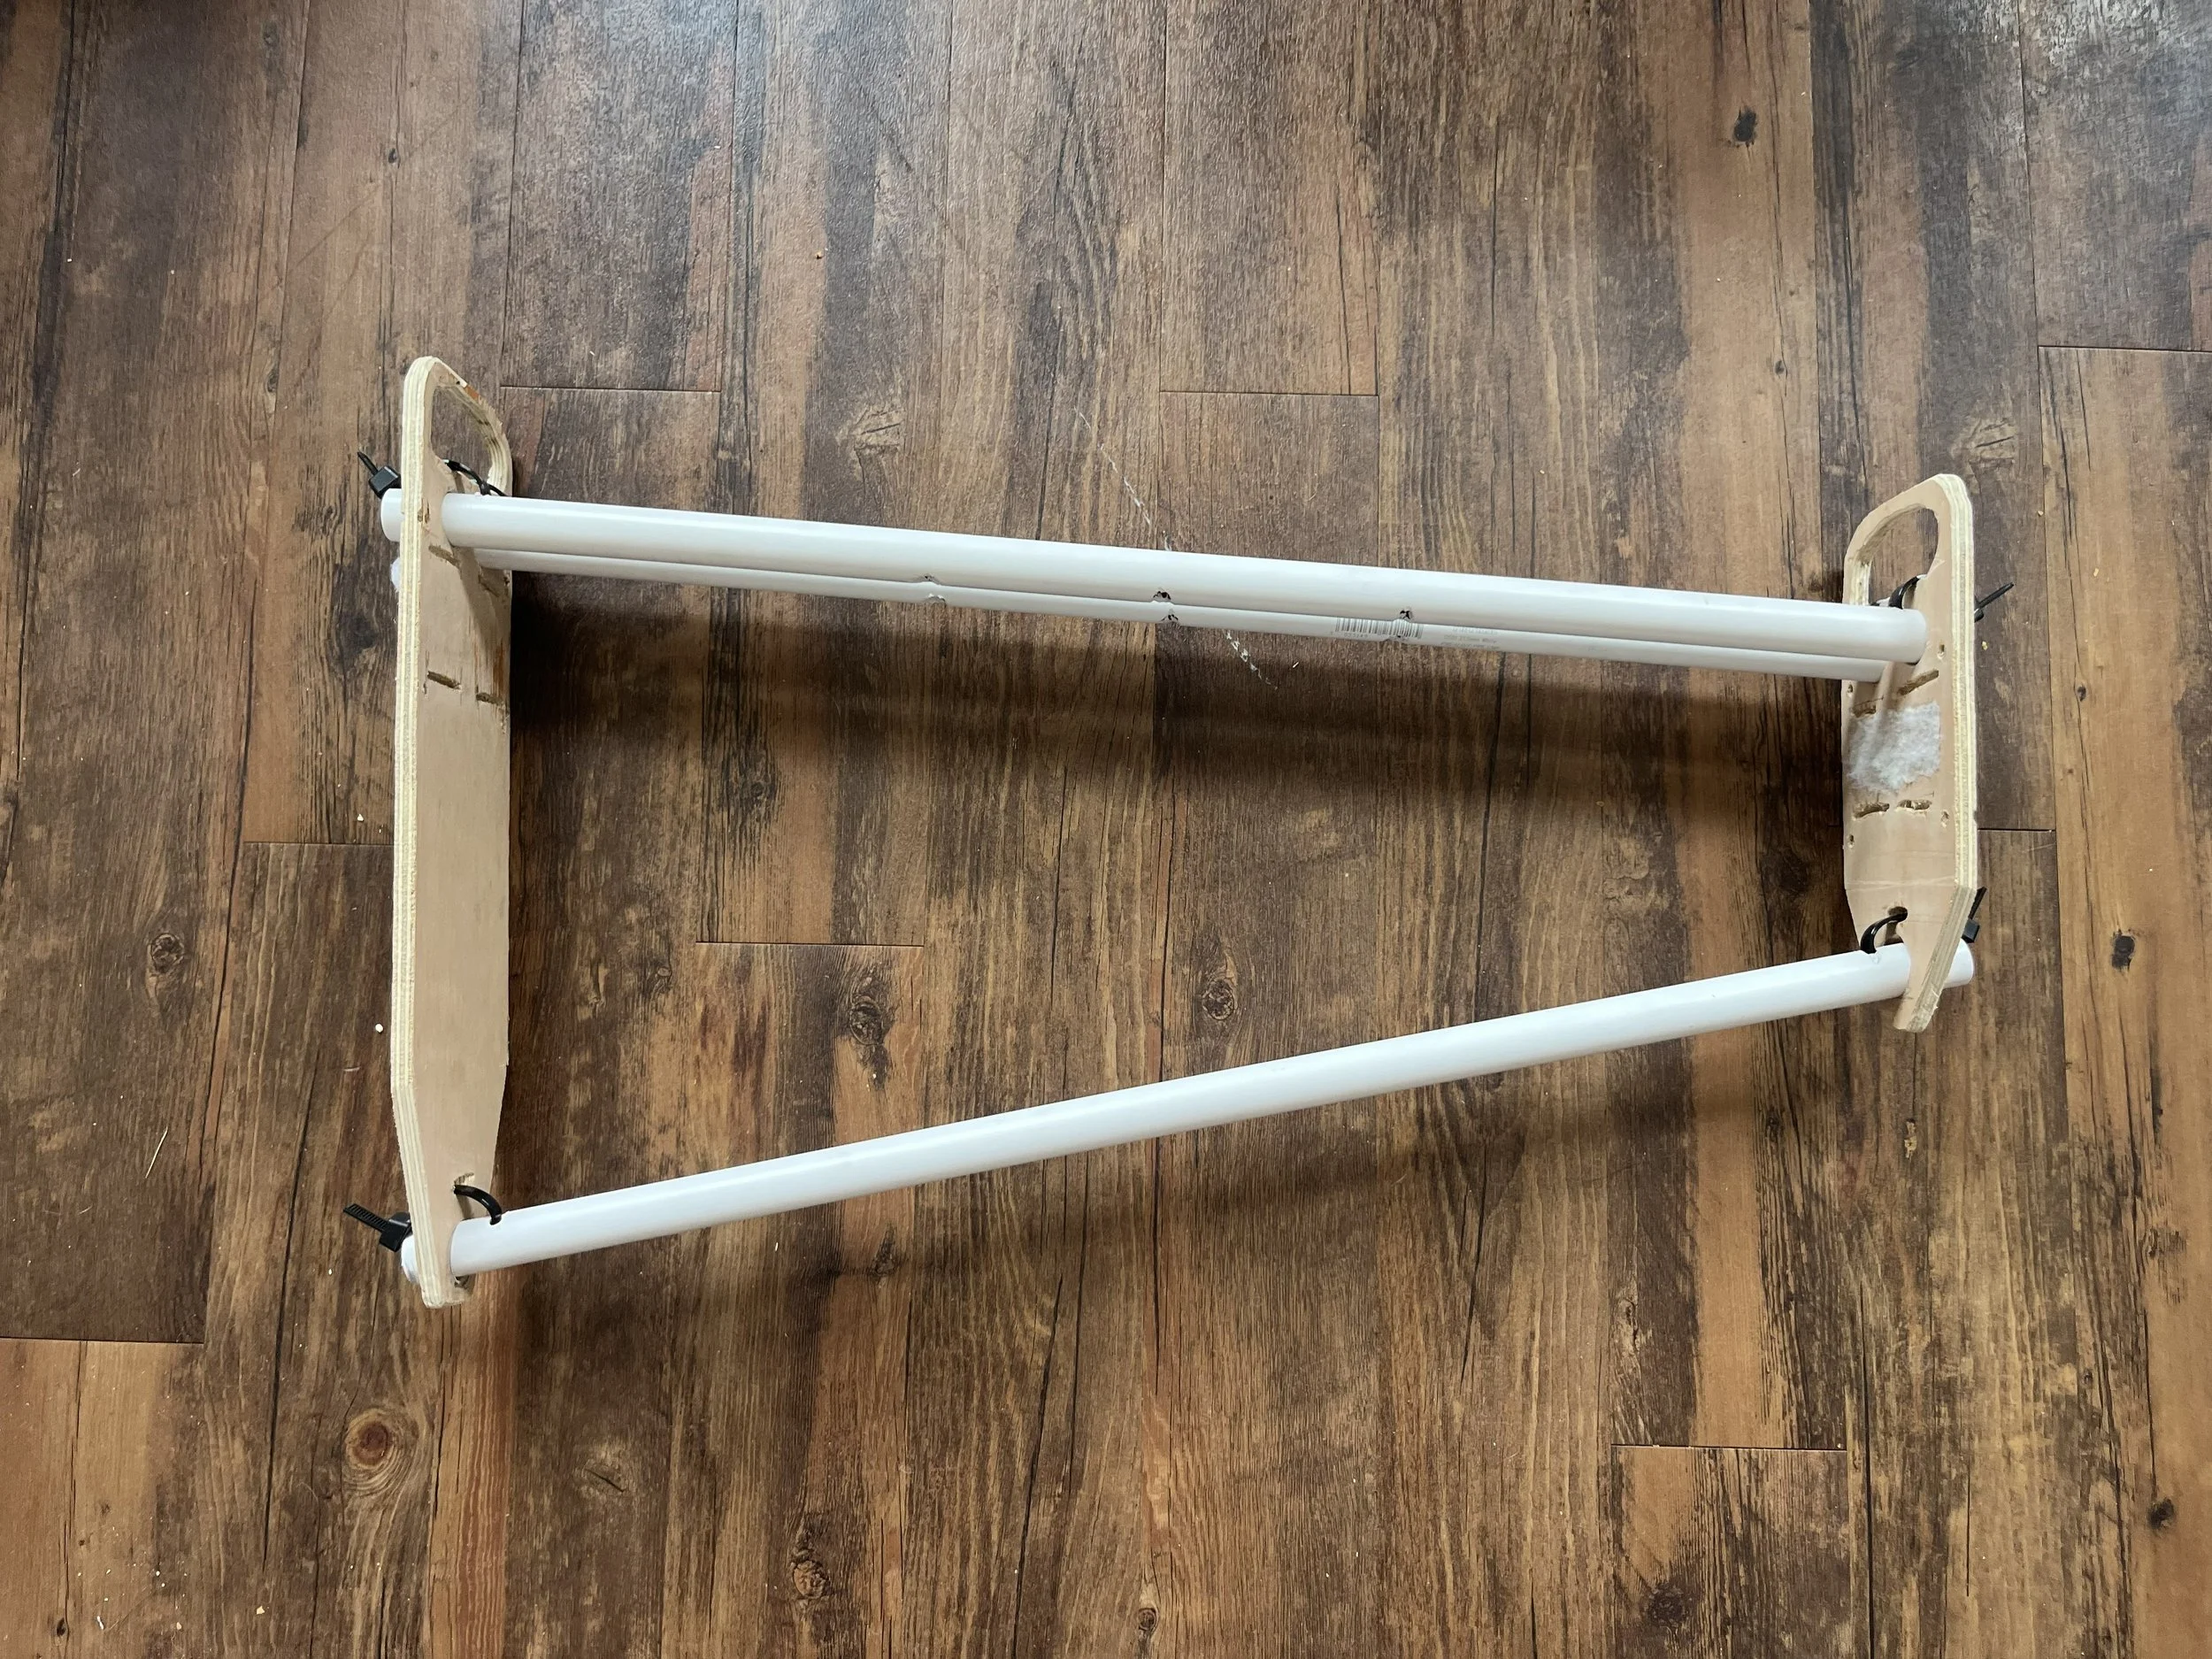
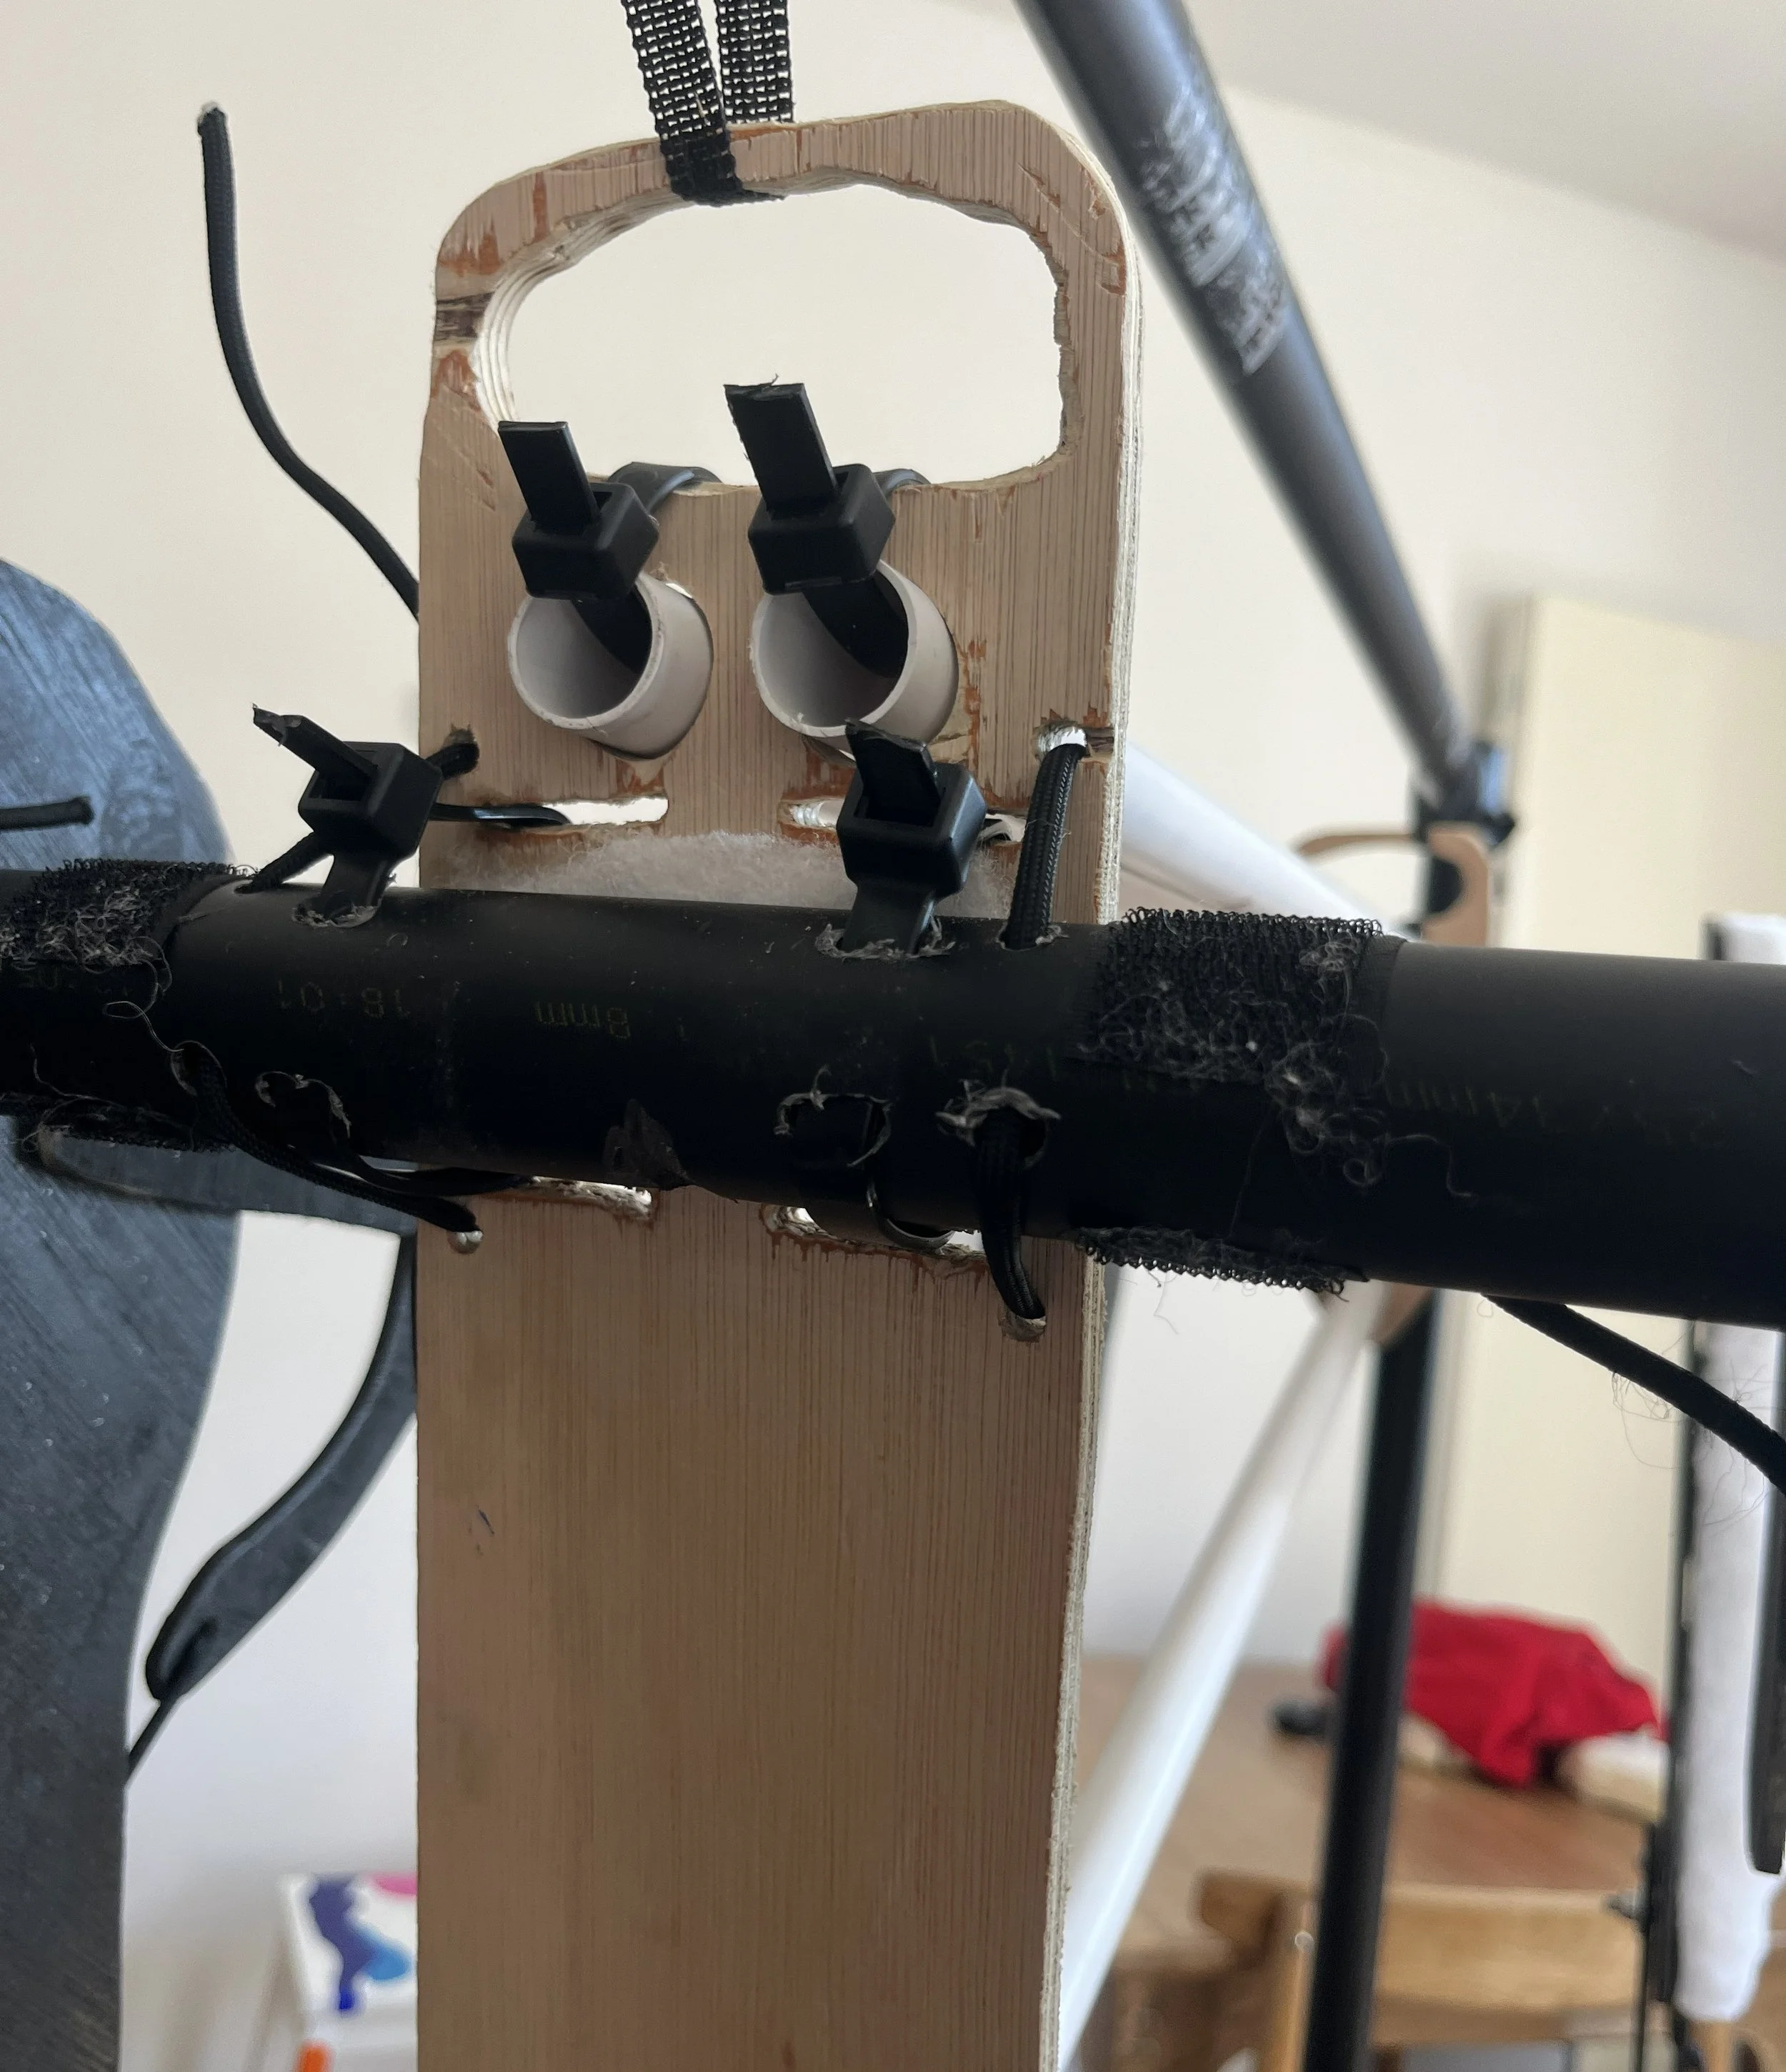
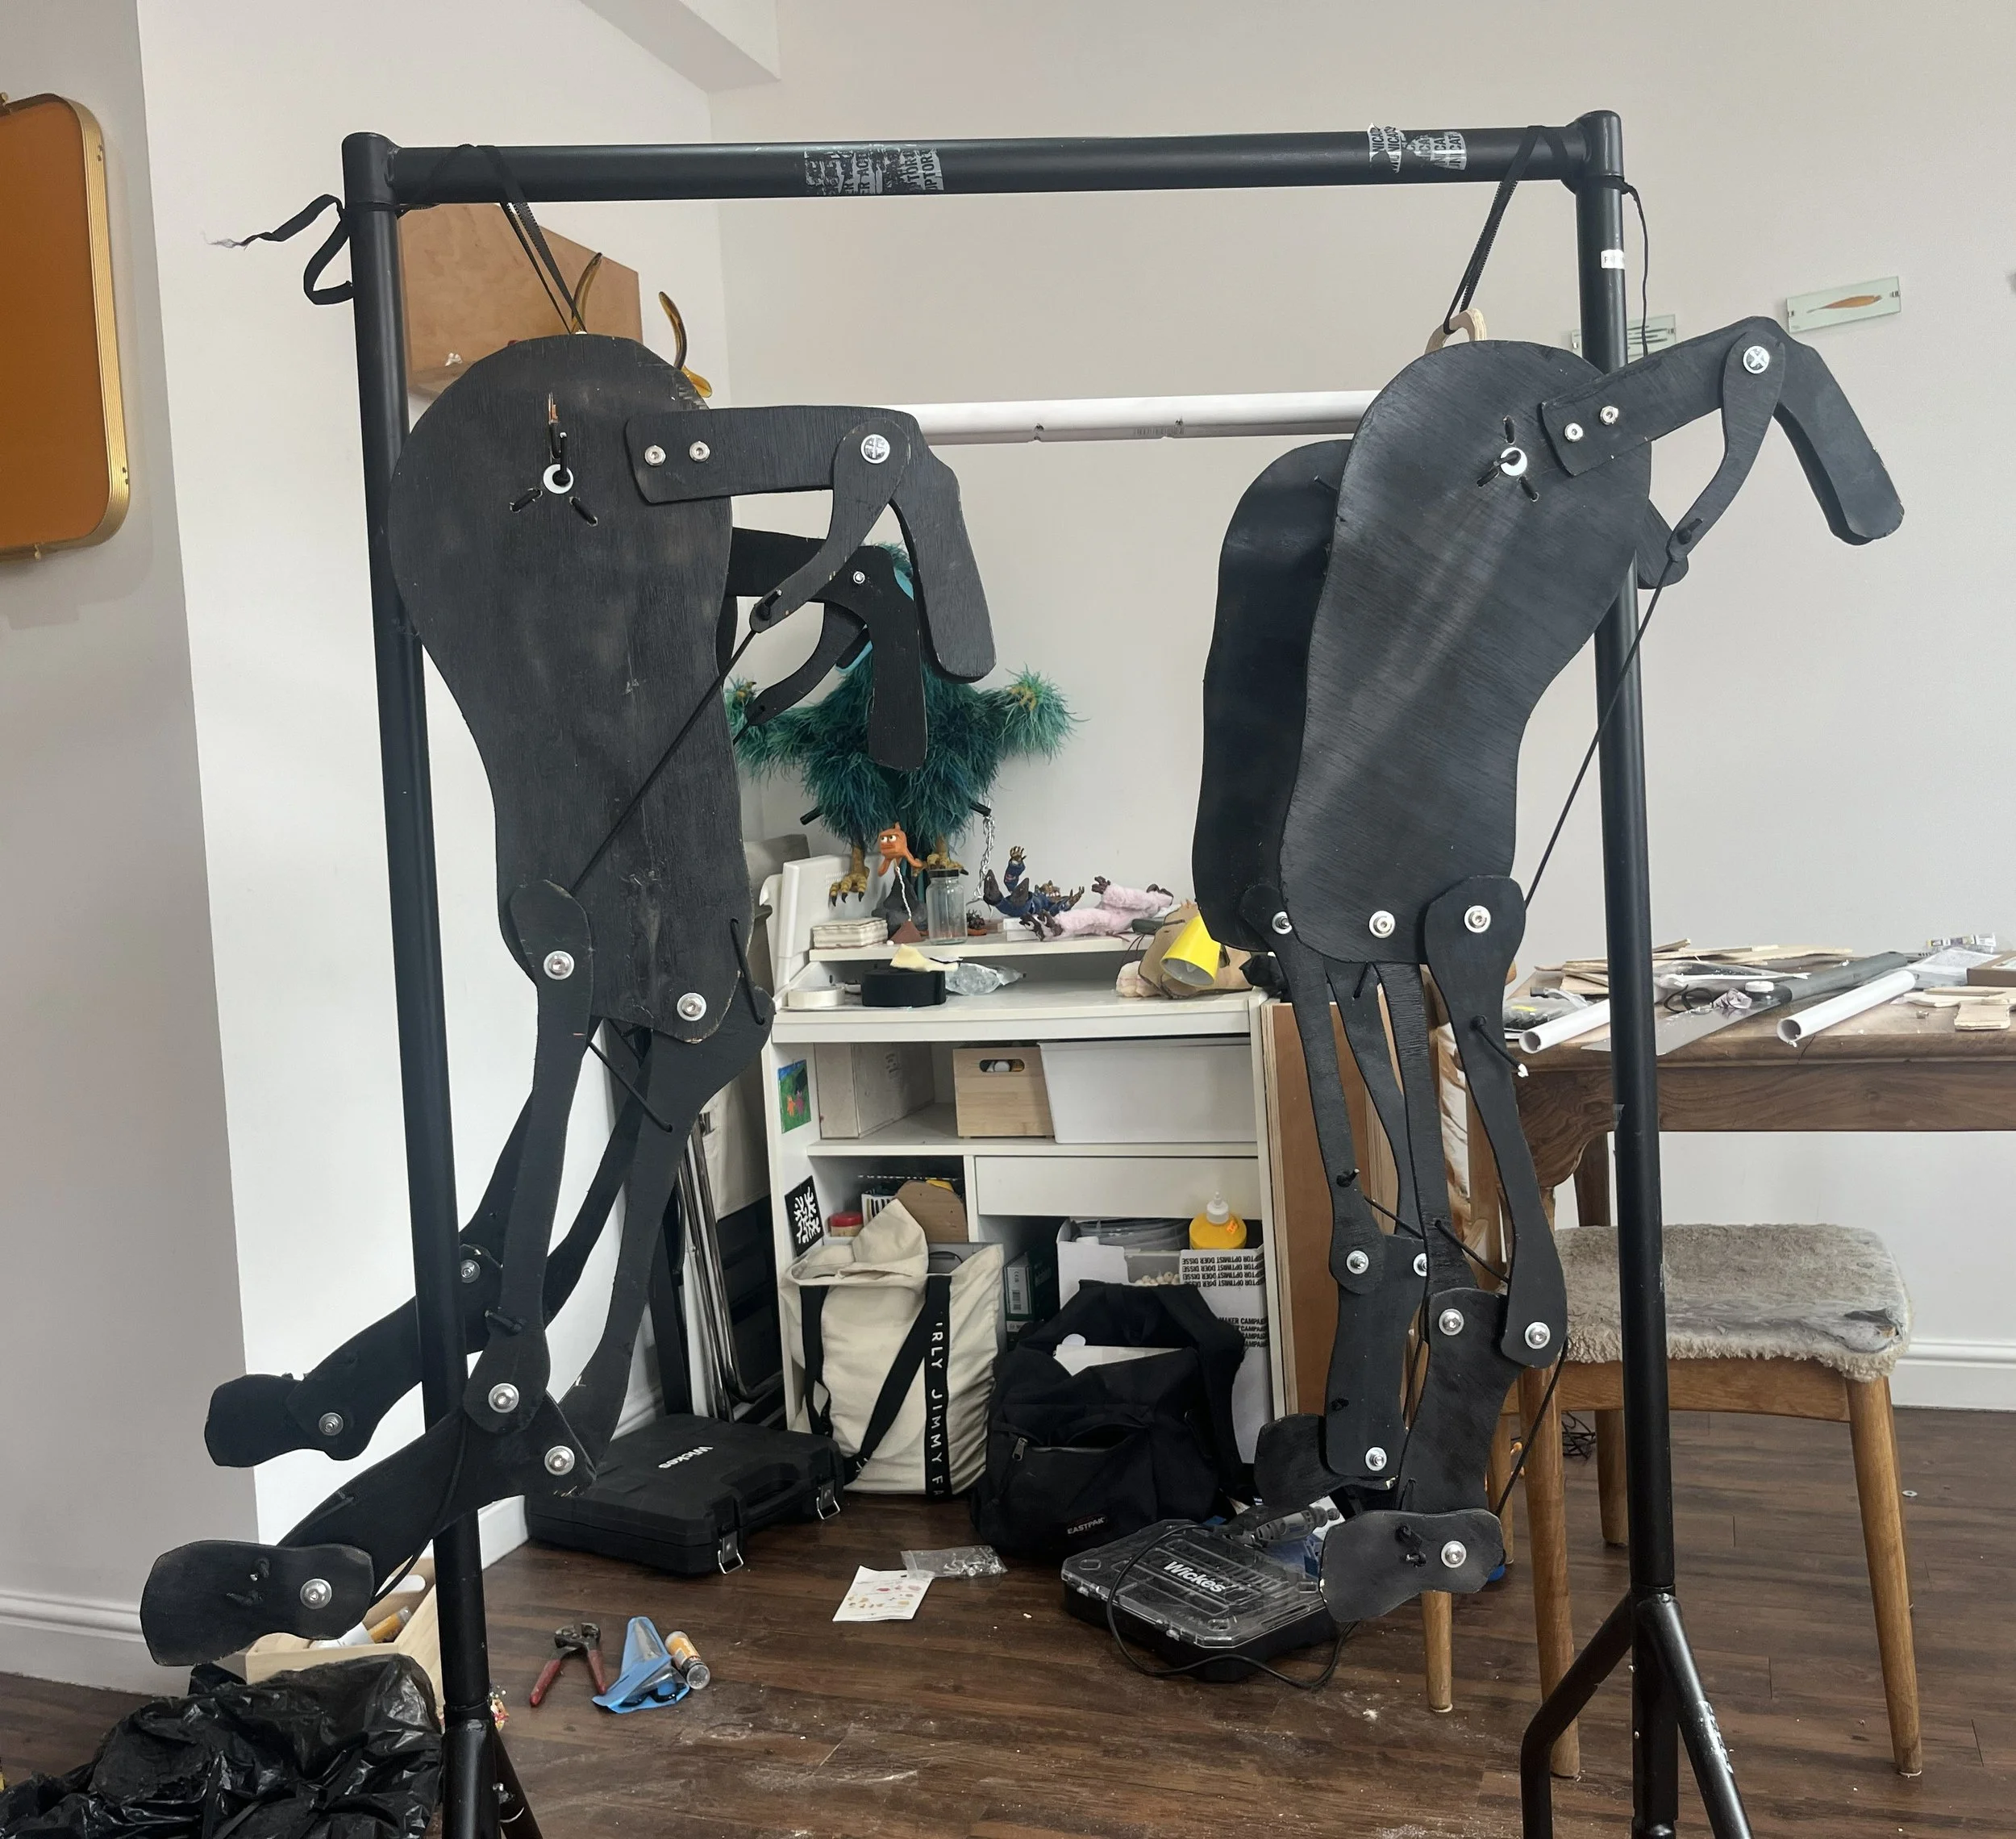
To make the body, a simple frame was made out of plywood pieces and PVC pipe. Handles were cut into the plywood to provide an additional control option to the puppeteers and allow for easy carrying. The leg axles were attached to the frame with zip ties meaning they can be removed easily if needed for maintenance or storage.
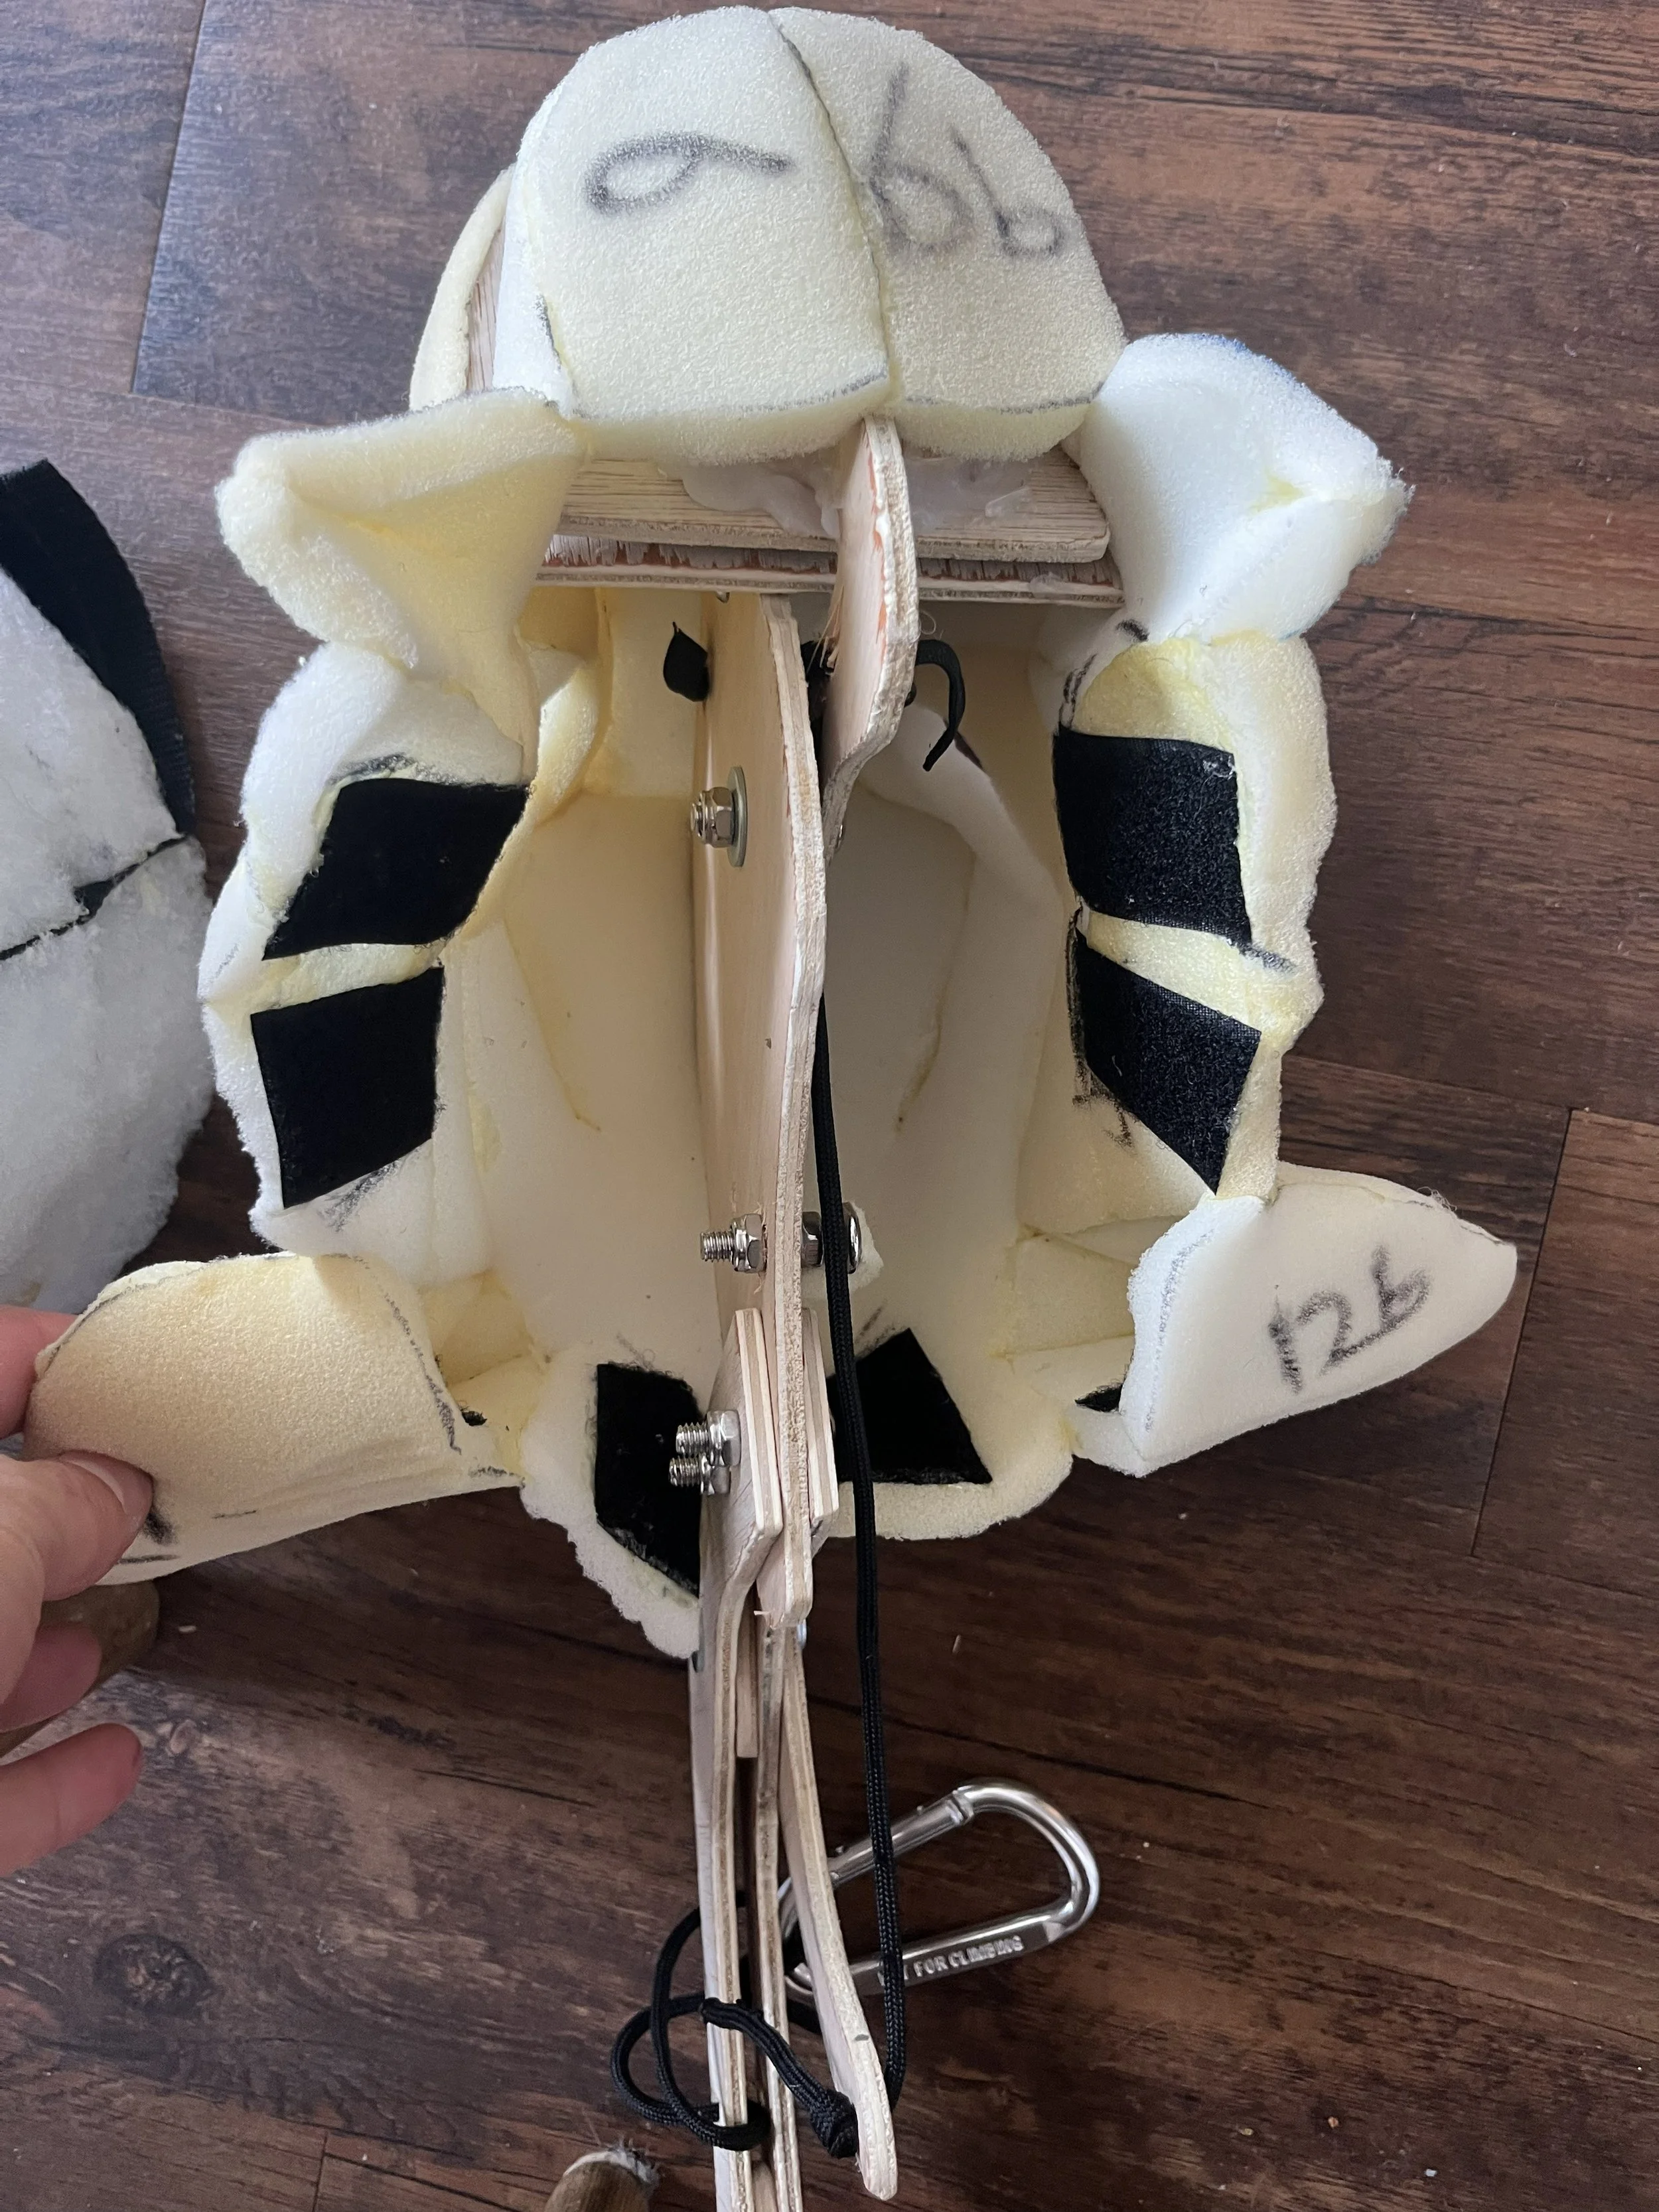
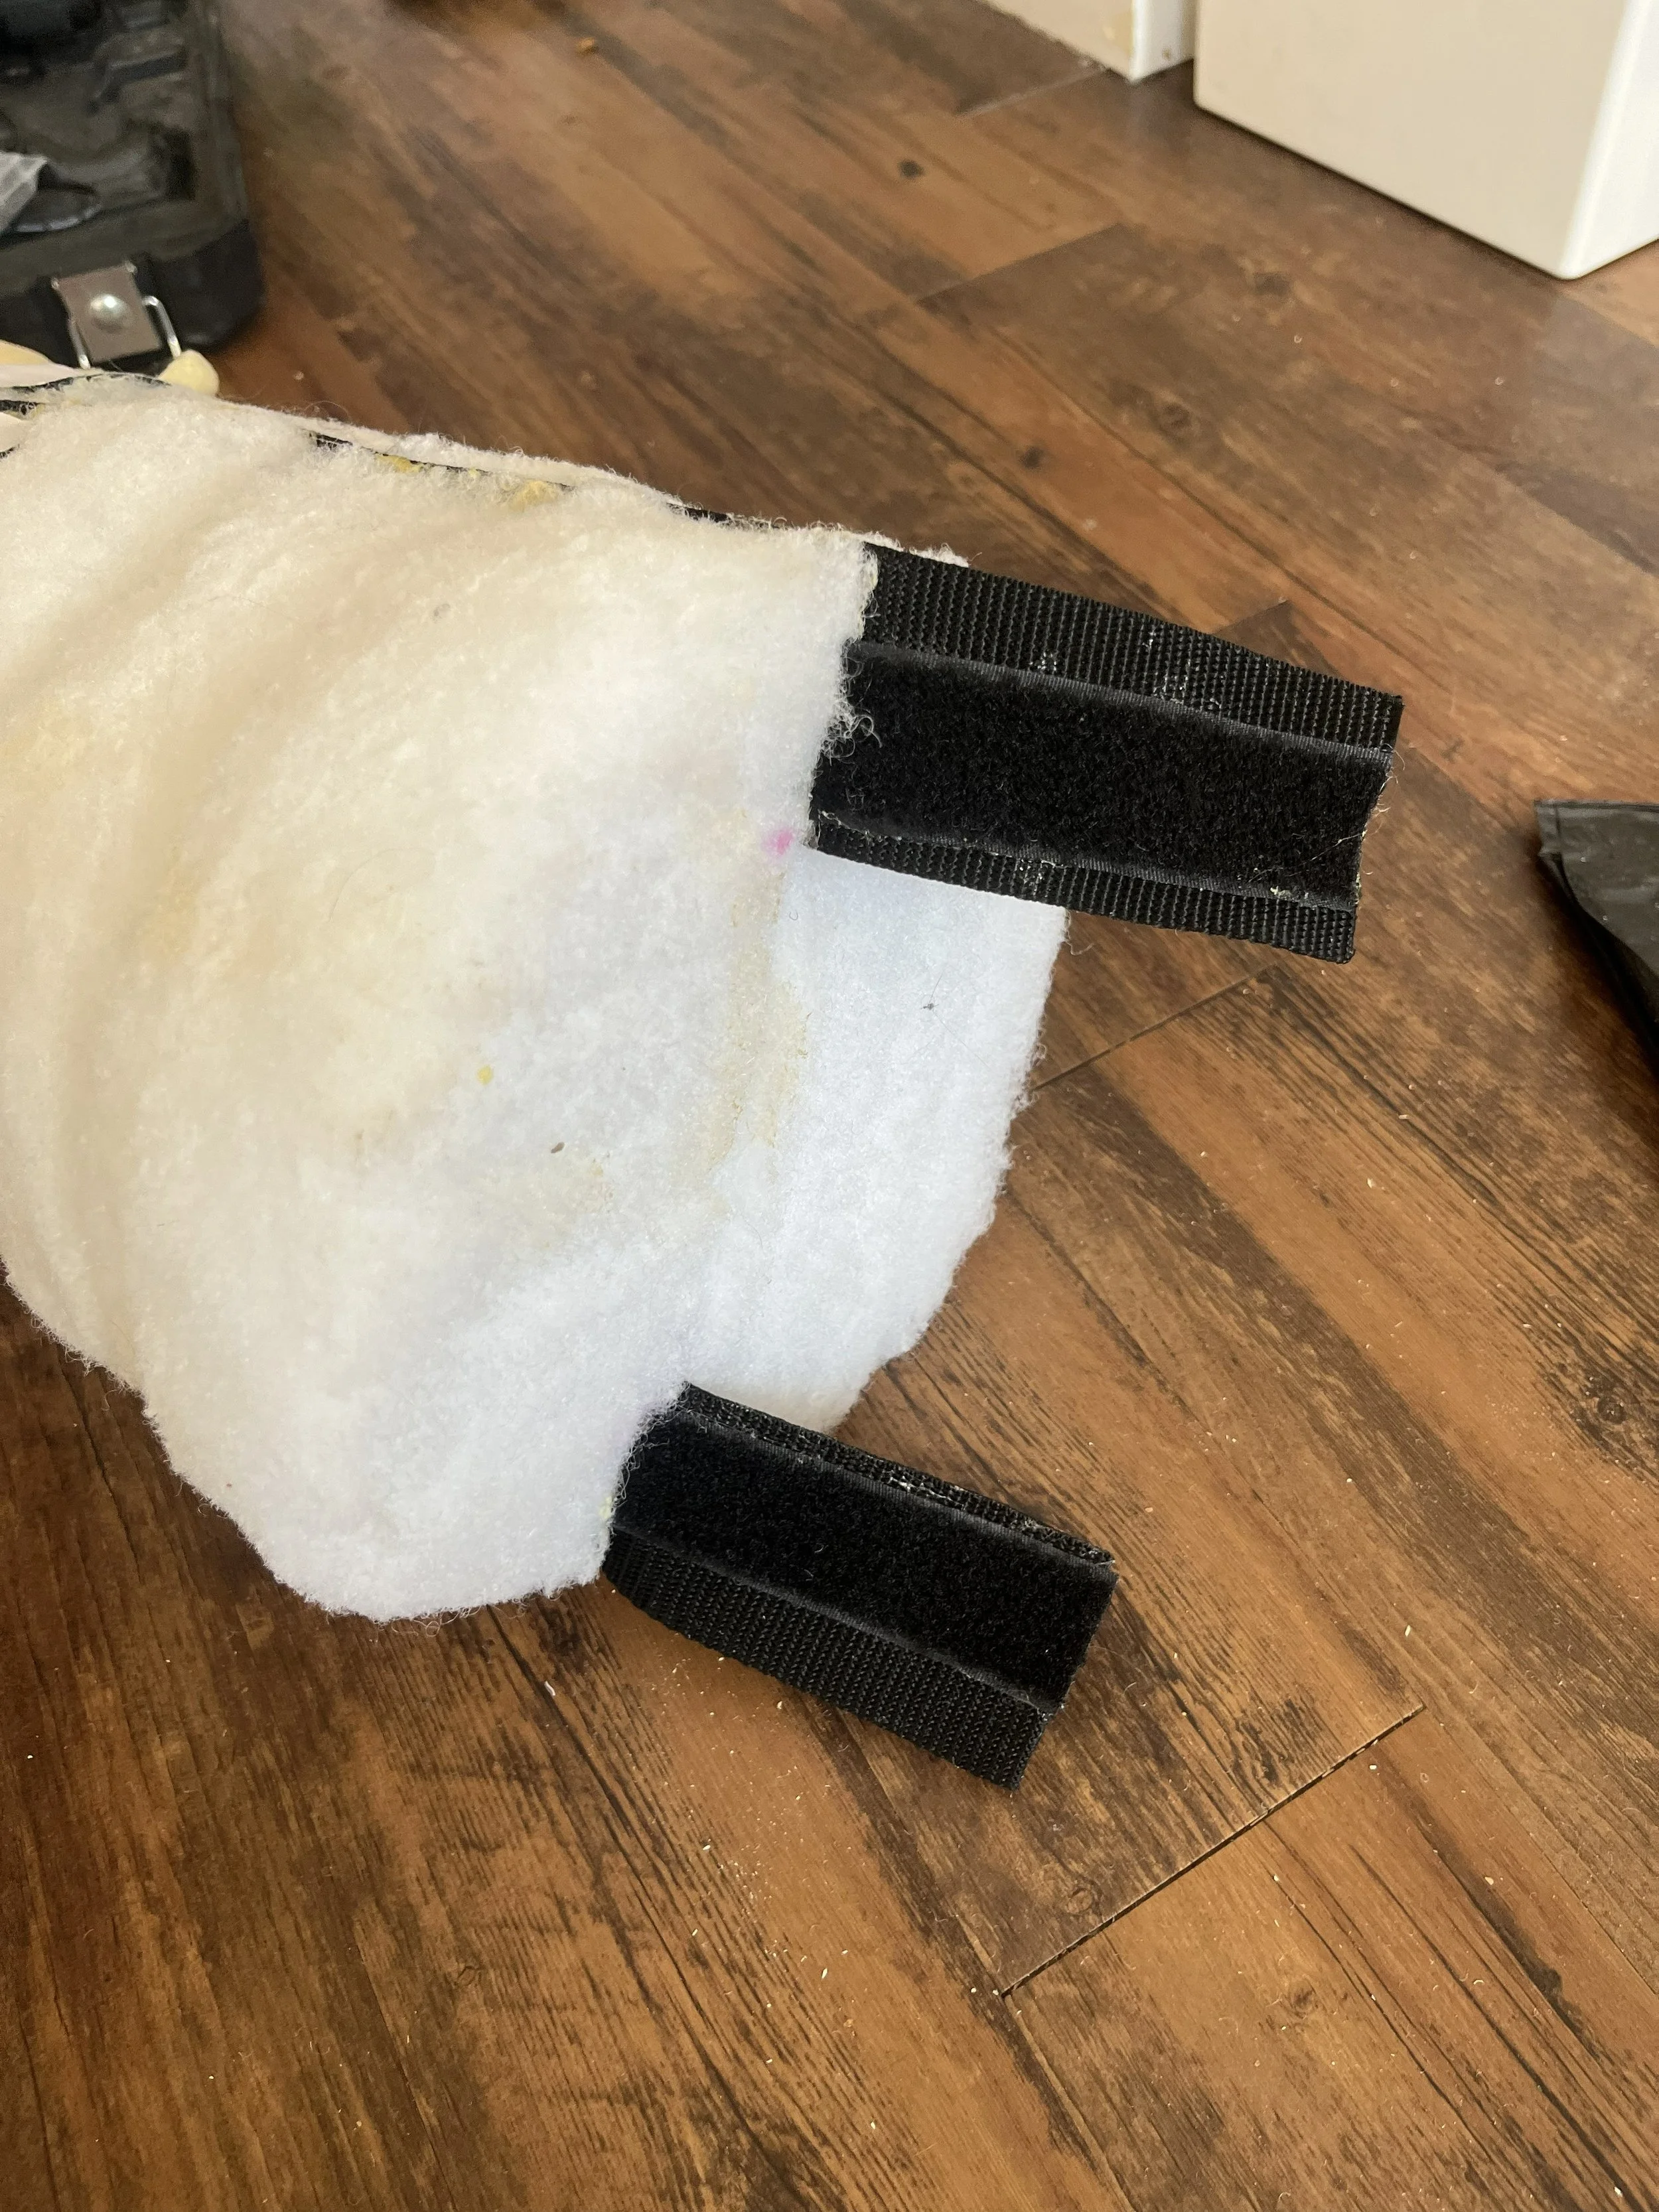
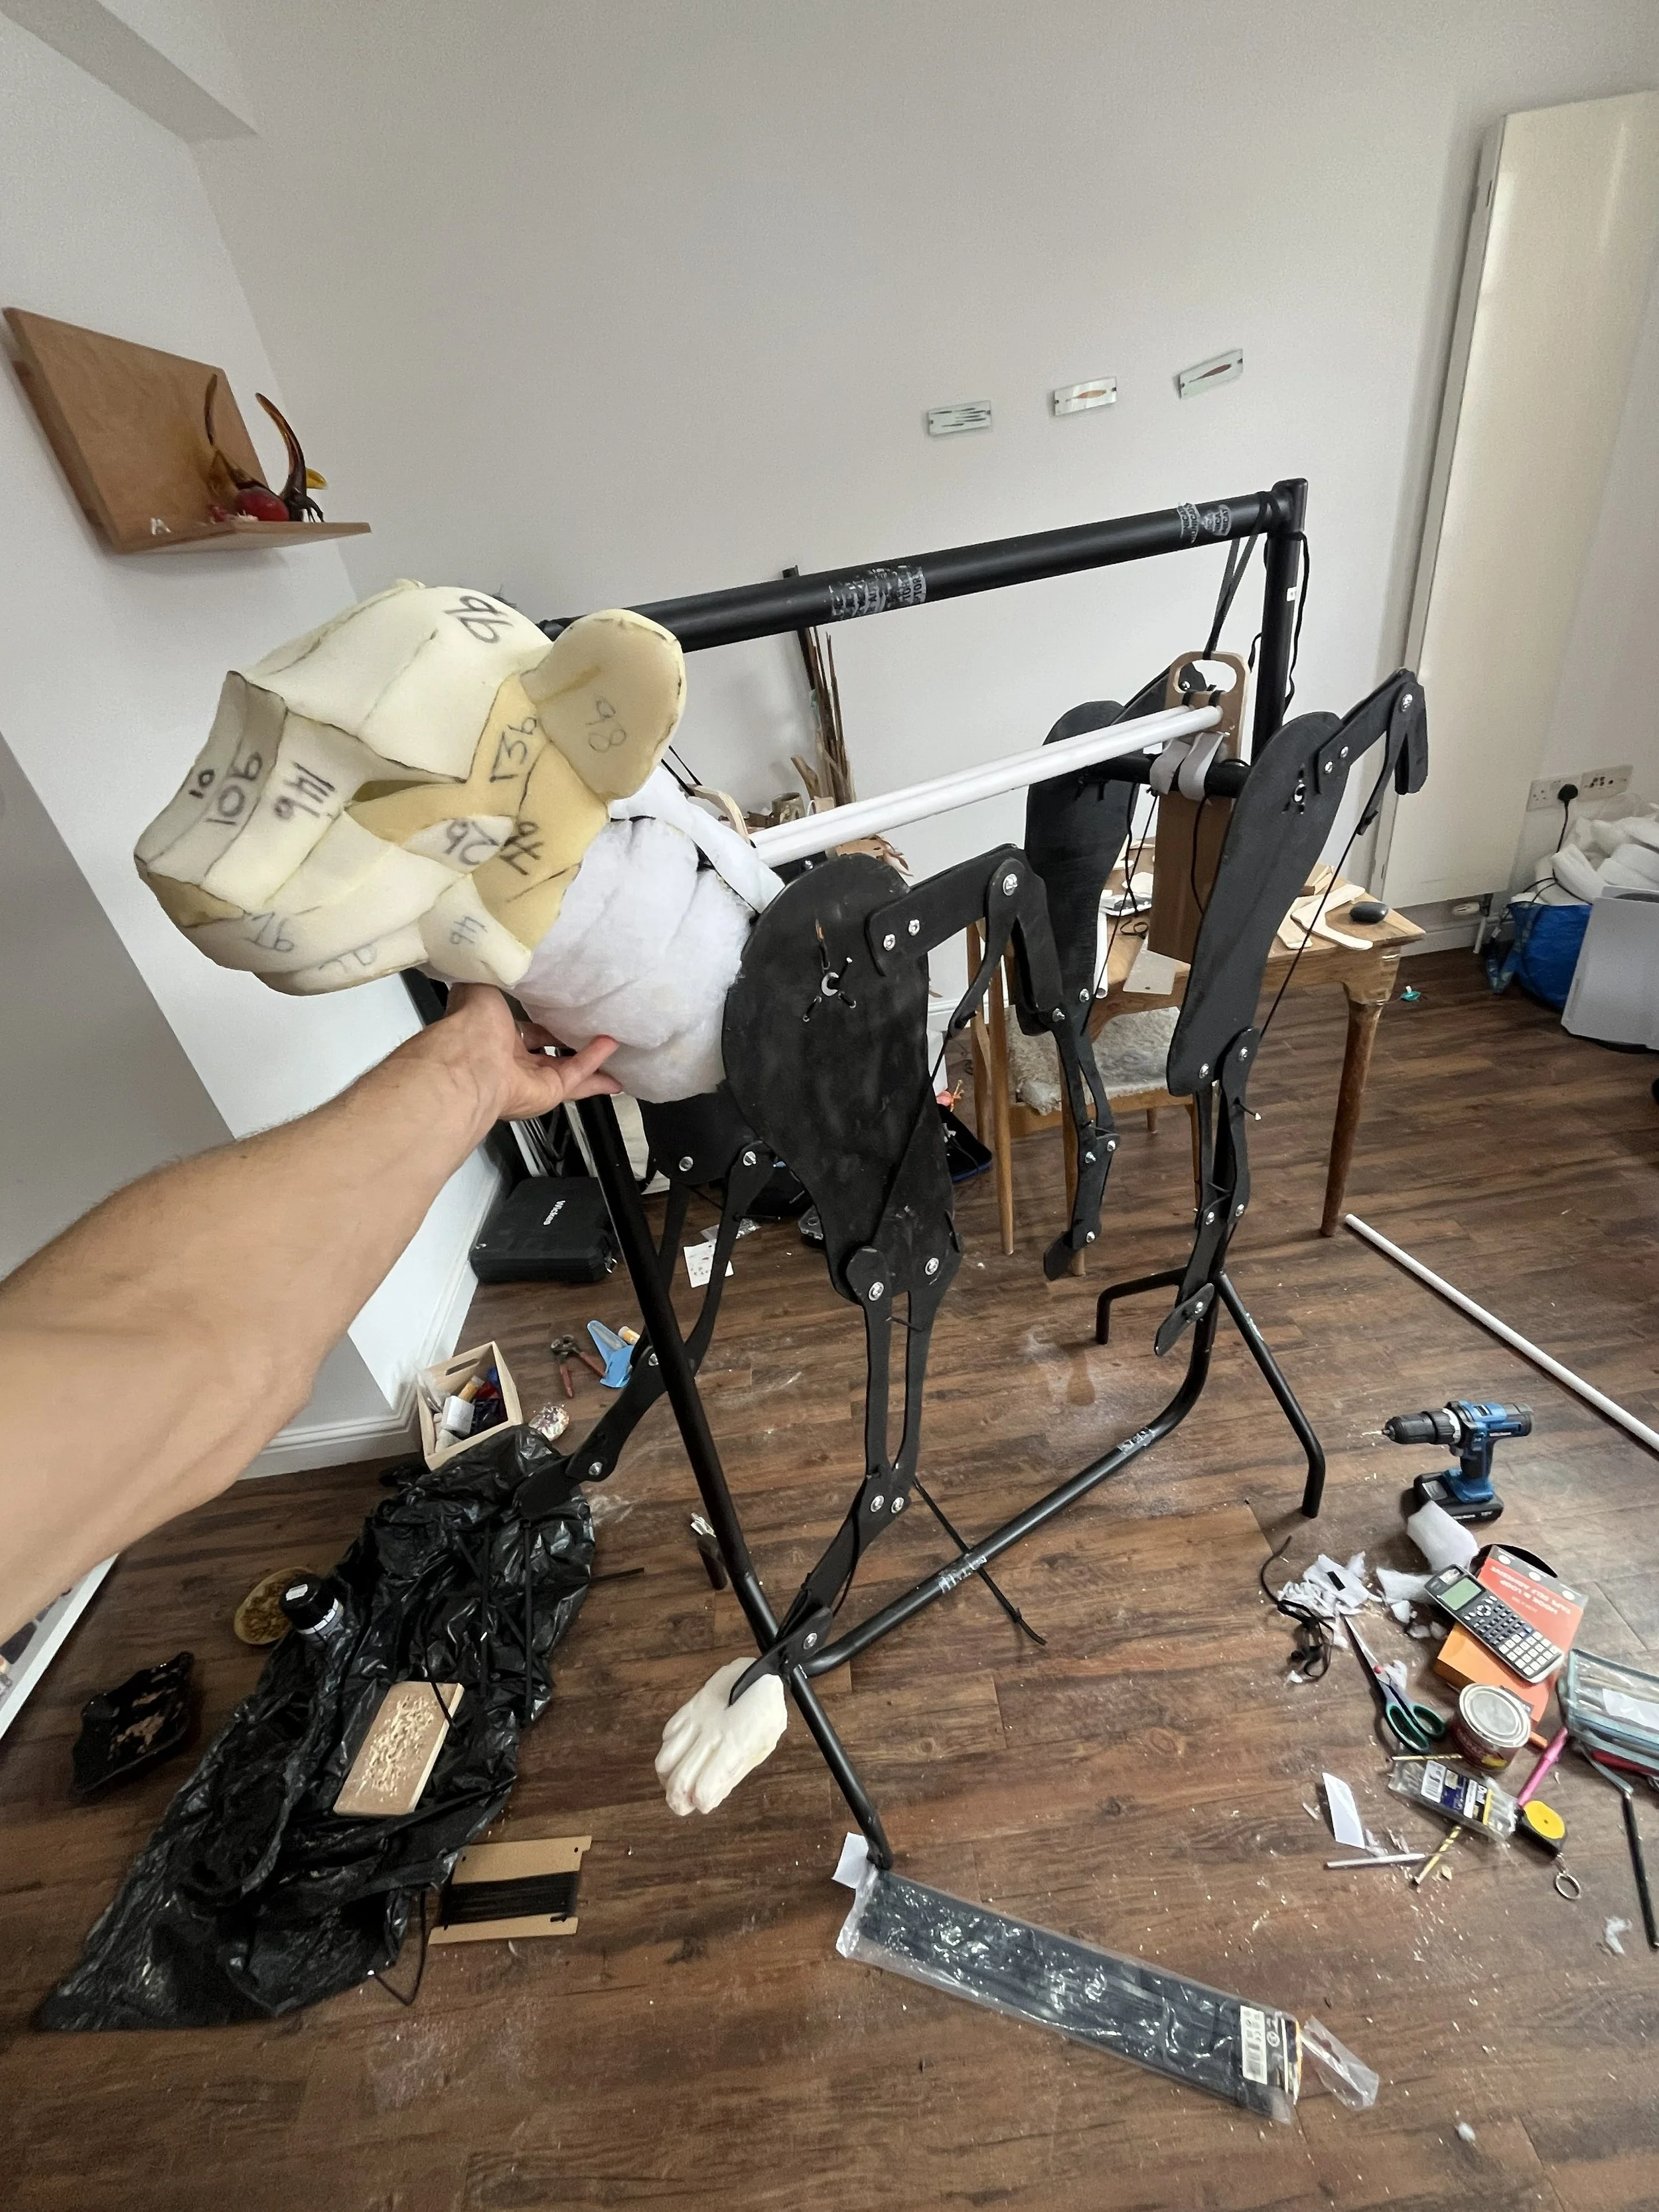
The neck was attached to the head and body using Velcro strips, this connection is strong enough for performance but allows for easy removal when needed for storage or maintenance.
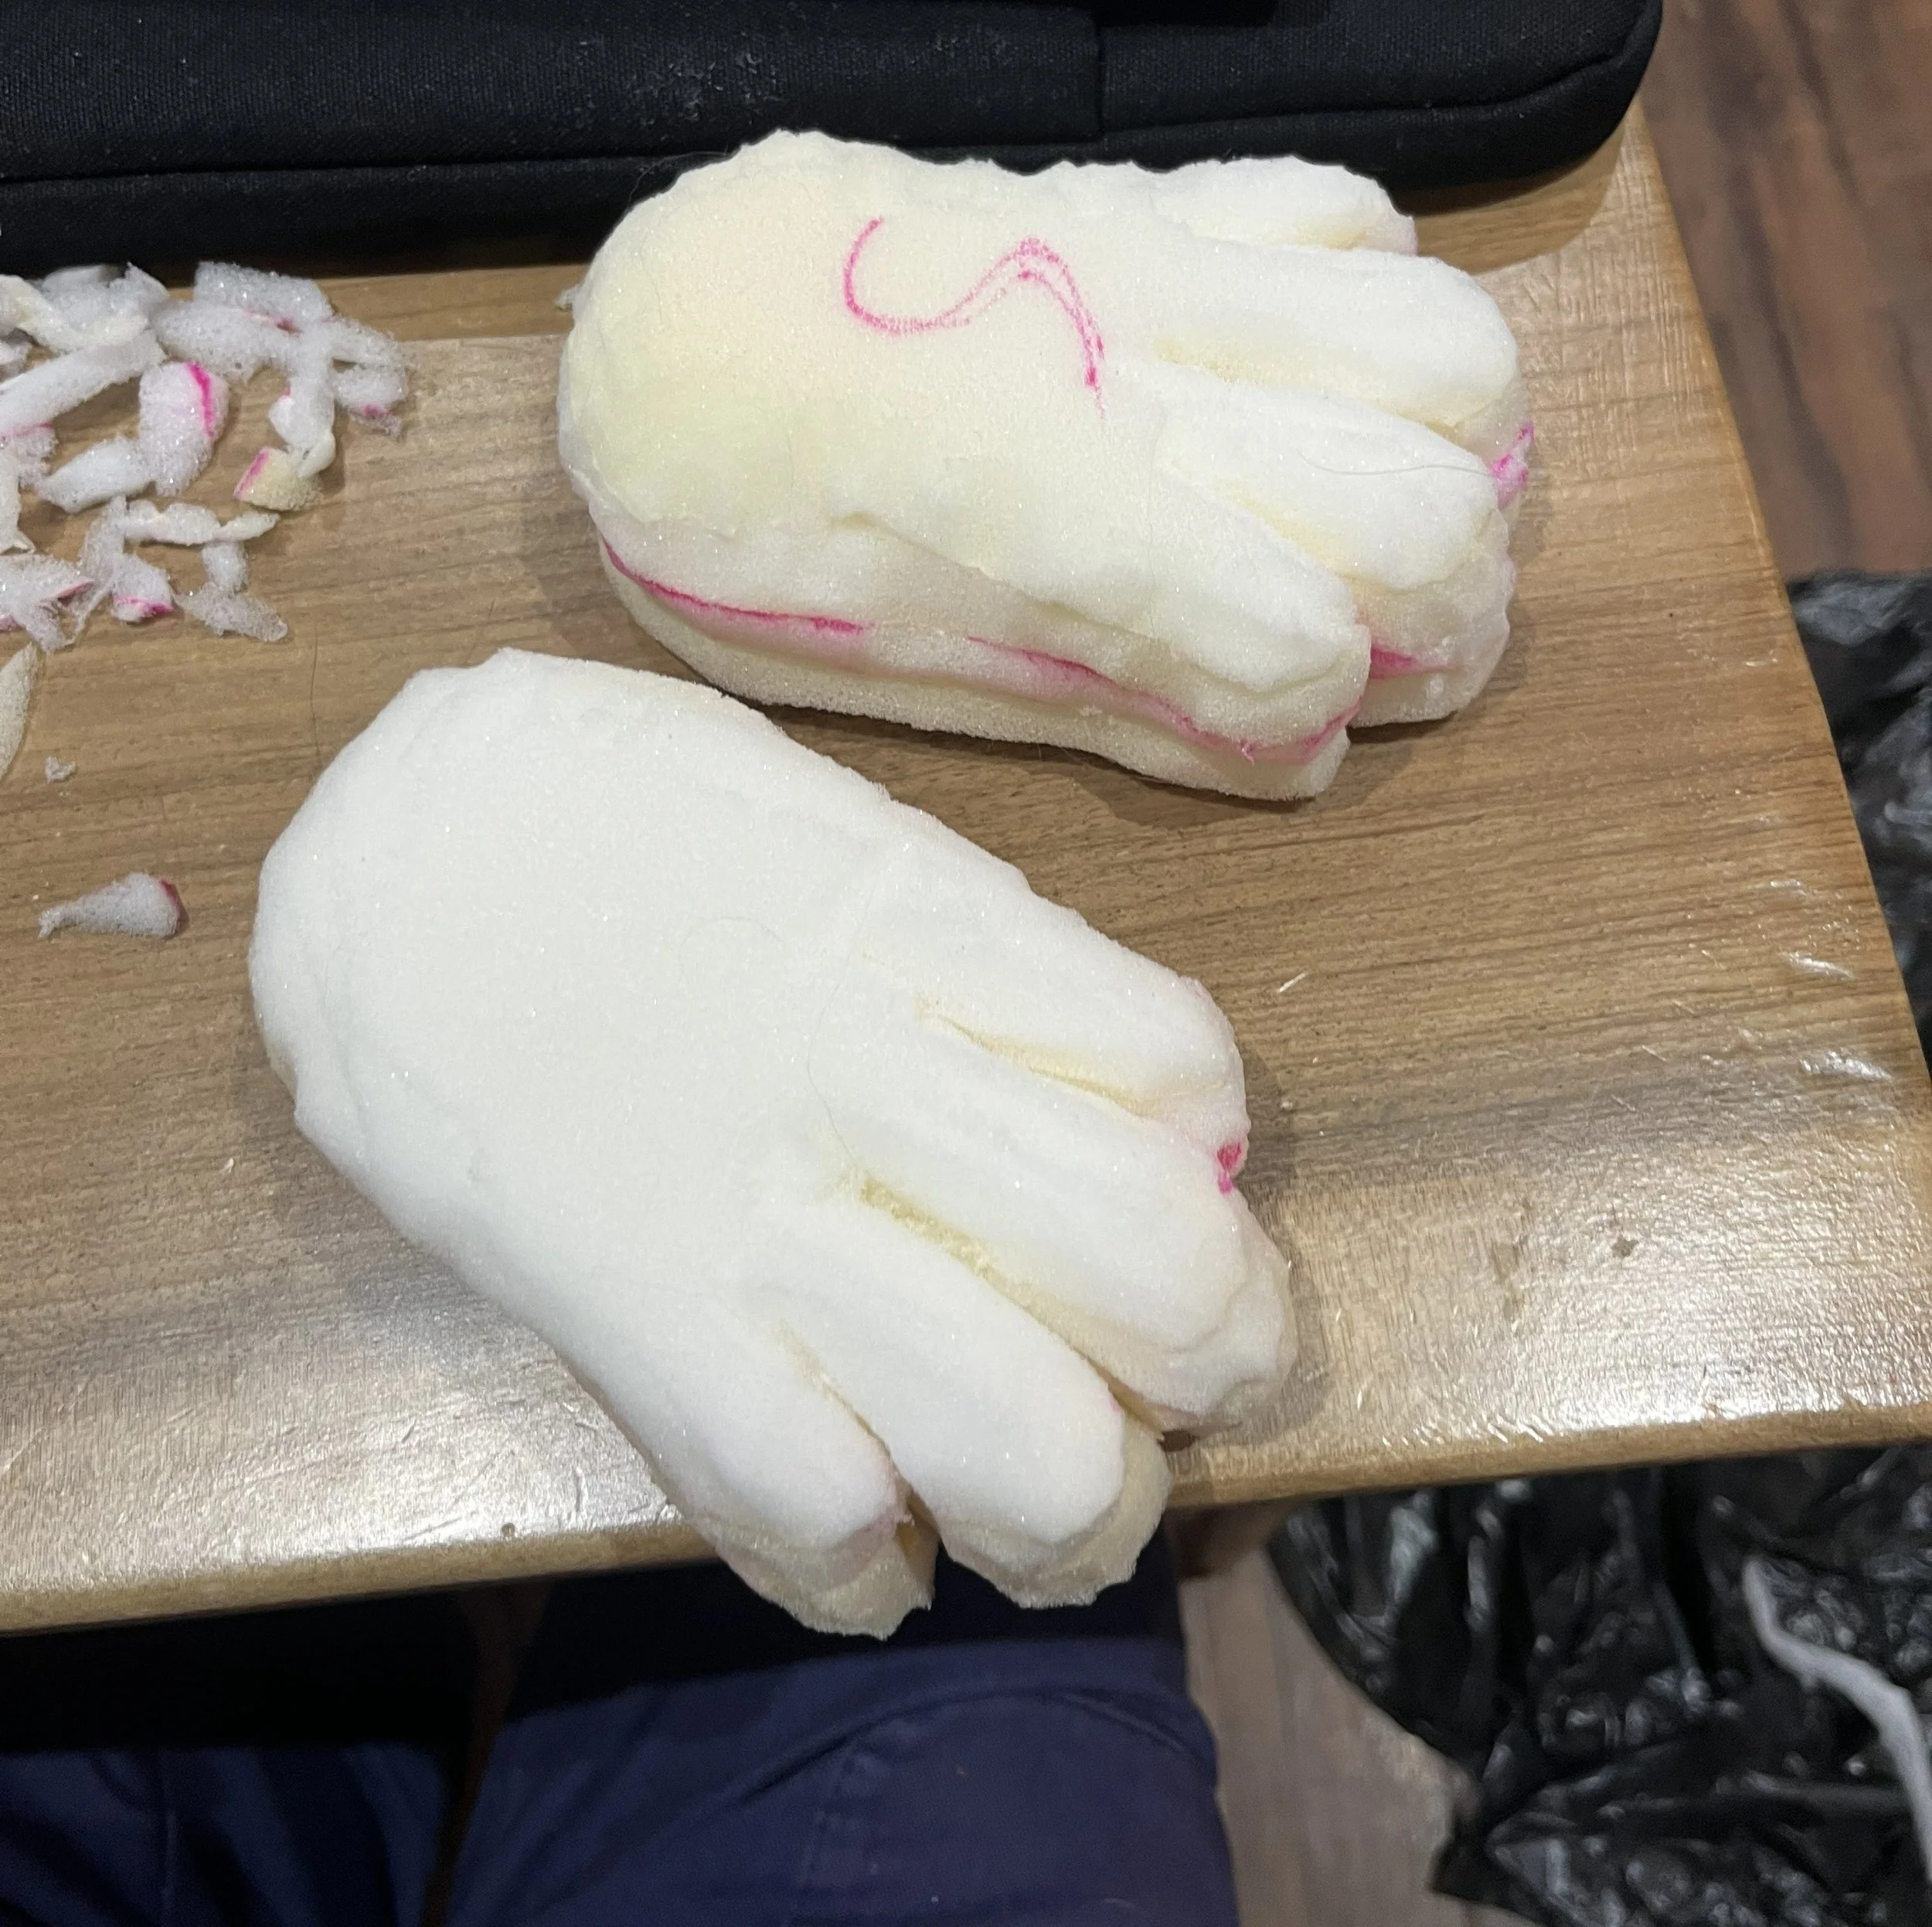
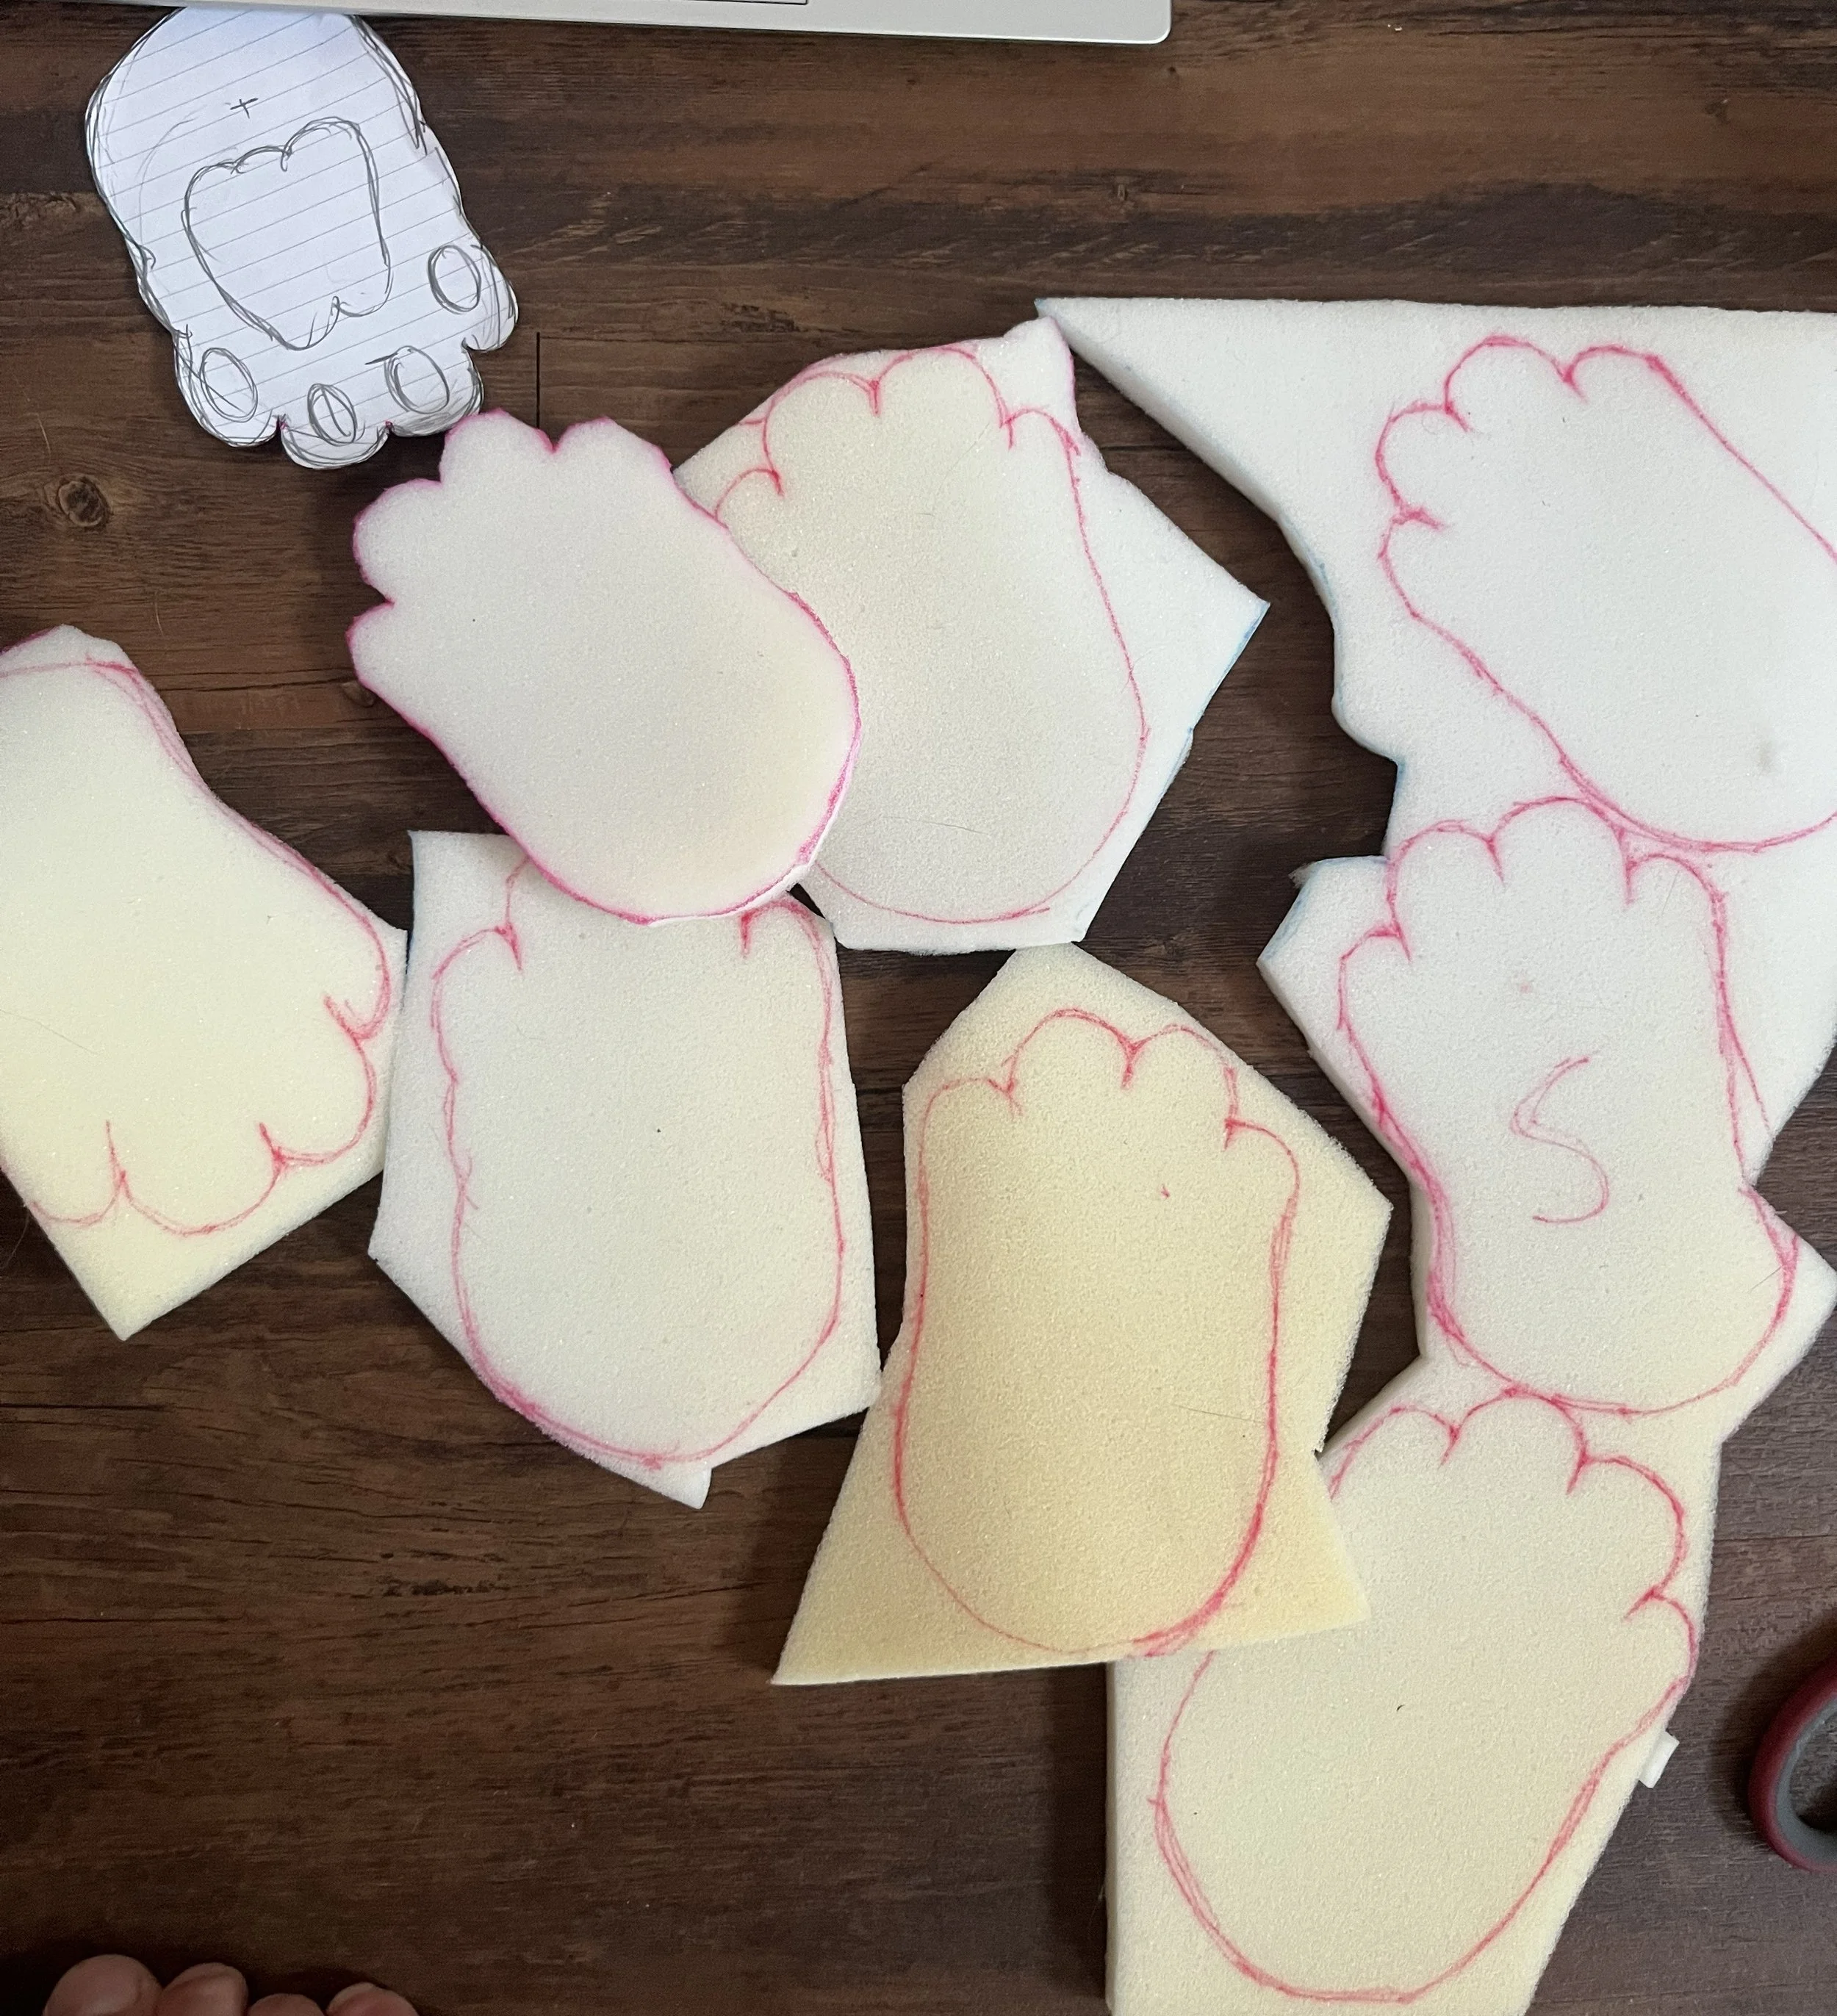
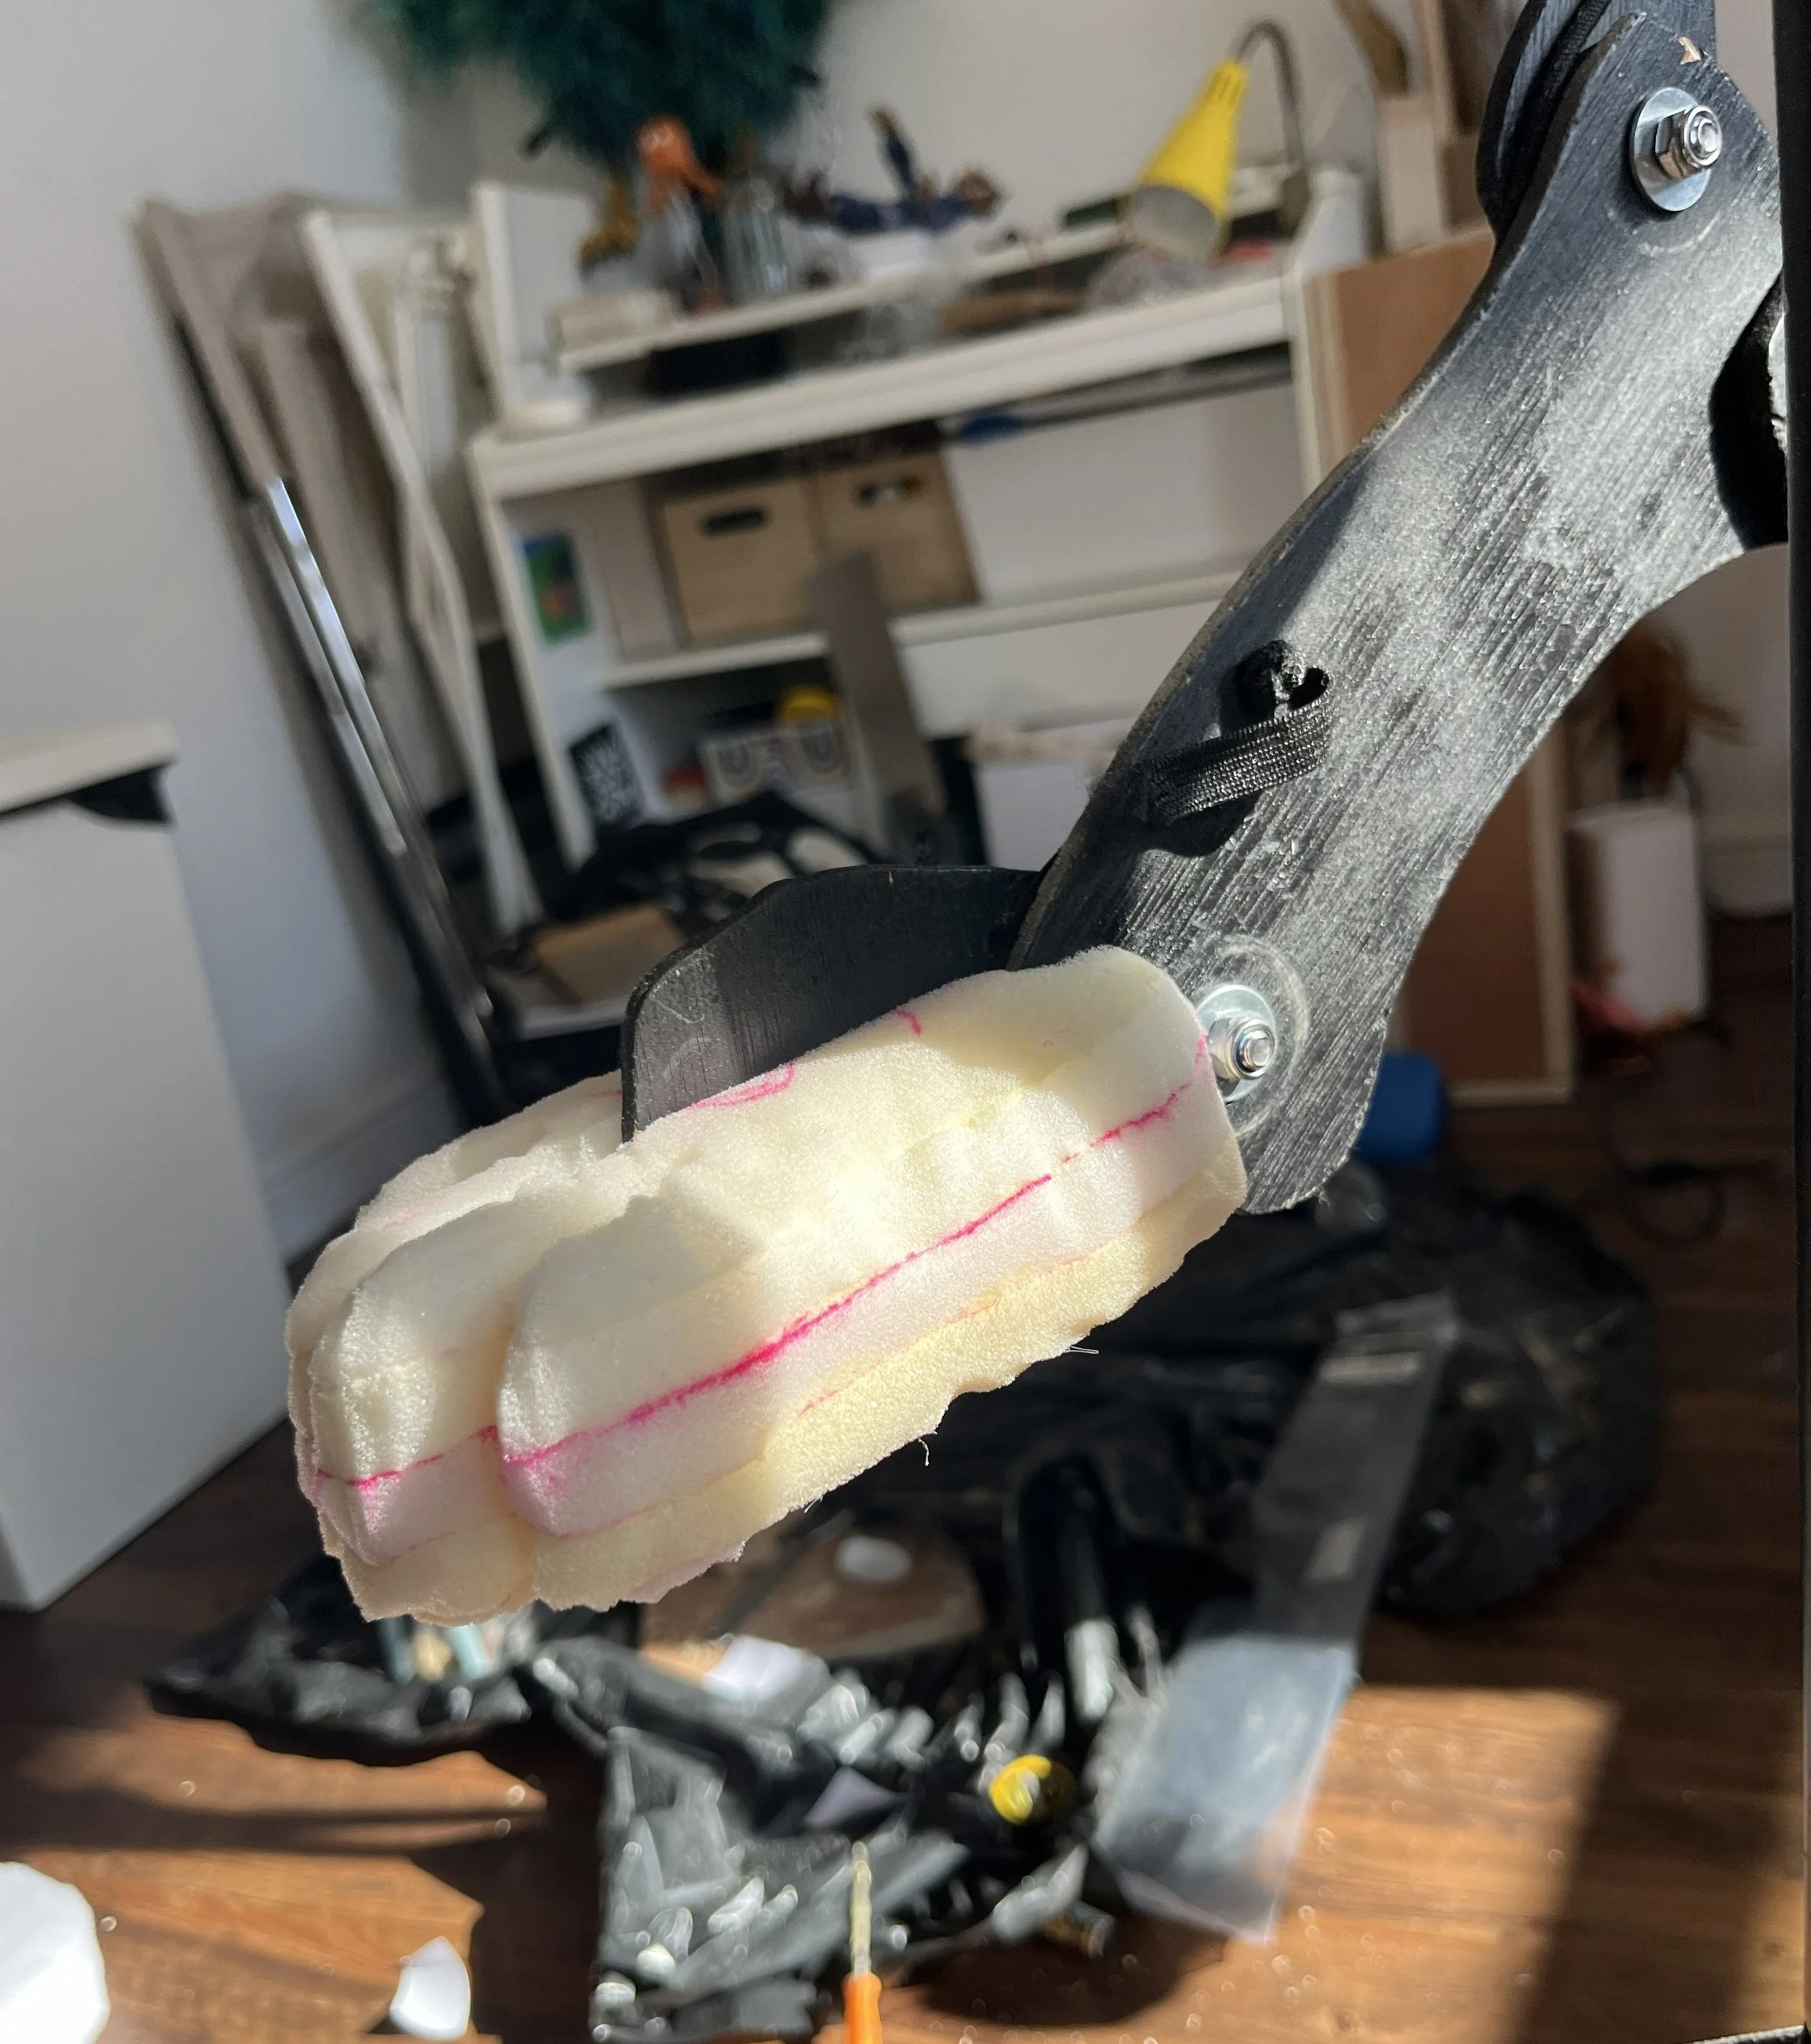
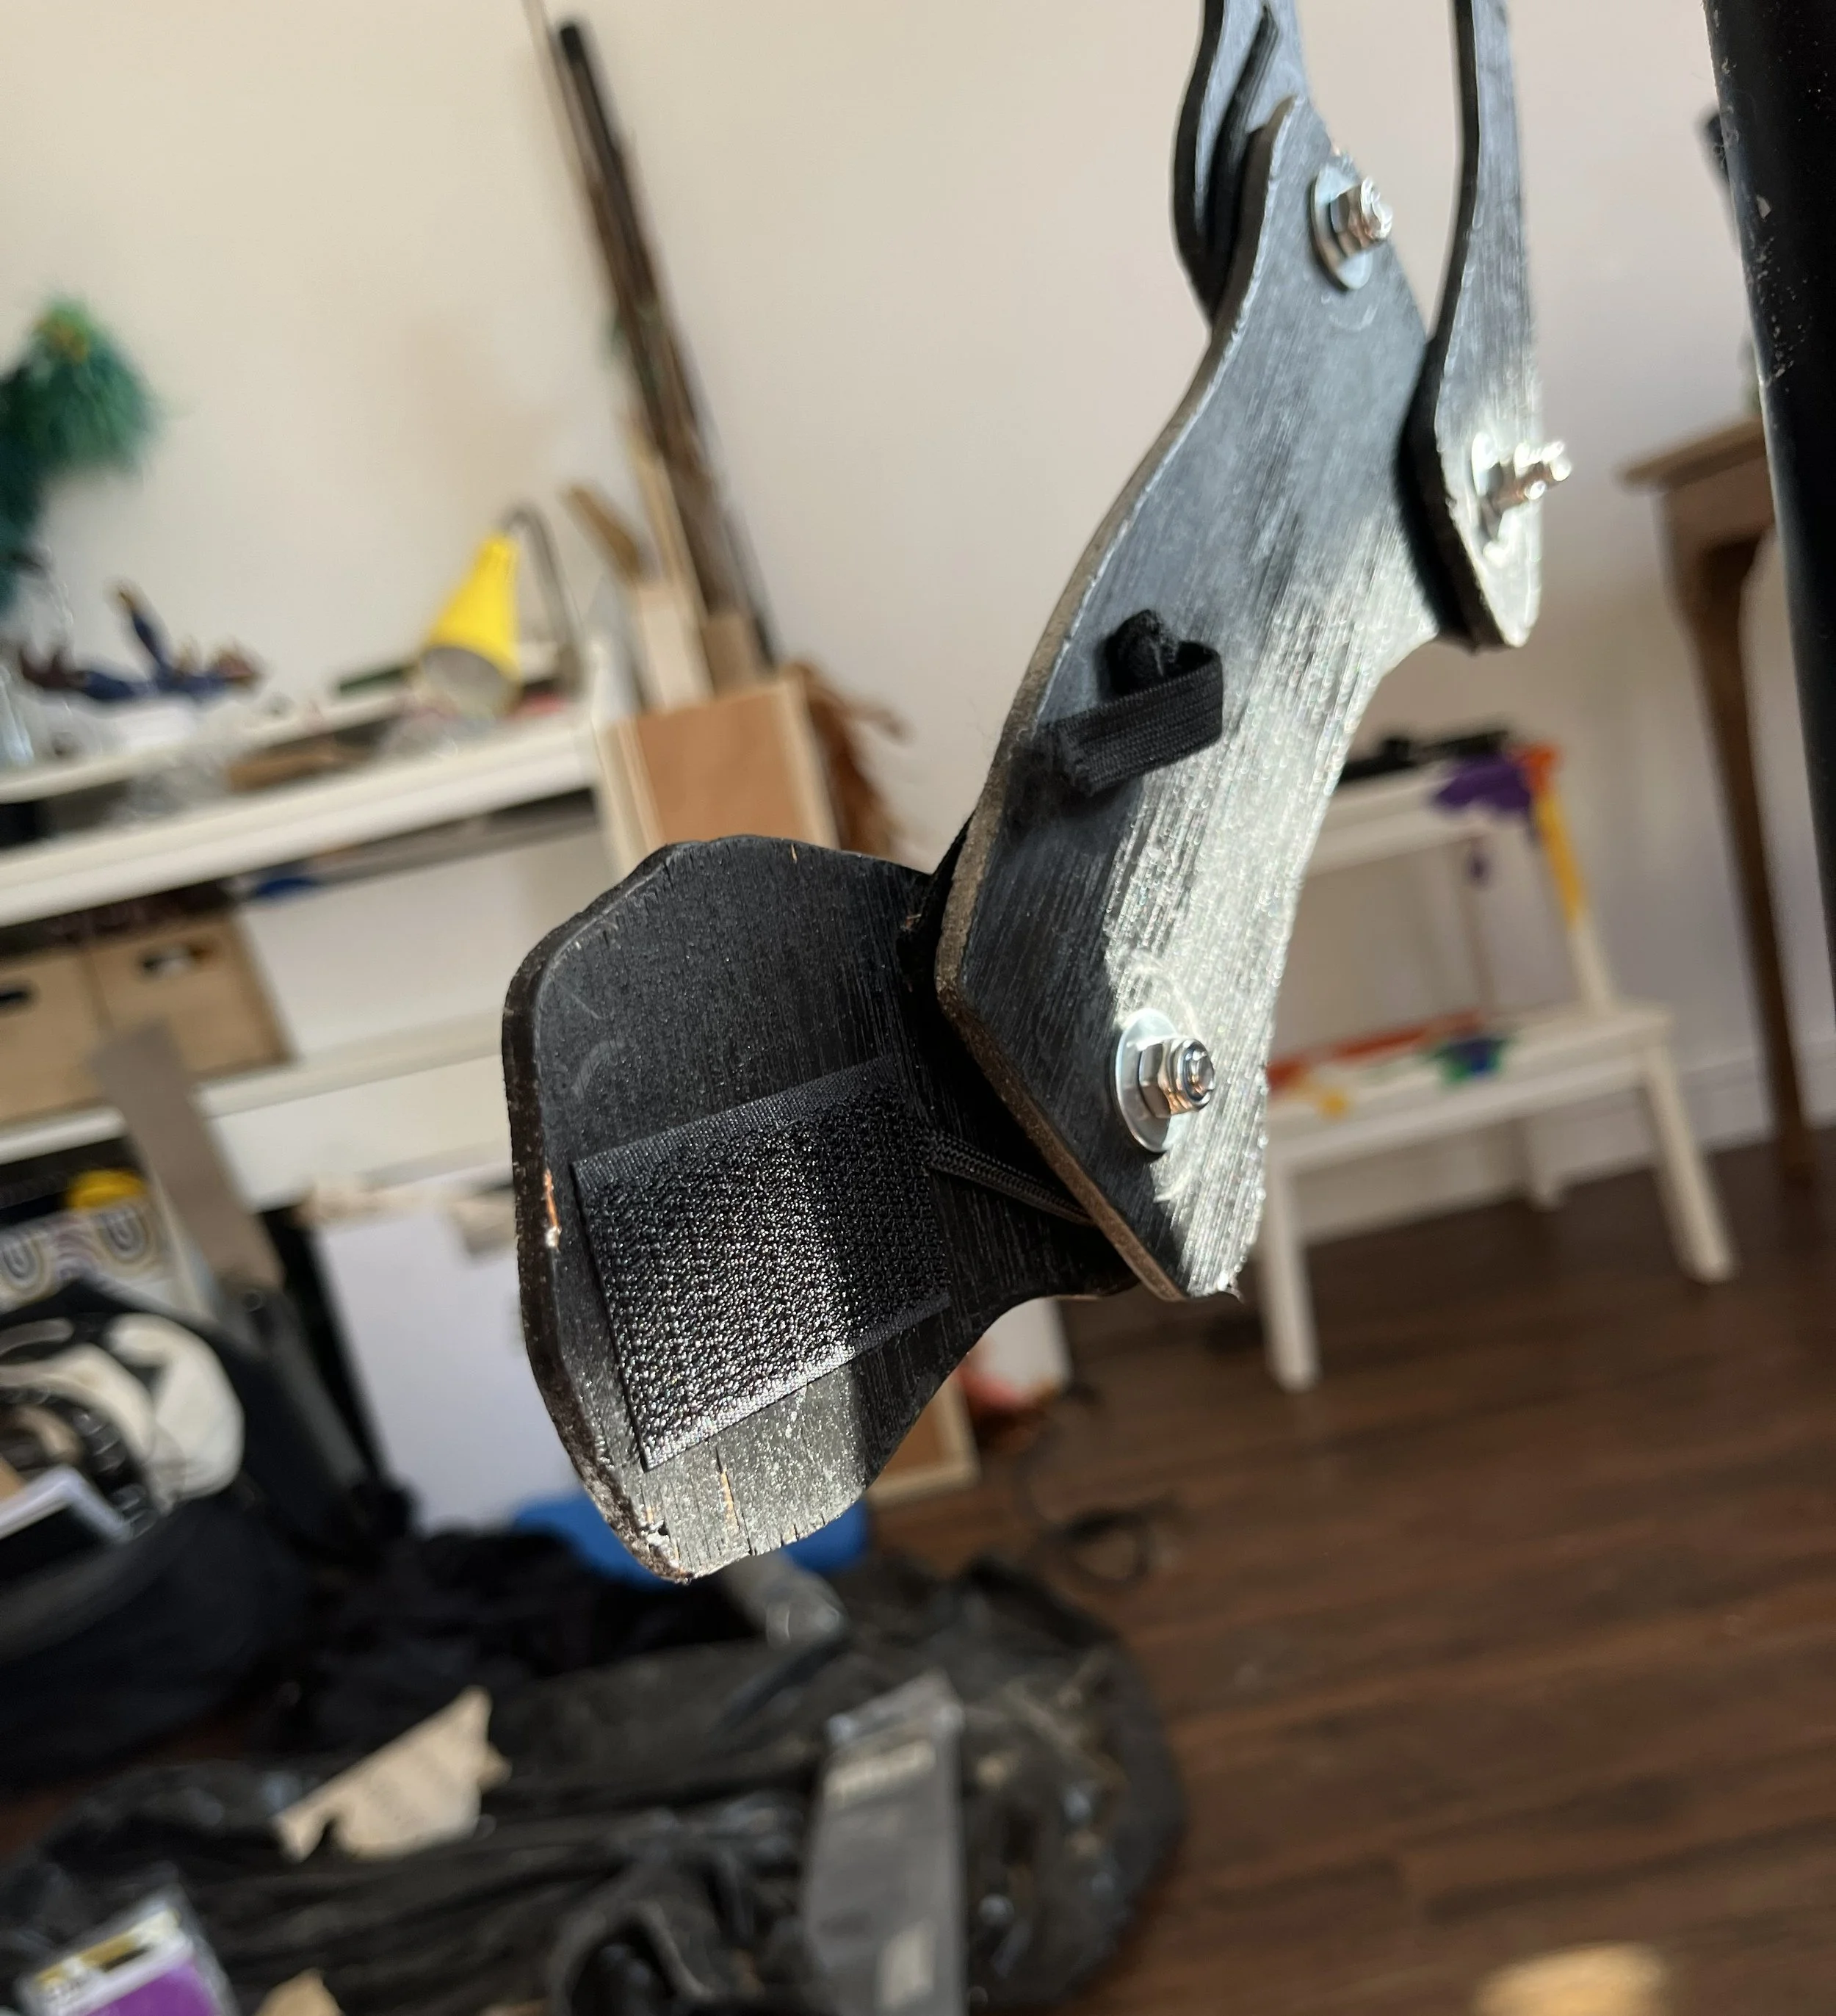
The feet were first drawn on paper and then cut from foam, the foam pieces were then stacked up to the correct height and carved to get the final shape. Each foam foot was then attached to the plywood legs using Velcro strips.
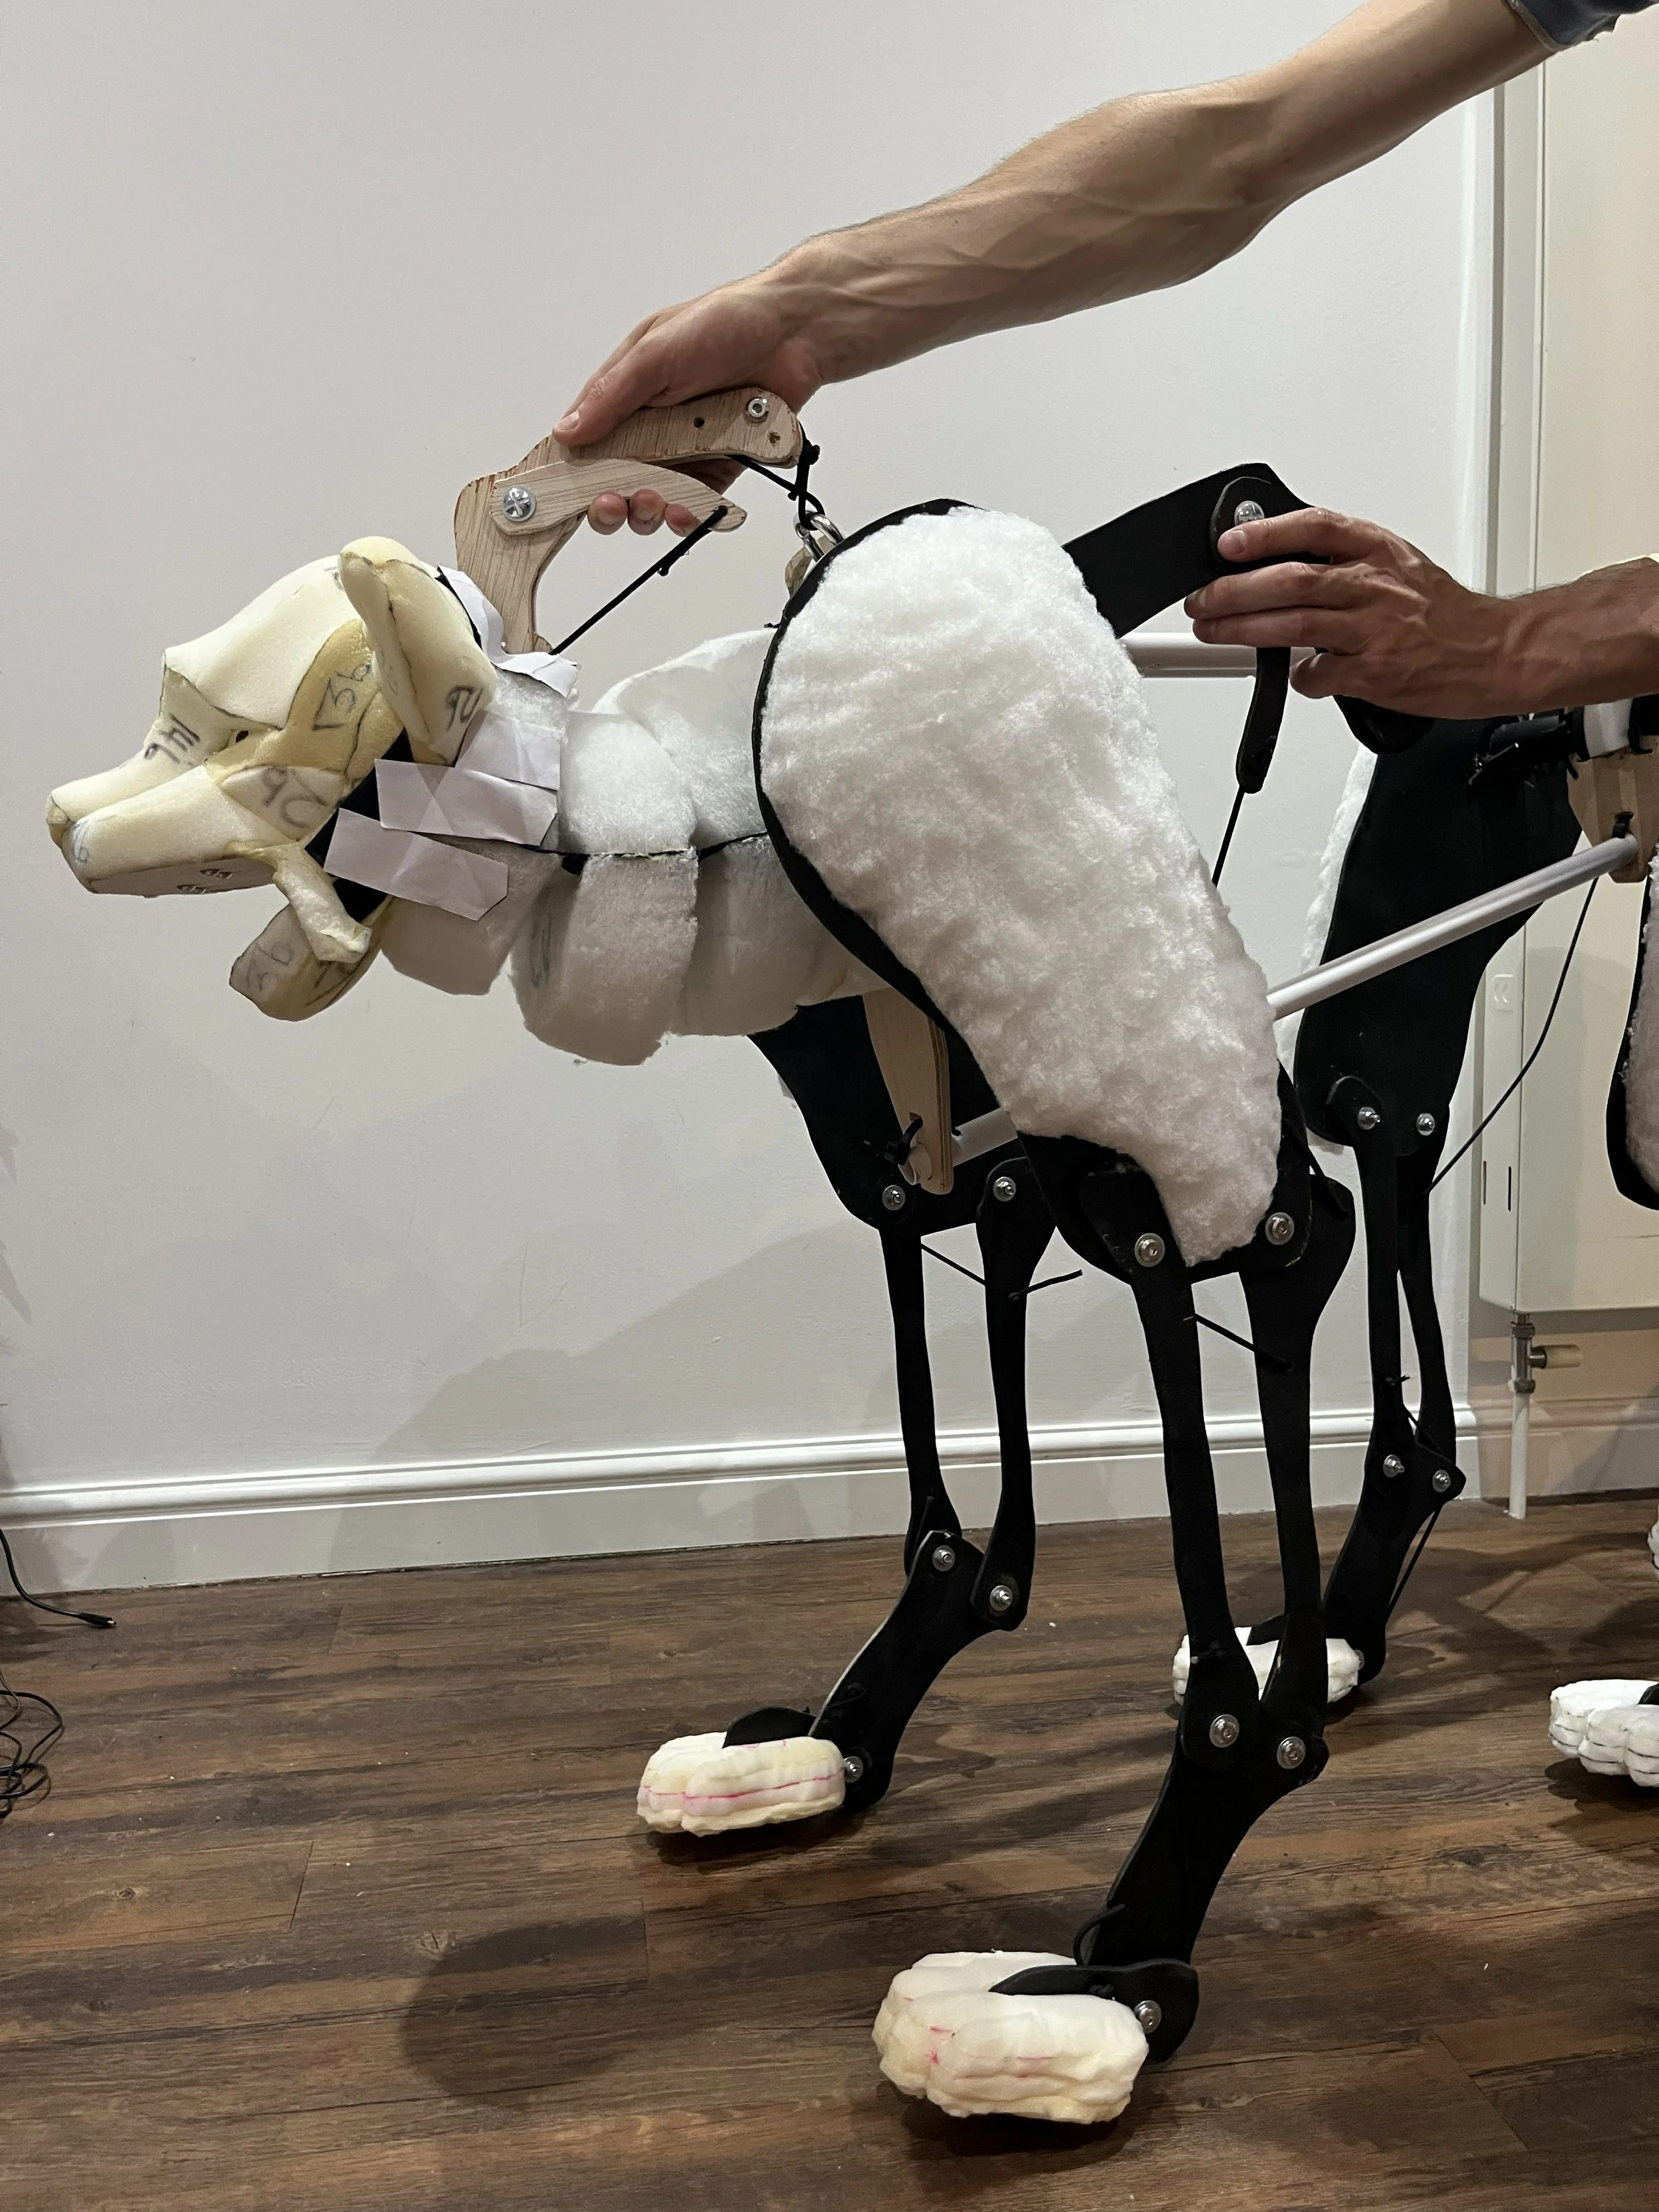
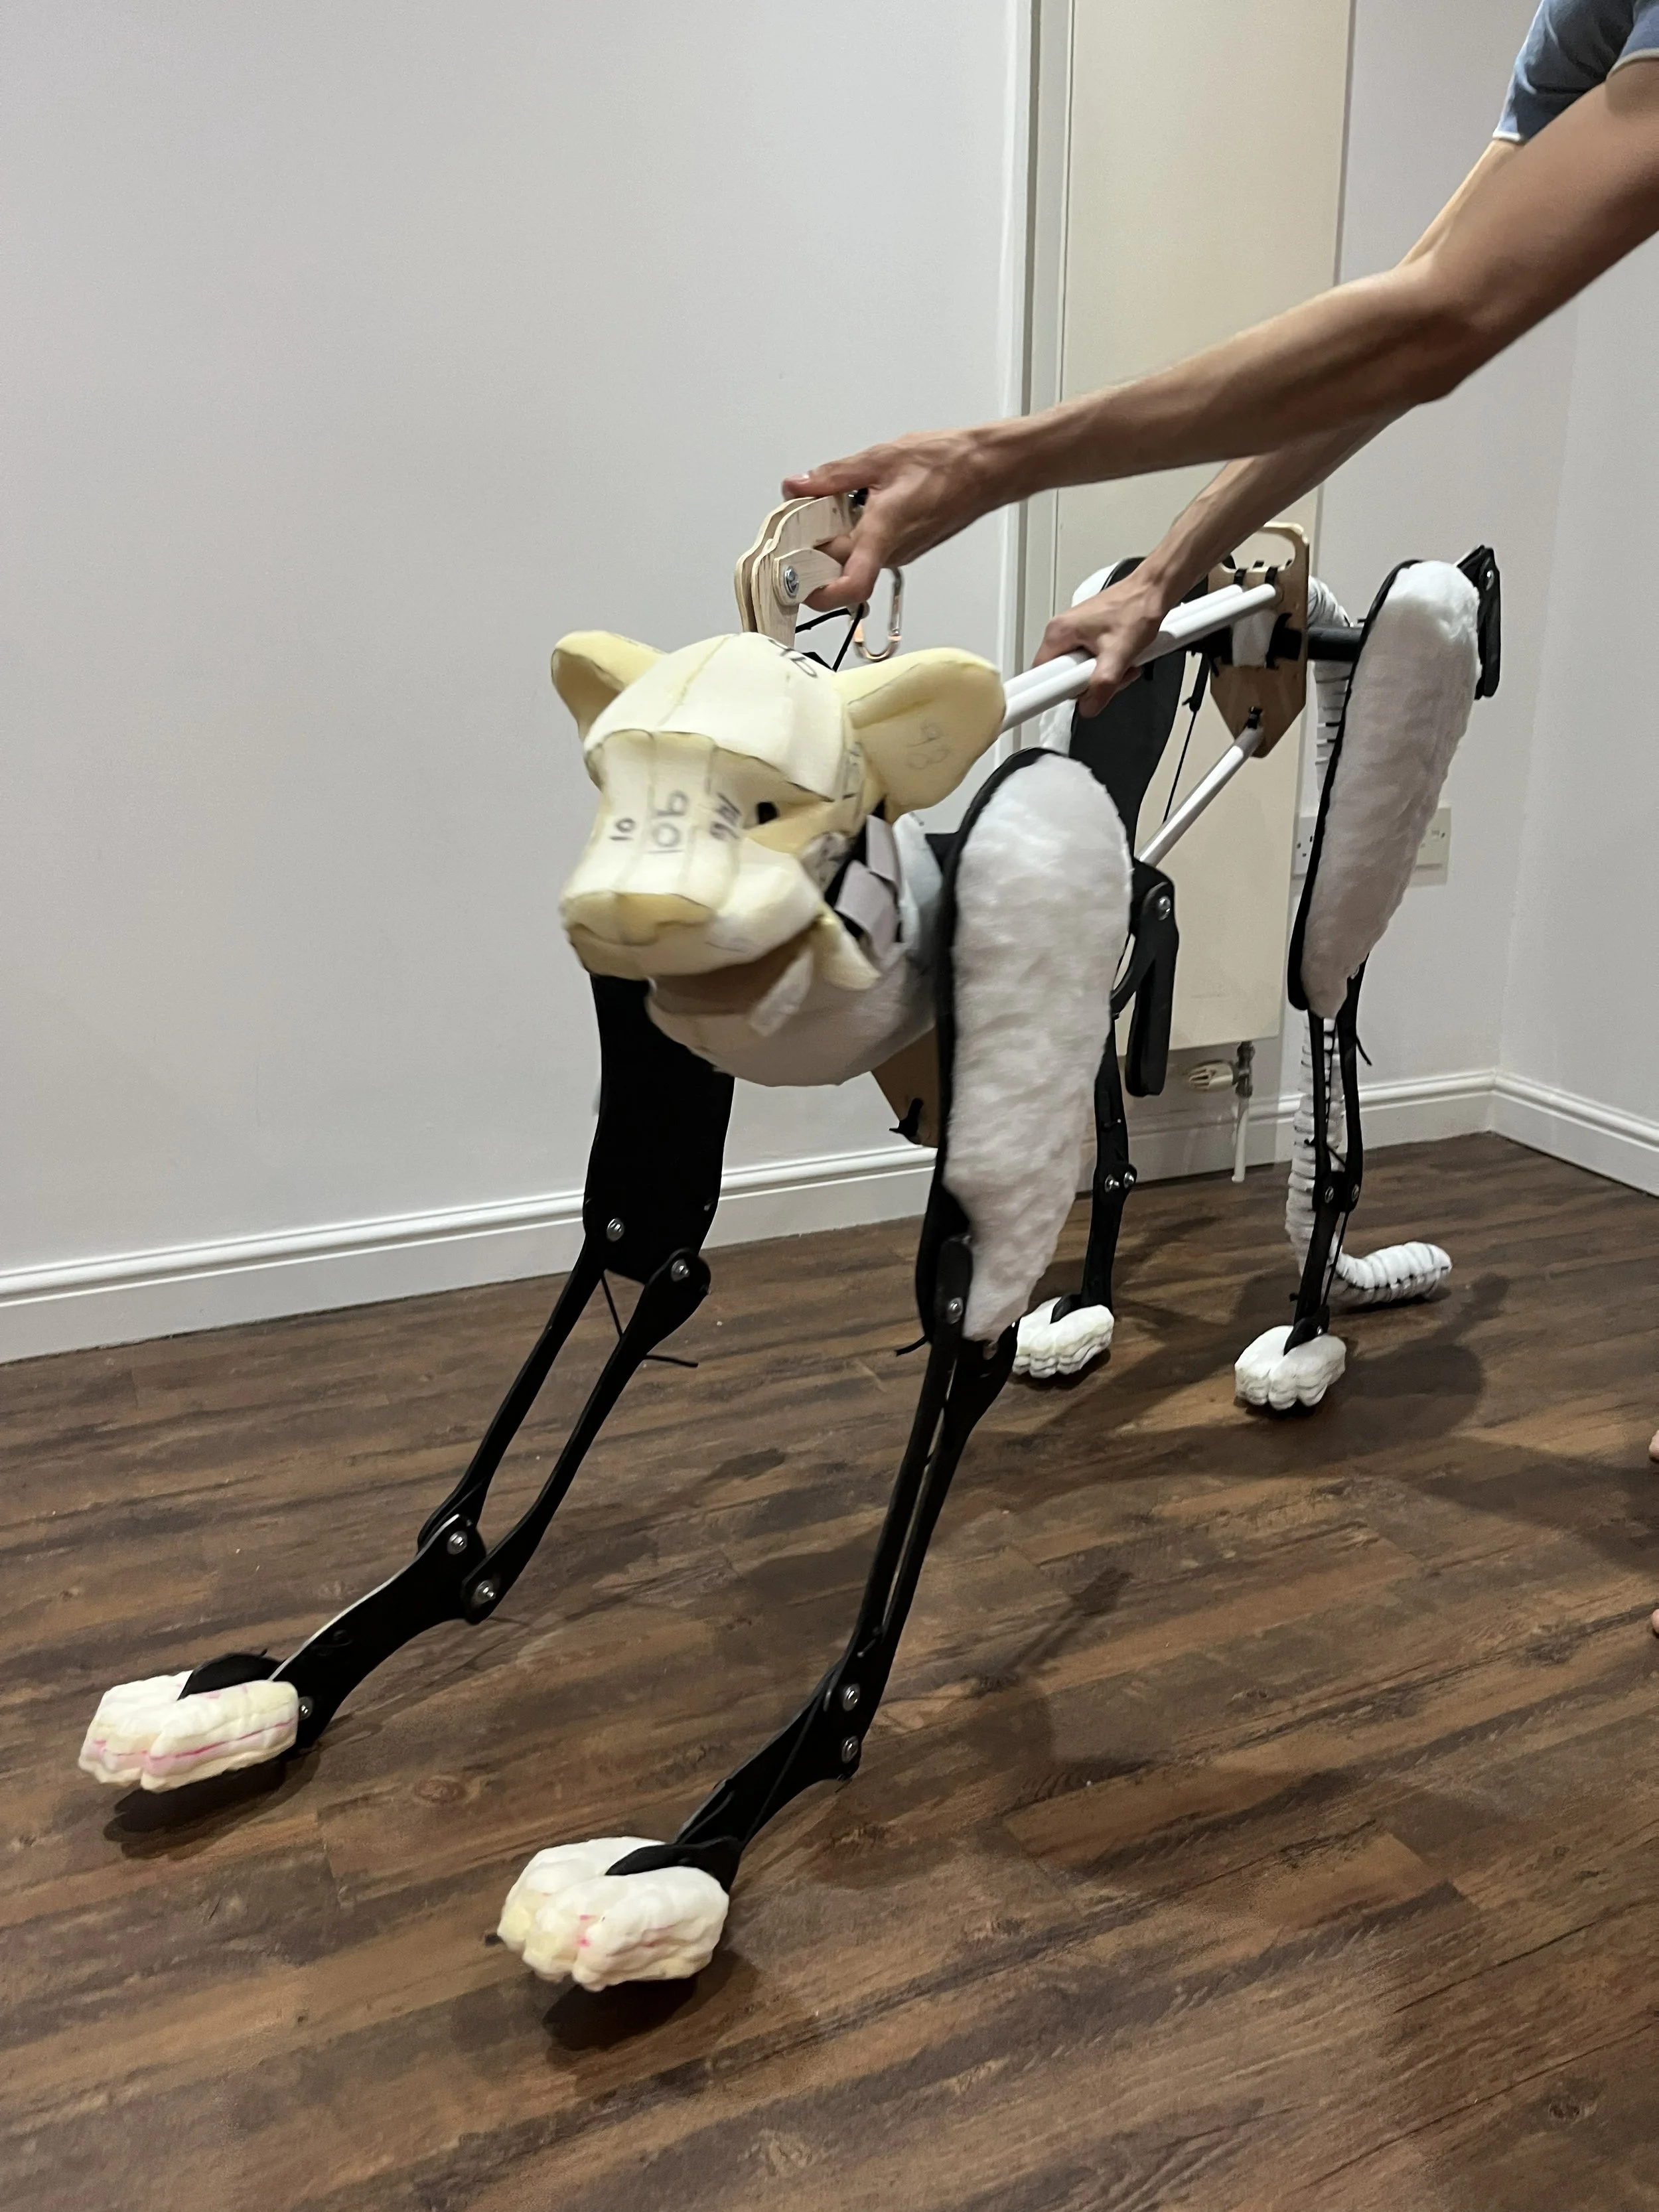
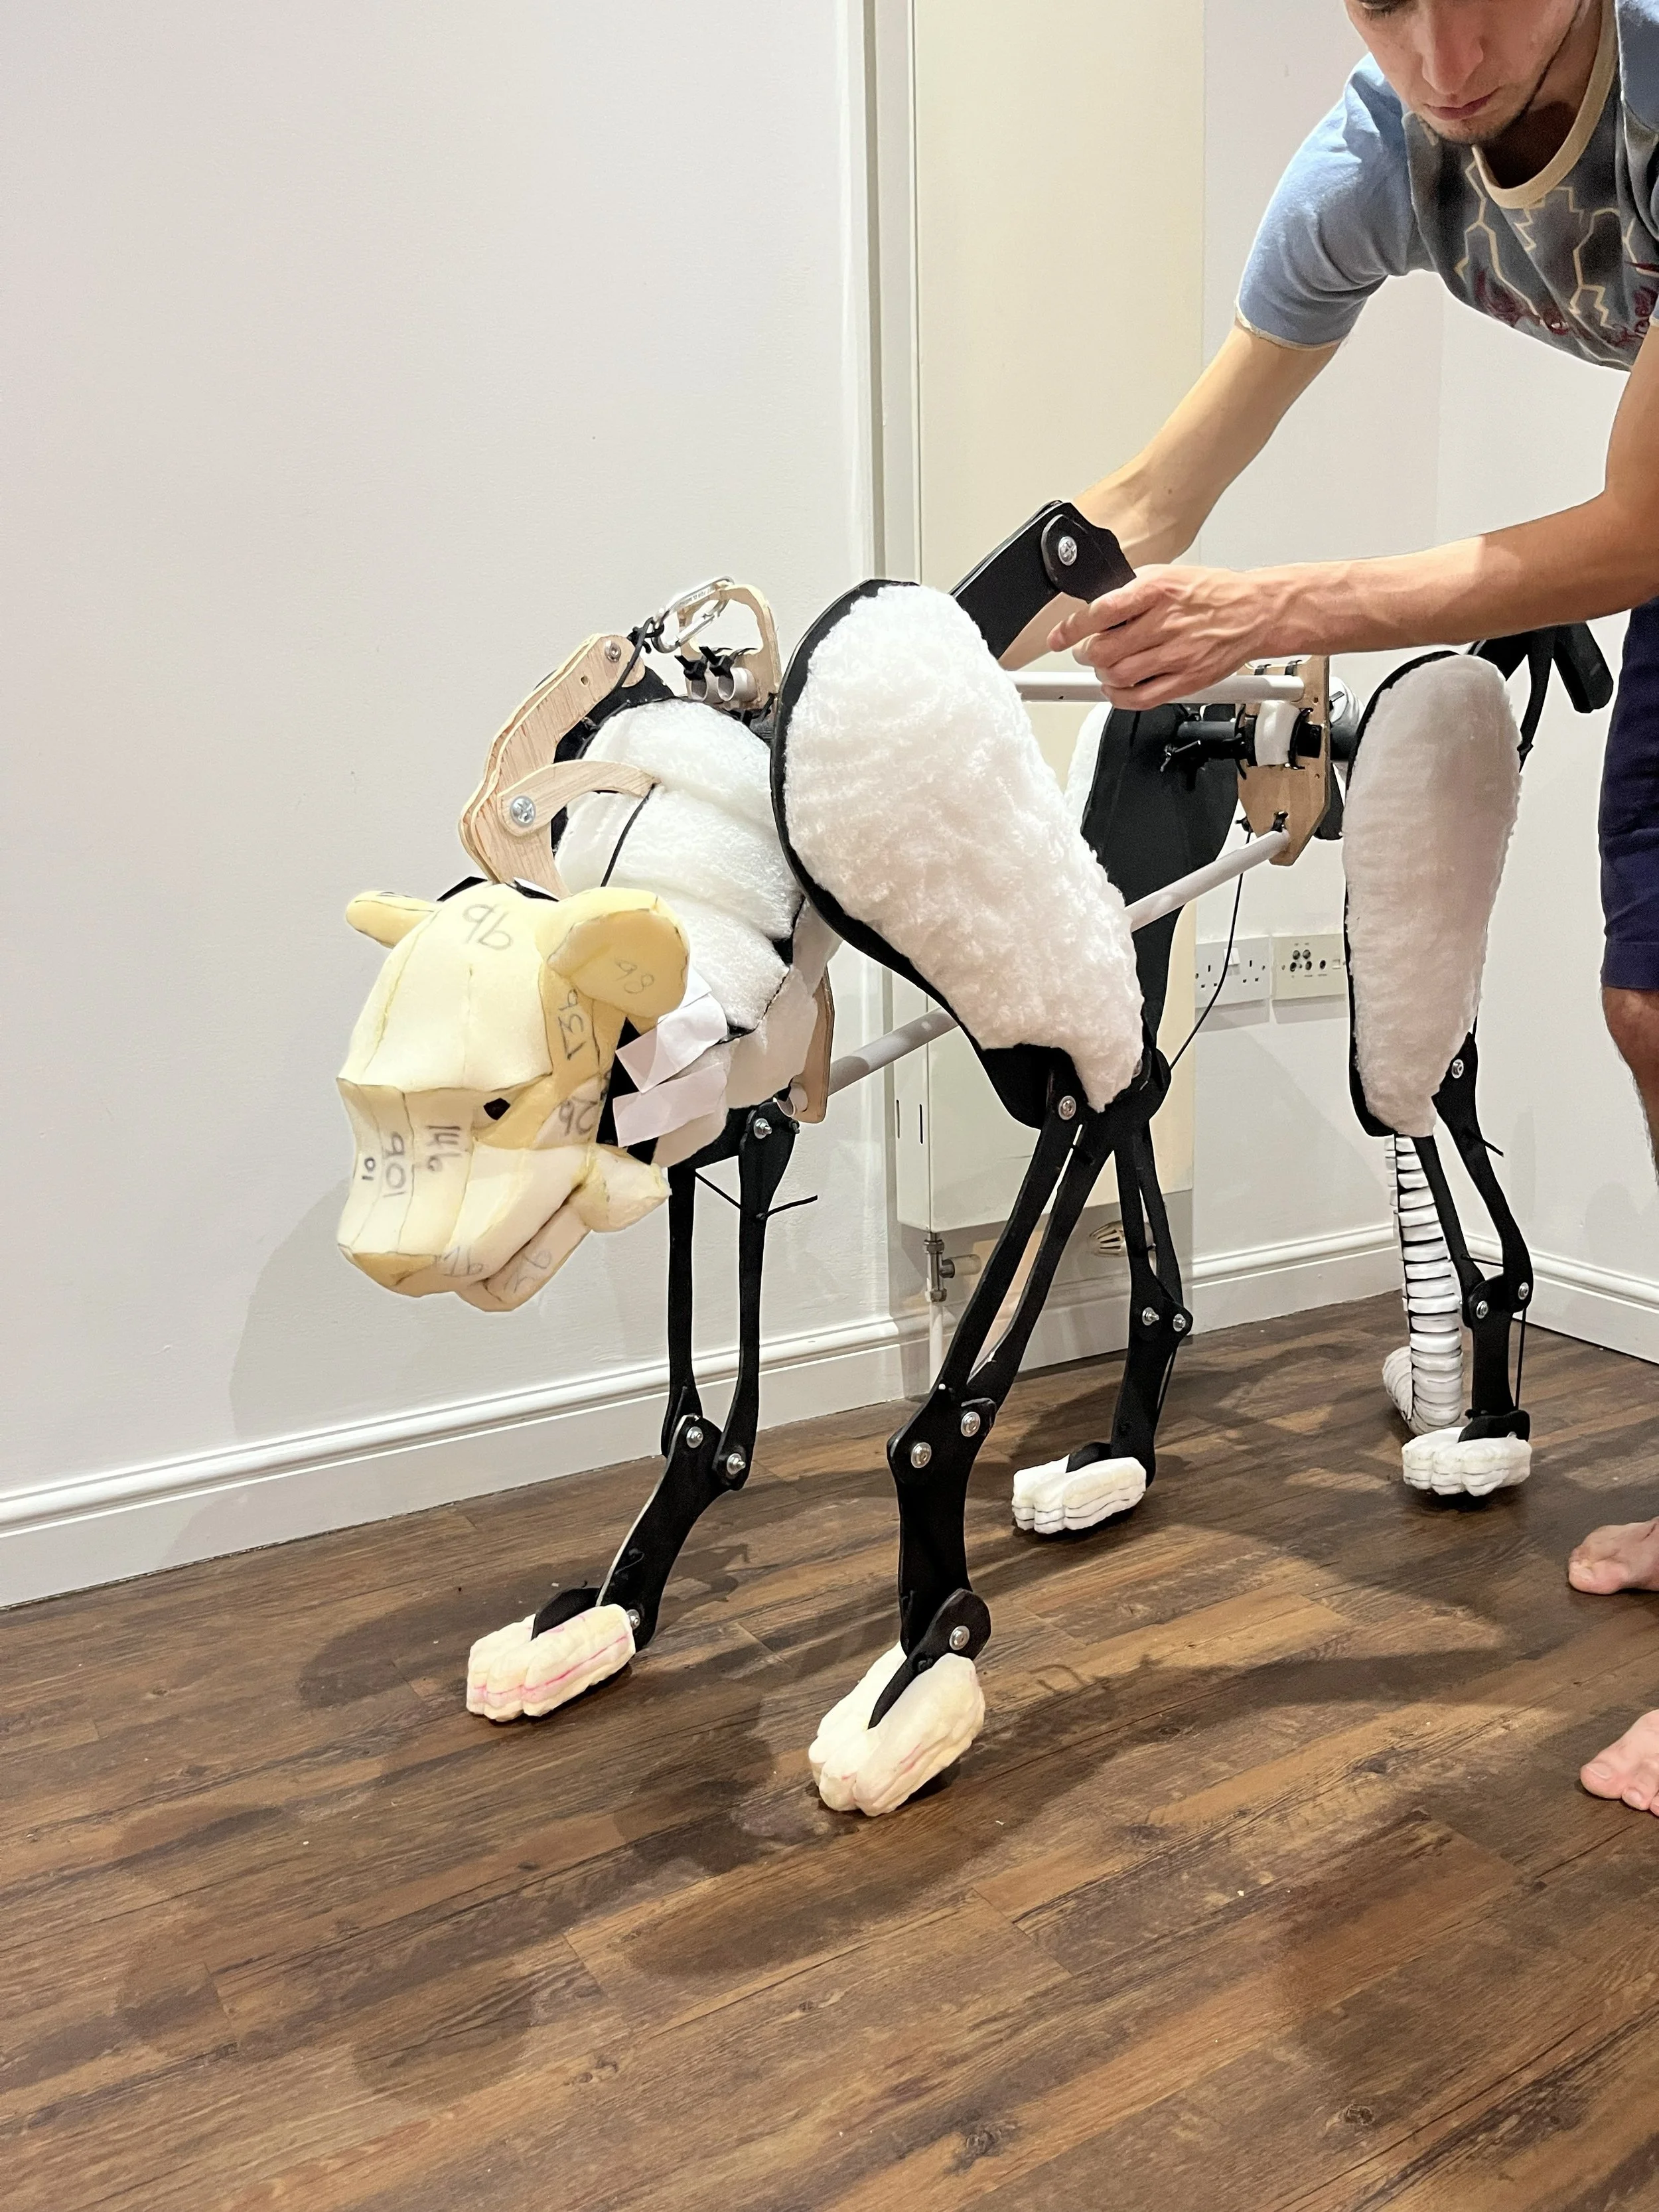
The puppet before adding any of the final finishes or details.
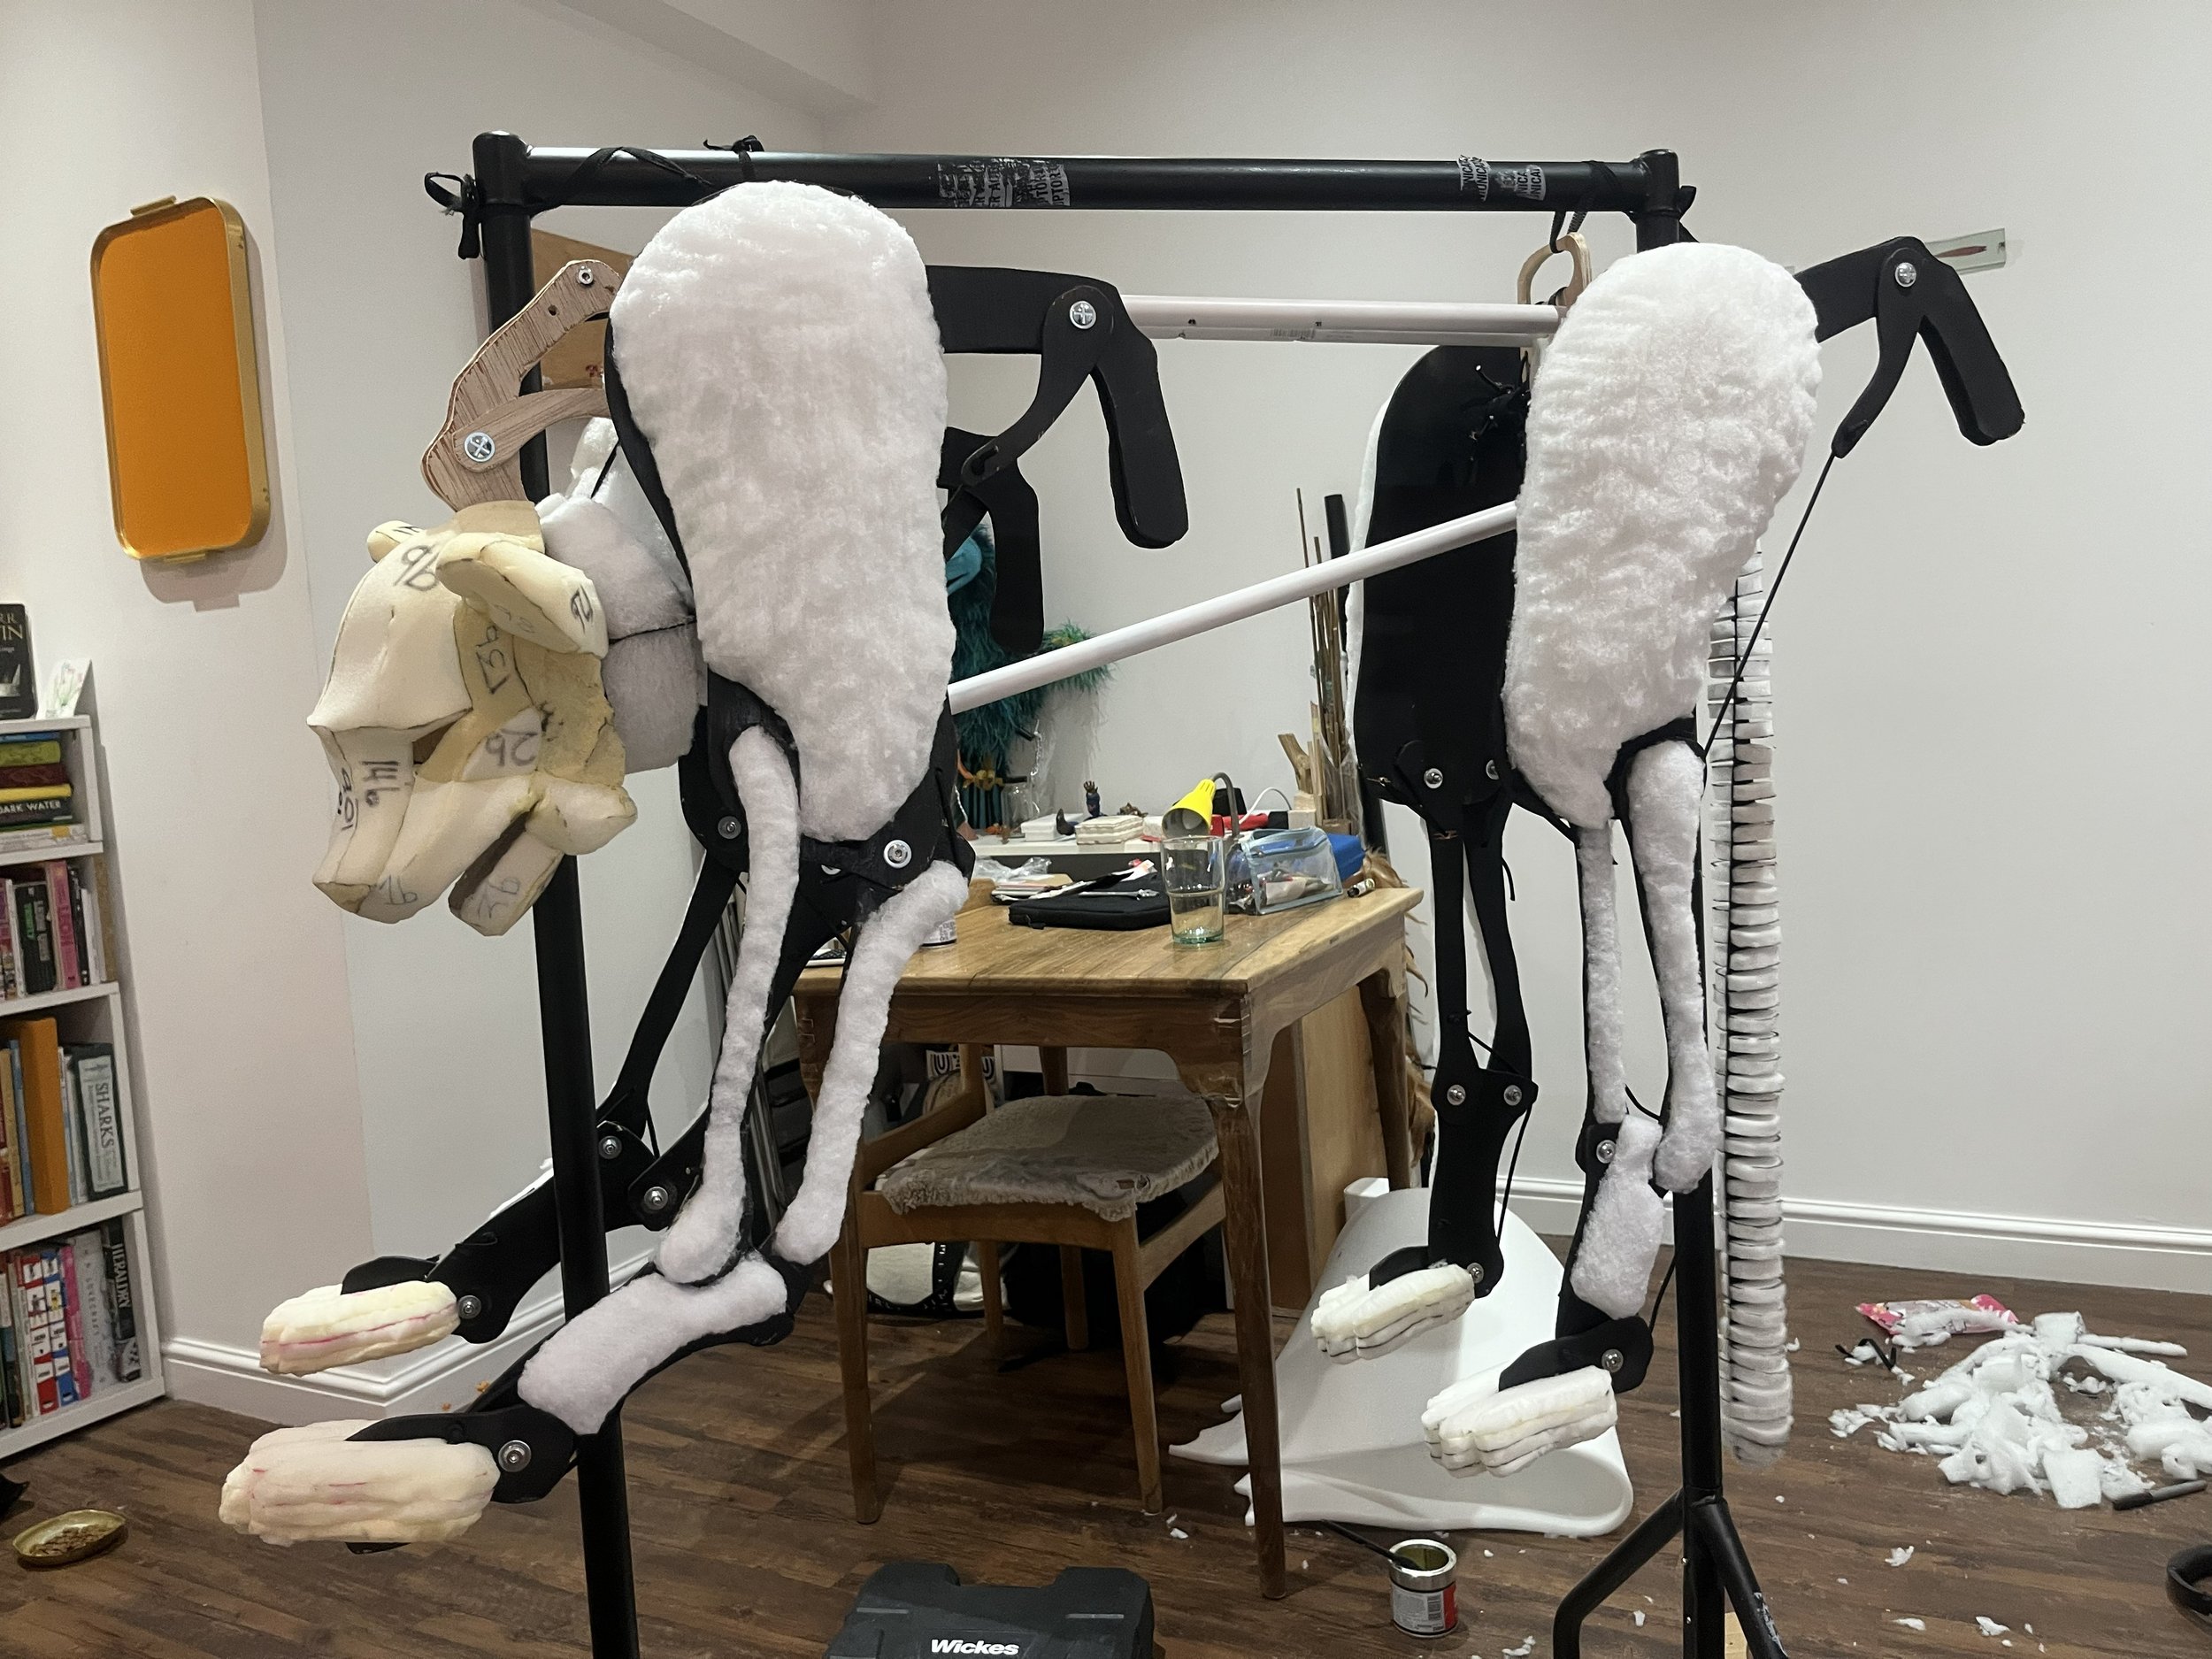
Lightweight foam was added to the leg pieces to make a more lifelike form. For the thighs, the pieces are attached with Velcro so that the axle joint can be accessed if needed.
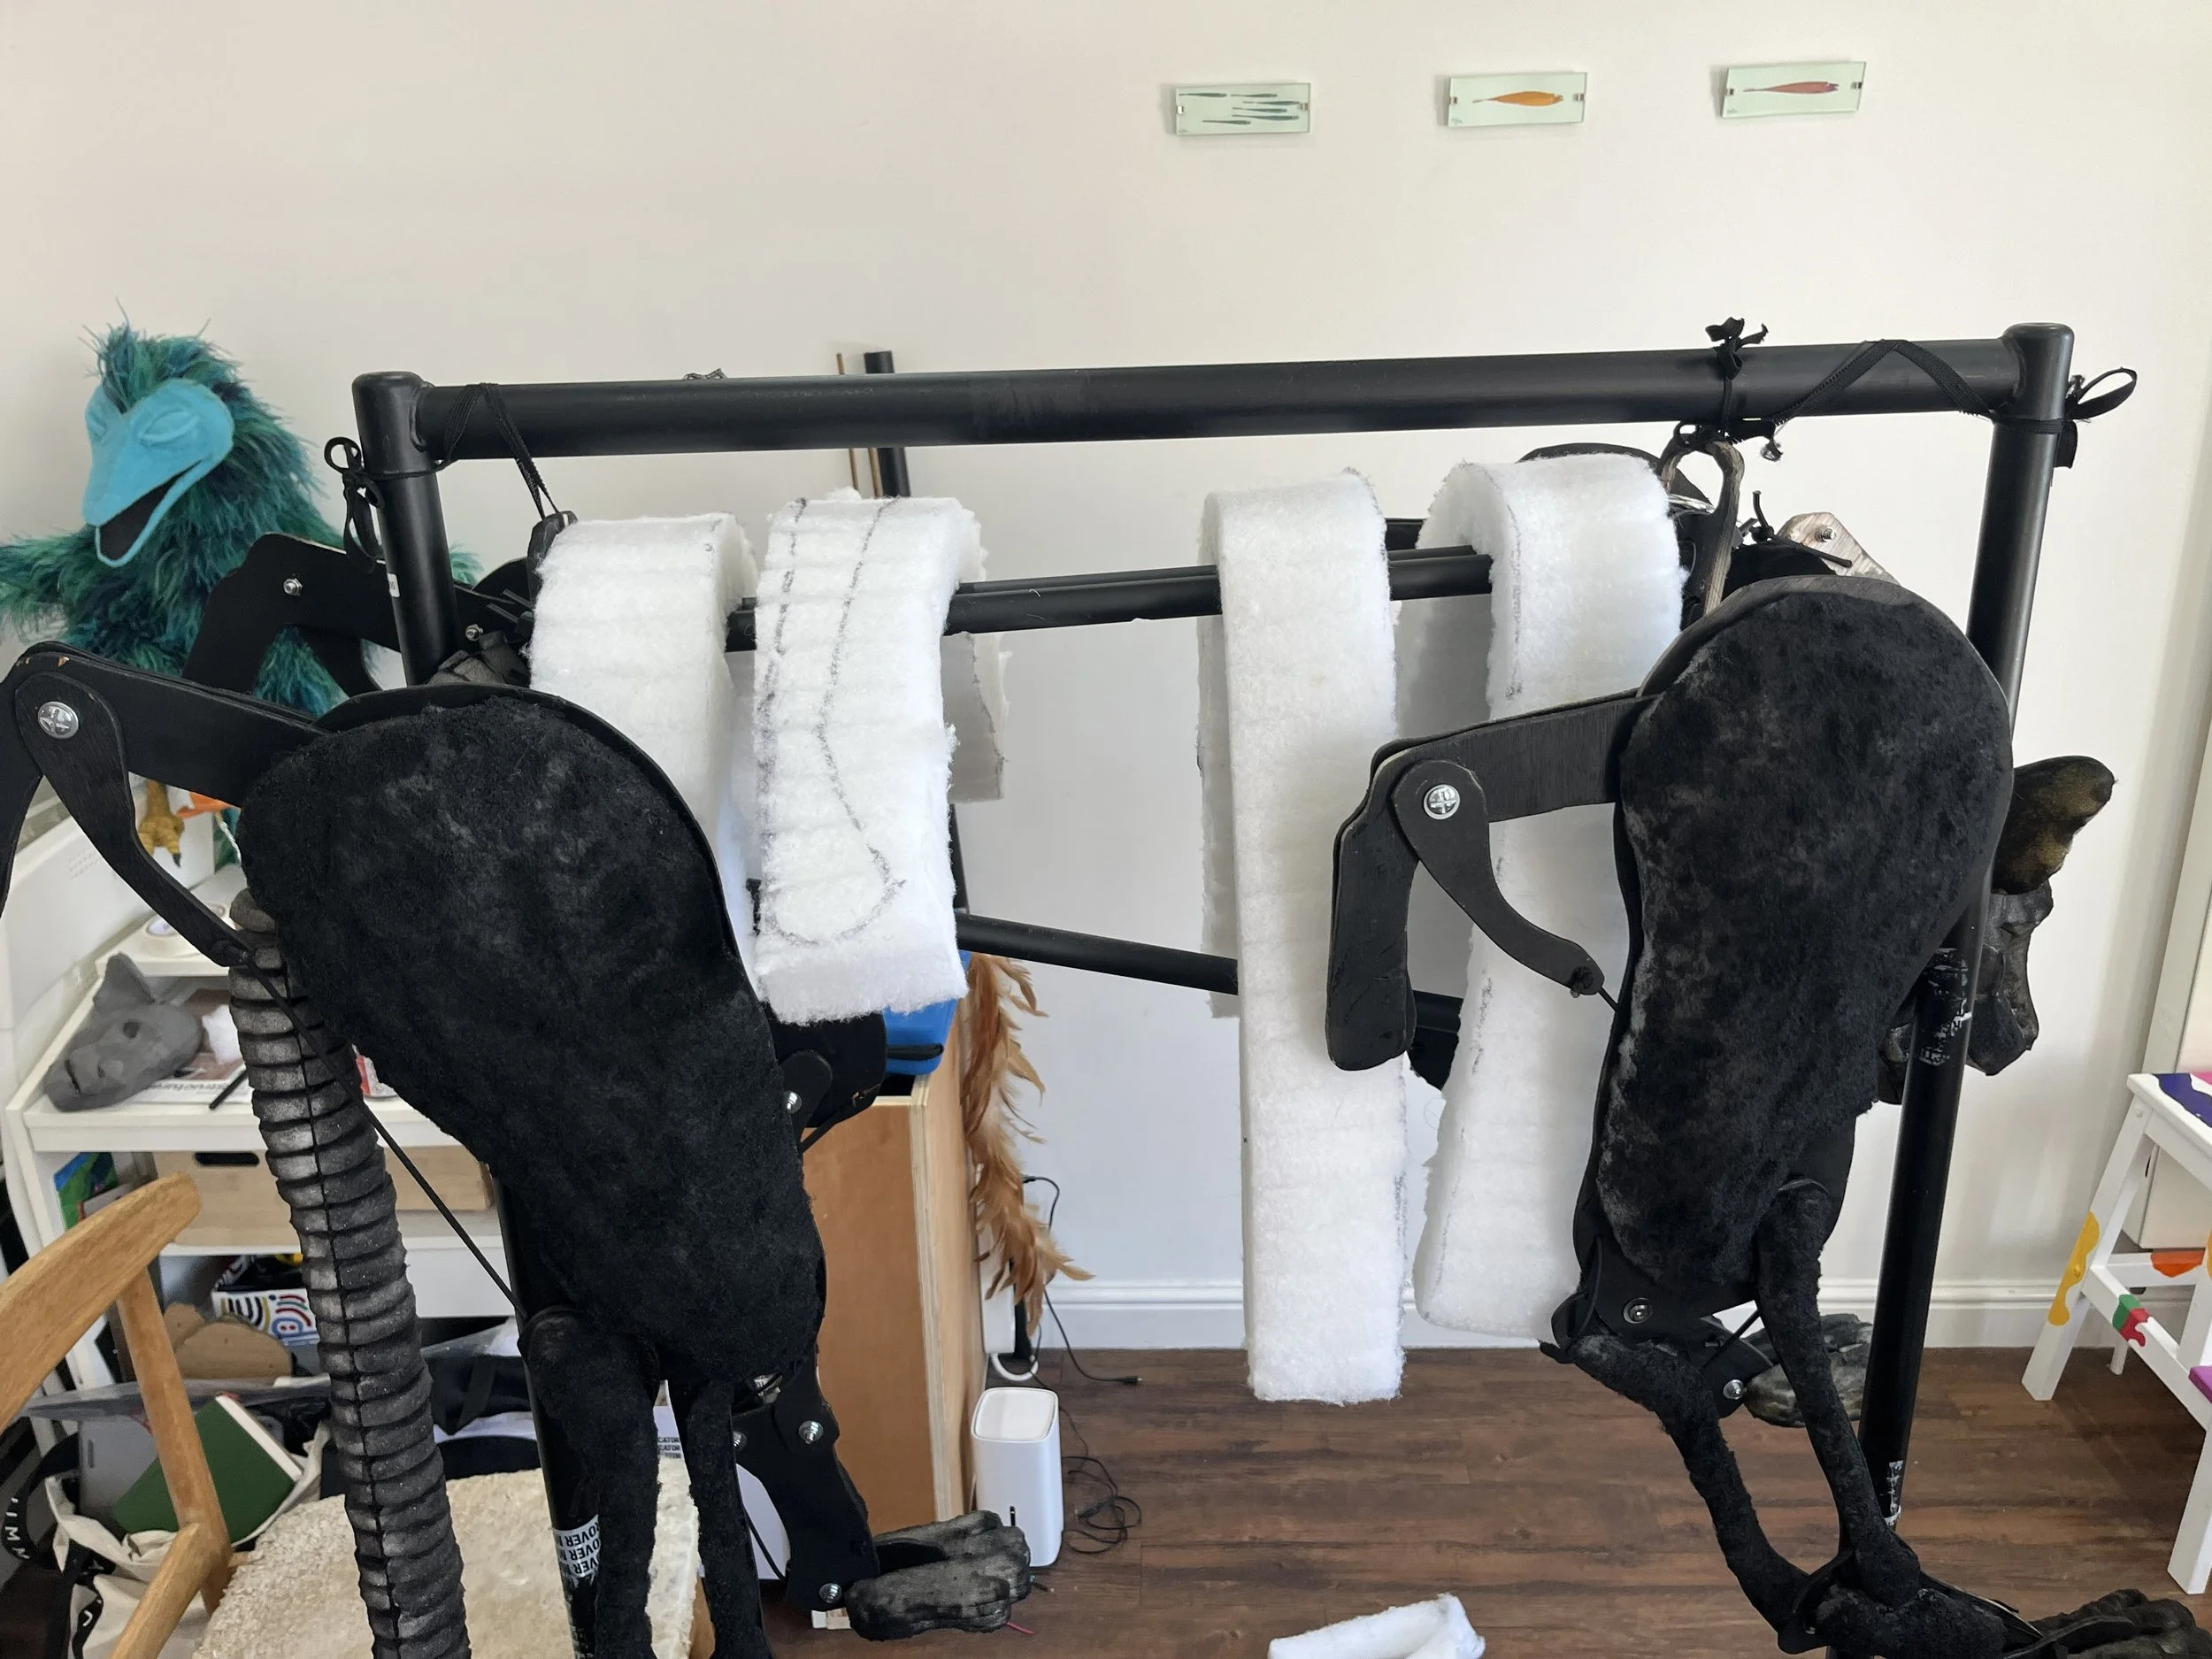
The same foam was used to make ribs that build up the body shape. These were glued to the body frame using contact adhesive.
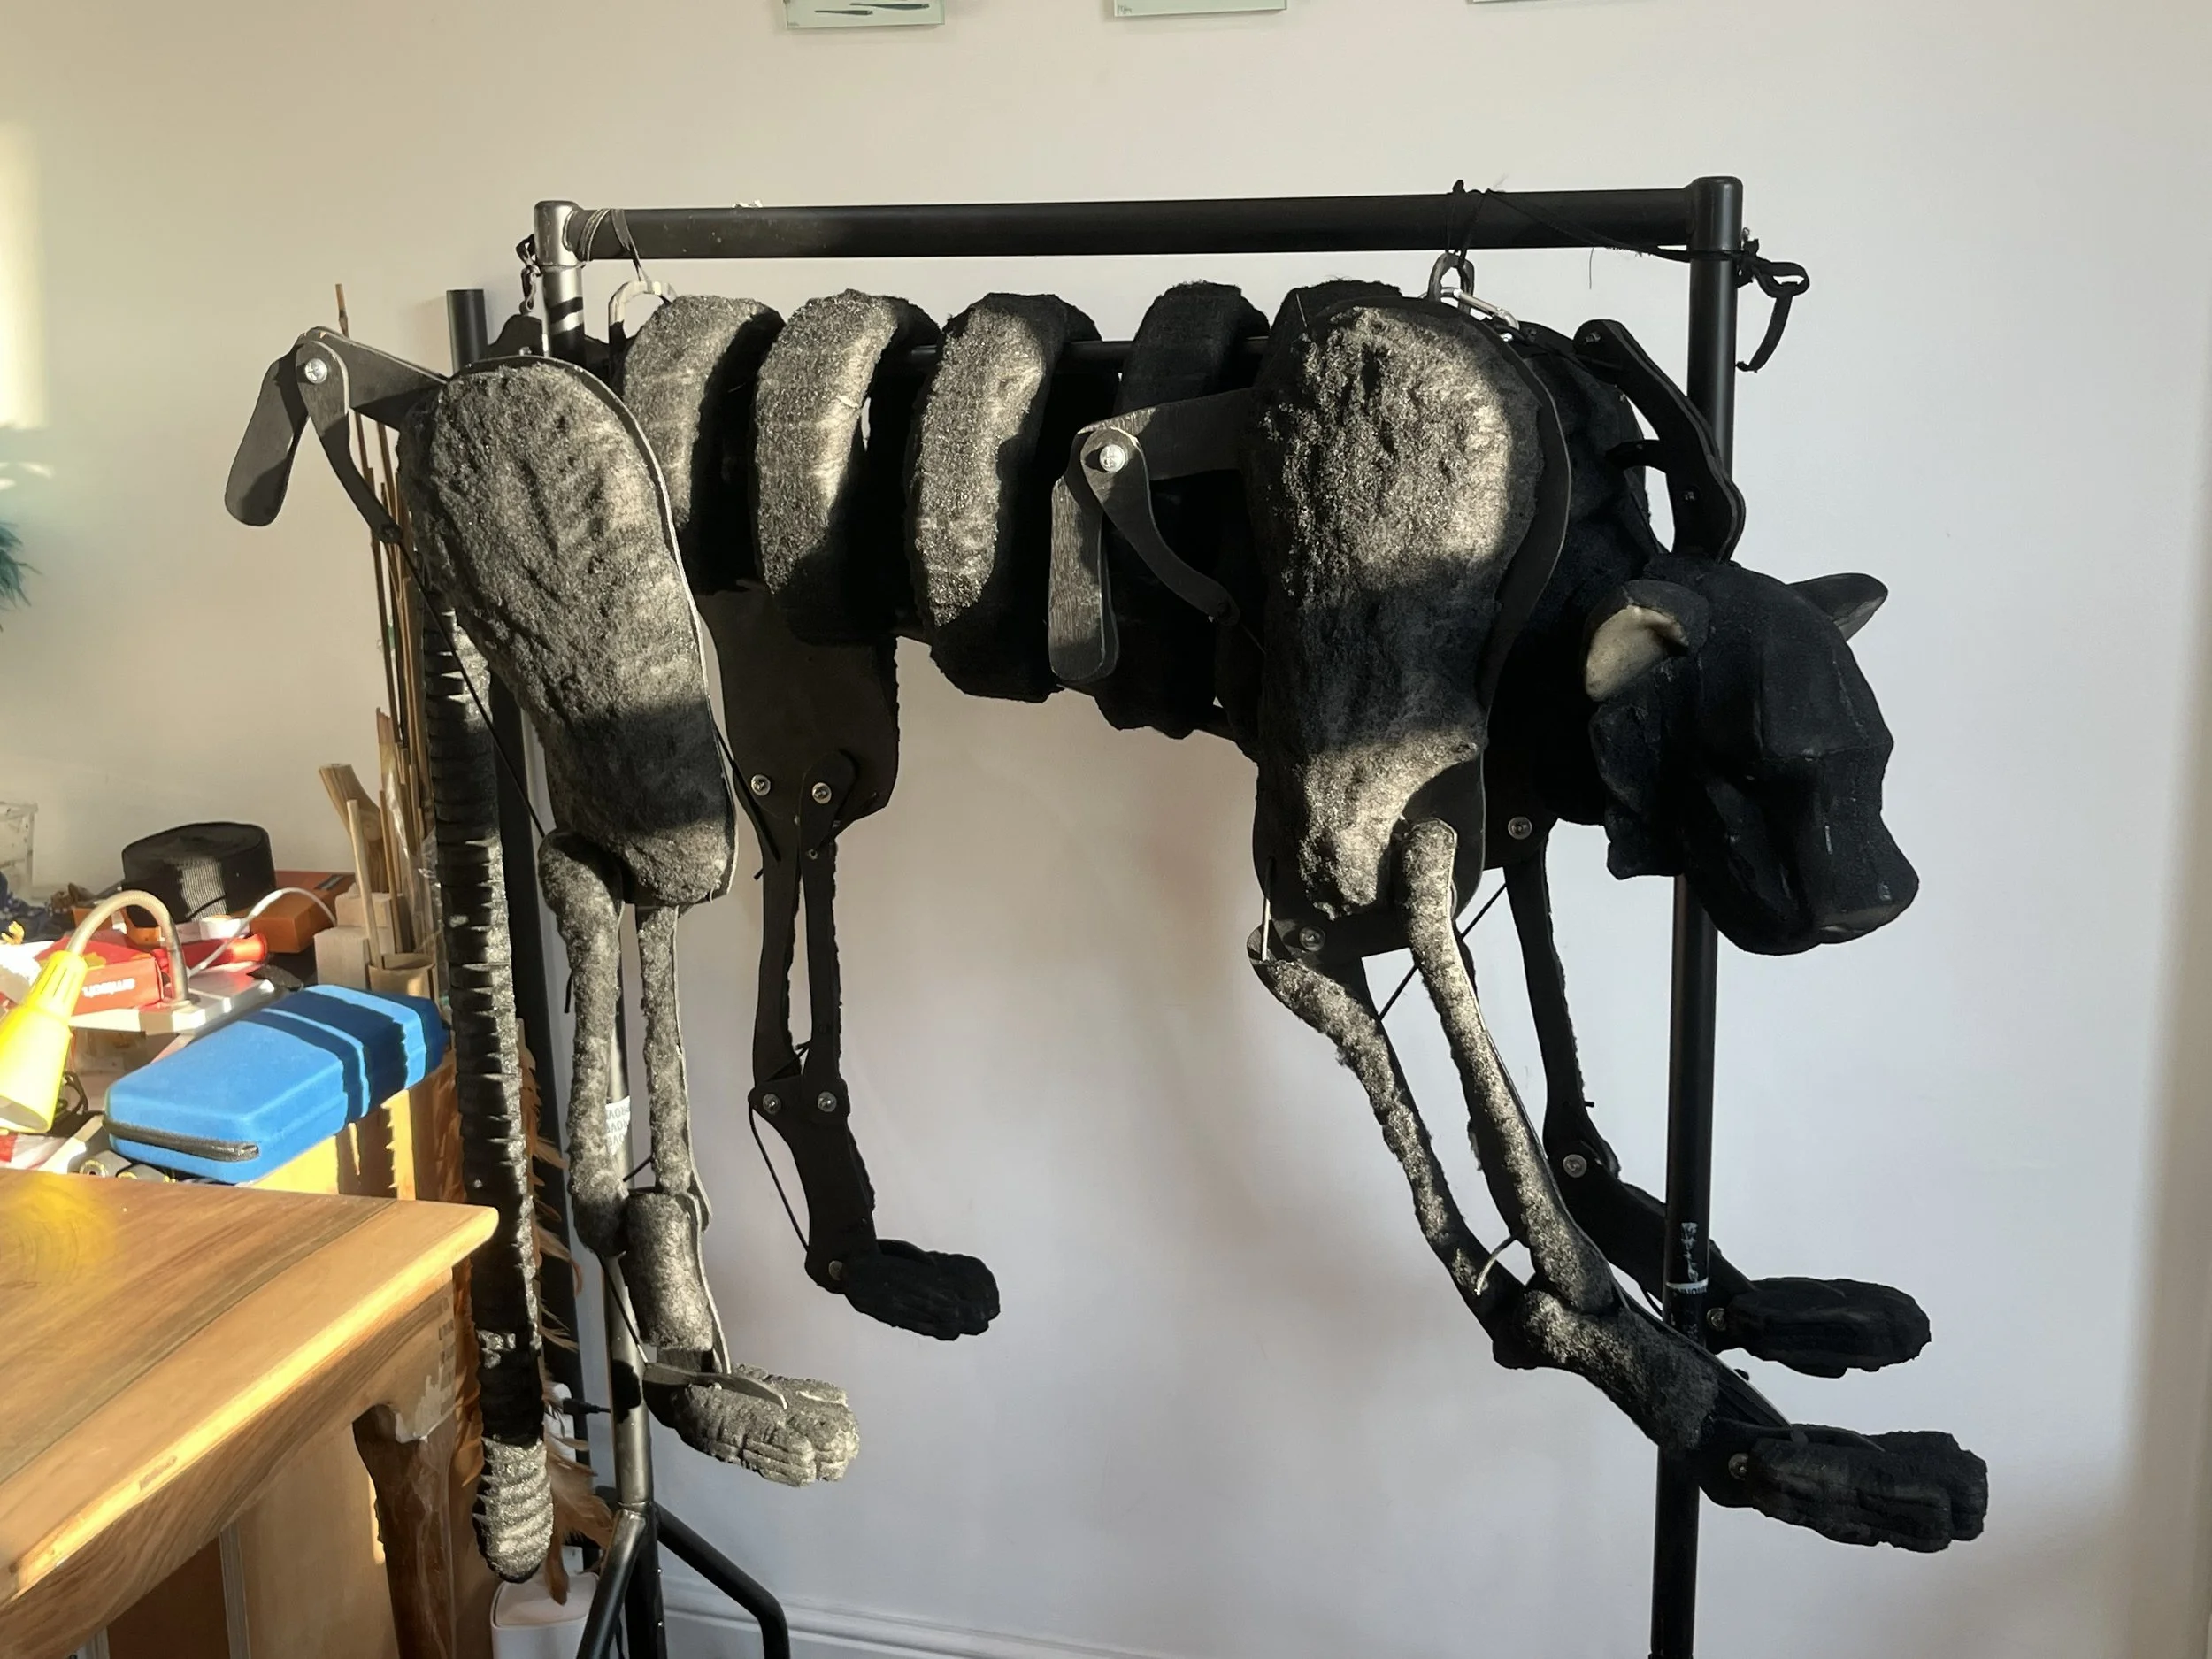
The entire puppet was then given a few coats of black spray paint.
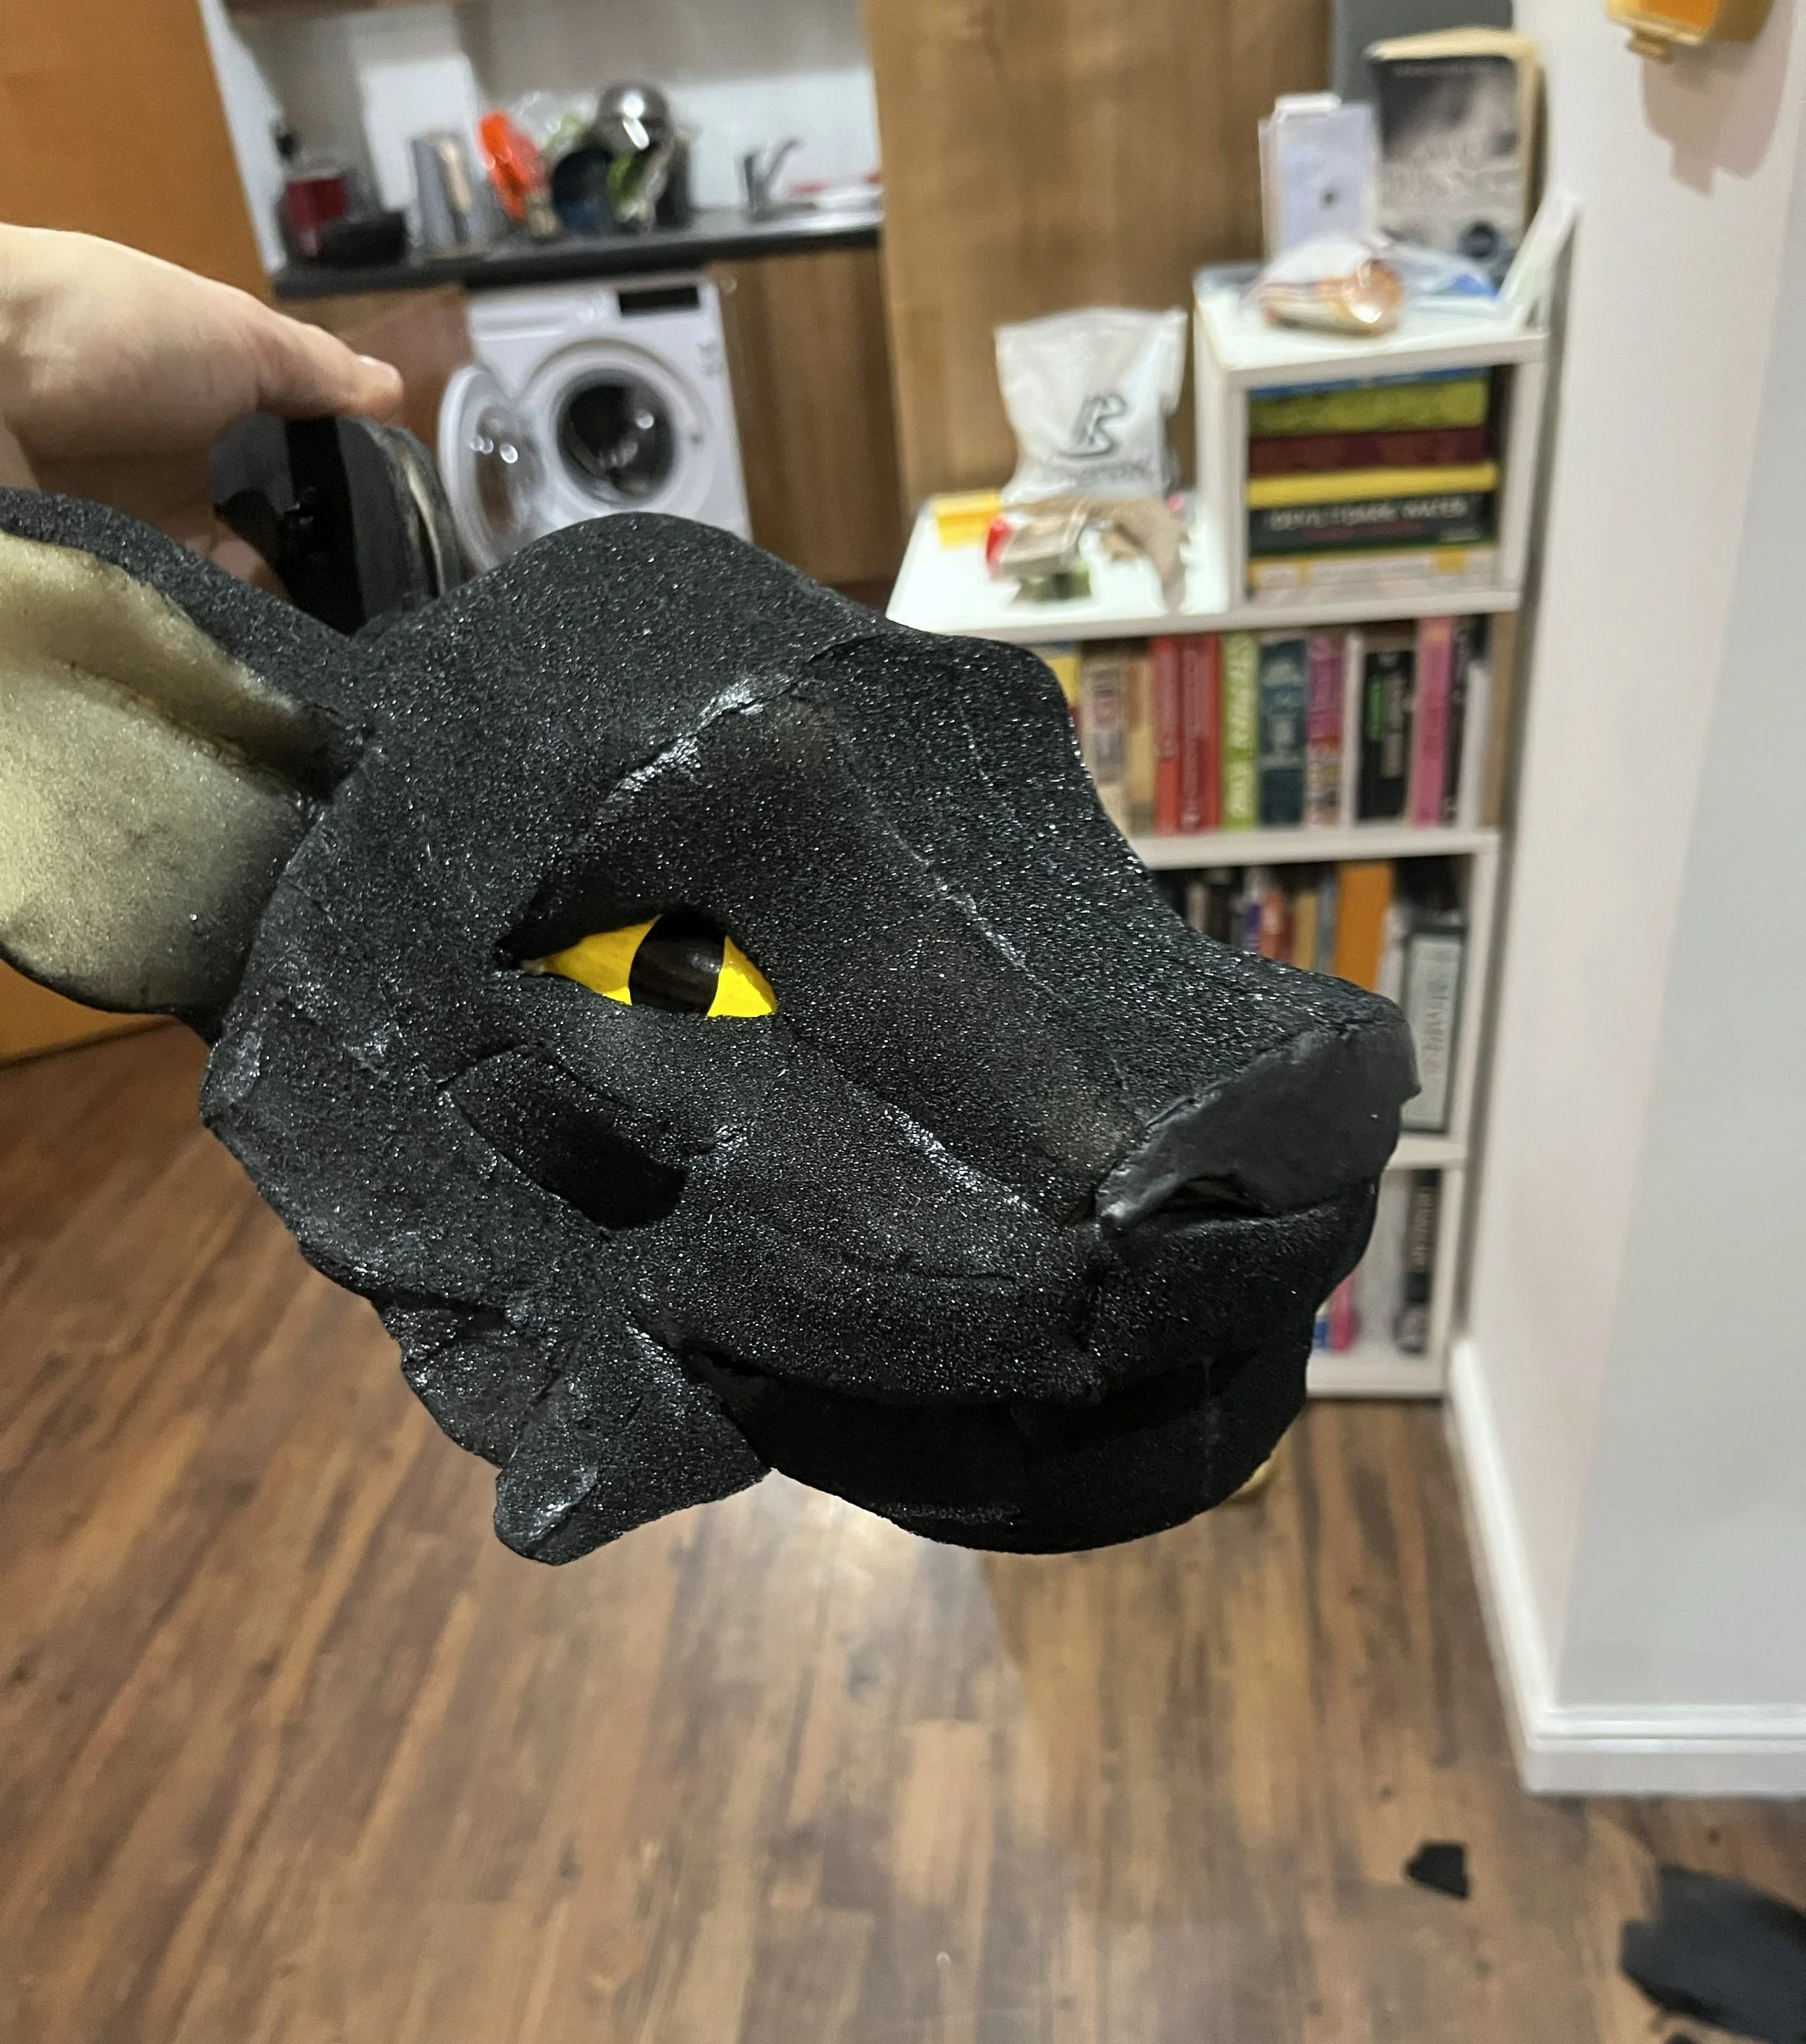
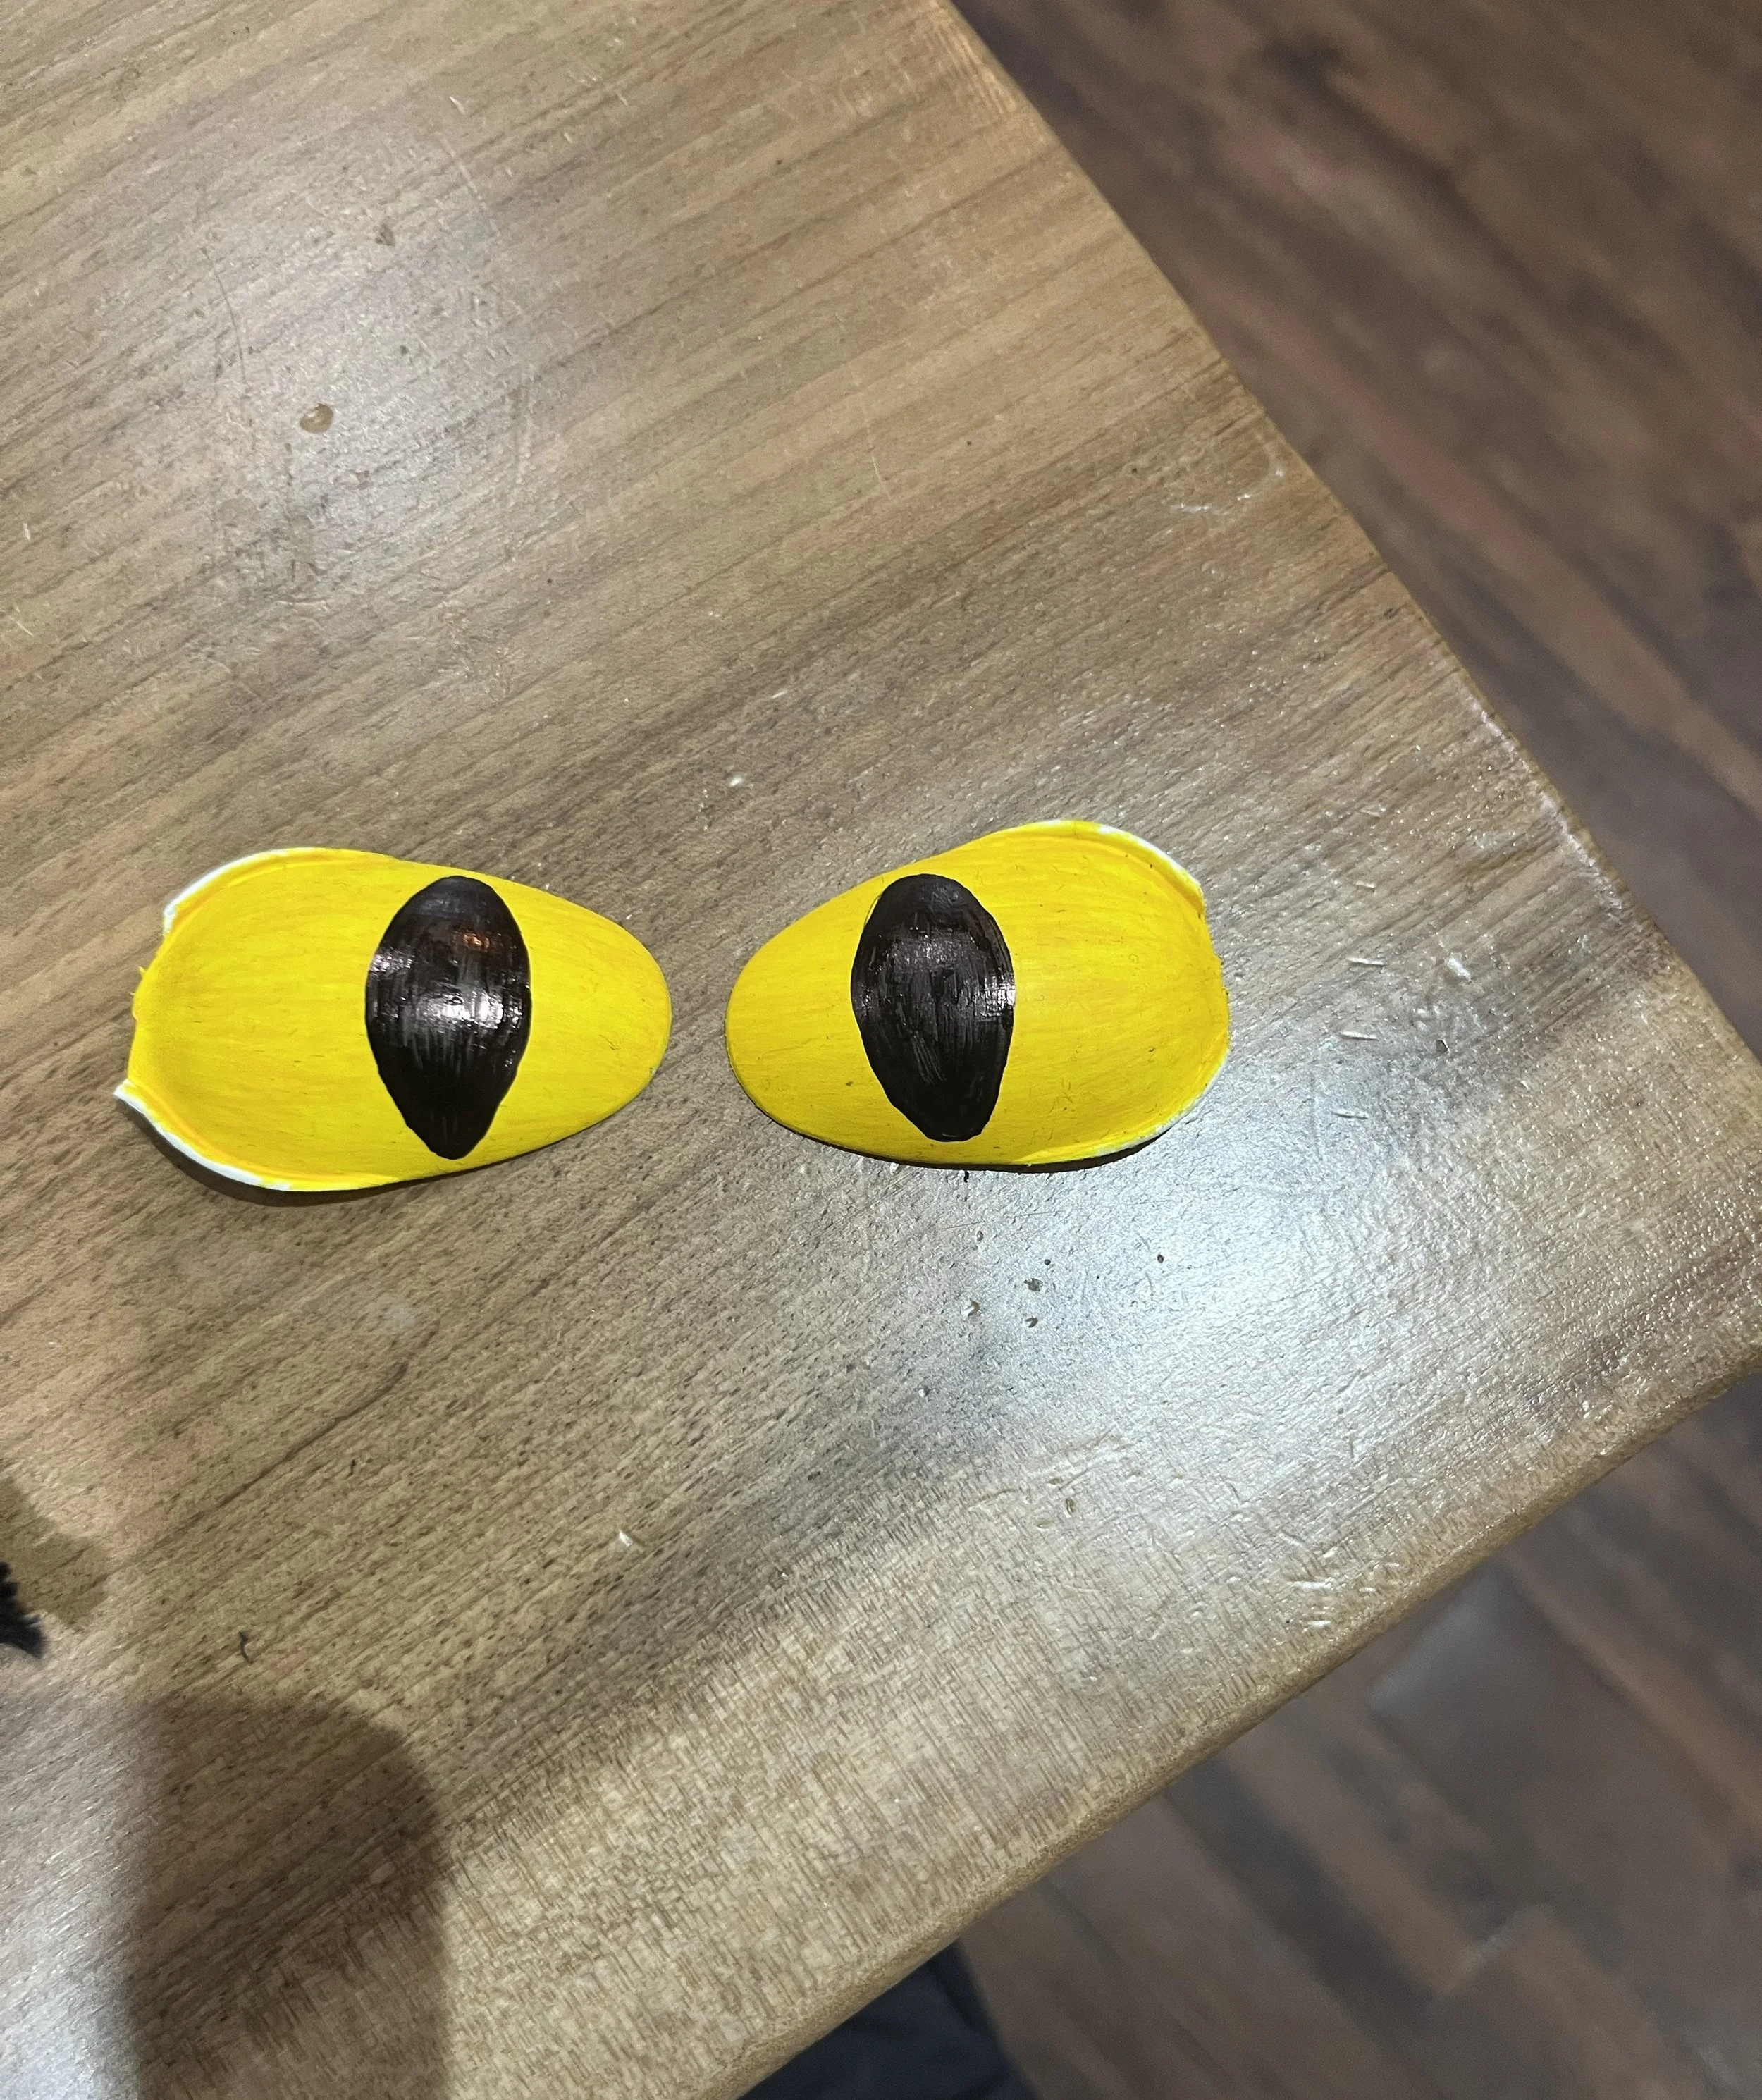
Eyes were made using painted plastic spoons. The nose was also painted at this stage using a mixture of black paint and liquid latex - giving it a rubbery texture.
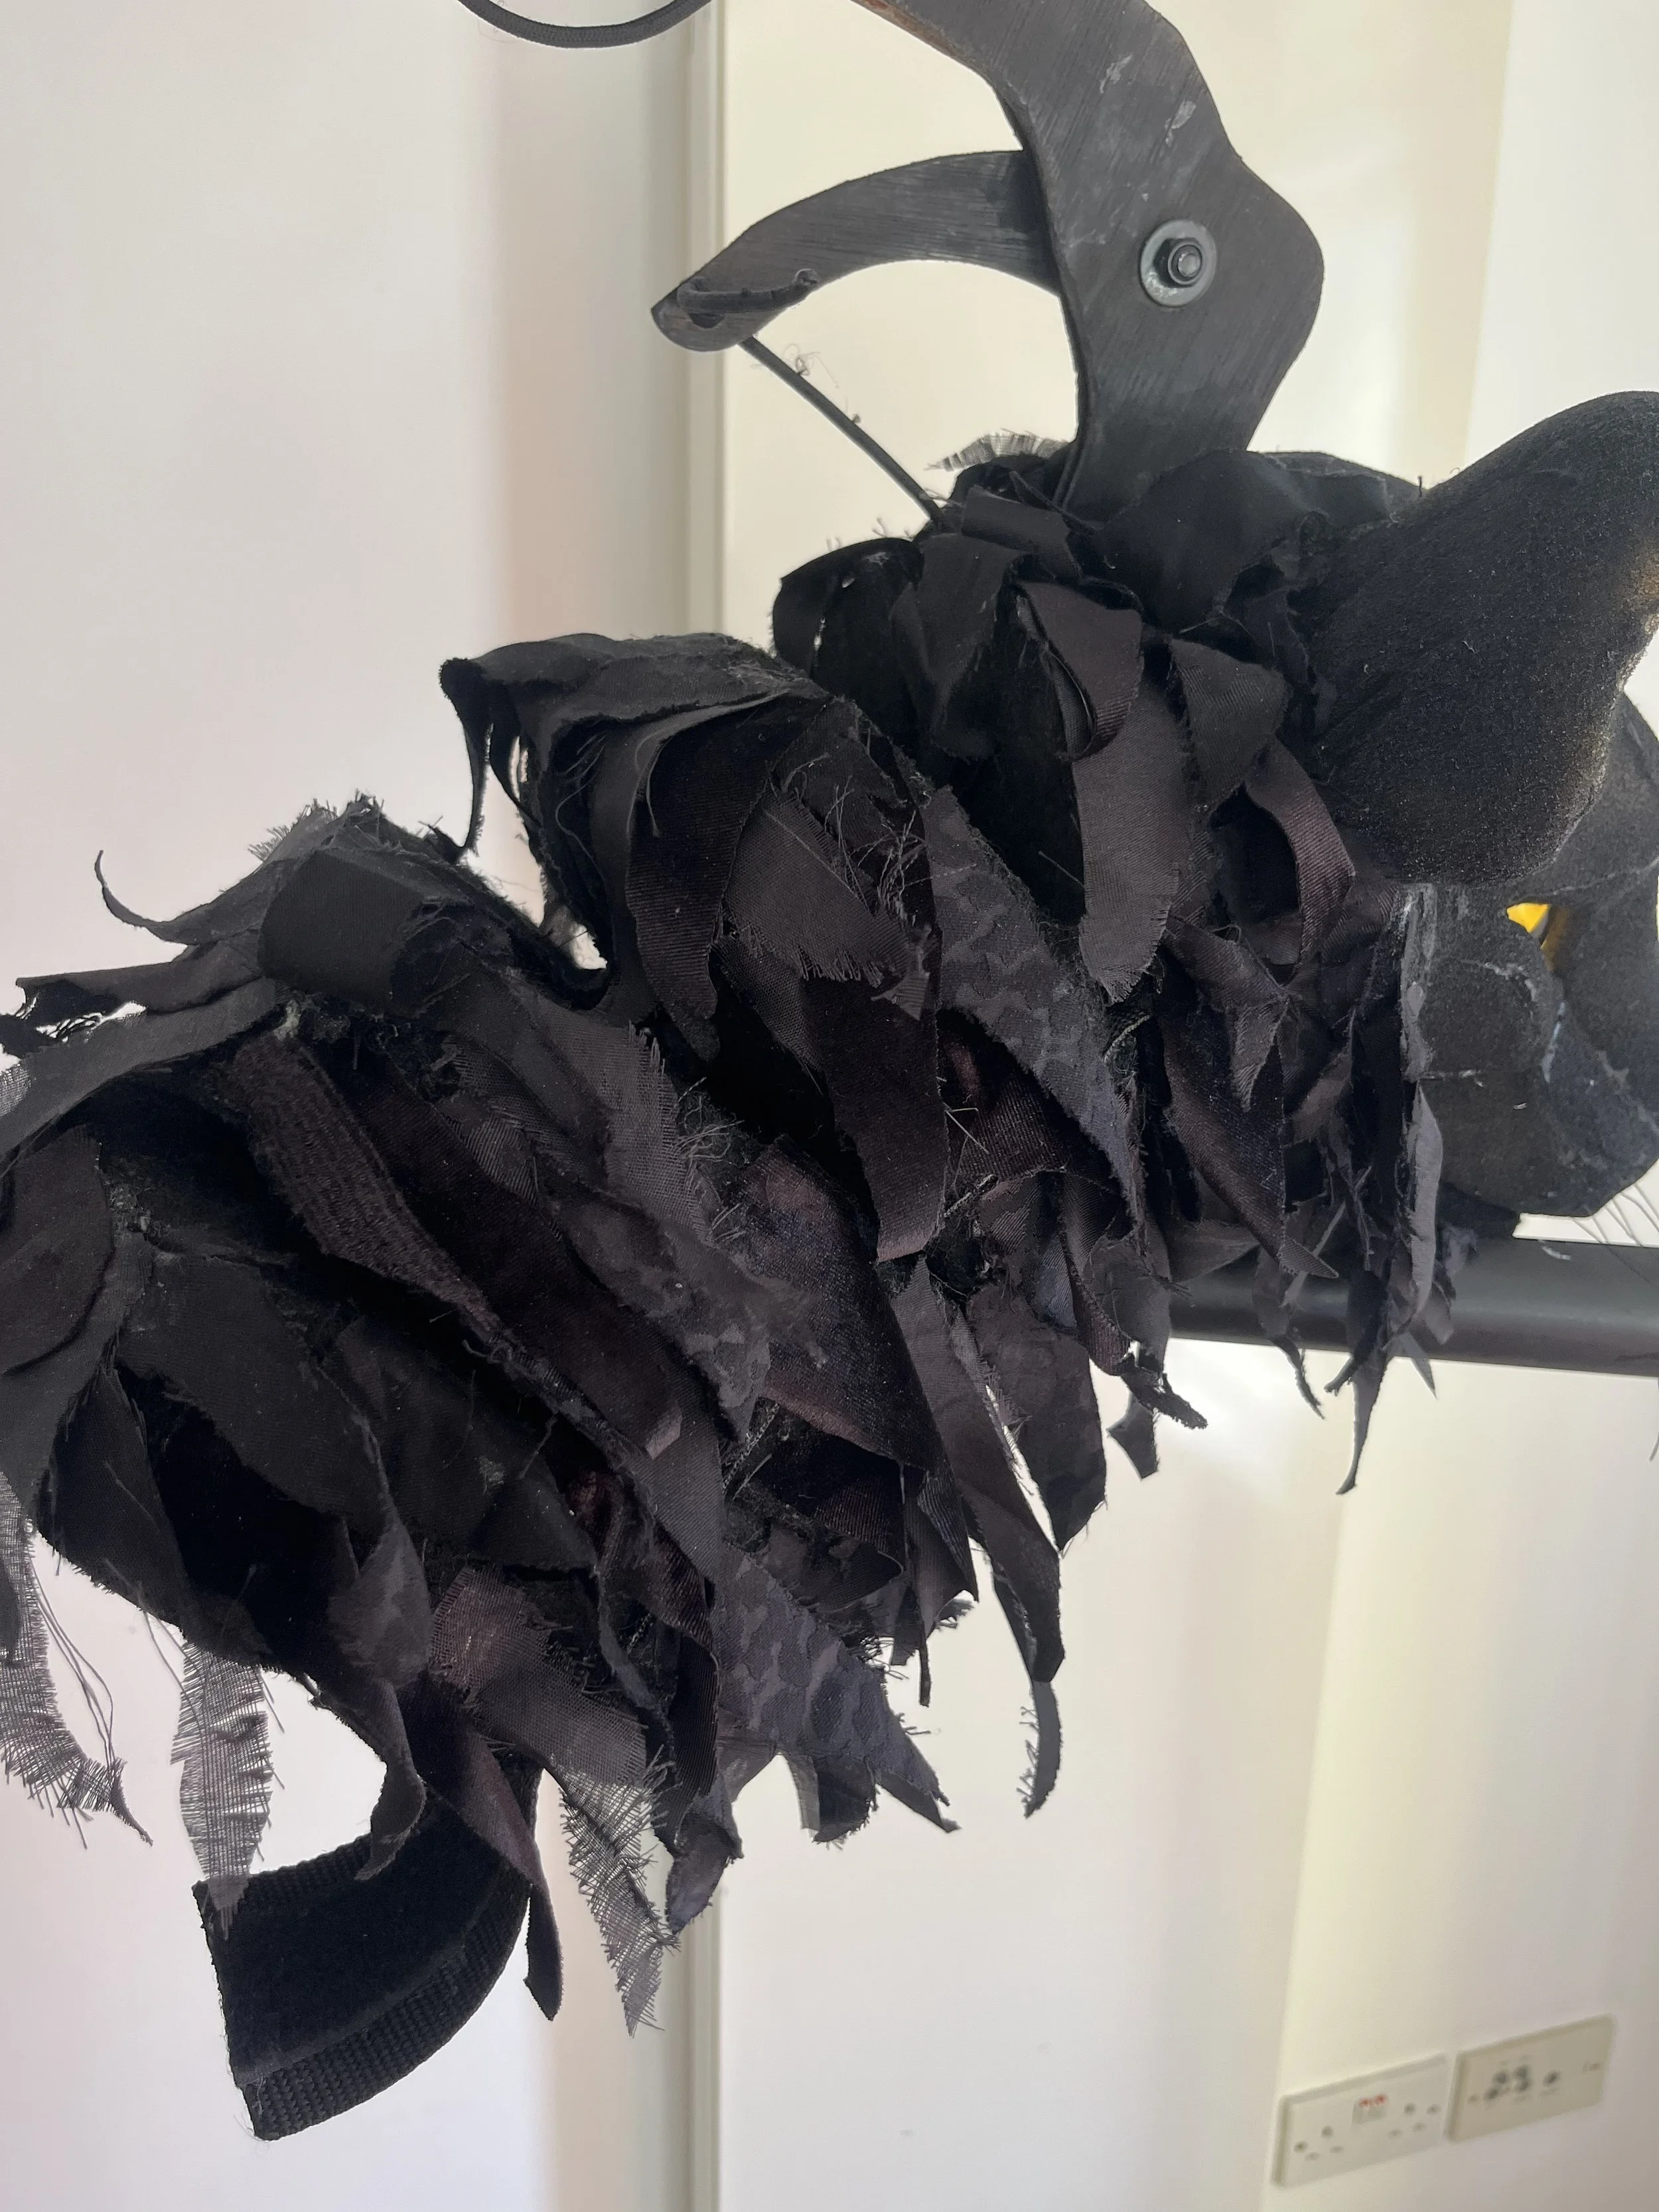
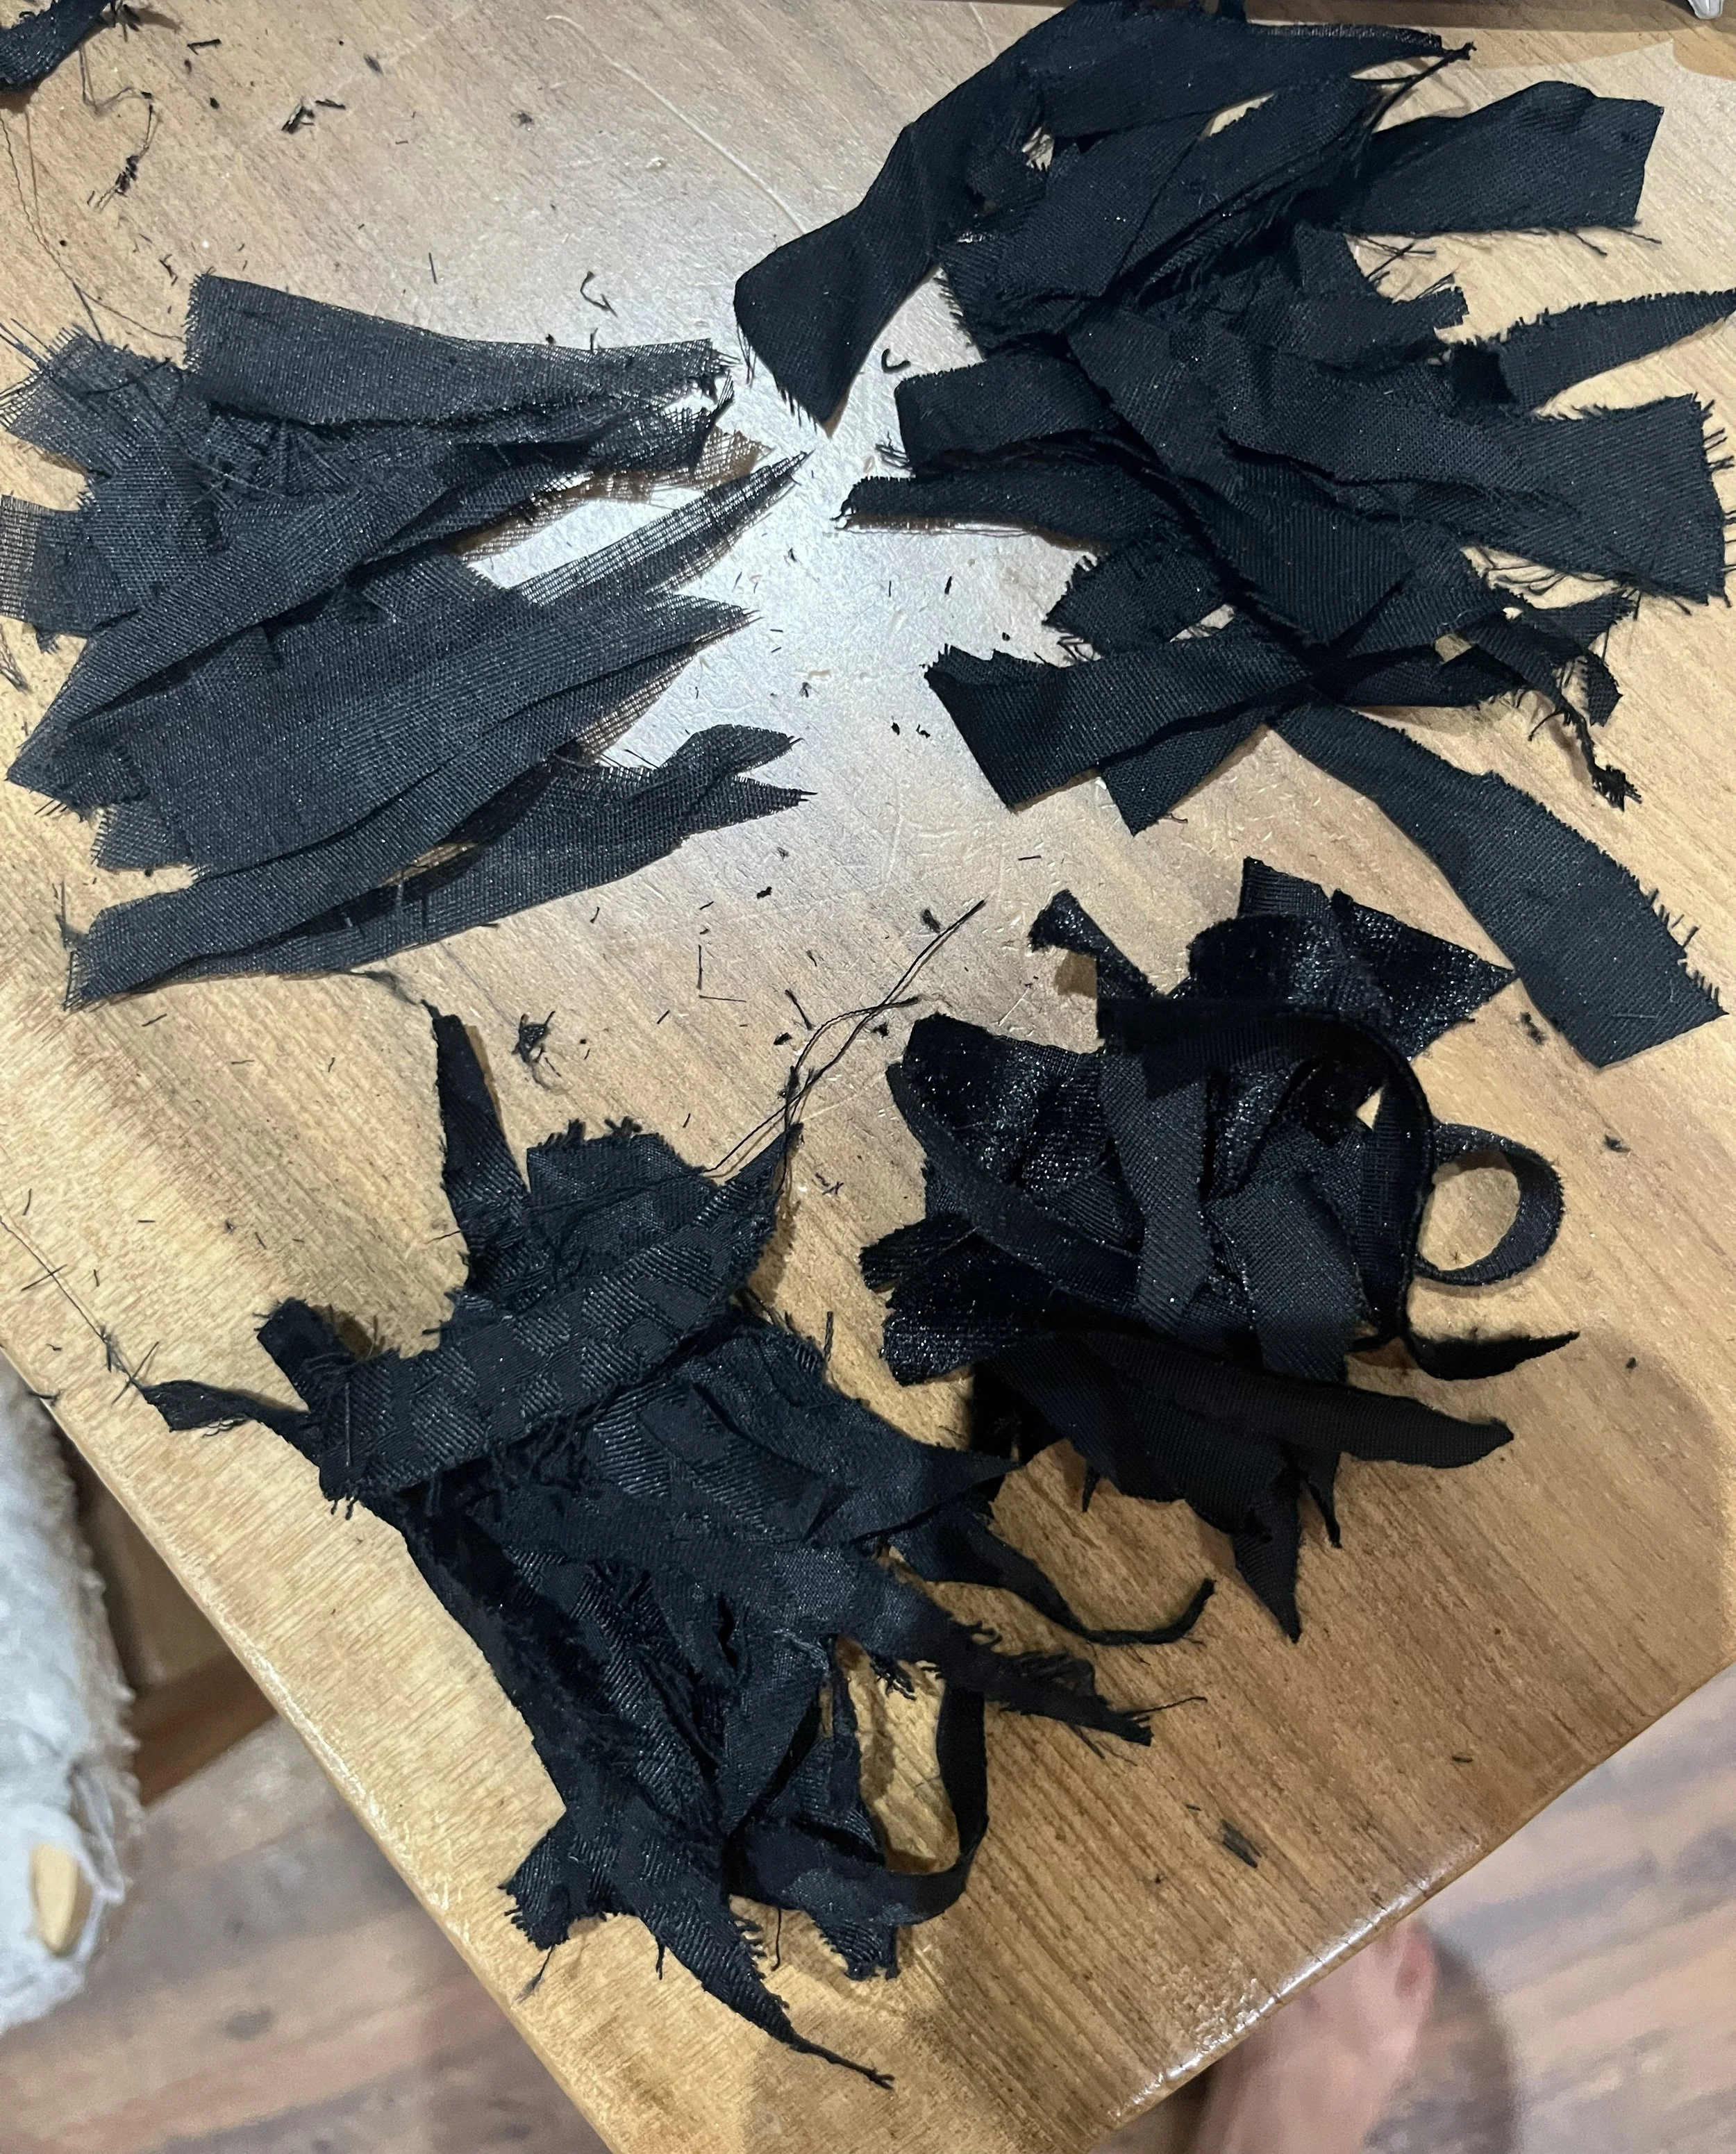
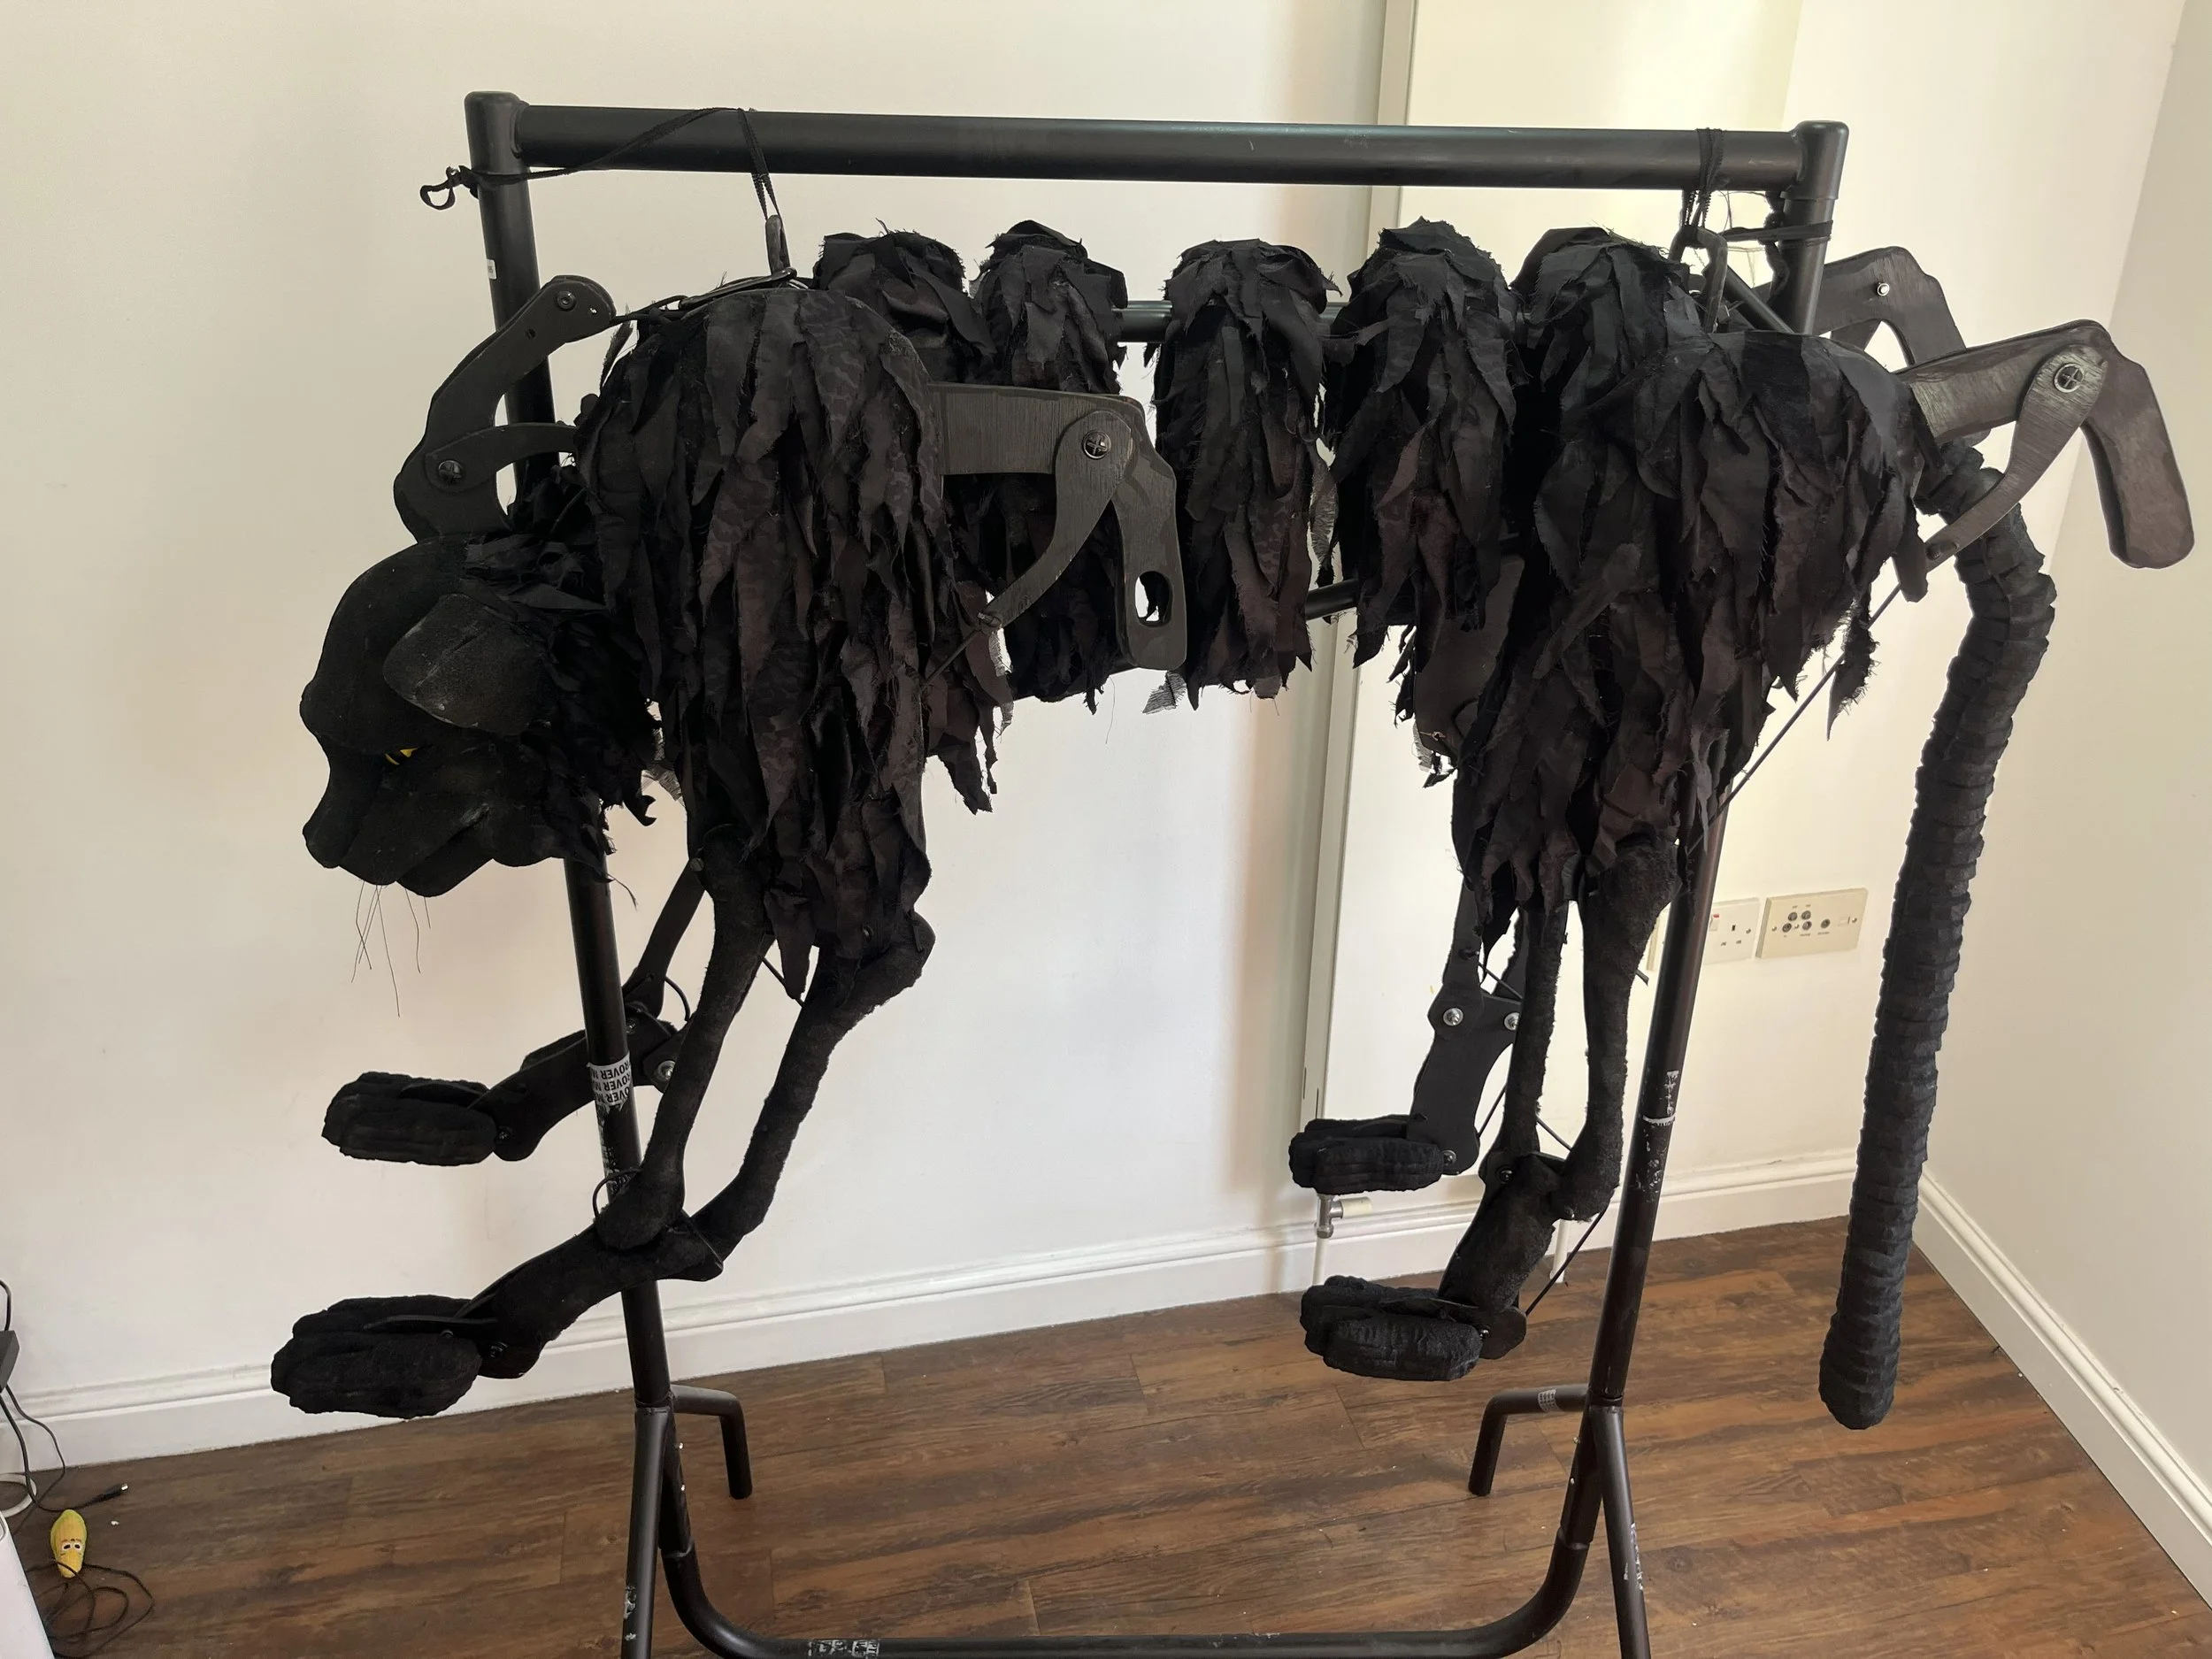
A fur-like covering was added using strips of fabric glued to the foam. Four different types of of black fabric were used to give more texture and visual interest.
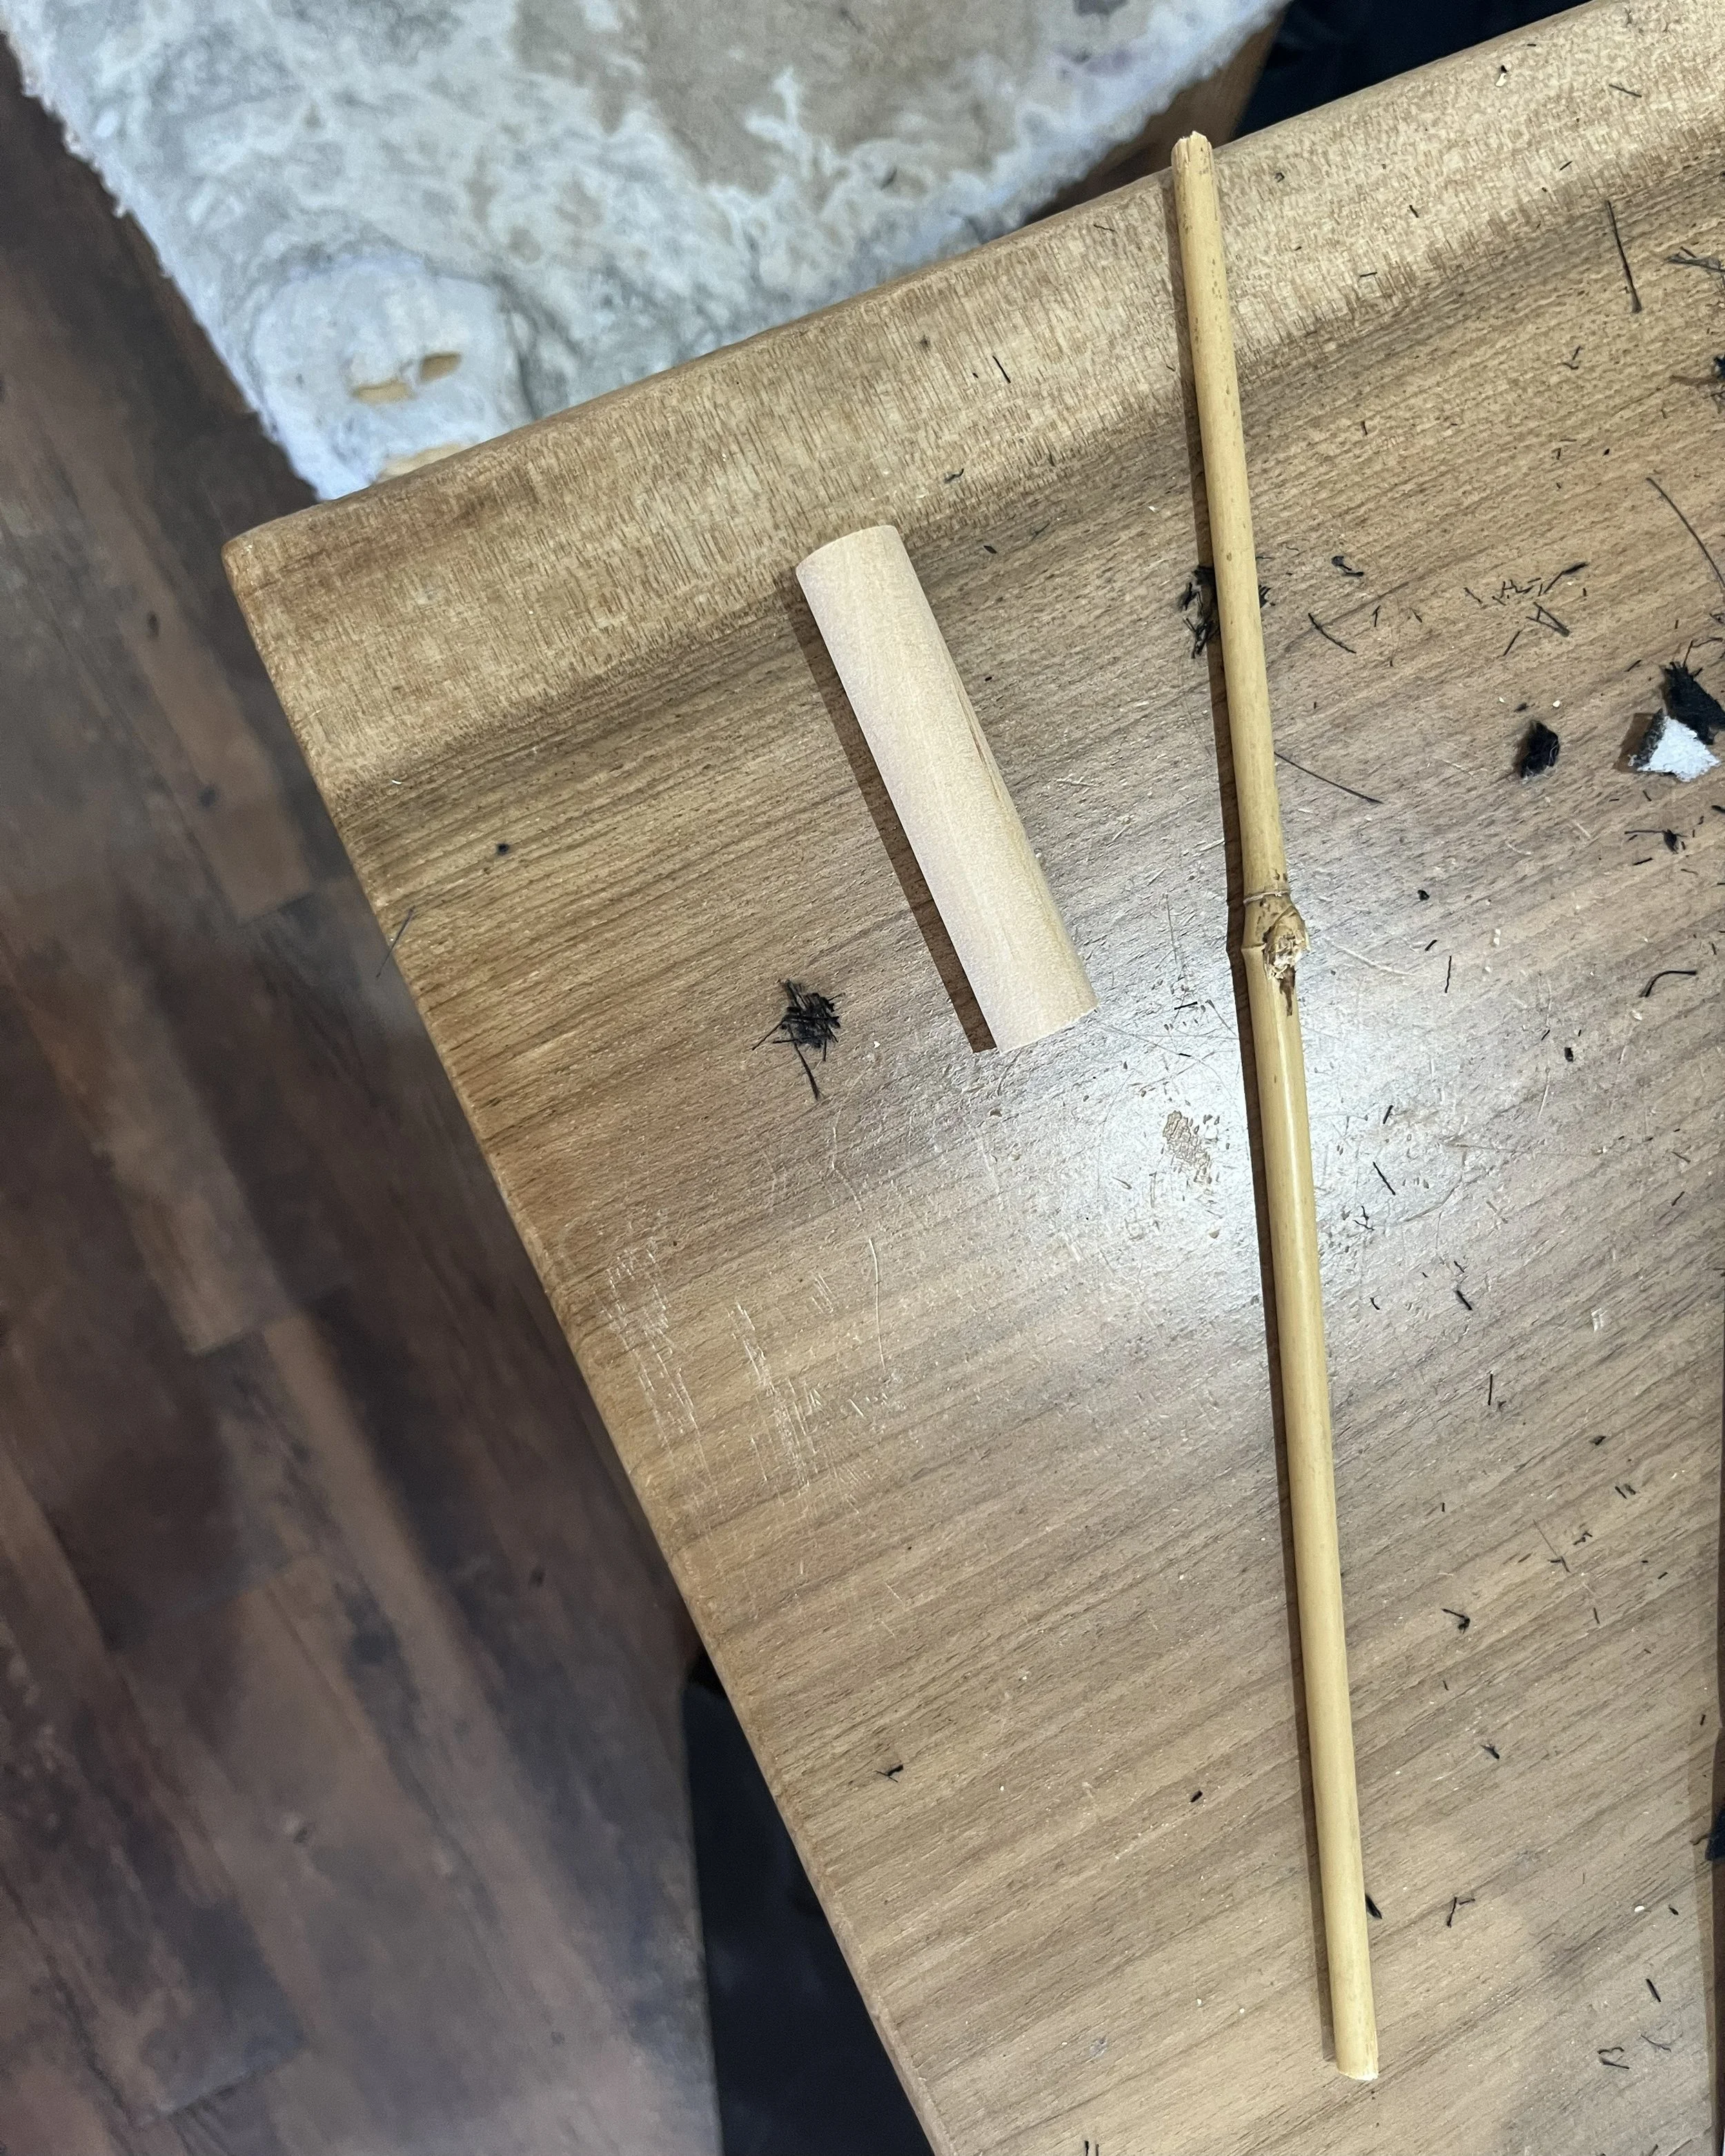
A handle was added to the tail using bamboo and wooden dowel, allowing the puppeteer to swing the tail.
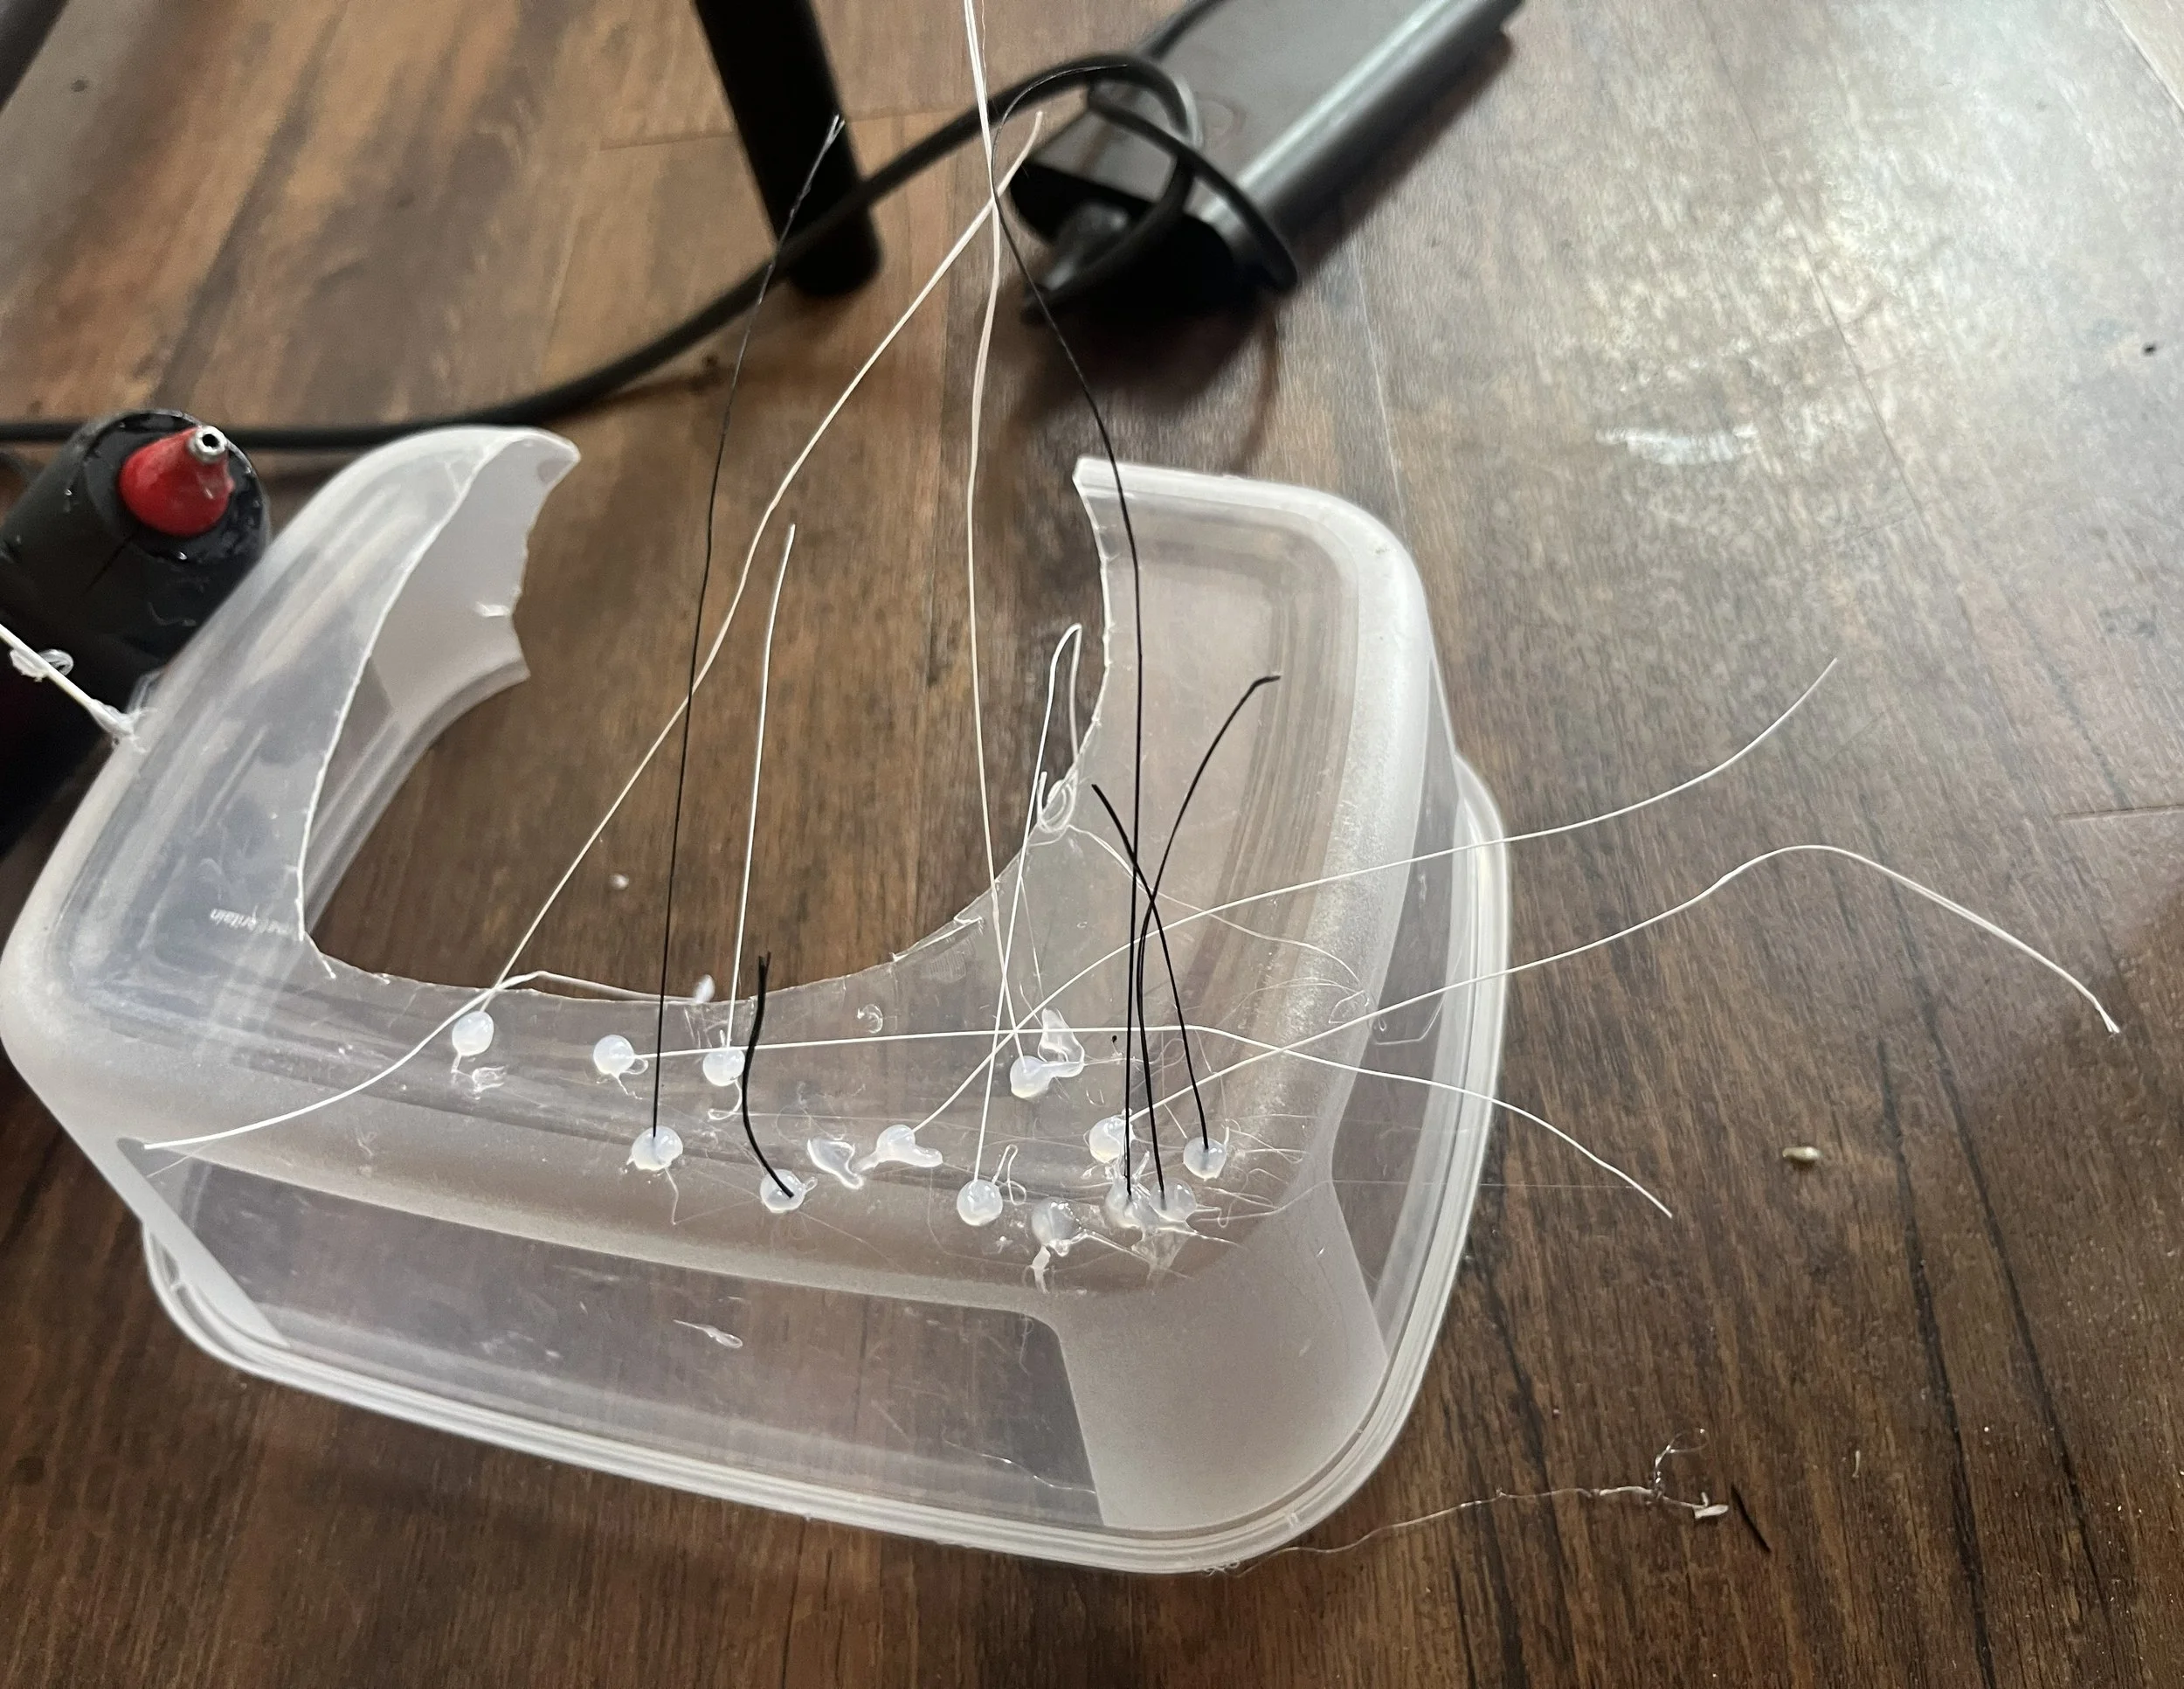
Finally, whiskers were made using paintbrush fibres dipped in hot glue and then spray painted black.
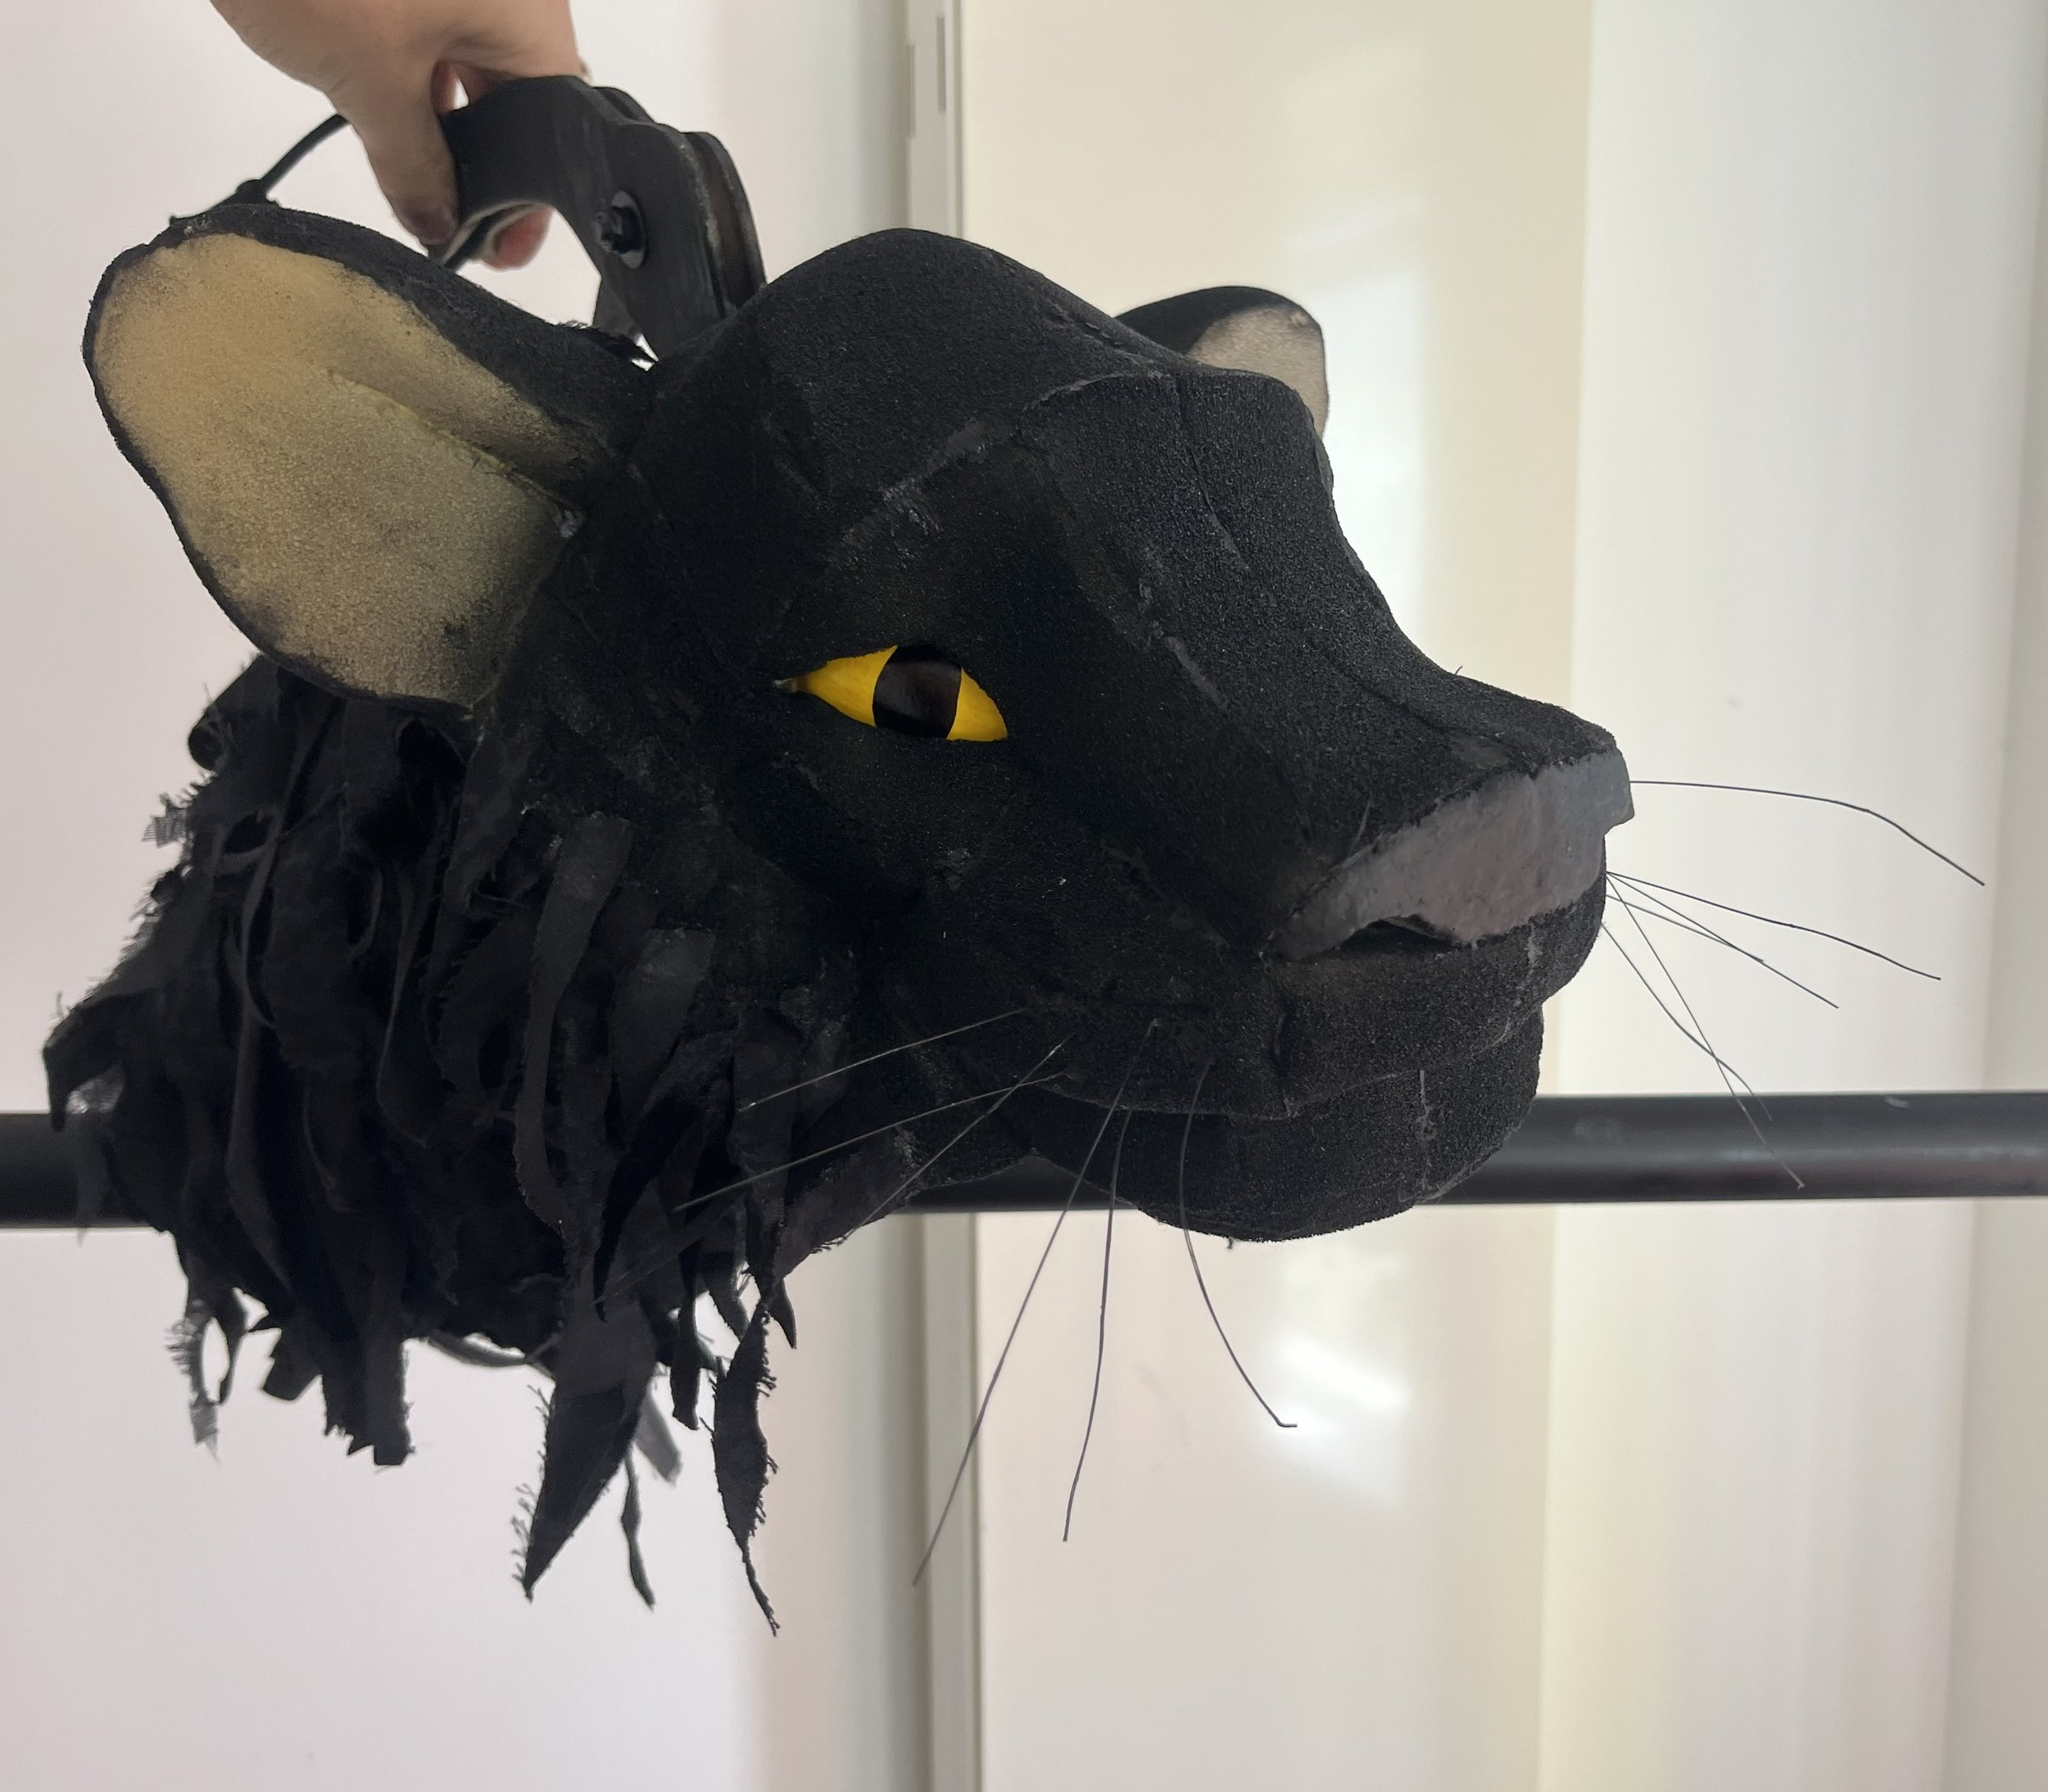
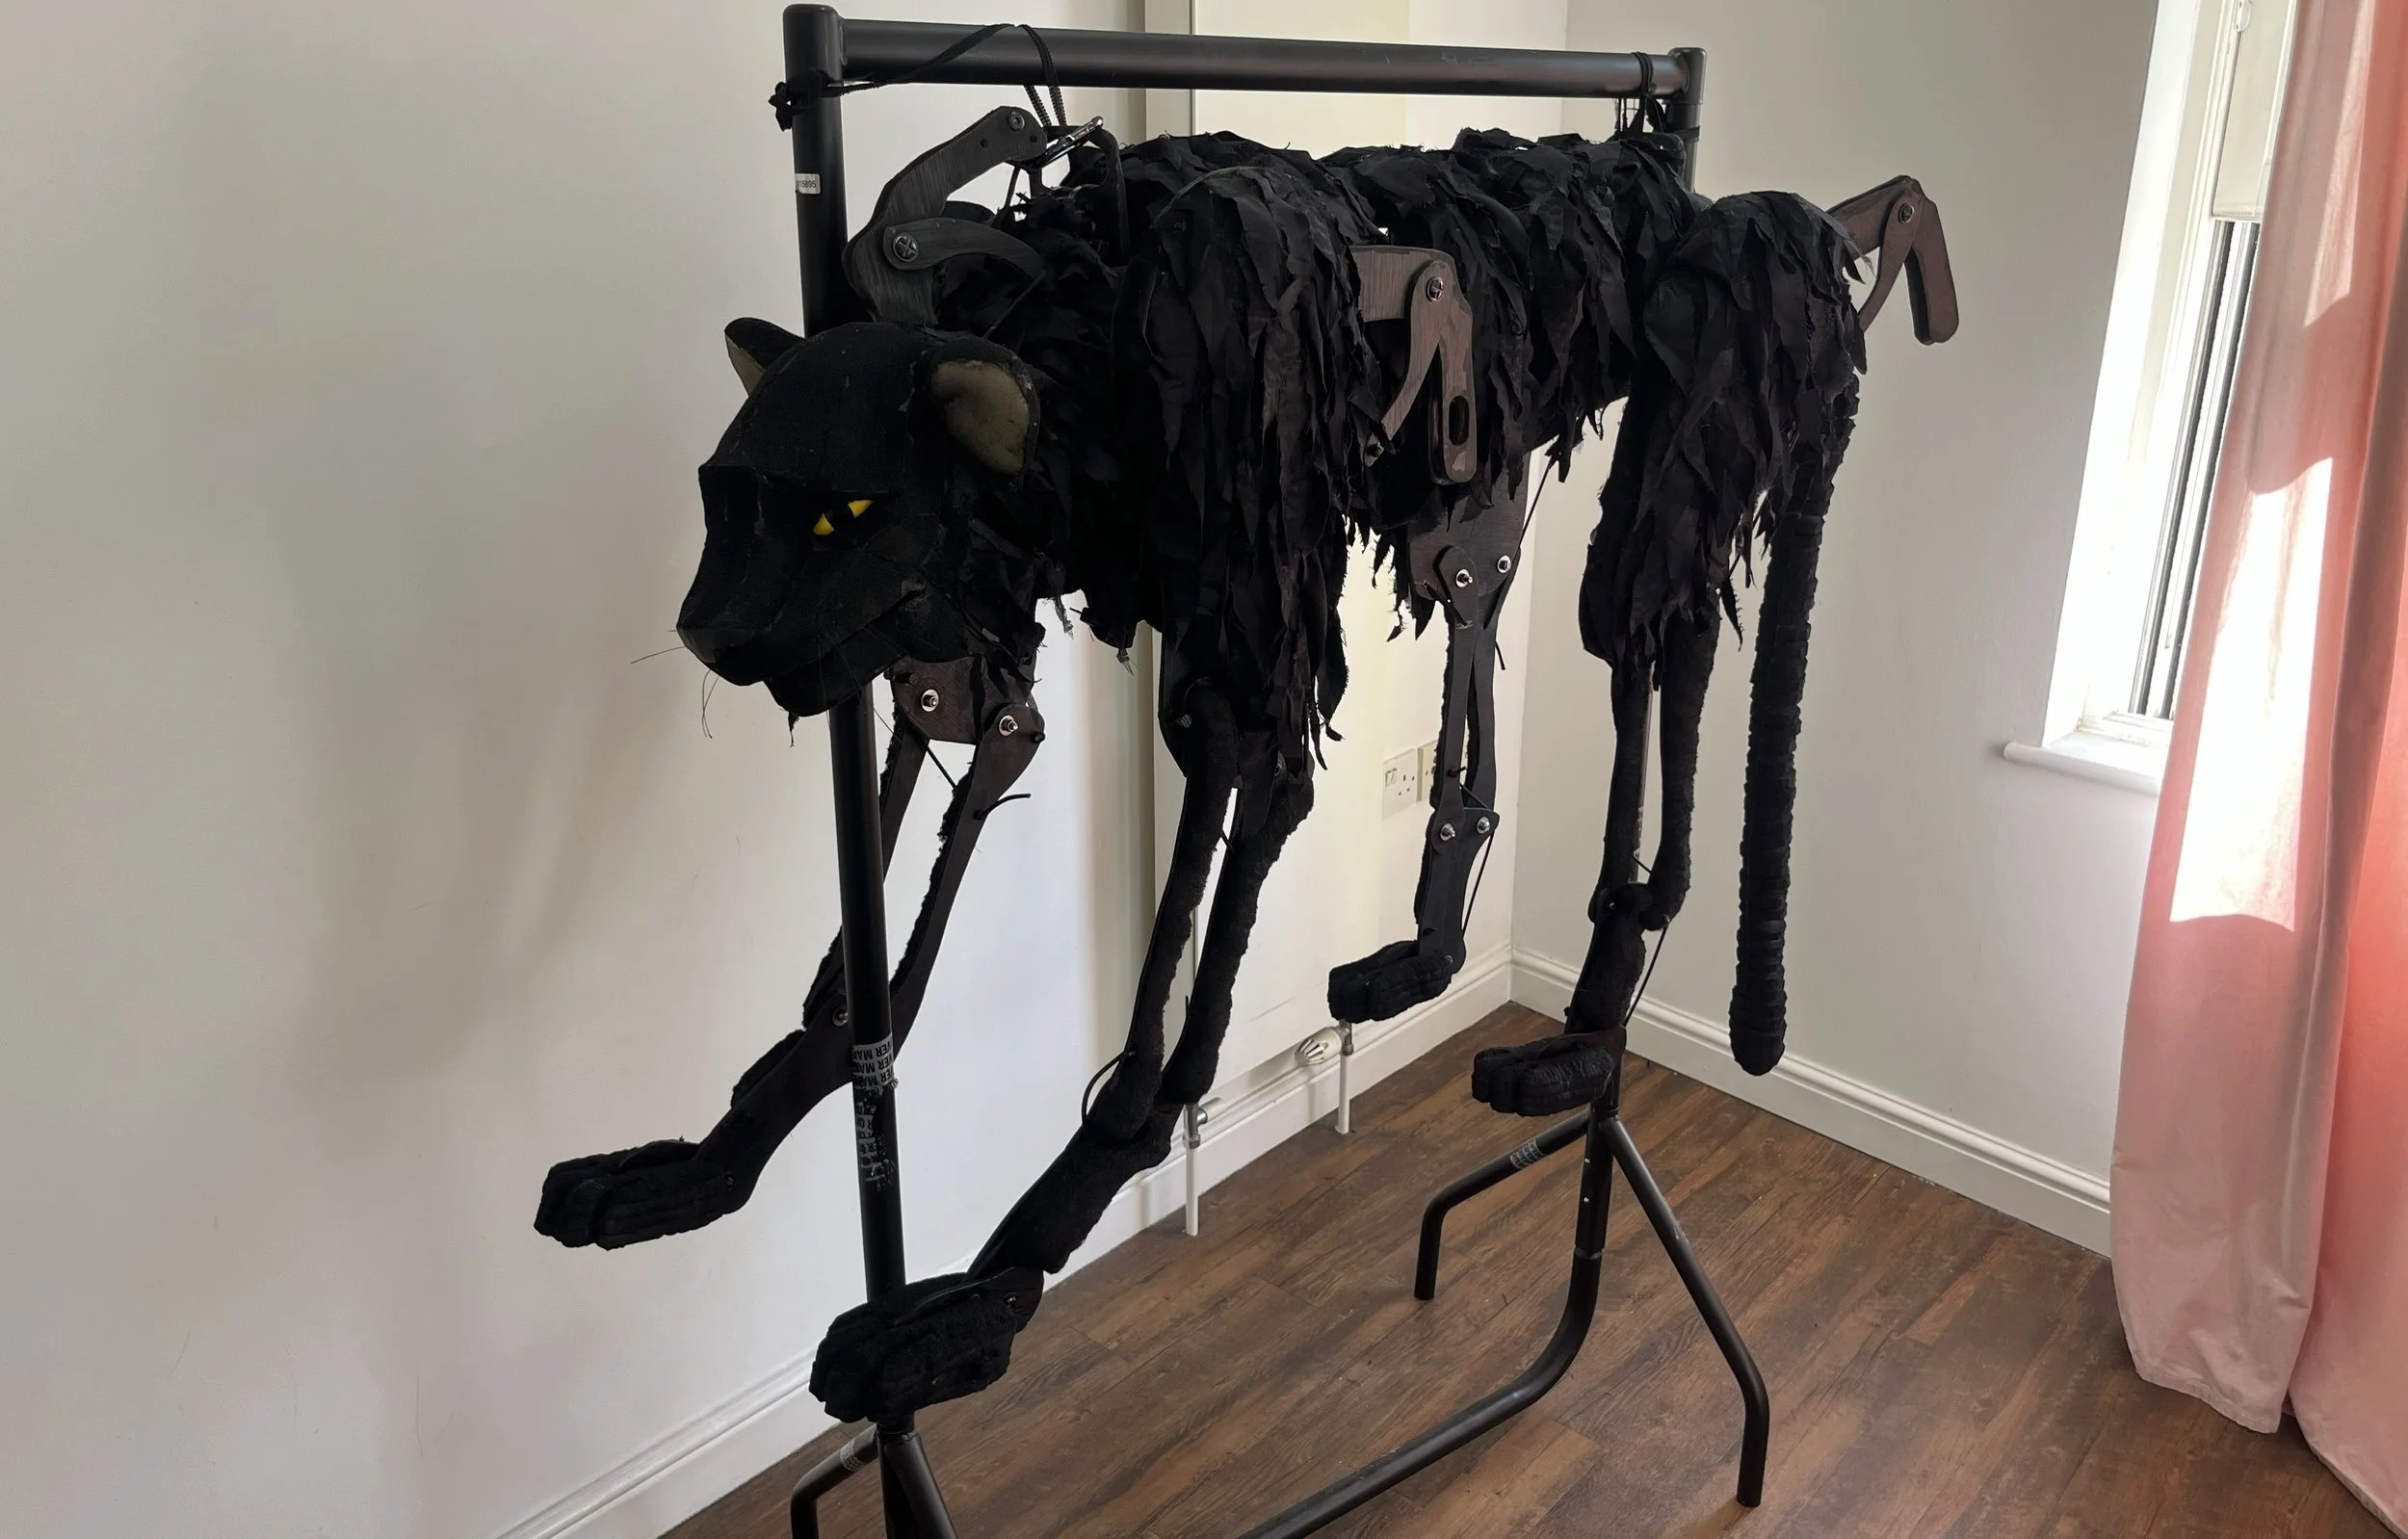
The Beast of Sydenham is complete!